Memcached is an object caching system that helps to get a good response rate while getting data from web applications. It can be used with a long range of programming languages and protocols such as Python, Java, PHP, JS, Ruby, TCP, and UDP protocols. With the help of Memcached, database load can be reduced and increase the response of dynamic web applications, and it stores key-value pairs in memory. We quote here an example in simpler words to let you understand the usage of Memcached: let’s say we have a PHP-based application and a SQL Database, here we will fetch the data from DB and store it in Memcached to speed up the webpages. It stores key-value pairs in memory. Databases store data on your physical storage drive while Memcached stores data on the servers, thus nullifying the use of physical storage devices that resultantly increase the speed.
How Memcached works
This section guides you to get the working flow of Memcached in simpler words, Memcached comprises of the four components (Server software, LRU, Client software, and Hashing algorithm), and the working mechanism of Memcached that is based on those components is listed below:
Step 1: Request of data by client : Firstly, a request is made by the client to Memcached, and it checks for the availability of data; if the data is available in the cache, the Memcached will return it, and in case if data is not available in the cache, it is retrieved from the database and saved in the Memcached.
Step 2: Update the Cache : The data is manipulated frequently, so if the information is changed or expired, Memcached updates the cache so that it contains updated data.
Generally, Memcached consists of several servers and many clients: clients and servers communicate through a hashing algorithm, clients’ instructions to the server are passed through this hash, and servers follow the hashing algorithms to determine where to store data. This phenomenon of Memcached makes the load distributable.
How to install Memcached on Ubuntu
This core part of writing will guide to install Memcached on Ubuntu:
Open the Ubuntu terminal (Alt Ctrl T) and update the system by using the command:
Once the update command is executed, you can install the Memcached using the command written below:
$ sudo apt install memcached
<img alt="Text Description automatically generated" data-lazy- data-lazy-src="https://kirelos.com/wp-content/uploads/2021/09/echo/text-description-automatically-generated.png" data-lazy- height="427" src="data:image/svg xml,” width=”879″>
To get extensive support for the Memcached server, you should add the tools library of Memcached; this library enables you to work alongside the Memcached server:
$ sudo apt install libmemcached-tools
<img alt="Text Description automatically generated" data-lazy- data-lazy-src="https://kirelos.com/wp-content/uploads/2021/09/echo/text-description-automatically-generated-1.png" data-lazy- height="310" src="data:image/svg xml,” width=”727″>
After successful completion of this step, the Memcached service will be installed on your server, and you can check the status of this service by using the command given below, and it can be seen that the service is active:
$ sudo systemctl status memcached
<img alt="Text Description automatically generated" data-lazy- data-lazy-src="https://kirelos.com/wp-content/uploads/2021/09/echo/text-description-automatically-generated-2.png" data-lazy- height="243" src="data:image/svg xml,” width=”797″>
How to configure Memcached service on Ubuntu
This section lists down the major methods to configure Memcached on your Ubuntu; by following this section, you will be able to manipulate the settings of the configuration file as well to enable this service for various applications.
How to make the connection of Memcached with the client
The configuration setting of this service resides inside file “/etc/memcached.conf,”; and you can edit the settings by accessing the configuration file using nano editor:
$ sudo nano /etc/memcached.conf
<img alt="A computer screen capture Description automatically generated with medium confidence" data-lazy- data-lazy-src="https://kirelos.com/wp-content/uploads/2021/09/echo/a-computer-screen-capture-description-automatical.png" data-lazy- height="449" src="data:image/svg xml,” width=”799″>
By opening the file, you will observe the following notable actions that this service takes when connecting to a client: Memcached listens to port 11211 and the IP address of localhost (127.0.0.1). For instance, if any client (other than where Memcached resides) requests to make a connection with the Memcached service, the IP address of that client must be replaced with the default IP address of the localhost (127.0.0.1). It is to notice that the client and server systems must be in a local area network. Moreover, after changing the data in the config file, you must restart the Memcached service by using the following command:
$ sudo systemctl restart memcached
And allow the firewall through port 11211 by executing the following command:
$ sudo ufw allow 11211/tcp
<img alt="A screenshot of a computer Description automatically generated with low confidence" data-lazy- data-lazy-src="https://kirelos.com/wp-content/uploads/2021/09/echo/a-screenshot-of-a-computer-description-automatica.png" data-lazy- height="73" src="data:image/svg xml,” width=”490″>
Now reload your firewall to successfully fetch the changes; you can do it simply by the following command:
<img alt="Text Description automatically generated with medium confidence" data-lazy- data-lazy-src="https://kirelos.com/wp-content/uploads/2021/09/echo/text-description-automatically-generated-with-med.png" data-lazy- height="58" src="data:image/svg xml,” width=”435″>
How to enable Memcached service for various applications
As we have mentioned in the introduction that it works with several languages and protocols. So, it is quite easy to enable the service for different applications.
For PHP based applications: If you want to get this service for PHP based applications, you must execute the following command:
$ sudo apt install php-memcached
<img alt="Text Description automatically generated" data-lazy- data-lazy-src="https://kirelos.com/wp-content/uploads/2021/09/echo/text-description-automatically-generated-3.png" data-lazy- height="275" src="data:image/svg xml,” width=”723″>
For Python-based applications: For python-based applications, you have to add the python Memcached repository by using the pip package manager: pip is a package manager to install several packages from the python package index:
$ sudo pip install python-memcached
<img alt="Text Description automatically generated" data-lazy- data-lazy-src="https://kirelos.com/wp-content/uploads/2021/09/echo/text-description-automatically-generated-4.png" data-lazy- height="151" src="data:image/svg xml,” width=”728″>
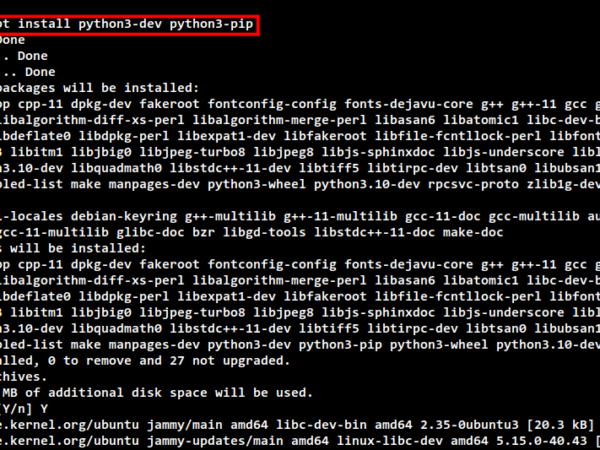
You may get an error that pip is not installed; so you can install the pip manager by the following command:
Conclusion
Memcached is a service provider that distributes load to boost up the response of dynamic web pages, and it supports a long list of applications and few protocols as well. On realizing the importance of Memcached, this guide is compiled to get the basic use, working mechanism, and installation of this service on your Ubuntu. Moreover, we have also provided the process to configure this service and to get this service for several programming language-based applications. Resultantly, it would be beneficial for the users who want to learn Memcached from scratch to an advanced level.
About the author
<img alt="" data-lazy-src="https://secure.gravatar.com/avatar/4255bac0cf82c6bdb0e1445cec1dfeb9?s=112&r=g" data-lazy- height="112" src="data:image/svg xml,” width=”112″>
Linux Explorer
Linux Explorer — Always exploring Linux and learning to advance the state of the art.


