
Ruby on Rails or RoR or Rails is a Ruby web application framework with MVC (Model-View-Controller) architecture, as well as design philosophies such as Don’t Repeat Yourself (DRY), Convention over Configuration (CoC), and active records pattern. It’s a full-stack web framework for building enterprise-grade web applications.
In this tutorial, we’ll walk you through the installation process of Ruby on Rails onto Ubuntu 24.04, creating the first Rails project, configuring PostgreSQL as the database for your Rails project, and generating a scaffold with the ‘rails’ command.
Prerequisites
Before you begin, make sure you have the following:
- An Ubuntu 24.04 server.
- A non-root user with sudo administrator privileges.
Installing Dependencies
To install Ruby on Rails on your Ubuntu system, you must install dependencies such as Ruby, Node.js, PostgreSQL (optional for database), Git, and additional development packages. Those packages are available on the default Ubuntu repository, and you can install those using APT.
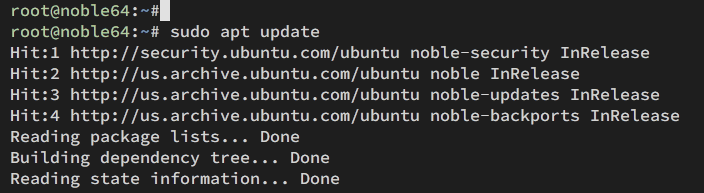
To begin, update your Ubuntu repository with the following command:
sudo apt update
Now install dependencies for Ruby on Rails with the command below. With this, you will install Ruby, PostgreSQL, Node.js, git, and some developer packages.
sudo apt install ruby ruby-dev postgresql libpq-dev nodejs yarnpkg git zlib1g-dev build-essential libssl-dev libreadline-dev libyaml-dev libsqlite3-dev sqlite3 libxml2-dev libxslt1-dev libcurl4-openssl-dev libffi-dev
Input Y to proceed to the installation.
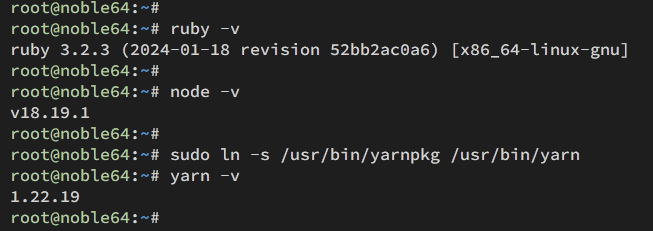
After the installation is complete, check the Ruby and Node.js version with the following:
ruby -v
node -v
You can see below that Ruby 3.2 and Node.js 18.19 are installed.
Next, run the command below to set up Yarn as Node.js package manager with the command below. This will create a new command ‘yarn‘ and you will see the version of Yarn.
sudo ln -s /usr/bin/yarnpkg /usr/bin/yarn
yarnpkg -v
Lastly, check the PostgreSQL service status with the following:
sudo systemctl is-enabled postgresql
sudo systemctl status postgresql
The PostgreSQL server will start at startup, and the PostgreSQL status with ‘active (exited)‘.
Creating PostgreSQL User
After dependencies are installed, you will be creating a new PostgreSQL user for your Rails project. This user must be able to log in and create a new database on PostgreSQL.
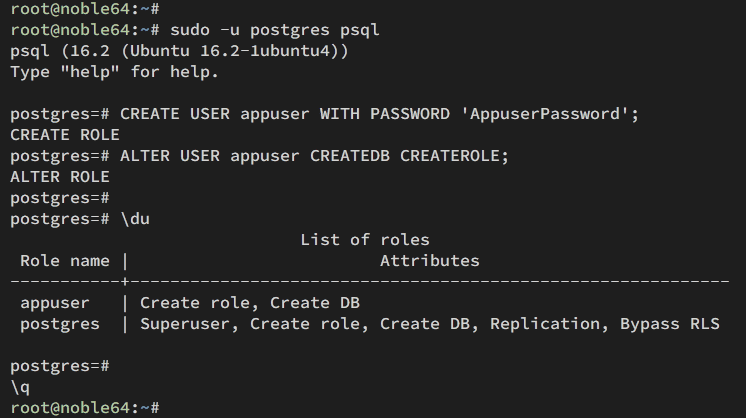
Log in to the PostgreSQL server with the command below.
sudo -u postgres psql
Run the following queries to create a new PostgreSQL user ‘appuser‘ with the password ‘AppuserPassword‘. This user will be able to create a database and role in PostgreSQL.
CREATE USER appuser WITH PASSWORD 'AppuserPassword';
ALTER USER appuser CREATEDB CREATEROLE;
Now type quit or press Ctrl d to exit from the PostgreSQL.
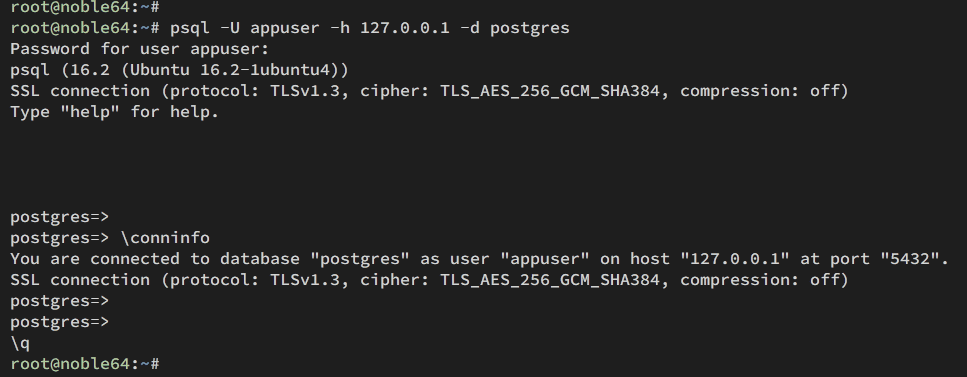
Next, run the following command to log in to PostgreSQL with user ‘appuser‘. Input your password when prompted.
su - postgres
psql -U appuser -h 127.0.0.1 -d postgres
After logging in, check the PostgreSQL connection status with the following:
conninfo
You can see below the new user ‘appuser‘ can connect to the PostgreSQL server with the password authentication through localhost or 127.0.0.1.
Installing Ruby on Rails
In this section, you will be installing the latest Ruby on Rails on the user-specific environment. So you need to set up the default GEM_HOME directory under your user.
First, log in to your user with the following command:
su - user
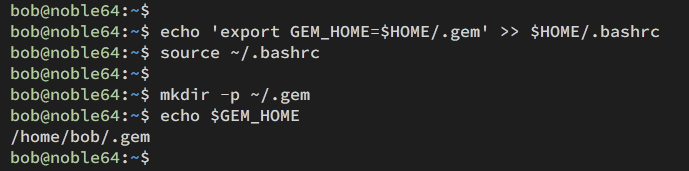
Create a new ~/.gem directory and add the GEM_HOME environment variable through the ~/.bashrc file. With this, all Ruby gems will be installed in the ~/.gem directory.
mkdir -p ~/.gem
echo 'export GEM_HOME=$HOME/.gem' >> $HOME/.bashrc
Now run the command below to reload your current shell and check the GEM_HOME environment variable. You will see the GEM_HOME is pointed to the ~/.gem directory.
source ~/.bashrc
echo $GEM_HOME
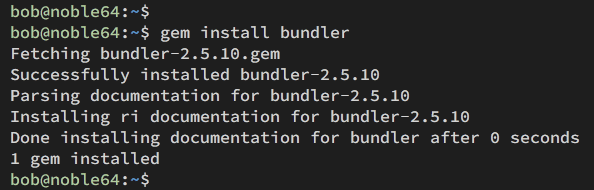
Next, run the gem command below to install the bundler to your system.
gem install bundler
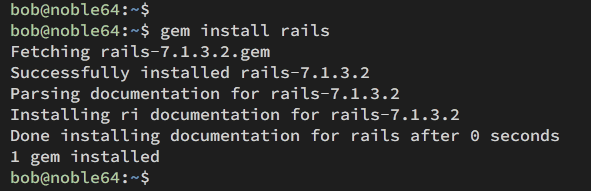
After that, install Ruby on Rails with the following gem command. You can install the latest version of Ruby on Rails or pick the specific version using the -v option.
gem install rails
gem install rails -v 7.1.0
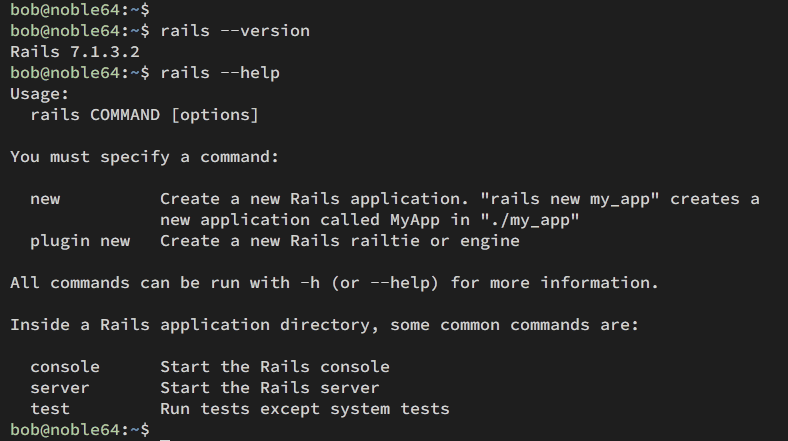
When the installation is finished, check the Ruby on Rails version with the command below:
rails --version
rails --help
As shown below, the latest Ruby on Rails 7.1.3 is installed, and you can also see the basic usage of the ‘rails‘ command.
Creating Project with Ruby on Rails and PostgreSQL
Now that you have installed Ruby on Rails. In this section, you will create your first Rails project with PostgreSQL as the default database.
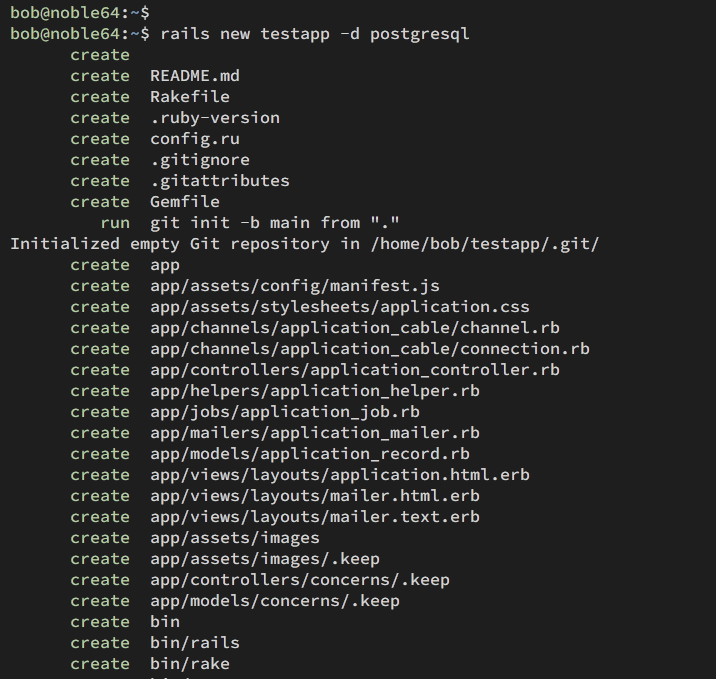
Run the ‘rails’ command below to create a new Rails project. In this example, you will create a new project testapp with the default database PostgreSQL.
rails new testapp -d postgresql
You can see below the Rails application is generated, including the git initialized.
Now move to the ~/testapp directory and edit the database configuration ‘config/database.yml‘ file.
cd ~/testapp/
nano config/database.yml
Change the database details for the development, test, and production environment like the following. The database for each environment will be created automatically during migration.
development:
 <<: *default
 database: testapp_development
 username: appuser
 password: AppuserPassword
 host: localhost
 port: 5432test:
 <<: *default
 database: testapp_test
 username: appuser
 password: AppuserPassword
 host: localhost
 port: 5432production:
 <<: *default
 database: testapp_production
 username: appuser
 password:
When done, save the file and exit.
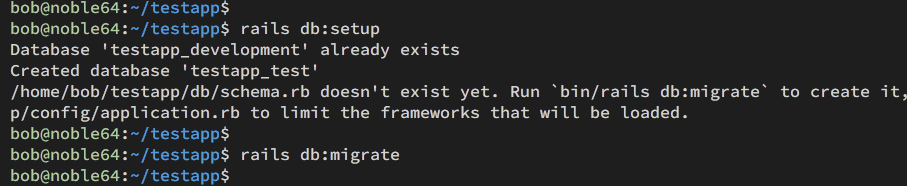
Next, run the following ‘rails‘ command to set up and migrate the database.
rails db:setup
rails db:migrate
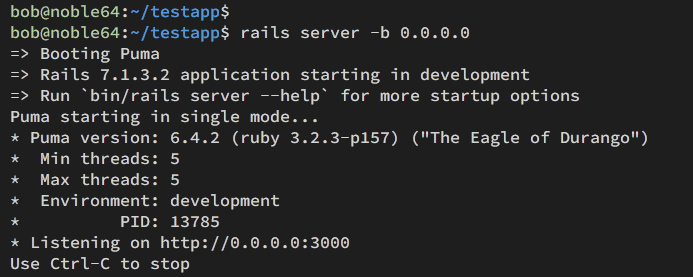
After the database migration is complete, run your Rails project with the following:
rails server -b 0.0.0.0
You can see below that your Rails project is running on default port 3000.
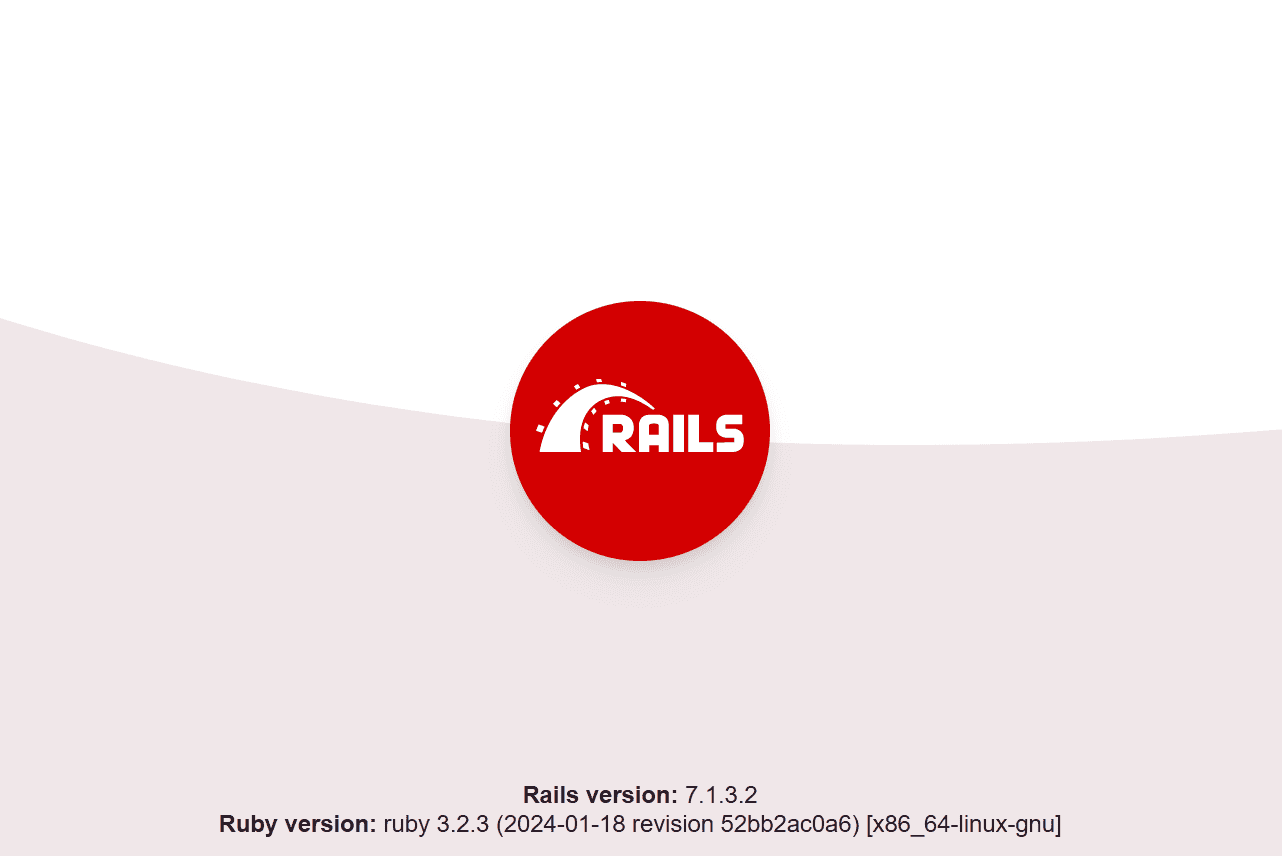
Visit your server IP address http://192.168.5.30:3000/ using your web browser. if your Rails installation is successful, you should get the following default Rails index:
Generating with Scaffolding
Ruby on Rails provides an easy way to build your application for beginners. You can utilize a scaffold to generate the basic structure of a Rails project, which includes a controller, a model, and a view.
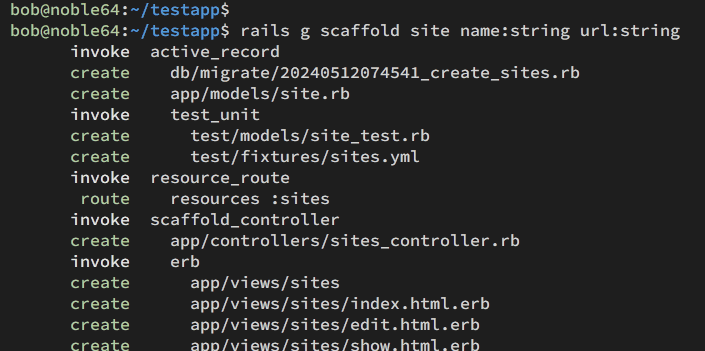
Run the following command to generate a scaffold for a simple application ‘site‘ with two user inputs ‘name‘ and ‘url‘.
rails g scaffold site name:string url:string
Below is your application’s Rails generating model, controller, and view.
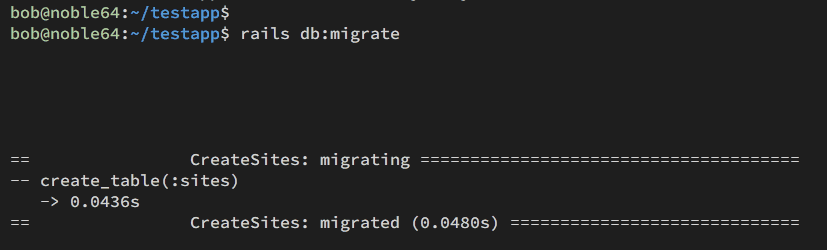
After the scaffold is generated, run the following command to migrate your Rails database.
rails db:migrate
You can see below the database for Rails has been migrated.
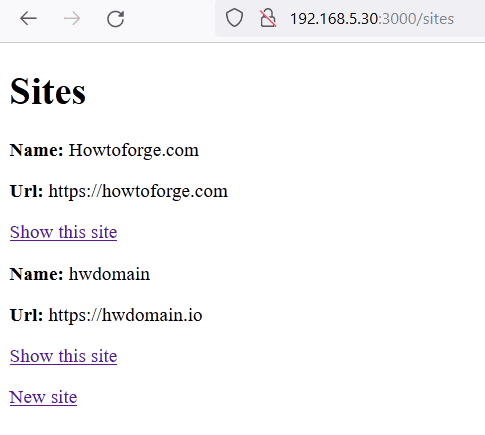
Now run your Rails project with the following command.
rails server -b 0.0.0.0
Lastly, visit your server IP address http://192.168.5.30:3000/sites to access the ‘site‘ application. You can submit a new data name and url. Then, you can see below an example after new data is submitted.
Conclusion
Congratulations! You have finished the installation of Ruby on Rails on Ubuntu 24.04. You have created a Rails project with PostgreSQL as the database. Lastly, you have also learned how to generate basic applications on Rails using the scaffold feature.


