Chef is a powerful automation software on Debian Linux designed for managing and configuring large-scale server environments. It facilitates the deployment, configuration, and management of applications and infrastructure by using code, promoting infrastructure as code (IaC) principles. Chef uses a domain-specific language (DSL) written in Ruby to define “recipes” and “cookbooks” that specify how servers should be configured. This allows system administrators and DevOps teams to automate repetitive tasks, ensure consistency across environments, and easily scale infrastructure. Chef supports a wide range of resources and integrations, making it a versatile tool for managing complex environments on Debian, Ubuntu Linux, and other platforms.
In this tutorial, we’ll show you how to install Chef Server and Chef Workstation on Debian 12 servers step-by-step.
Prerequisites
To complete this guide, ensure you have the following:
- 3 Debian 12 servers.
- A non-root user with administrator privileges.
Setting Up FQDN
In this first step, you will configure FQDN (Fully Qualified Domain Name) for the Chef server, Chef workstation, and the client.
Run the following hostnamectl command to set up fqdn for each server.
sudo hostnamectl set-hostname chef.howtoforge.local
sudo hostnamectl set-hostname workstation.howtoforge.local
sudo hostnamectl set-hostname client.howtoforge.local
Open the /etc/hosts file on each server using the following nano editor command.
sudo nano /etc/hosts
Insert the following configuration and be sure to change the detailed IP address, hostname, and fqdn with your settings.
192.168.5.15     chef.howtoforge.local     chef
192.168.5.20     workstation.howtoforge.local     workstation
192.168.5.21     client.howtoforge.local     client
Save and close the file when finished.
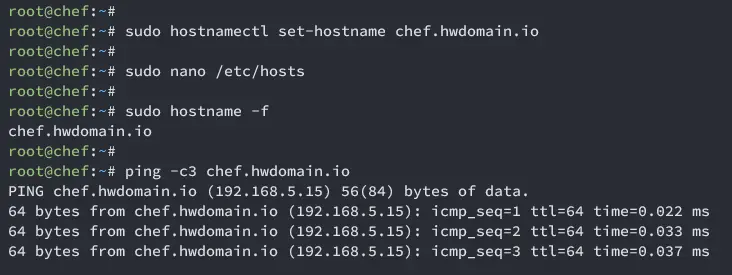
Now run the below command to ensure each fqdn is pointed to the correct IP address of the server.
sudo hostname -f
ping -c3 chef.howtoforge.local
Synchronizing Time between Servers
After configuring FQDN, you will ensure that each server has time synchronized. In this case, you will set up the NTP server on the Chef Server and configure the Chef workstation and client to connect to it.
Setting Up Chrony on Chef Server
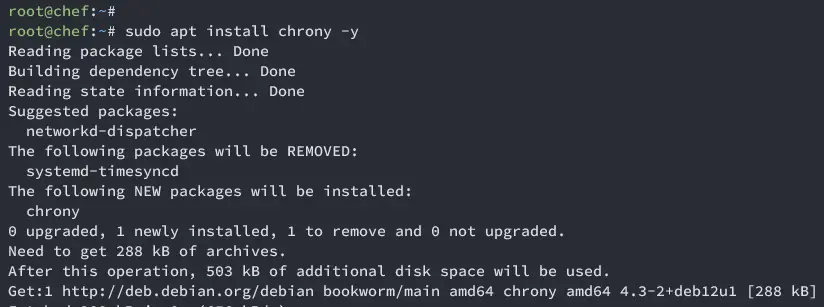
On the Chef server, run the following command to update the repository package index and install the Chrony package.
sudo apt update
sudo apt install chrony -y
Once you’ve installed Chrony, open the file /etc/chrony/chrony.conf using the following nano editor command.
sudo nano /etc/chrony/chrony.conf
Insert the following configuration to set the default NTP server. Be sure to choose the nearest location of your server, check the ntp.org for details.
Also, you will configure Chrony within the Chef server as an NTP server for both the Chef workstation and clients.
pool 0.nl.pool.ntp.org iburst
pool 1.nl.pool.ntp.org iburst
pool 2.nl.pool.ntp.org iburst
pool 3.nl.pool.ntp.org iburstallow 192.168.5.0/24
Save and close the file when finished.
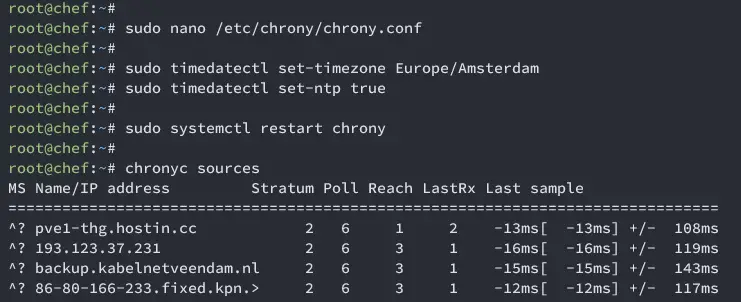
Next, run the following command to set up the default time zone and enable NTP.
sudo timedatectl set-timezone Europe/Amsterdam
sudo timedatectl set-ntp true
Then, restart the chrony service to apply the changes.
sudo systemctl restart chrony
Lastly, verify the NTP source using the command below.
chronyc sources
You should receive an output like the following:
On Chef Workstation and Client
Now move to the Chef workstation and client machine. Then, run the following command to update the repository and install Chrnoy on both servers.
sudo apt update
sudo apt install chrony -y
After that, modify the Chrony configuration /etc/chrony/chrony.conf using the following nano editor command.
sudo nano /etc/chrony/chrony.conf
Comment the default NTP source to disable it, then input the Chef server IP address as NTP server like the following.
# default chrony
server 192.168.5.15 iburst
Save and close the file when finished.
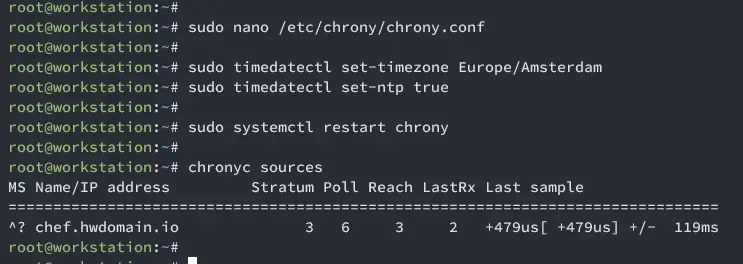
Next, run the following command to set up the default time zone and enable NTP.
sudo timedatectl set-timezone Europe/Amsterdam
sudo timedatectl set-ntp true
Then, restart the Chrony service to apply your changes.
sudo systemctl restart chrony
Lastly, verify the NTP sources on both the Chef workstation and the client using the following command.
chronyc sources
You should see that the default NTP source for both the Chef workstation and the client is the Chef server, which has an IP address of 192.168.5.15.
Installing and Configuring Chef Server
Now that you’ve configured FQDN and synchronized times across servers, you’re ready to install Chef. First, you will be installing and configuring Chef Server.
Chef Server is a central Chef ecosystem that connects each part, so you must configure it first. In this case, we’ll use a Chef Server with 8 GB of RAM.
Installing Chef Server via DEB
Move to the Chef server and run the command below to download the Chef server package. In this example, you will be using Chef 15.
VERSION="15.7.0"
wget https://packages.chef.io/files/stable/chef-server/${VERSION}/ubuntu/22.04/chef-server-core_${VERSION}-1_amd64.deb
Now install the Chef server via the .deb file using the command below. The installation will take some minutes.
sudo apt install ./chef-server-core_*.deb
Once the installation is finished, you should get the confirmation ‘Thank you for installing Chef Infra Server‘.
Next, run the chef-server-ctl command below to reconfigure your Chef Server installation.
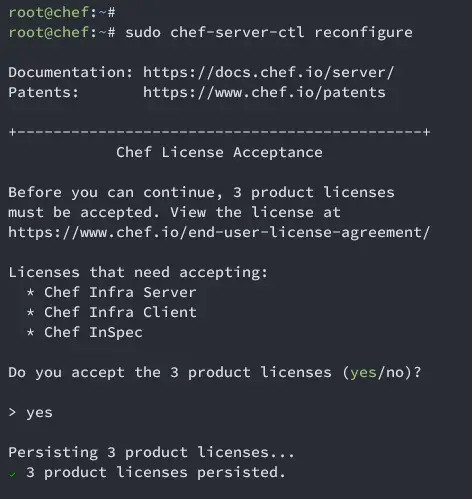
sudo chef-server-ctl reconfigure
When asked, input Y to confirm the Chef license.
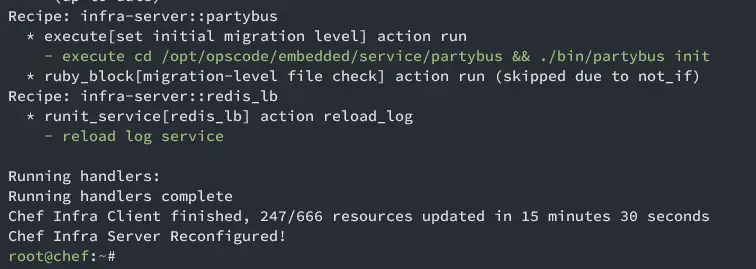
The Chef server initialization will begin. Once finished, you should get confirmation such as ‘Chef Infra Server Reconfigured‘.
Configuring User and Organization
Now that you’ve reconfigured the Chef Server, you will set up user and organization on your Chef Server installation.
Create a new directory ~/.chef using the following command.
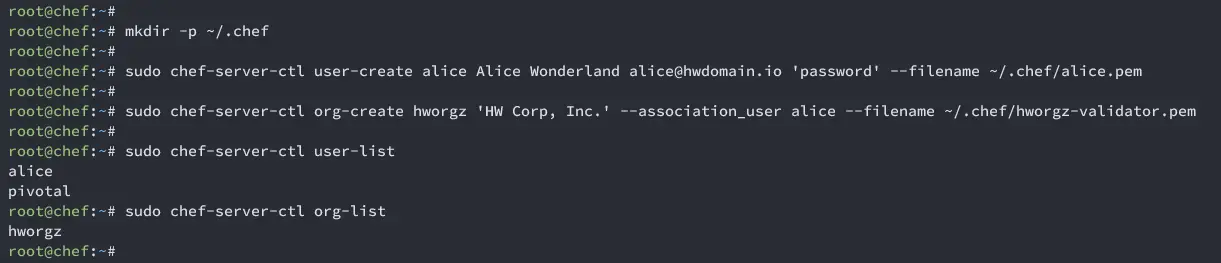
mkdir -p ~/.chef
Then, create a new Chef user using the following command. In this example, we’ll create a new user alice with password password and the TLS certificate will be stored at ~/.chef/alice.pem.
sudo chef-server-ctl user-create alice Alice Wonderland [email protected] 'password' --filename ~/.chef/alice.pem
Now create a new organization using the command below. Be sure to change the details of the organization name, associated user, and the path of the TLS certificate.
sudo chef-server-ctl org-create hworgz 'HW Corp, Inc.' --association_user alice --filename ~/.chef/hworgz-validator.pem
Once everything is finished, verify the list user and organization on the Chef server using the command below.
sudo chef-server-ctl user-list
sudo chef-server-ctl org-list
If everything goes well, you should see the Chef Server with the user alice and organization hworgz like the following.
Additionally, you can also check the generated TLS certificates using the command below. You should see alice.pem and hworgz-validator.pem certificates.
ls ~/.chef/
At this point, you’ve finished the installation of the Chef Server.
Installing and Configuring Chef Workstation
After installing the Chef Server, you will install the Chef workstation. The chef workstation is a node that administrators/users use to create and test cookbooks and recipes.
In this example, you will install the Chef workstation on a Debian 12 server with 2 GB of RAM.
Installing Chef Workstation via DEB
Move to the Chef workstation and run the command below to download the Chef workstation package using the wget command below. In this case, you will install Chef Workstation 23.
VERSION="23.7.1042"
wget https://packages.chef.io/files/stable/chef-workstation/${VERSION}/debian/11/chef-workstation_${VERSION}-1_amd64.deb
Once downloaded, run the following command to install the Chef workstation package to your system.
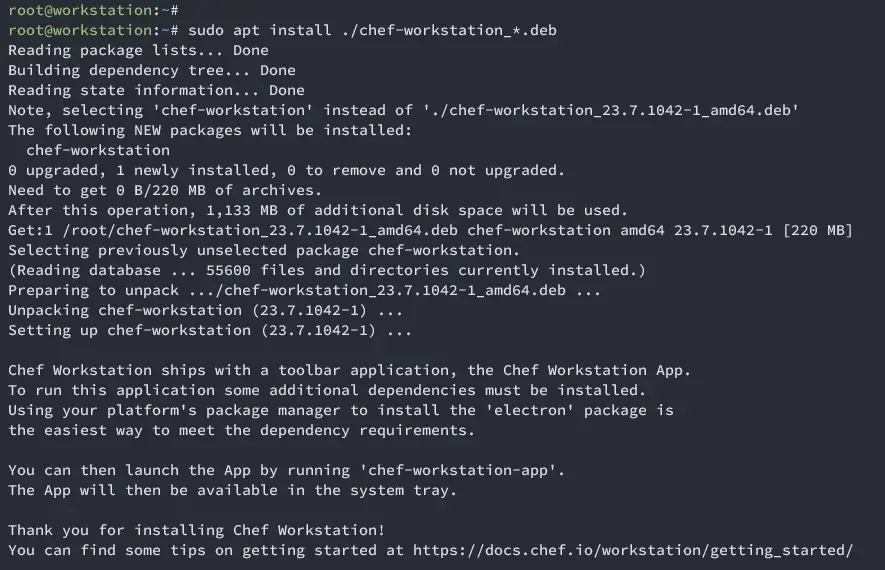
sudo apt install ./chef-workstation_*.deb
When finished, you should get the confirmation ‘Thank you for installing Chef Workstation‘.
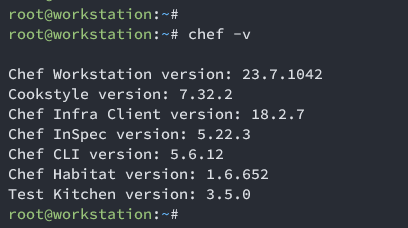
Lastly, run the command below to verify the Chef version.
chef -v
The following output confirms that you’ve installed Chef 23 on your Debian server.
Configuring Chef Workstation
Now that you’ve installed the Chef workstation, you will next configure your installation.
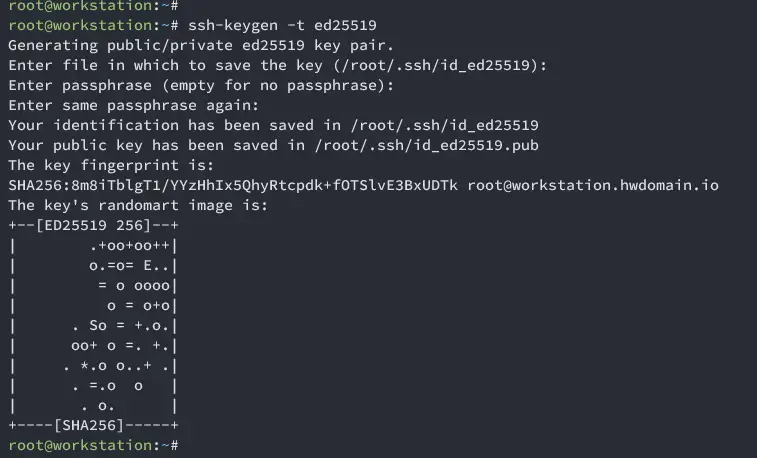
First, generate a new SSH key using the following command. Input when prompted ro set up a passphrase for the key.
ssh-keygen -t ed25519
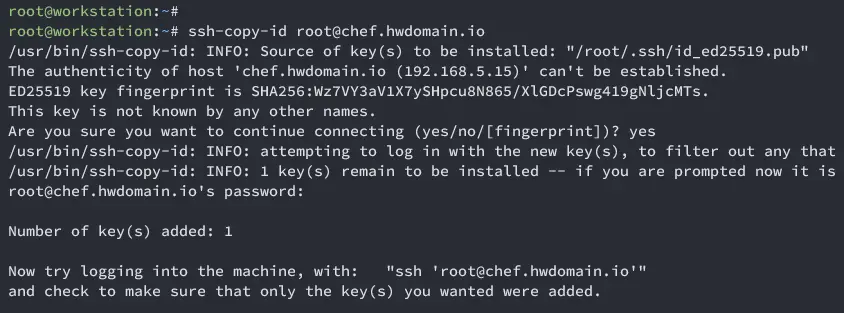
Now run the command below to upload the key to the Chef Server chef.howtoforge.local. This will be used to retrieve TLS certificates from the Chef server to the workstation.
ssh-copy-id [email protected]
Input your password when asked.
Next, generate a new Chef repo using the command below. In this example, you will create a new Chef repo test-repo.
chef generate repo test-repo
Now create a new directory ~/test-repo/.chef and move into it.
mkdir ~/test-repo/.chef; cd ~/test-repo/.chef
Copy TLS certificates from the Chef Server to the Workstation to the current directory using the below command.
scp [email protected]:~/.chef/*.pem .
Once finished, check the list of files within the ~/test-repo/.chef directory.
ls ~/test-repo/.chef/
Ensure your TLS certificates are available on the Chef workstation server.
Configuring Knife Utility – Interface to Chef Server
Now that you’ve installed the Chef workstation, you will configure Knife on your Chef workstation. A knife is a command-line tool for communicating with the Chef Server that enables you to manage nodes, cookbooks, recipes, roles, and environments.
On the Chef workstation machine, move to the ~/test-repo/.chef directory and create a new file knife.rb using the following nano editor command.
cd ~/test-repo/.chef
nano knife.rb
Insert the following Ruby script and be sure to change the details of the user, organizations, TLS certificate files, and the Chef Server URL.
current_dir = File.dirname(__FILE__)
log_level                :info
log_location             STDOUT
node_name                'alice'
client_key               "alice.pem"
validation_client_name   'hworgz-validator'
validation_key           "hworgz-validator.pem"
chef_server_url          'https://chef.howtoforge.local/organizations/hworgz'
cache_type               'BasicFile'
cache_options( :path => "#{ENV['HOME']}/.chef/checksums" )
cookbook_path            ["#{current_dir}/../cookbooks"]
Save and close the file when finished.
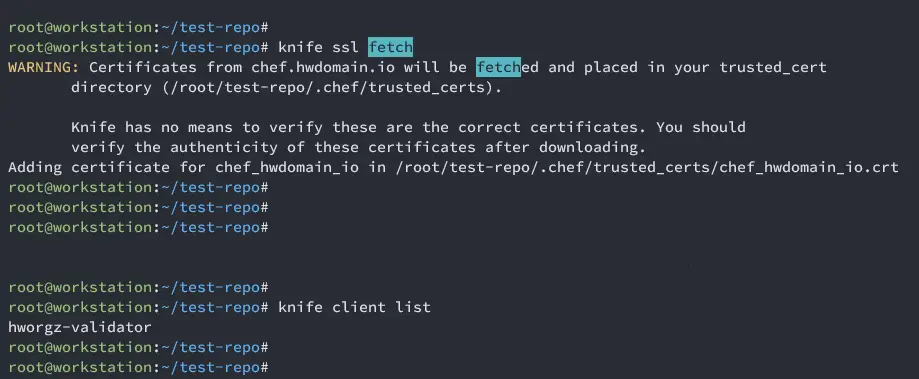
Now move to the ~/test-repo directory and retrieve certificates from the Chef Server using the knife command below.
cd ~/test-repo
knife ssl fetch
Once finished, you should get the following output.
From now on, you can use the knife to communicate with the Chef Server and bootstrap client machine.
knife client list
Boostraping Client/Node from Chef Workstation
In the following section, you will learn how to use Knife for bootstrapping node 192.168.5.21 automatically via SSH from the Chef workstation.
First, move to the ~/test-repo/.chef directory.
cd ~/test-repo/.chef
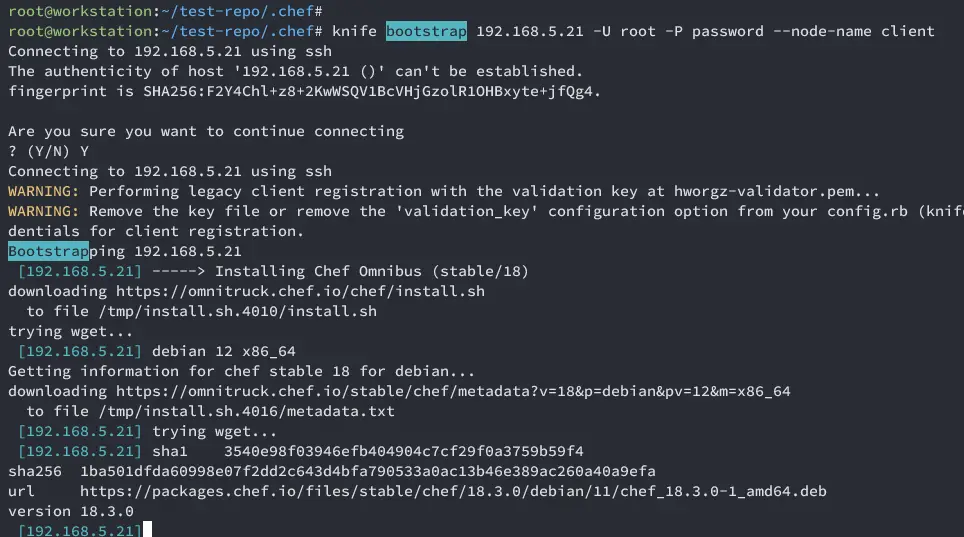
Run the knife command below to bootstrap the client 192.168.5.21. Be sure to change the user root and password password with your information.
In this example, you will add node 192.168.5.21 and name it as the client.
knife bootstrap 192.168.5.21 -U root -P password --node-name client
Input Y to continue and proceed with the process.
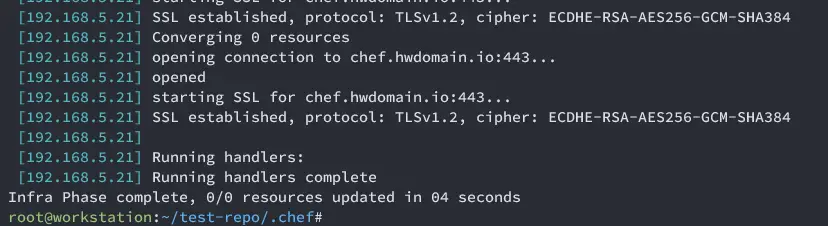
Once finished, you should get the confirmation ‘Infra Phase complete‘.
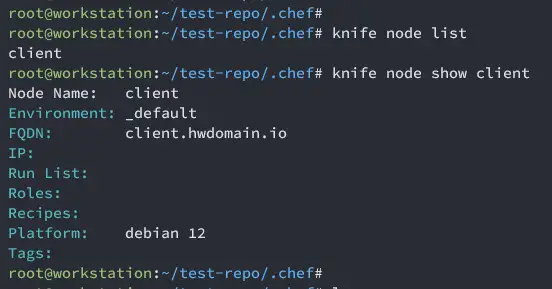
Now verify the list of available nodes on the Chef environment using the command below. If everything goes well, you should see the client node is available.
knife node list
Then, verify the details of the client node using the knife command below.
knife node show client
In the following output, you can see the client node Debian 12 machine with FQDN client.howtoforge.local.
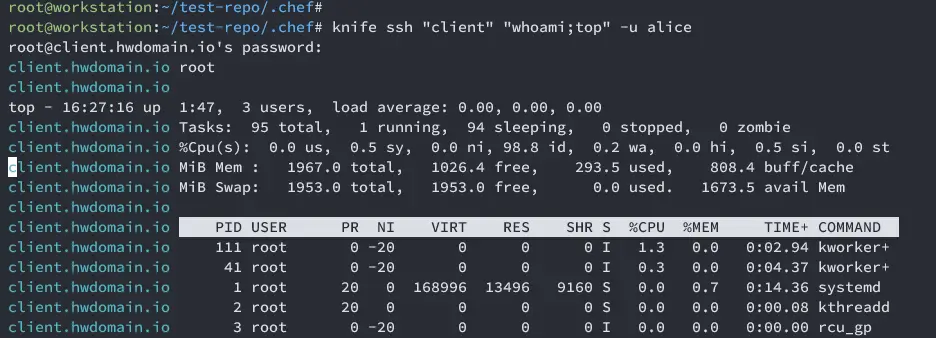
Lastly, you can now run arbitrary commands on the client node via the knife command below.
knife ssh "client" "whoami;top" -u alice
Input the password for Chef user alice when prompted. If the command is successful, you should get the following.
Conclusion
Congratulations! You have now completed the installation of the Chef Server and Workstation on Debian 12 servers. You’ve also learned to use the Knife command-line tool to bootstrap client nodes via SSH. Now. you can add new Client nodes and set up cookbooks and recipes for installing applications.


