
Salt or Saltstack is an open-source IT automation framework that allows administrators to execute commands remotely to multiple machines directly. Salt is mainly written in Python and designed using Master and Minion architecture. SaltStack master is the central controller of Salt configuration management, and Minions are servers managed by SaltStack Master, or you named minions as target servers.
SaltStack master runs on Linux OS by default, but minions can be used on any operating system. Saltstack is revolutionary configuration management for automation deployment, remote task execution, and infrastructure as code. SaltStack can also be used to provision multiple infrastructure servers, including physical and virtual servers, and also the cloud.
This tutorial will show you how to install Salt on AlmaLinux 9 servers. You will also learn the basic usage of Salt modules and create the first Salt state project. In this case, you will create a Salt state project for installing LEMP Stack.
Prerequisites
To start with this guide, ensure you have the following:
- 3 AlmaLinux 9 servers.
- A non-root user with sudo administrator privileges.
- An SELinux with status Permissive or Disabled.
Setting Up Firewalld on Salt Master
Before installing Salt, you must open ports 4505 and 4506 on the Salt Master server, which will be used by Salt Minions to connect to the Salt Master. To achieve this, you will be using Firewalld.
Execute the following command to open ports 4505 and 4506 for the Salt Master server.
sudo firewall-cmd --zone=public --permanent --add-port={4505,4506}/tcp
Now reload the firewalld to apply the changes, then verify the list of open ports on firewalld using the command below.
sudo firewall-cmd --reload
sudo firewall-cmd --list-all
After running the command, ports 4505 and 4506 are added to firewalld.
Adding Salt Repository
Salt packages are available on the official Salt repository. Now, you will add the Salt repository to all of your AlmaLinux servers, both Salt Master and Minions.
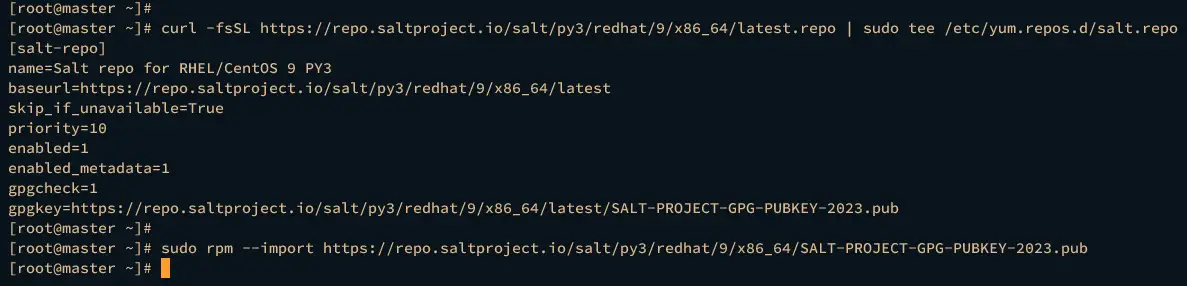
Execute the command below to import the Salt GPG key.
sudo rpm --import https://repo.saltproject.io/salt/py3/redhat/9/x86_64/SALT-PROJECT-GPG-PUBKEY-2023.pub
Now download the Salt repository to your systems using the command below.
curl -fsSL https://repo.saltproject.io/salt/py3/redhat/9/x86_64/latest.repo | sudo tee /etc/yum.repos.d/salt.repo
Once the Saltk GPG key and repository is added, run the dnf command below to verify the list of the available repository on your systems and download metadata for all available repositories.
sudo dnf repolist
sudo dnf makecache
Assuming the command is successful, the output you receive should be similar to the following:
Installing and Configuring Salt Master
After adding the Salt repository, you will install and configure the salt-master package to the main Salt Master server.
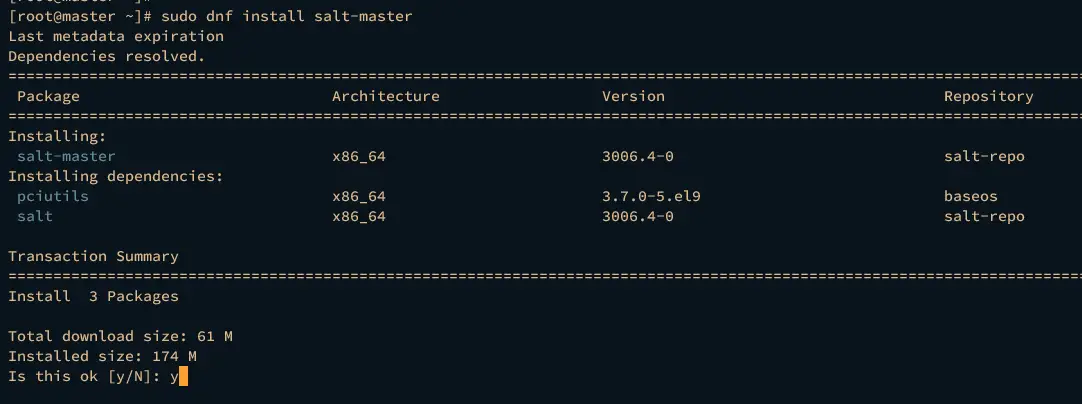
Install the salt-master package using the dnf command below. Input y when prompted to proceed with the installation.
sudo dnf install salt-master
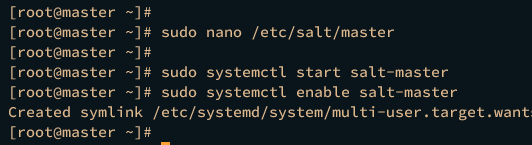
Once the installation is completed, open the default Salt configuration /etc/salt/master using the following nano editor command.
sudo nano /etc/salt/master
Change the default interface option with your local IP address and the ID option with your server hostname. In this case, the Salt Master server is configured with local IP address 192.168.5.50 and hostname master.
interface: 192.168.5.50
id: master
When finished, save and close the file.
Next, run the following systemctl command to start and enable the salt-master service.
sudo systemctl start salt-master
sudo systemctl enable salt-master
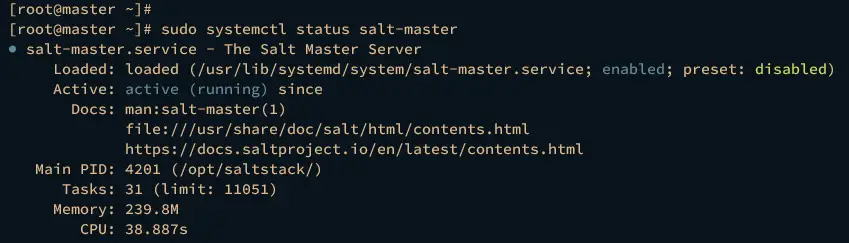
Lastly, verify the salt-master service to ensure that the service is running by executing the command below.
sudo systemctl status salt-master
Upon successful operation, the displayed output should be active (running), which indicates the salt-master service is running.
Installing and Configuring Salt Minion
After configuring Salt Master, the next step is to install salt-minion and configure Minion servers to connect to the Salt Master.
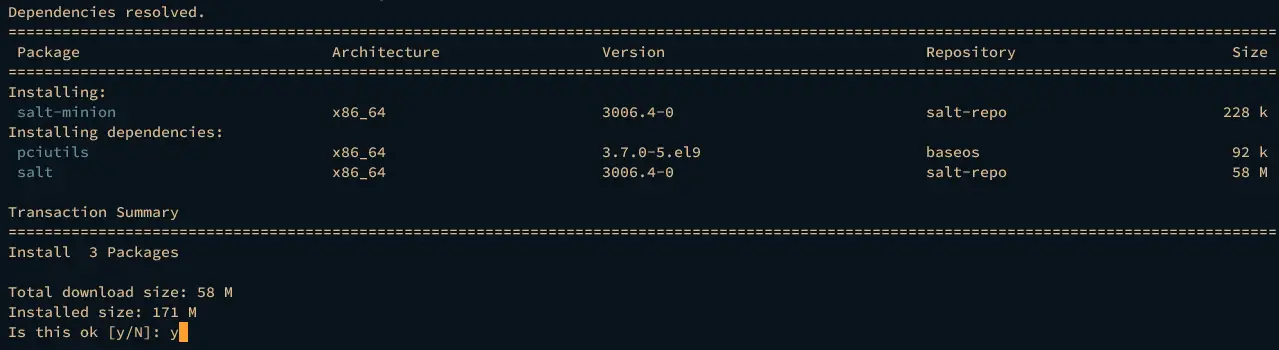
Run the dnf command below to install the salt-minion package on your Minion servers. Type y to confirm with the installation.
sudo dnf install salt-minion
After the installation, open the default Salt configuration /etc/salt/minion using the below nano editor command.
sudo nano /etc/salt/minion
Within the master option, input the Salt Master IP address.
master: 192.168.5.50
Input the minion local IP address on the interface option and enter the server hostname on the id option.
interface: 192.168.5.20
id: minion1
Save the file and exit the editor when you’re done.
Next, run the below systemctl command to start and enable the salt-minion service.
sudo systemctl start salt-minion
sudo systemctl enable salt-minion
Once the salt-minion service is started, verify it using the below command.
sudo systemctl status salt-minion
If everything goes well, the output will be active (running), which confirms that the salt-minion service is running.
Registering Salt Minions to Salt Master
At this point, the salt-minion service is running. Upon that, the Salt Minions send a request to register itself to the Salt Master. To apply for Salt Minion registration, you must accept the accept the fingerprint key on the Salt Master.
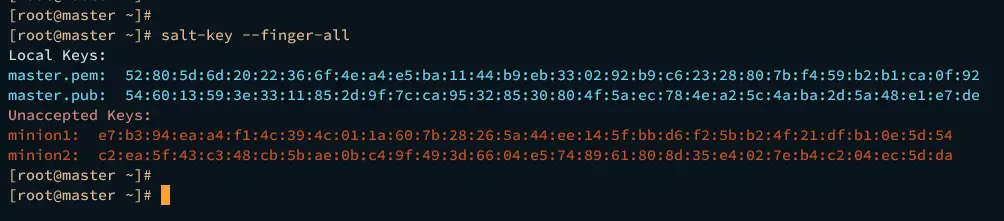
Move to the Salt Master and run the salt-key command below to get the list of fingerprint keys.
salt-key --finger-all
Here fingerprints of Salt Minion servers minion1 and minion2, which are still on the status ‘Unaccepted Keys‘.
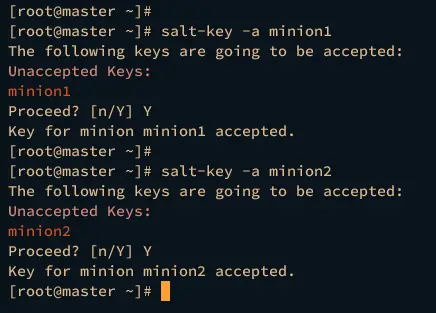
Run the below command to accept the Salt Minion key for both minion1 and minion2 servers.
salt-key -a minion1
salt-key -a minion2
Input Y when prompted to accept the key, and you should get the output such as ‘Key for minion minion1/2 accepted‘.
Now verify the list of fingerprint keys on the Salt Master again using the command below.
salt-key --finger-all
Here fingerprint of Salt Minion for minion1 and minion2 servers is available within the Accepted Keys section.
You can now control Salt Minion servers from the Salt Master via the Salt command line.
Execute the salt command below to verify the connection between Salt Master and Minions and verify the Salt version on Minion servers.
salt '*' test.ping
salt '*' test.version
If the connection is successful between Salt Master and Minion, the output True will be displayed. Also, you can see the Salt 3006.4 is installed, which results from the test.version parameter.
Additionally, you can specify the target minion using the salt command like this.
salt minion1 test.ping
Basic Usage of Salt State Module
In the following section, you will learn how to use the Salt state module for managing Minion servers. You will explore some of Salt state modules such as cmd for running arbitrary Linux commands, pkg for managing packages and repositories, and the service module for managing services.
Running Arbitrary Command via cmd Module
Execute the command below to run specific Linux commands via the cmd state module. In this example, you will check the details of the Linux kernel via uname -a command.
salt '*' cmd.run 'uname -a'
Managing Packages and Repository via pkg Module
Now, use the following pkg state module to manage packages and repositories on your Minion servers.
Check the list repositories via pkg.list_repos, then update repositories via pkg.refresh_db.
salt '*' pkg.list_repos
salt '*' pkg.refresh_db
You can also verify the list of available package updates using the pkg.list_upgrades argument below.
salt '*' pkg.list_upgrades
To install a specific package, use the following pkg.install below.
salt '*' pkg.install vim
Managing Services via service Module
Next, you can use the service state module to manage services on your Minion servers.
Use the argument service.available to ensure that the service is available on the target server. Or use the service.enabled argument to ensure that the target service is enabled, or you can also use the service.get_running to ensure that the service is running.
salt '*' service.available chronyd
salt '*' service.enabled chronyd
salt '*' service.get_running
Lastly, you can also check the start command that is executed by a specific service by using the service.execs argument.
salt '*' service.execs
Creating First Salt State
In this section, you will create the first Salt state project for installing LEMP Stack (Nginx, MariaDB, and PHP-FPM) to the target Minion servers.
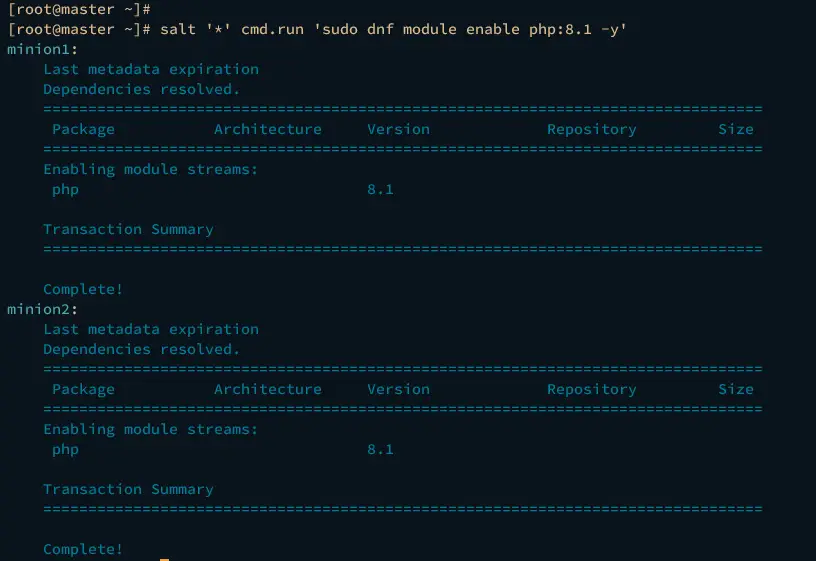
Before going further, execute the following command to enable the repository module that will be used for installing specific version packages.
salt '*' cmd.run 'sudo dnf module enable nginx:1.22 -y'
salt '*' cmd.run 'sudo dnf module enable php:8.1 -y'
Now, create a new configuration directory /srv/salt/ that will be used to store your Salt state.
mkdir -p /srv/salt/
Execute the command below to create a new project directory /srv/salt/lemp and the init.sls file.
mkdir -p /srv/salt/lemp
nano /srv/salt/lemp/init.sls
Insert the following configuration into the file. In this case, you will install LEMP Stack packages to Minion servers via the pkg state module and ensure each service is running and enabled using the service state module.
lemp_stack:
 pkg.installed:
   - pkgs:
     - nginx
     - mariadb-server
     - php
     - php-fpmnginx:
  service.running:
    - enable: True
    - reload: Truemariadb:
  service.running:
    - enable: True
    - reload: Truephp-fpm:
  service.running:
    - enable: True
    - reload: True
Save and close the file when you’re finished.
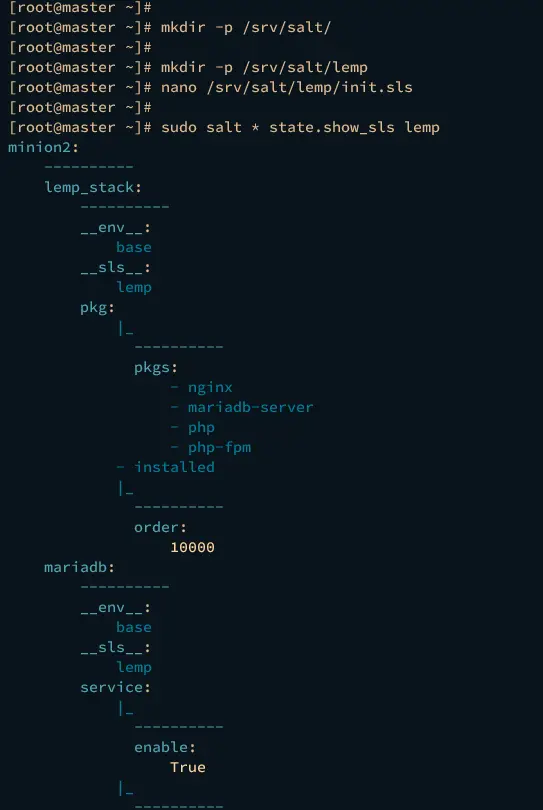
Next, run the below command to show details state configuration for the lemp project.
sudo salt * state.show_sls lemp
After the command is executed, you should get the detailed configuration like the following.
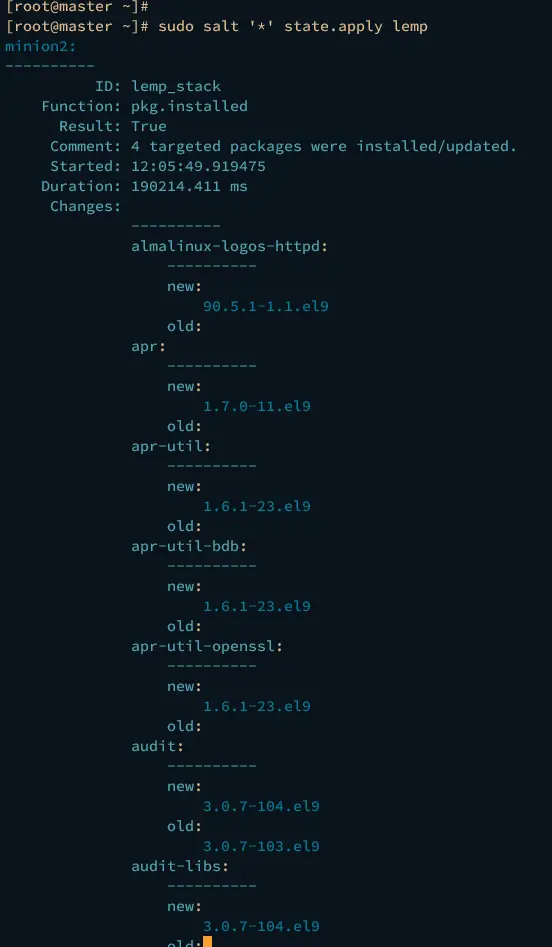
Now run the following command to apply the lemp state to Minion servers.
sudo salt '*' state.apply lemp
You should see the generated report of the automatic installation. Installing LEMP Stack packages on both Minion servers was successful in this case.
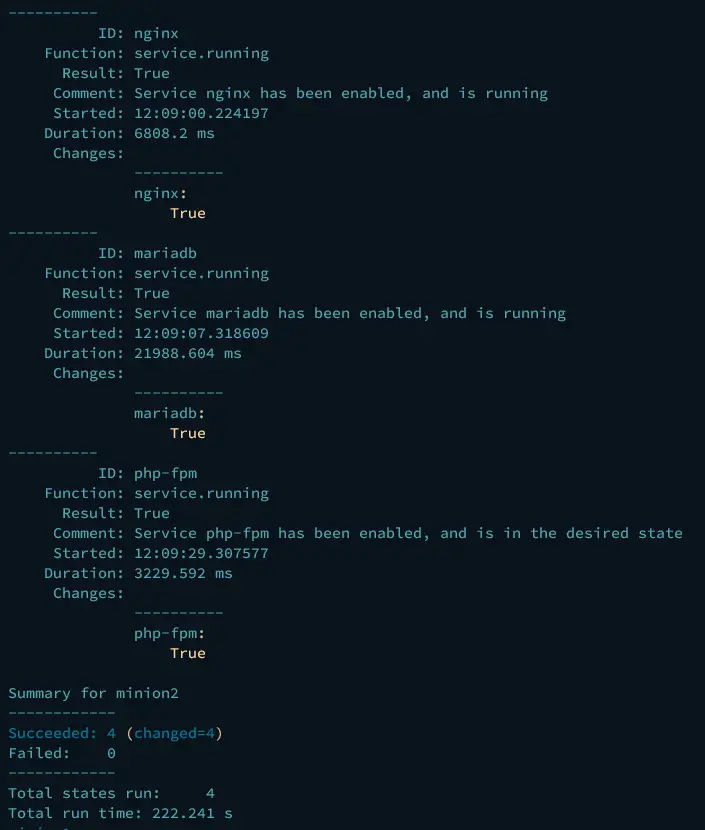
Below is the details when services is running and enabled.
Conclusion
To conclude, you have now installed Salt on AlmaLinux 9 servers step-by-step. You’ve installed and configured both Salt Master and Minions on AlmaLinux servers, and also learned the basic usage of Salt state modules, and created your first Salt state project for installing LEMP Stack.

")
