 with Xrdp on Debian 12")
RDP, or Remote Desktop Protocol, enables you to access the graphical interface of another computer over a network. On Linux, you can utilize Xrdp to create an RDP Server. Xrdp is a free and open-source application server implementation of RDP protocol.
This guide will teach you how to create and set up an RDP Server on Debian 12 with Xrdp.
Prerequisites
For this guide, make sure you have the following:
- A Debian 12 server.
- A non-root user with administrator privileges
Installing Desktop Environment
Firstly, you must install the Desktop Environment that will be used as the default DE for your RDP Server. In this example, you will install XFCE as the default DE (Desktop Environment) via tasksel.
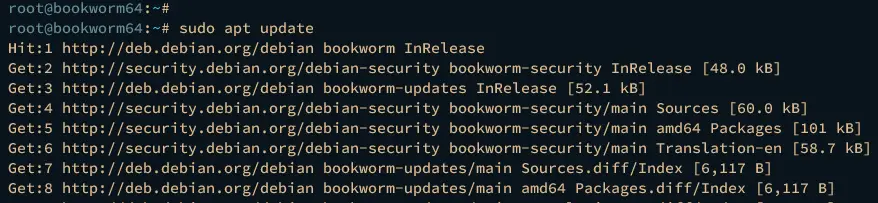
Before installing packages, execute the command below to refresh your Debian repository.
sudo apt update
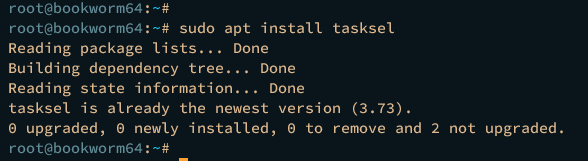
Now, install the tasksel package by executing the command below. Tasksel is a command line for installing a group of packages, such as Desktop Environment, Web Server, DNS Server, and Mail Server.
sudo apt install tasksel
Type y to proceed with the installation.
After installing tasksel, execute the tasksel command below to install the Desktop Environment.
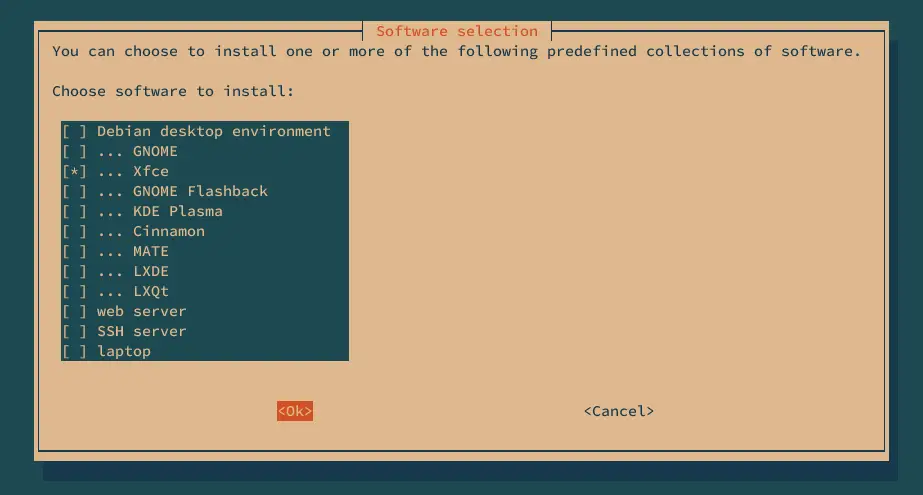
sudo tasksel
Select your preferred Desktop Environment, then select OK. In this example, we’ll install the lightweight Desktop Environment XFCE to the Debian server.
The installation should be running. Wait for it to complete.
Installing Xrdp
After installing XFCE, it’s time to install the Xrdp package via APT from the Debian repository.
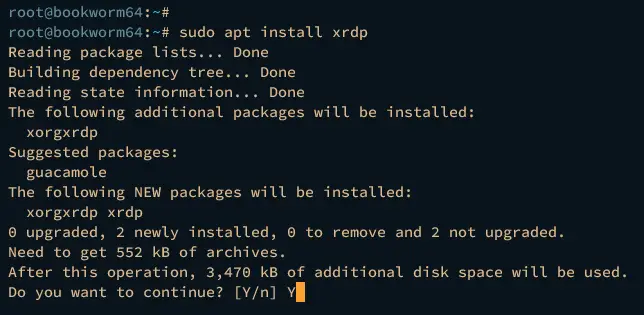
To install xrdp, run the command below. Input y to proceed with the xrdp installation.
sudo apt install xrdp
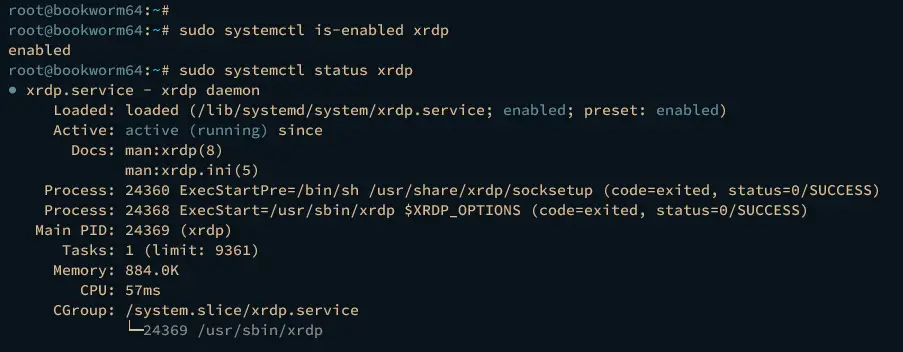
After you’ve finished the installation, the xrdp should be running and enabled. Verify it using the systemctl command below.
sudo systemctl is-enabled xrdp
sudo systemctl status xrdp
If the xrdp service is running, you should get the output active (running). When enabled, the output enabled will be shown.
Configuring Xrdp
Now that you’ve installed Xrdp, let’s take a look at securing the Xrdp server by adding TLS certificates and configuration.
First, run the command below to create a new directory /etc/xrdp/certs and move into it.
mkdir -p /etc/xrdp/certs; cd /etc/xrdp/certs
Now run the openssl command below to generate Self-Signed certificates. With this, the private key will be key.pem, and the public key is cert.pem.
openssl req -x509 -newkey rsa:2048 -nodes -keyout key.pem -out cert.pem -days 3650
Next, change the ownership of the /etc/xrdp/certs directory to user xrdp and allow xrdp to read both certificates.
sudo chown -R xrdp:xrdp /etc/xrdp/certs
sudo chmod 0644 /etc/xrdp/certs/cert.pem
sudo chmod 0600 /etc/xrdp/certs/key.pem
After generating Self-Signed certificates, open the xrdp configuration /etc/xrdp/xrdp.ini using the following nano editor command.
sudo nano /etc/xrdp/xrdp.ini
Change the default security_layer to tls, then input the path of TLS certificates to certificate and key_file options. Also, change the ssl_protocols option to specify accepted TLS connections.
security_layer=tls
certificate=/path/to/certificate
key_file=/path/to/private_key
ssl_protocols=TLSv1.2, TLSv1.3
Save and close the file when you’re done.
Lastly, run the below command to restart the xrdp service and apply your modifications.
sudo systemctl restart xrdp
Securing Xrdp with UFW (Uncomplicated Firewall)
At this point, you’ve installed and secured Xrdp with TLS. To add more security, you will set up UFW (Uncomplicated Firewall) and open the RDP port on your Debian server.
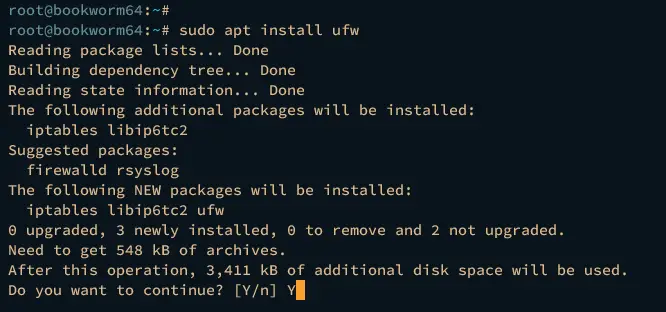
Install UFW (Uncomplicated Firewall) to your Debian server using the following command. Type y to proceed with the installation.
sudo apt install ufw
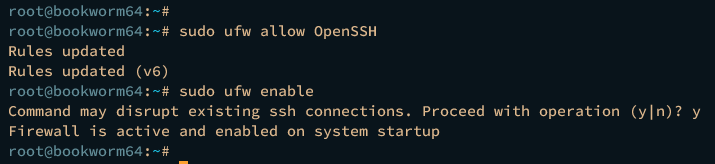
Now run the ufw command below to add the OpenSSH profile and enable the firewall.
sudo ufw allow OpenSSH
sudo ufw enable
Type y and press ENTER to proceed, and you should get the output Firewall is active and enabled on system startup.
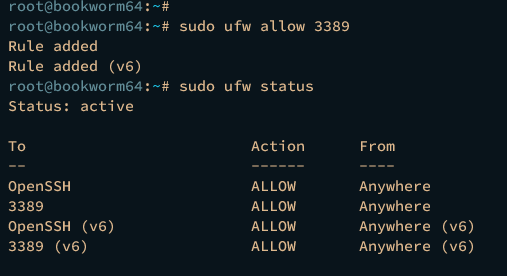
Next, run the following command to open port 3389 for the RDP server.
sudo ufw allow 3389
Or, you can also specify a network subnet that allows to access the xrdp server using the command below. In this case, only network 192.168.33.0/24 will be allowed to access xrdp on port 3389.
sudo ufw allow from 192.168.33.0/24 to any port 3389
Lastly, run the below command to verify the list of enabled ports and profiles on UFW.
sudo ufw status
You should see port 3389 on UFW, and also the OpenSSH profile for SSH access.
Connecting to Xrdp Server
So far, you’ve completed the Xrdp installation, and are now ready to connect to your Linux RDP Server. But before that, you must install the RDP client on your local machine. Below are some RDP clients for specific operating systems:
- Windows: Open the Remote Desktop Connection from the start menu.
- Linux users: Install Remmina remote desktop client that supports protocols such as RDP, VNC, SSH, SPICE, and X2GO.
- Mac users: Download the Microsoft Remote Desktop from the Mac Apple Store.
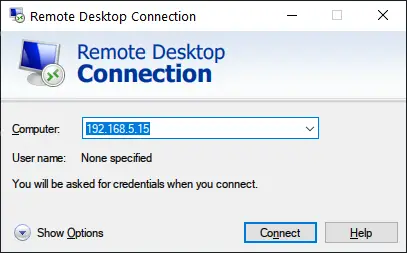
Open the remote desktop client and input your Linux xrdp server IP address. In this example, we’ll be using Remote Desktop Connection from a Windows machine.
Click Connect to proceed.
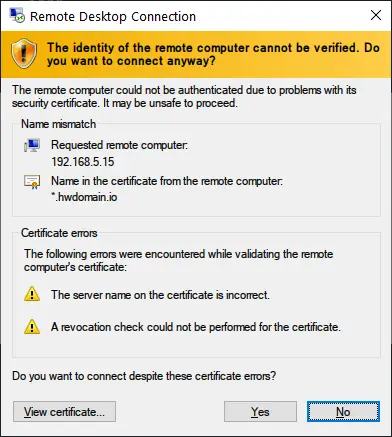
Click OK to accept and verify TLS certificates.
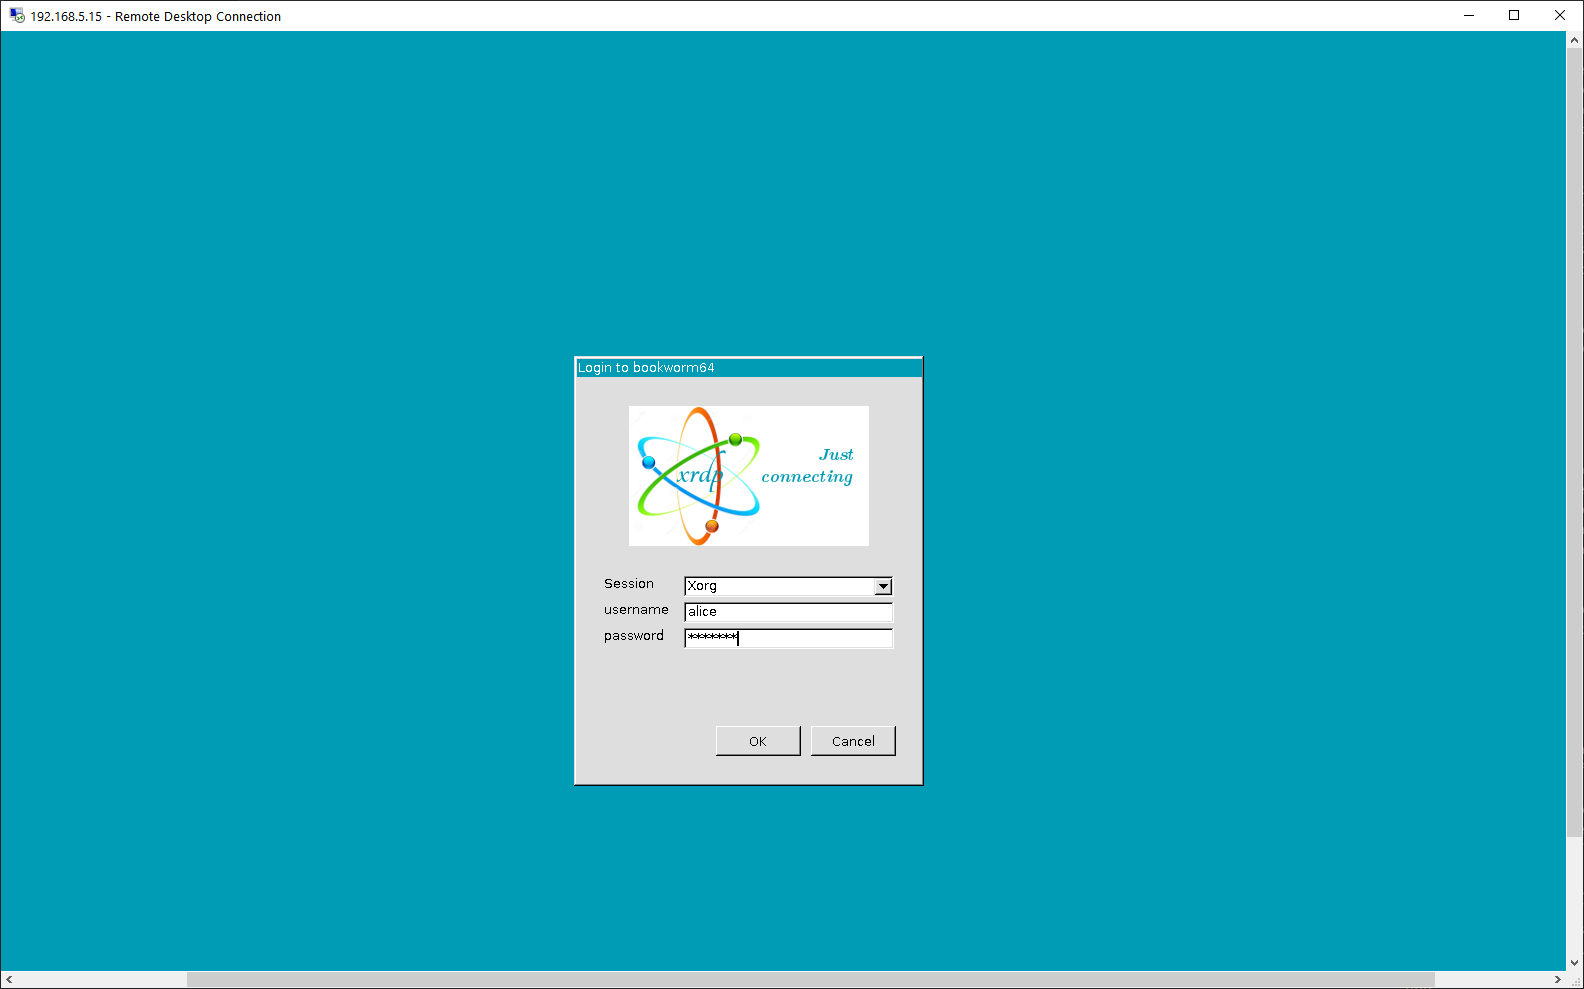
If your connection is successful, you should get the xrdp login page below. Now, select the Session as Xorg, input your user and password, then click OK.
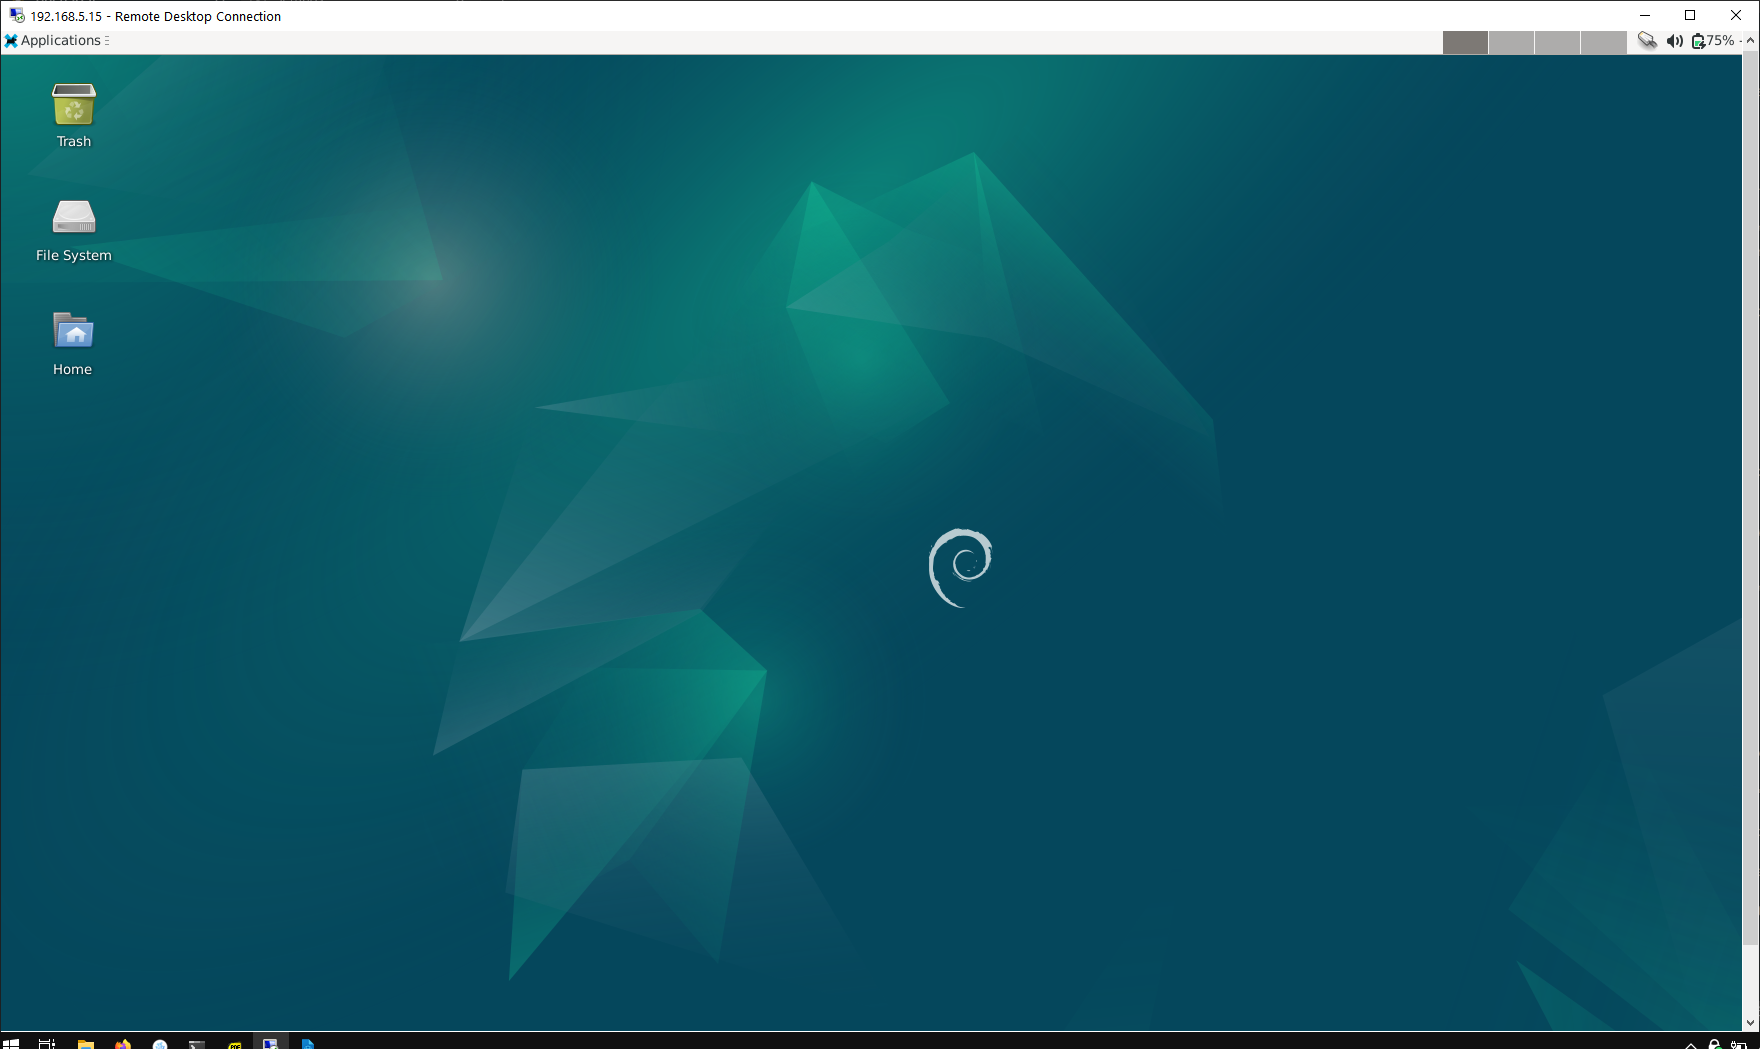
If the xrdp installation is successful, you will see the default Desktop Environment. In this example, we’ve configured XFCE as the default DE for the DRP Server.
Installing Graphical Applications to RDP Server
Now that you’ve connected to your Linux server via RDP, you can now install graphical applications such as web browsers and text editors to your Debian server.
Click the Applications menu and select Terminal Emulator.
Run the following command to get the root privileges, then update and refresh your Debian repository.
sudo su
sudo apt update
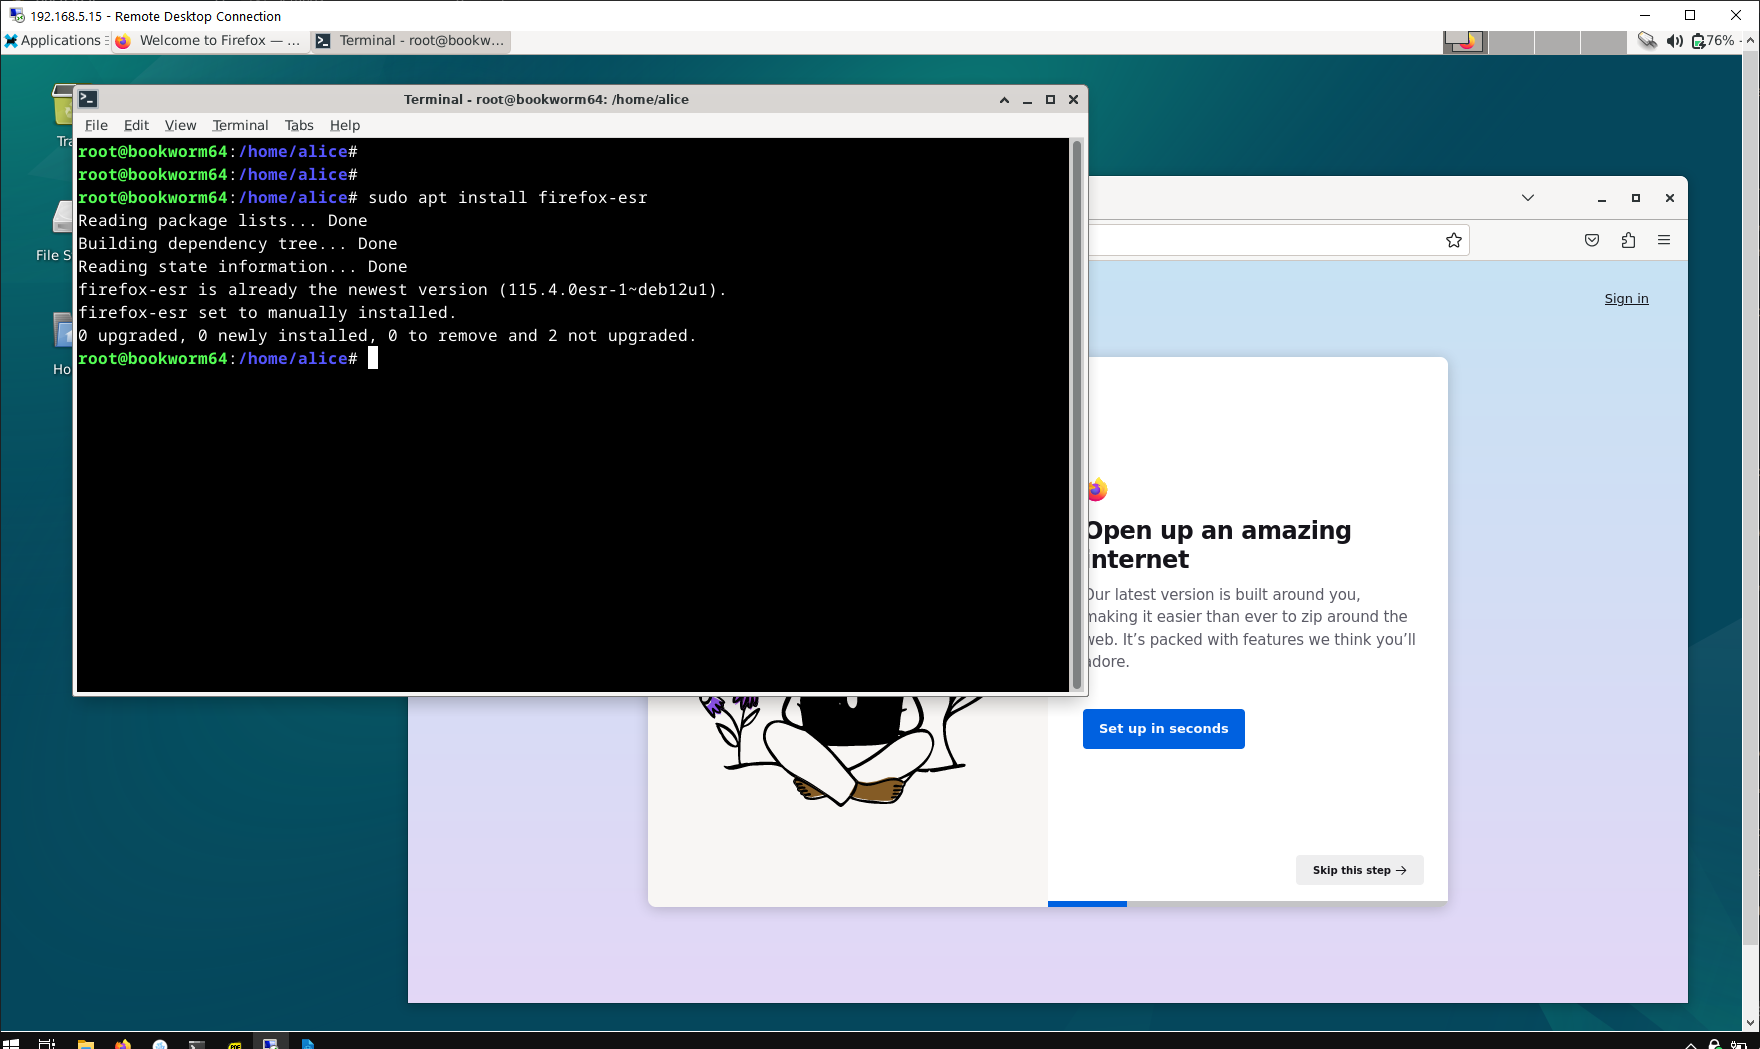
Lastly, you can install a Desktop application on your Linux RDP Server via the apt command below.
sudo apt install firefox-esr
In the following example, the Firefox ESR (Extended Support Release) is running on a Debian RDP Server.
Conclusion
To conclude, you have completed the step-by-step installation of Xrdp on the Debian 12 server. You’ve configured the RDP Server on a Linux server with Xrdp and XFCE Desktop. Also, you’ve secured your RDP Server TLS certificates.
In addition, you’ve connected to an RDP server from your local machine and installed a graphical application on your Debian server.


