Postfix is a popular Mail transfer agent(MTA) which is a part of SMTP whose full form is Simple Mail transfer protocol and Postfix function is to transfer/send mails from one server to another. Postfix is known because of its determination of routes and sending emails; it is completely free and installable on all major Unix operating systems. Around 25% of all the public servers use or run postfix on the internet.
As it is installable on all major Unix operating systems, in this article we will provide a step-by-step guide about how to install and configure Postfix on Ubuntu 20.04.
Step to Install Postfix on Ubuntu
Step 1. The first step in installing Postfix is to update our system packages by typing or copying the following command in Debian 11 terminal and then pressing enter:
sudo apt update
Step 2. Now that we have successfully updated our package index, let us continue by typing the following command in our Ubuntu Terminal which will install Postfix on Ubuntu 20.04:
sudo DEBIAN_PRIORITY=low apt install postfix
Before going further let me explain that Debian_Priority is an environmental variable whose function is to let us configure some additional options as well with the installation of Postfix.
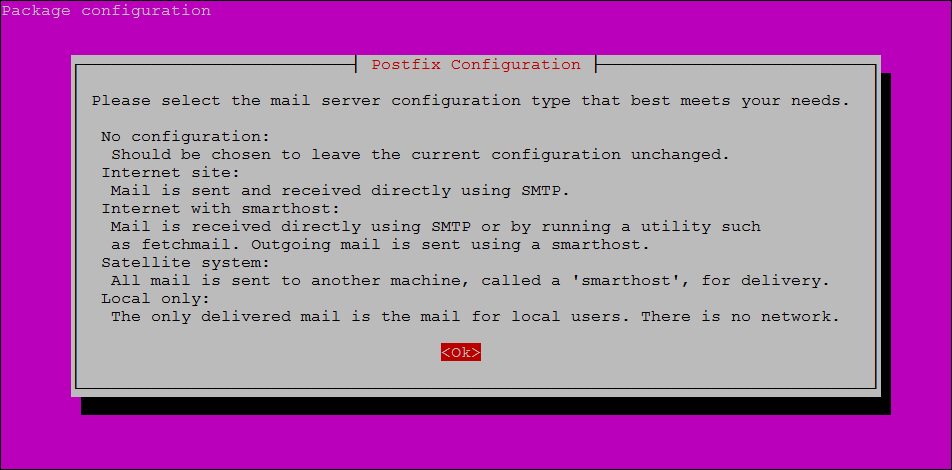
Step 3. When you execute the step2 command, you will be redirected to the Mail Server configurations. Read all of the configurations and navigate to the ok button using the keyboard left or right button.
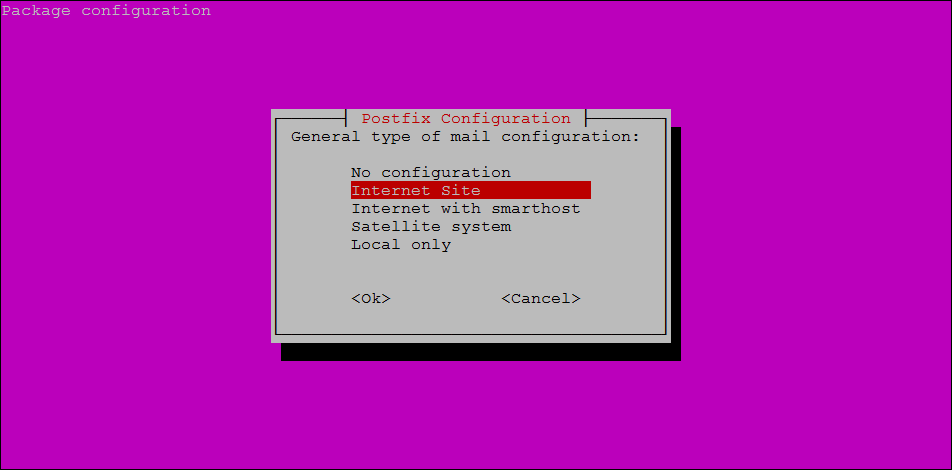
Step 4. After pressing ok you will be directed to the following page where you have to select the Internet Site option from the given options. By choosing the Internet Site you are configuring your Mail server. After selecting Internet Site press Enter.
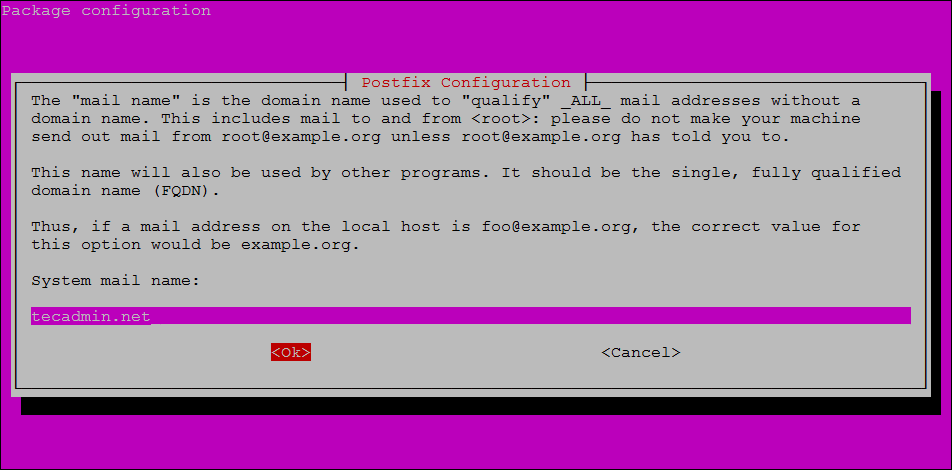
Step 5. Now you will be asked to choose System Mail Name or FQDN which stands for Fully Qualified Domain Name. I would name it tecadmin.com but you can choose whatever is suitable for you or your registered domain name. After typing your domain name, press ok.
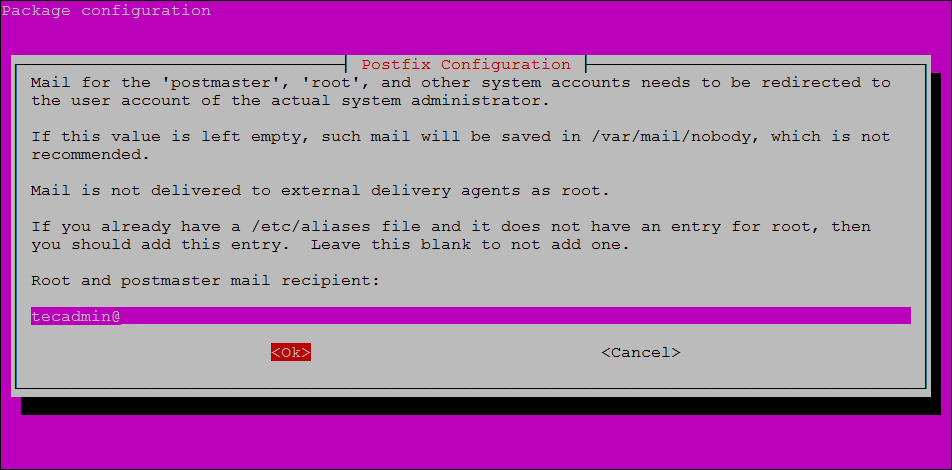
Step 6. After setting your mail name, you will be redirected to the Root and Postmaster Mail recipient page where you have to set your root and postmaster Mail, Recipient. You can keep the root and postmaster the same as your username. I have set mine to be [email protected] Navigate to ok and press enter.
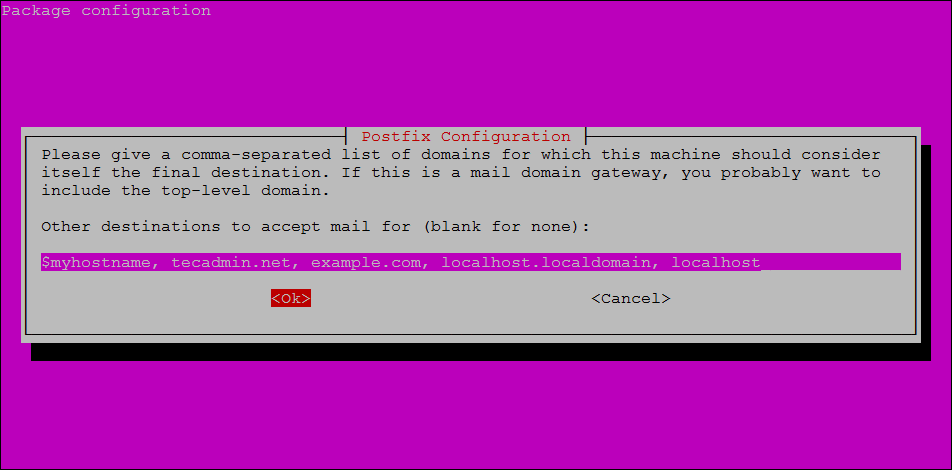
Step 7. After root and postmaster configuration, you will be redirected to the page where you have to set all the possible domains for which your mail server will be capable of accepting emails. They provide you with default values, however, you can add other domains as well. When you are done, navigate to ok and press Enter.
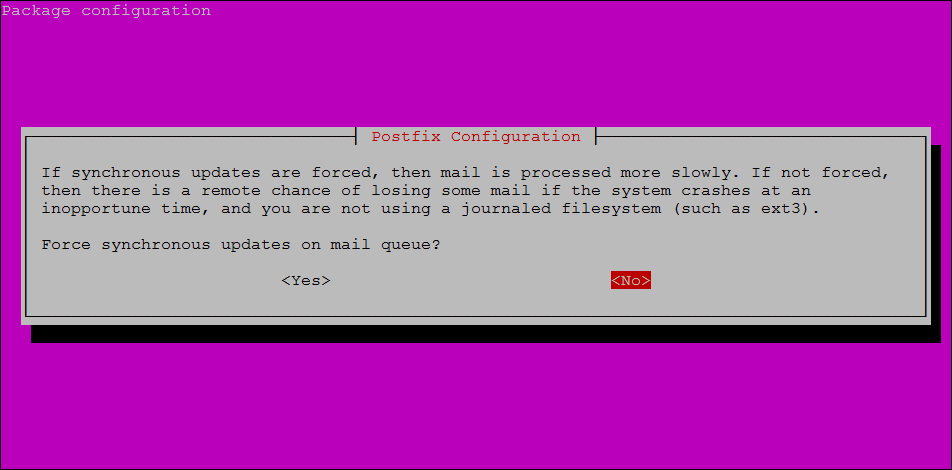
Step 8. After adding the possible domains, the next step is whether you want to force synchronous updates of the mail queue or not for which the default option is no and we will also go with no by pressing enter.
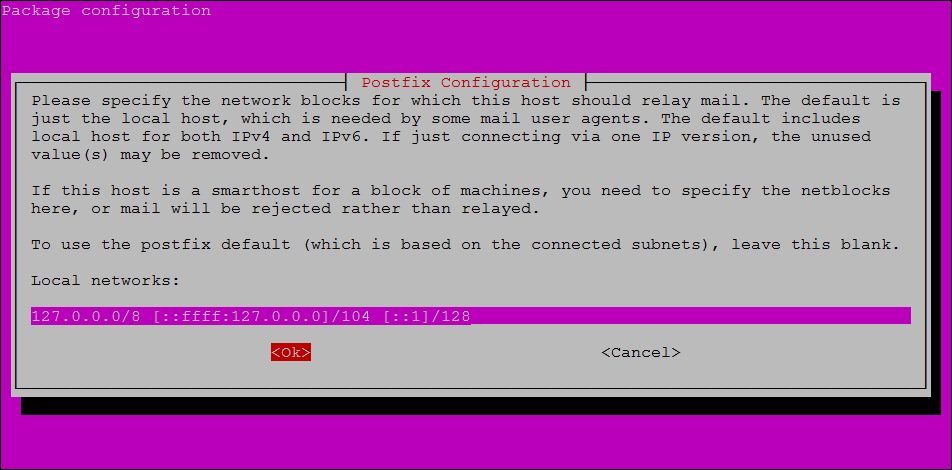
Step 9. When you press Enter, you will be directed towards the setting of the local networks which we can modify according to our needs, or go with the default one’s provided already in the input box by navigating to ok and pressing enter.
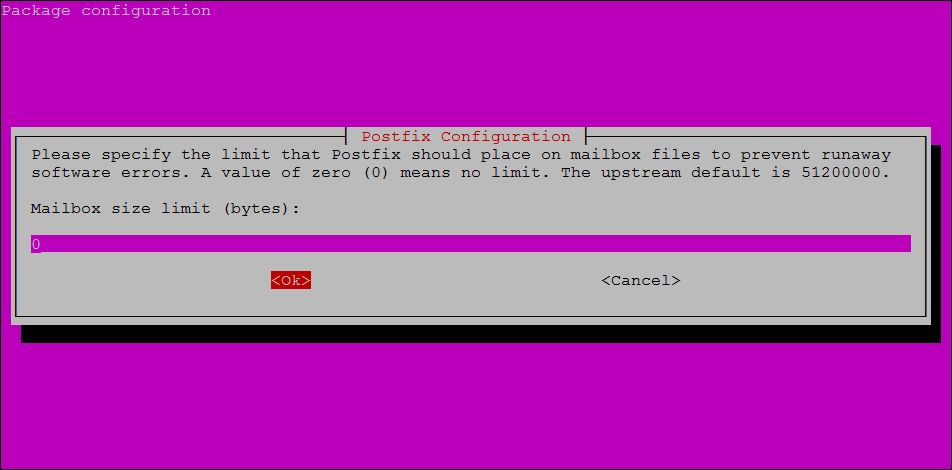
Step 10. The next step is to limit our Mailbox size to bytes. It means to specify the size of our mailbox accepting messages and the default value is zero hence no restriction on the size of the messages. We will navigate to ok and press enter with the default value.
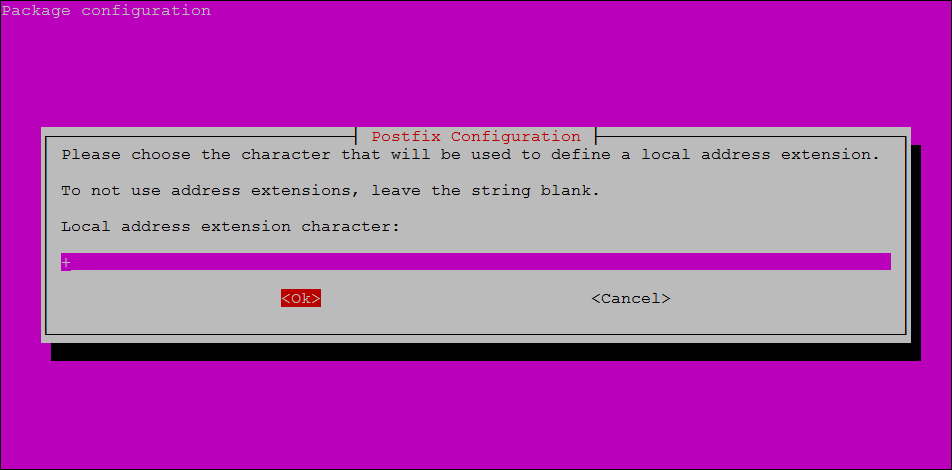
Step 11. In this step, we have to select a Local Address Extension Character that has a default value with and we will go with the default value by navigating to ok and pressing enter.
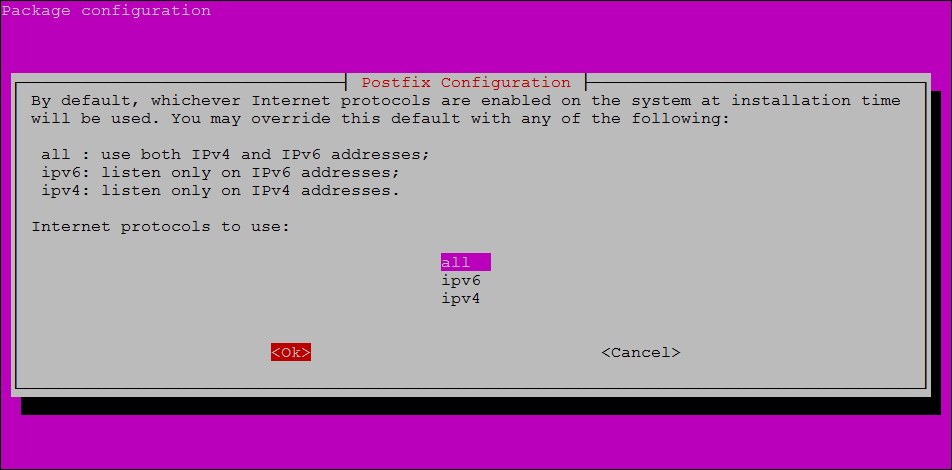
Step 12. This is the last step in configuring postfix in which we will choose the Internet protocol that we want to or we will use. I will select the all option by pressing enter.
Step 13. After pressing Enter in the previous step, the installation of postfix will continue to completion and when the installation will be complete the following output will be seen:
Congratulations! We have successfully installed and configured Postfix on Ubuntu 20.04. We can check the status of Postfix installed with:
sudo systemctl status postfix
Output
● postfix.service - Postfix Mail Transport Agent
     Loaded: loaded (/lib/systemd/system/postfix.service; enabled; vendor preset: enabled)
     Active: active (exited) since Sun 2021-10-10 08:59:06 UTC; 22s ago
   Main PID: 3438 (code=exited, status=0/SUCCESS)
      Tasks: 0 (limit: 1071)
     Memory: 0B
     CGroup: /system.slice/postfix.service
Conclusion
Postfix is a popular, common mail server that has an easy process of installing and configuring and is used to route and deliver email on UNIX operating systems.
In this article, we installed and configured Postfix on Ubuntu 20.04 by simplifying it as much as possible by using a stepwise sequence. If you followed this article, we are sure you must have installed and configured postfix on Ubuntu 20.04 without any errors.

