
Apache Solr is an open-source search platform built on Apache Lucene, designed to create powerful application search and indexing capabilities. It provides advanced full-text search, faceted search, real-time indexing, and distributed searching, making it a popular choice for building search engines and data retrieval systems. Solr is highly scalable and optimized for large volumes of data, often used in enterprise environments for tasks such as website search, e-commerce, and big data analytics. Its REST-like API allows for easy integration with other systems, and it supports features like highlighting query suggestions, and geospatial search. Solr’s flexibility, performance, and community support have made it a leading solution for organizations needing robust search functionality.
In this guide, we’ll show you step-by-step instructions on how to install Apache Solr on the Debian 12 server. You will install Apache Solr with Java OpenJDK 17, secure it via the BasicAuth plugin, and then learn how to create a Solr index using the command line.
Prerequisites
Before proceeding, check off the following:
- A Debian 12 server with at least 4GB of memory.
- A non-root user with sudo administrator privileges.
Installing Java OpenJDK
Apache Solr is an enterprise search platform based on Apache Lucene and running on top of Java JRE (Java Runtime Environment). At this time, Solr requires at least Java JRE (Java Runtime Environment) version 11, and you will be using OpenJDK 17 which can be installed from the Debian repository.
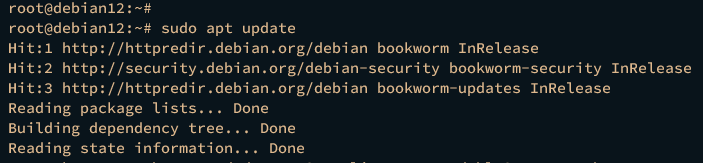
Before you start, execute the following command to update and refresh your Debian package index.
sudo apt update
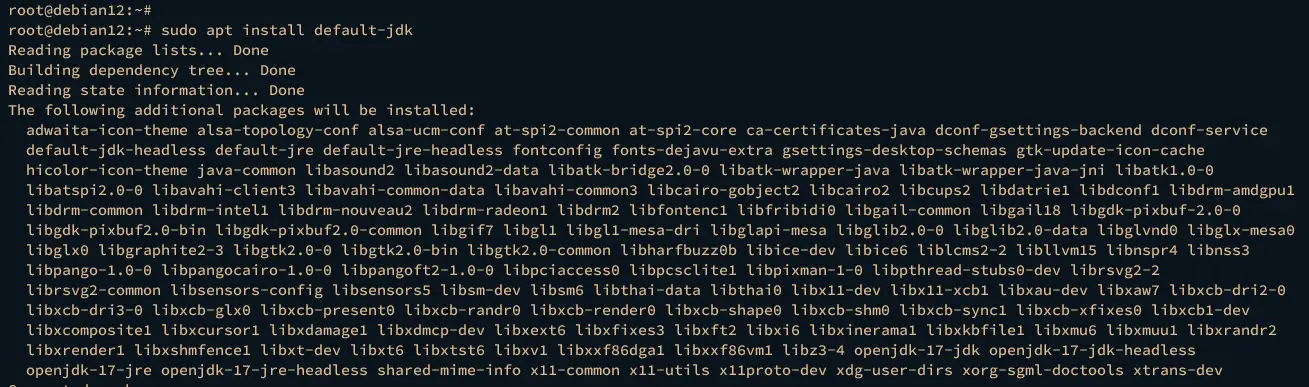
Now run the following command to install Java OpenJDK to your Debian machine. In Debian 12, the default-jdk package refers to Java OpenJDK 17, which Apache Solr can use.
sudo apt install default-jdk
Type y to proceed with the installation.
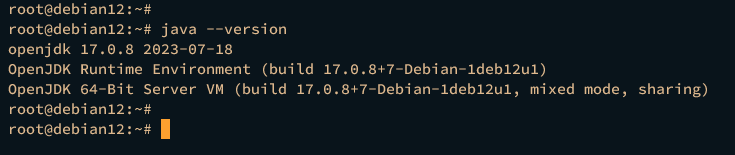
After the installation is finished, verify the Java version by executing the following command.
java --version
The following output confirms that Java OpenJDK 17 is installed.
Downloading and Installing Apache Solr
After installing Java OpenJDK, you will next download and install Apache Solr on your machine via the installer script. At this time, the latest version of Apache Solr is version 9.4. Visit the official Apache Solr download page to get information about the latest version.
Before downloading Apache Solr, install some dependencies by executing the following command.
sudo apt install curl lsof bc
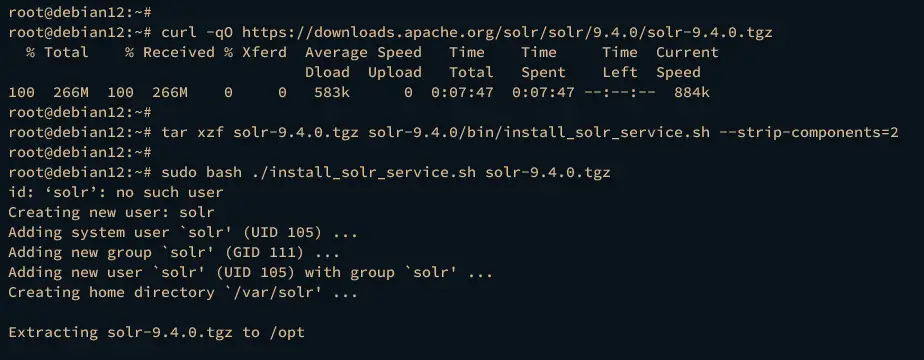
Now run the curl command below to download the binary package of Apache Solr. At the time of this writing, the latest version of Apache Solr is v9.4.0. Once downloaded, the Apache Solr package will be available at solr-9.4.0.tgz.
curl -qO https://downloads.apache.org/solr/solr/9.4.0/solr-9.4.0.tgz
After that, run the following command to extract the Apache Solr installer script from the file solr-9.4.0.tgz. The installer script install_solr_service.sh will be extracted from your current working directory.
tar xzf solr-9.4.0.tgz solr-9.4.0/bin/install_solr_service.sh --strip-components=2
Next, execute the following command to install Apache Solr solr-9.4.0.tgz via the installer script install_solr_service.sh.
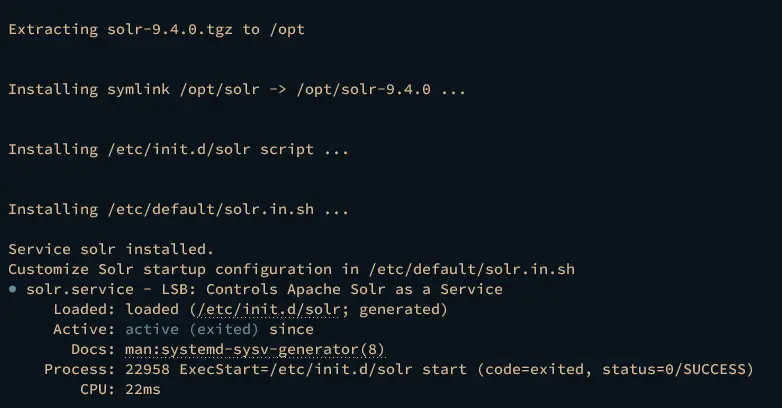
sudo bash ./install_solr_service.sh solr-9.4.0.tgz
During the process, you will see the following:
From the picture, you should see the detail status of your Apache Solr installation:
- The default Apache Solr installation directory is /opt/solr with the data directory /var/solr.
- The new system user solr is created automatically, which will be used to run the Apache Solr process.
- A new service script called solr.service is also created, which can be managed via systemctl and service command.
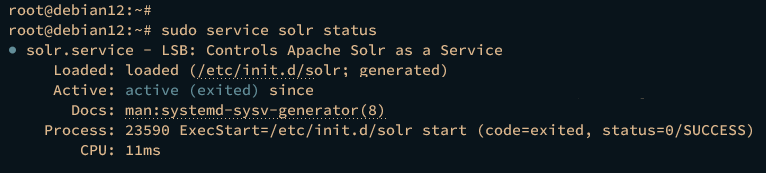
Now verify the solr service using the following command.
sudo service solr status
The following output will be displayed, which confirms that the solr service is running in the background and started via service script.
You can also use the following command to restart or stop the Solr service.
sudo service solr restart
sudo service solr stop
Configuring Apache Solr
Now that you’ve installed Apache Solr. In the next step, you will do the following:
- Configuring Debian System: You will adjust your Debian machine by increasing shmmax, nr_hugepages, and system limits for both max processes and open files.
- Configuring Solr: You will increase the max heap memory for Solr and configure a specific local IP address as the host Apache Solr.
Let’s begin.
Configuring Debian System
To optimize Apache Solr, you must increase the shmmax, nr_hugepages, max processes, and max open files on your Debian machine.
Execute the following command to increase the kernel parameters shmmax and nr_hugepages on your Debian machine.
sudo echo 4294967295 > /proc/sys/kernel/shmmax
sudo echo 1536 > /proc/sys/vm/nr_hugepages
Then, open the file /etc/security/limits.conf using the following nano editor command.
sudo nano /etc/security/limits.conf
Append the following configuration to the bottom of the line. This will set the maximum process and maximum open files for user Solr to 65000.
solr   soft   nofile   65000
solr   hard   nofile   65000
solr   soft   nproc    65000
solr   hard   nproc    65000
Save the file and exit the editor when finished.
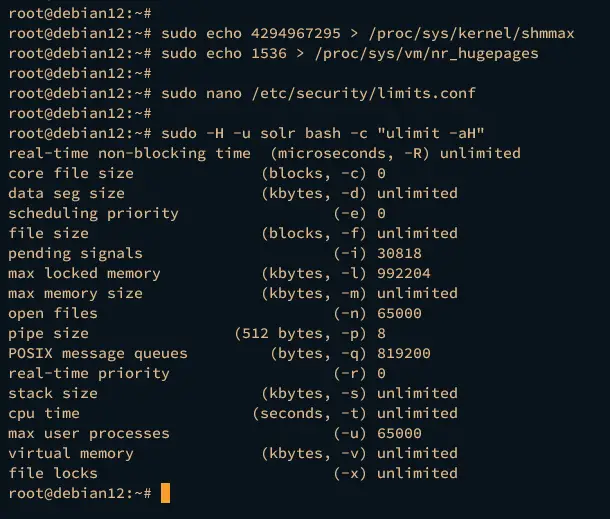
Lastly, verify the ulimits (max process and max open files) for user solr by executing the following command.
sudo -H -u solr bash -c "ulimit -aH"
If successful, you should now have the ulimit max process and max open files for user solr configured to 65000.
Configuring Apache Solr
After making changes to your Debian machine, now you will modify the Apache Solr configuration set up the max heap memory to 4 GB, and run Solr on a specific local IP address 192.168.10.15.
Open the default Apache Solr configuration /etc/default/solr.in.sh using the nano editor command below.
sudo nano /etc/default/solr.in.sh
Adjust the default SOLR_HEAP option with your max allowed memory. In this example, you will allow Apache Solr to run and use a max memory of 4GB.
SOLR_HEAP="4g"
Then, uncomment the SOLR_HOST and SOLR_JETTY_HOST options and input your server IP address. In this example, you will run Apache Solr within the local IP address 192.168.10.15.
SOLR_HOST="192.168.10.15"
SOLR_JETTY_HOST="192.168.10.15"
Save and close the file when you’re done.
Next, run the following command to restart the solr service and apply the changes that you’ve made.
sudo service solr restart
After executing the command, your Apache Solr will be running on your server IP address 192.168.10.15, and the max heap memory will be 4 GB.
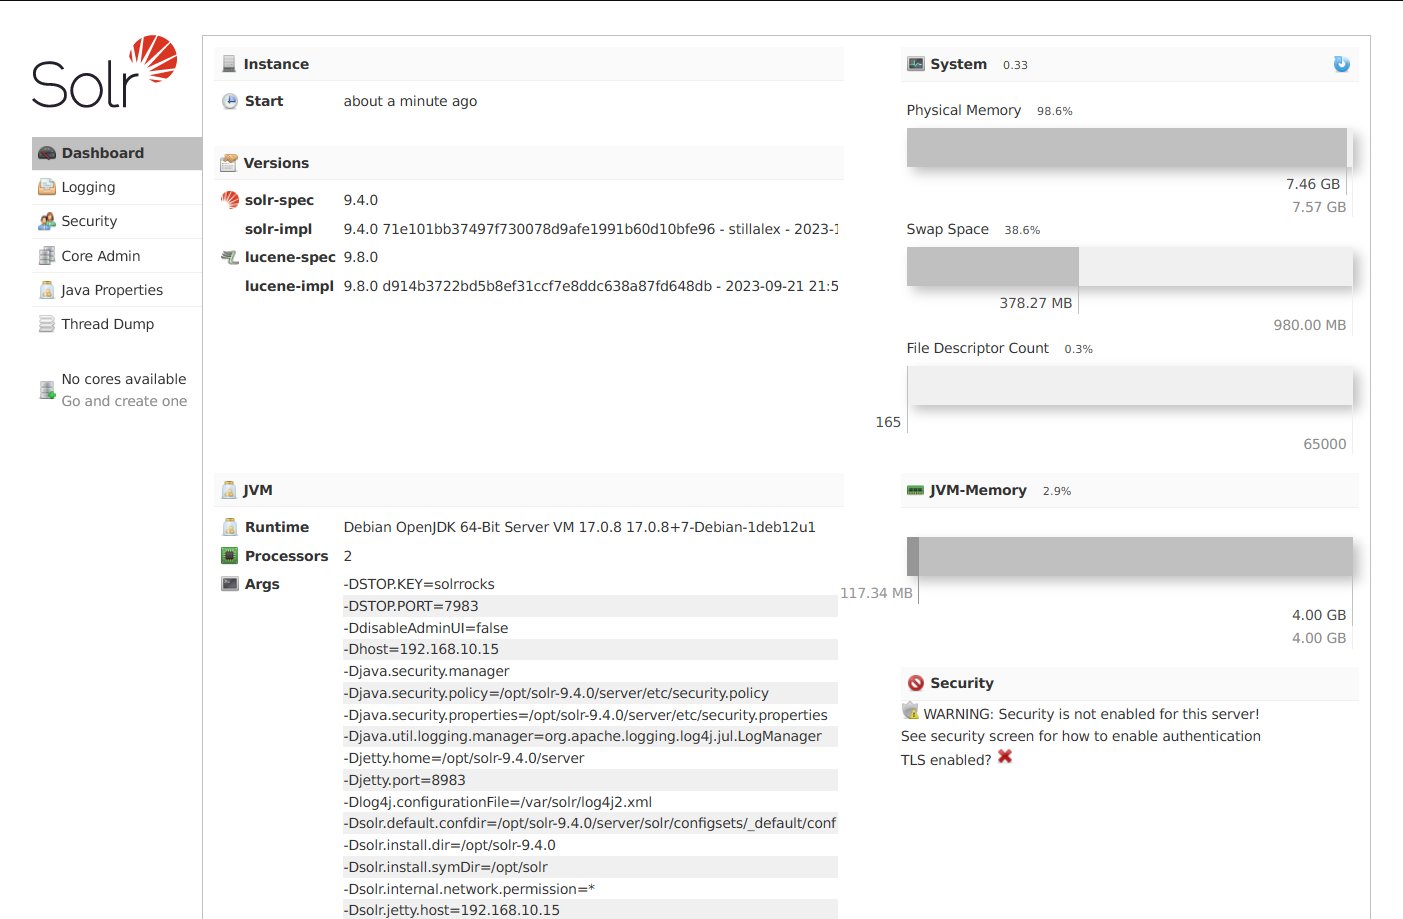
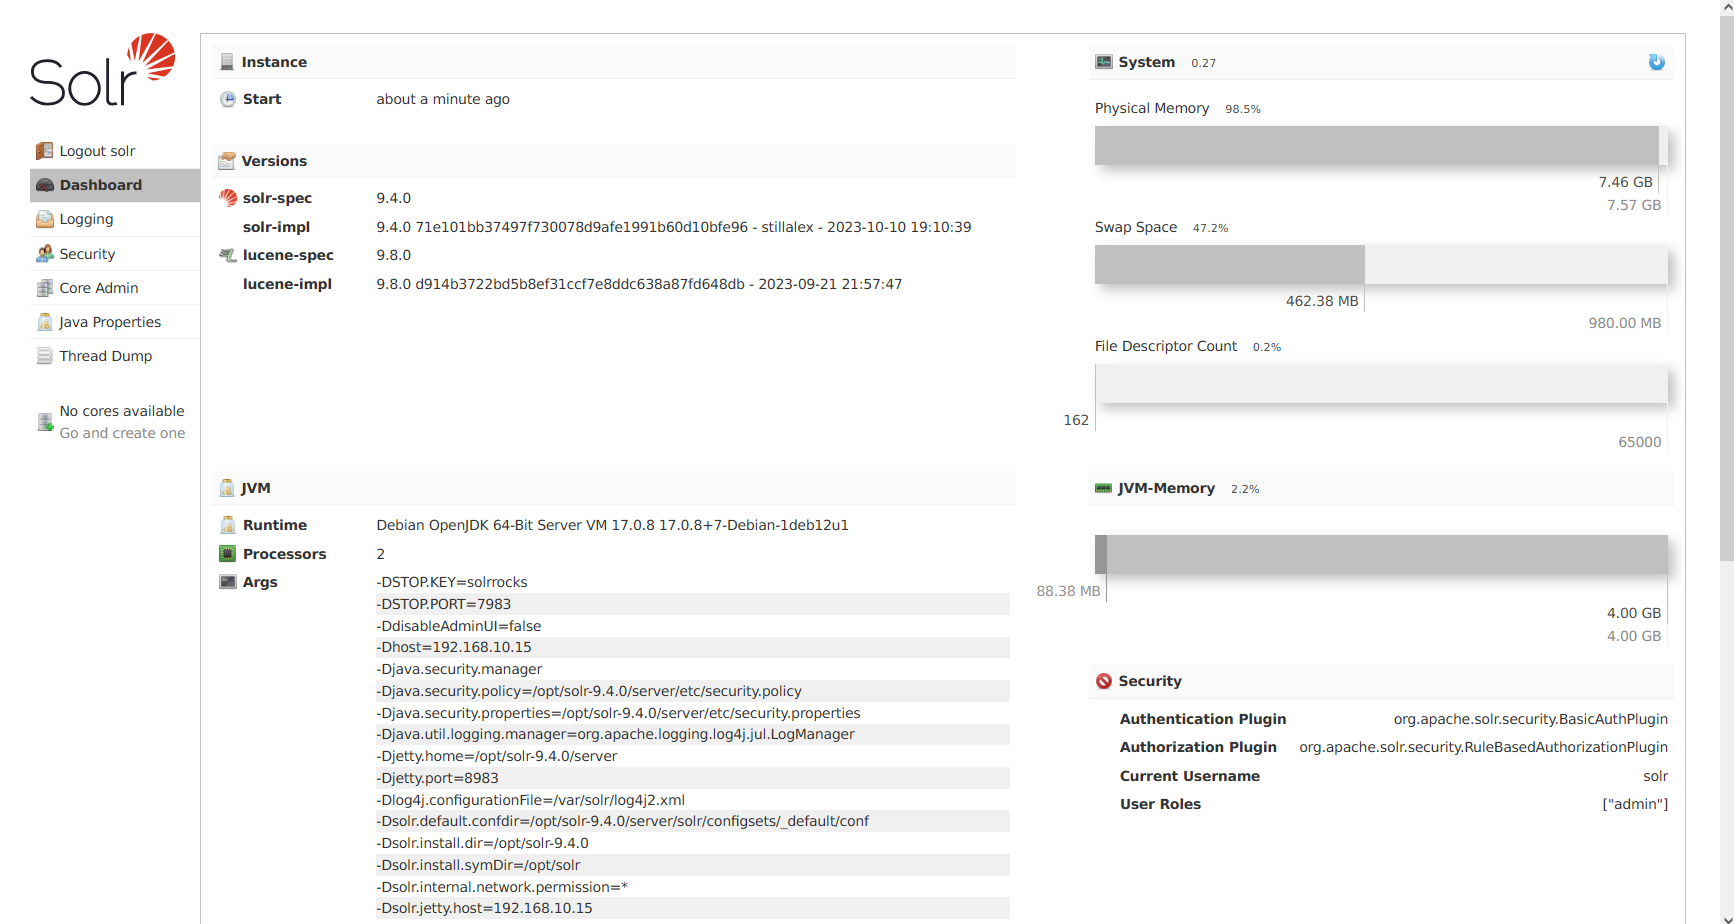
Launch your web browser and visit the server IP address followed by port 8983, such as http://192.168.10.15:8983/. You should see the Apache Solr dashboard page like the following if everything is done correctly.
From there, you can see the installation directory of Apache Solr /opt/solr is running with Java OpenJDK 17.
Securing Apache Solr with BasicAuth Plugin
In this section, you will secure Apache Solr by adding the authentication via the BasicAuth plugin and creating a new Solr user. To achieve that, you must create a specific configuration, and then define the authentication module and authorization module for Solr users.
Create a new file /var/solr/data/security.json using the following nano editor command. In this example, the default data directory for Apache Solr is /var/solr/data/.
sudo nano /var/solr/data/security.json
Insert the following configuration into the file.
{
  "authentication":{
    "blockUnknown": true,
    "class":"solr.BasicAuthPlugin",
    "credentials":{"solr":"IV0EHq1OnNrj6gvRCwvFwTrZ1 z1oBbnQdiVC3otuq0= Ndd7LKvVBAaZIF0QAVi1ekCfAJXr1GGfLtRUXhgrF8c="},
    "realm":"My Solr users",
    "forwardCredentials": false
  },
  "authorization":{
    "class":"solr.RuleBasedAuthorizationPlugin",
    "permissions":[{"name":"all", "role":"admin"}],
    "user-role":{"solr":"admin"}
  }
}
Save and close the file when you’re done.
By doing this, you will be securing Apache Solr via the following:
- BasicAuthPlugin for user authentication and create a new user solr with password solrRocks.
- RuleBasedAuthorizationPlugin for authorization and configure user solr as an administrator that can access any indexes within your Apache Solr installation.
Next, run the following command to restart the solr service and apply the changes that you’ve made.
sudo service solr restart
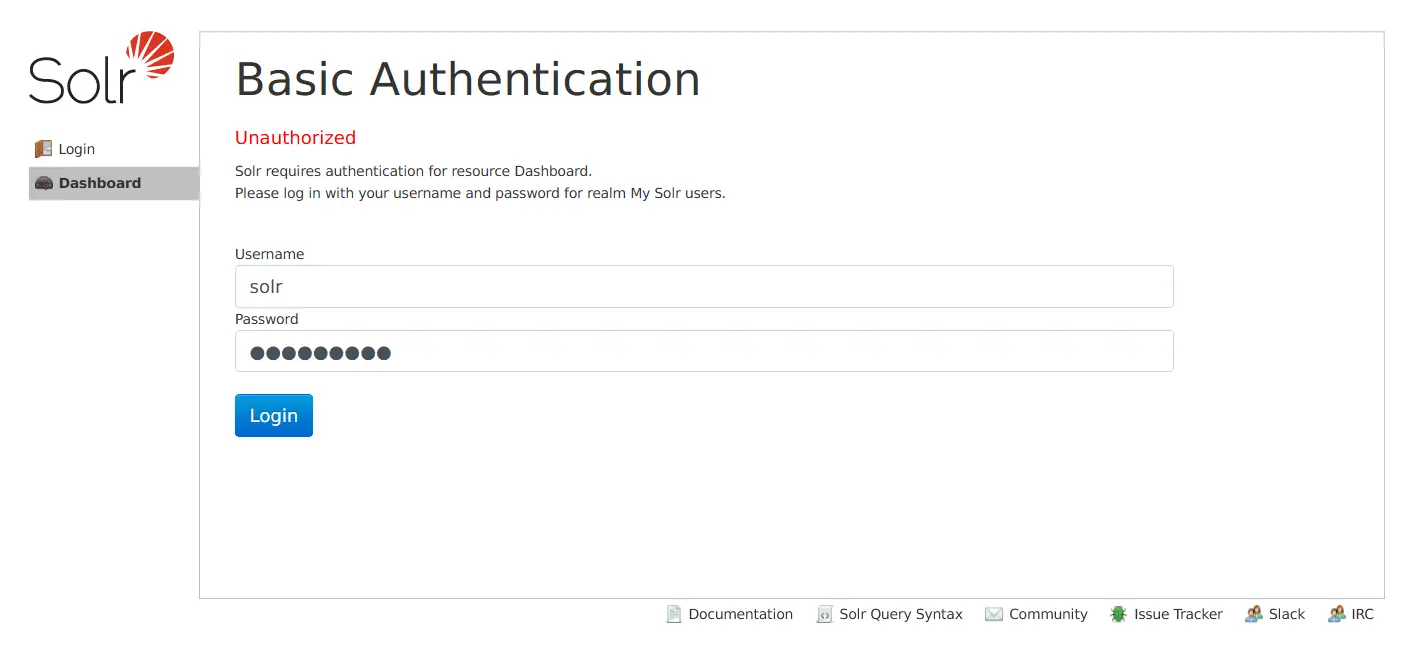
Now back to your web browser and reload the Apache Solr tab. If everything is successful, you should be redirected to the Solr login page like the following.
Log in with user solr and password SolrRocks.
If the login attempt is successful, you should see the Apache Solr dashboard on your screen.
Creating First Index Apache Solr
At this point, you’ve finished the Apache Solr installation, you can now create your first Solr index via the command line. But before that, you must ensure that the default authentication for Solr is configured.
Open the Solr configuration file /etc/default/solr.in.sh using the following nano editor command.
sudo nano /etc/default/solr.in.sh
Uncomment the following lines to set up default Solr authentication via basic authentication and input the solr user and password SolrRocks that you’ve created.
SOLR_AUTH_TYPE="basic"
SOLR_AUTHENTICATION_OPTS="-Dbasicauth=solr:SolrRocks"
Save the file and exit the editor when you’re done.
Now run the systemctl command below to restart the solr service and apply the changes.
sudo service solr restart
Next, execute the following command to create your first Solr index test_core.
su - solr -c "https://www.howtoforge.com/opt/solr/bin/solr create -c test_core -n TestCore"
Once the index is created, you will see the expected output “Created new core ‘test_core’” like this:
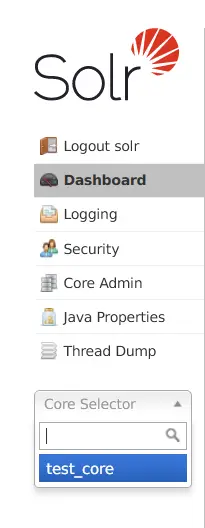
Lastly, back to your Apache Solr dashboard. Then, select test_core on the Core Selector drop-down menu section.
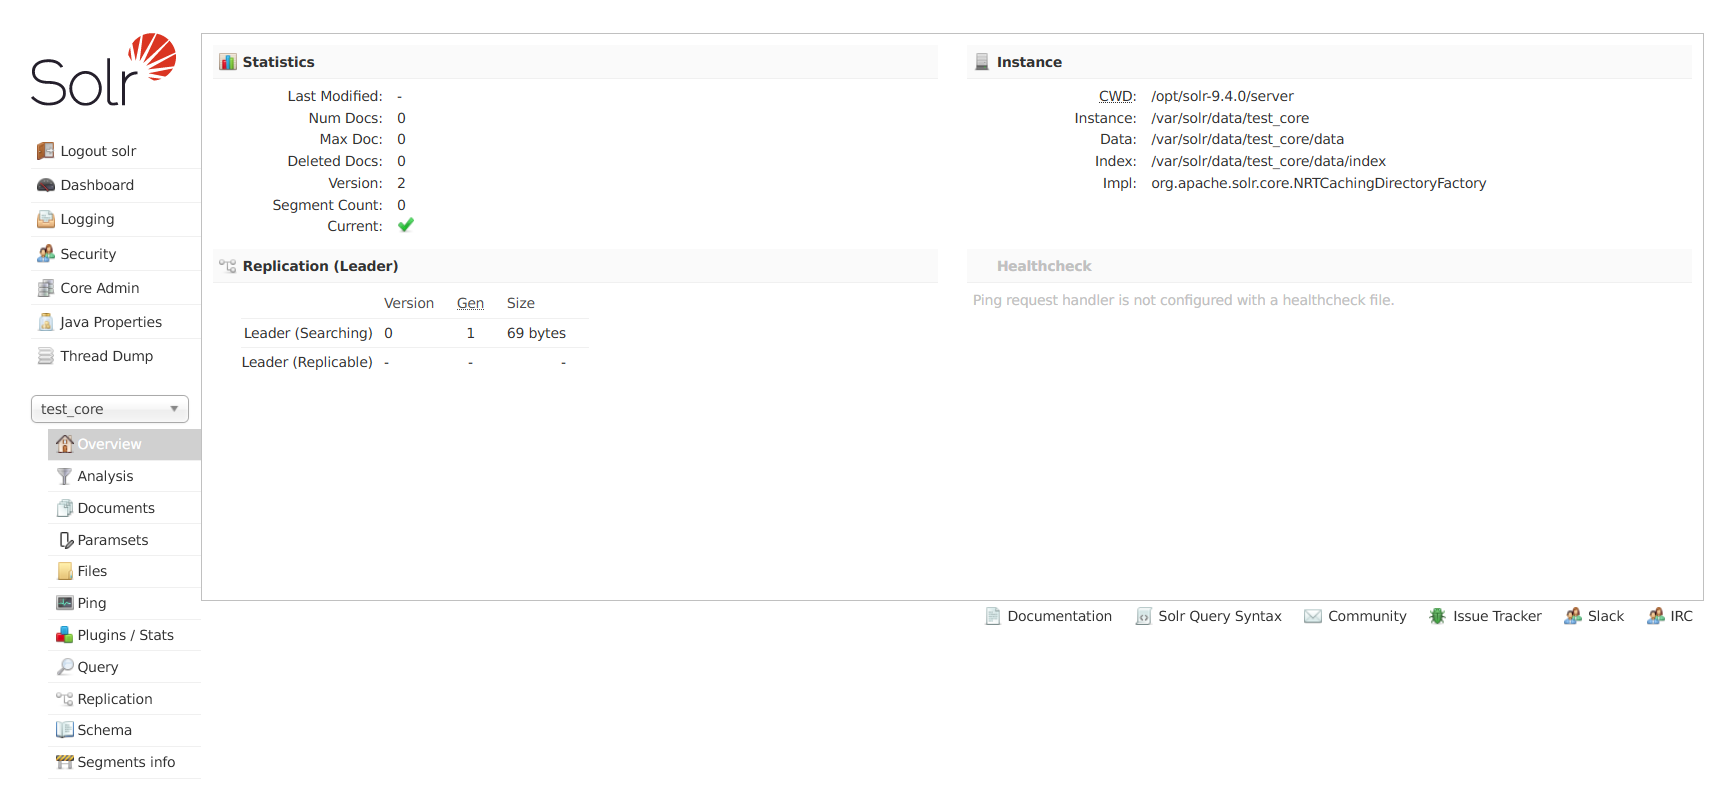
Upon completion, you should see detailed informations for index test_core like the following:
Conclusion
To conclude, you’ve now completed the installation of Apache Solr on the Debian 12 server step-by-step. You’ve installed Apache Solr with Java OpenJDK 17 and secured Apache Solr installation by adding authentication via the BasicAuth plugin. Furthermore, you’ve also learned how to create a Solr index via the command line. From now on, you can leverage your Solr installation by creating a Solr cluster.


