
Cachet is an open-source status page system written in PHP. It allows you to monitor downtime and system failure on your infrastructure. Cachet provides JSO API, even reports, metrics, multiple notification methods, and Two-Factor authentication.
In this tutorial, you’ll learn how to install and run Cachet on an Ubuntu 24.04 server with Docker. You’ll also install and set up Nginx as a reverse proxy and secure Cachet with HTTPS through Certbot and Letsencrypt.
Prerequisites
To complete this guide, make sure you have:
- An Ubuntu 24.04 server.
- A non-root user with administrator privileges.
- A domain name pointed to the server IP address.
Installing Docker Engine
In this guide, you’ll run Cachet as a container using Docker. You’ll then install Docker Engine on your Ubuntu system.
First, run the command below to install packages ca-certificates and curl.
sudo apt install ca-certificates curl
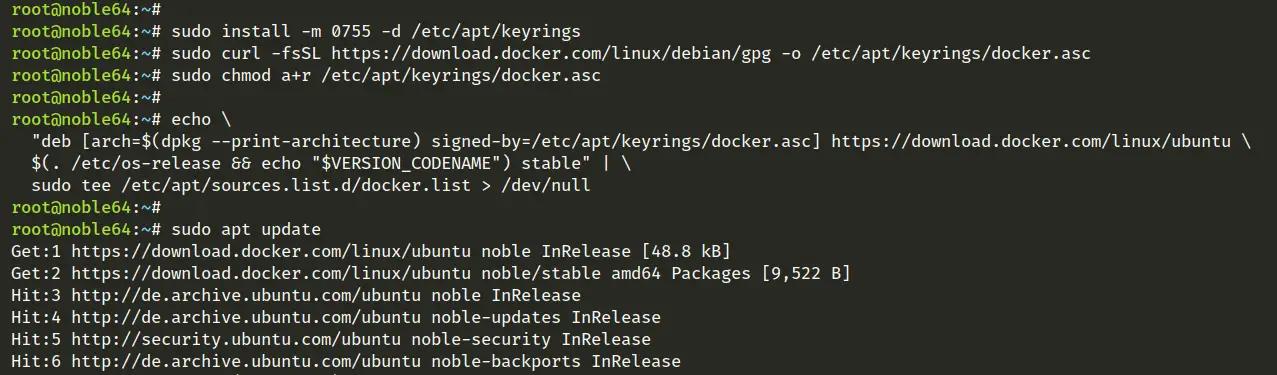
Now run the following command to add the GPG key for the Docker repository.
sudo install -m 0755 -d /etc/apt/keyrings
sudo curl -fsSL https://download.docker.com/linux/debian/gpg -o /etc/apt/keyrings/docker.asc
sudo chmod a r /etc/apt/keyrings/docker.asc
Add the Docker repository with the following:
echo
“deb [arch=$(dpkg --print-architecture) signed-by=/etc/apt/keyrings/docker.asc] https://download.docker.com/linux/ubuntu
(. /etc/os-release && echo "VERSION_CODENAME”) stable" |
sudo tee /etc/apt/sources.list.d/docker.list > /dev/null
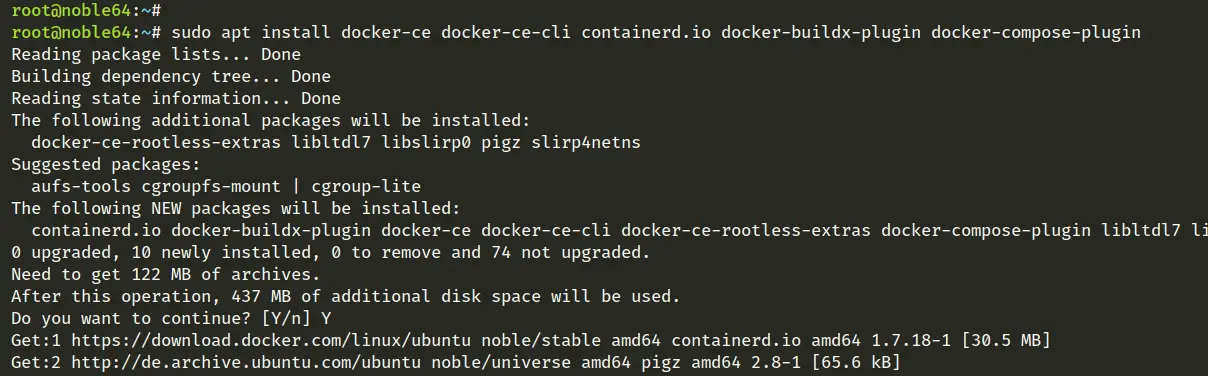
Next, update your Ubuntu package index and install Docker Engine with the following apt command. Input Y to confirm the installation.
sudo apt update
sudo apt install docker-ce docker-ce-cli containerd.io docker-buildx-plugin docker-compose-plugin
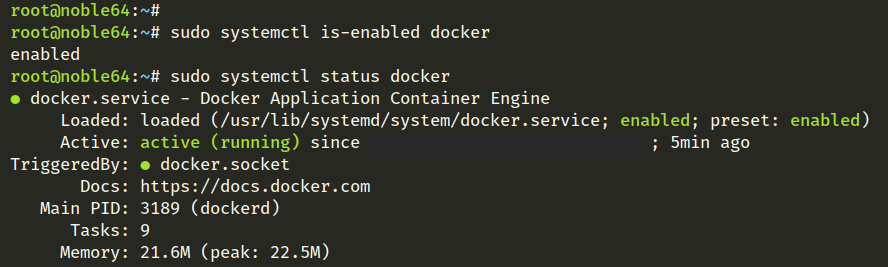
After the installation, the docker service should be running and enabled on your Ubuntu system.
Run the command below to check the Docker service.
sudo systemctl is-enabled docker
sudo systemctl status docker
You’ll see similar output below:
Setting up user to run Docker
After installing Docker, you must add your user to the docker group. This allows you to run the container as a non-root user.
To add your user to the docker group, run the command below. Change the username with your user.
sudo usermod -aG docker username
Now log in with your user and run the docker command to verify your configuration.
su - username
docker run hello-world
If your configuration is successful, you’ll see the Hello World message from Docker.
Installing Cachet with Docker
Now that you’ve installed Docker Engine and configured your user, you’ll download the Cachet project, set up the docker-compose.yml file, build images and reconfigure the container for Cachet, and then run Cachet as a container.
Download the Cachet docker version to the cachet-docker directory and move into it.
git clone https://github.com/cachethq/Docker.git cachet-docker
cd cachet-docker
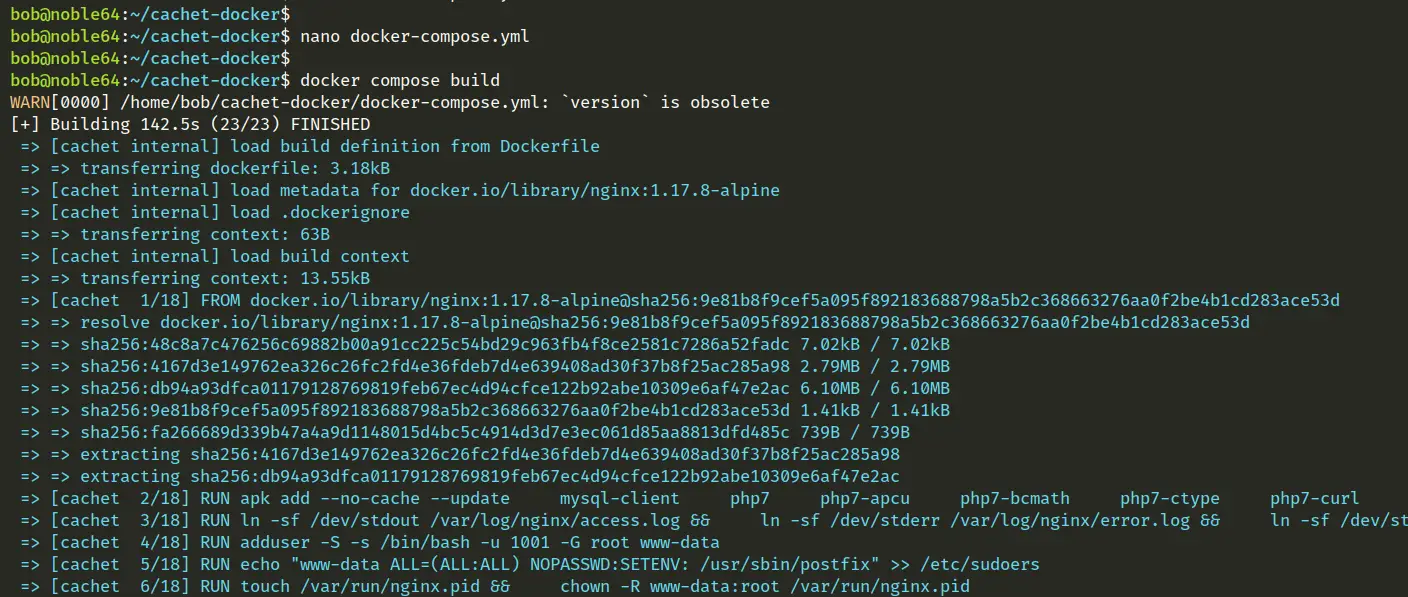
Edit the docker-compose.yml using the nano editor.
nano docker-compose.yml
Change the default port to 8000 for both the container and Docker host.
ports:
 - 8000:8000
Save the file and exit.
Now run the docker command below to build the Cachet image and start the Cachet container.
docker compose build
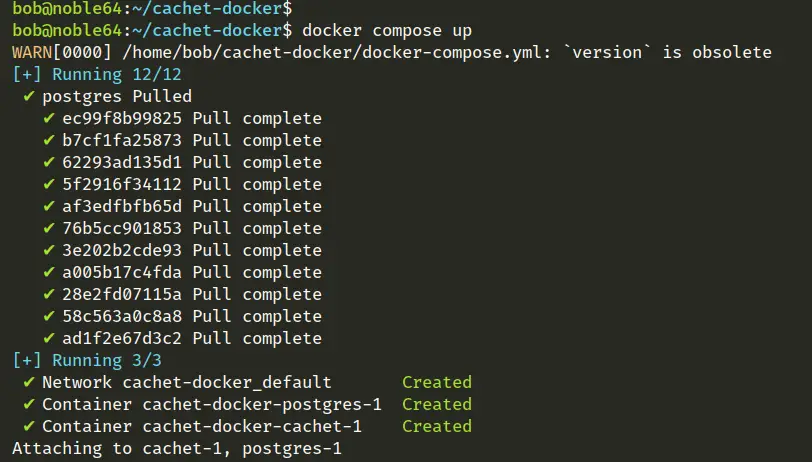
docker compose up
During the build process, you’ll see the following:
When starting the Cachet container, you’ll get an output like the following:
The first time you run Cahet, it will generate a new APP_KEY like the following – Copy the APP_KEY and press Ctrl c to terminate Cachet containers.
Next, edit the docker-compose.yml file again and replace the APP_KEY like the following:
APP_KEY=base64:6ltZ62B69p6oxIVeQtf9jpX5BFvgUXU2qk5eXpw3OIQ=
Save the file and exit.
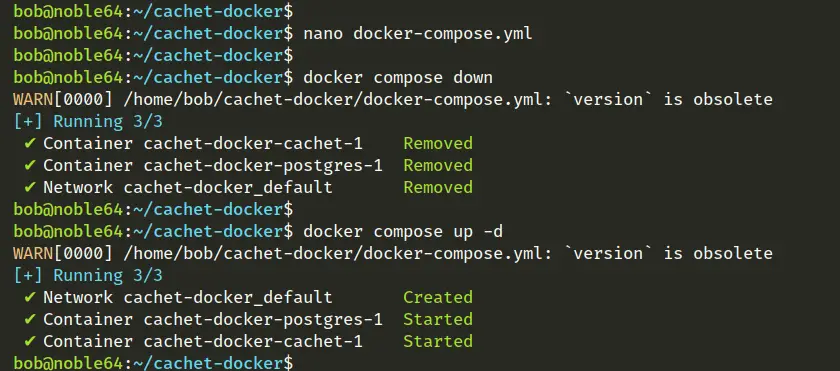
Now run the docker command below to delete old containers and new Cachet containers.
docker compose down
docker compose up -d
Lastly, run the following command to check running containers or services.
docker compose ps
You can see below the Cachet container is running on port 8000.
Setting up Nginx as a reverse proxy
In this guide, you’ll run Cachet with Nginx as a reverse proxy. So now you’ll install Nginx and a new server block for a reverse proxy. Make sure that you’ve your domain name ready and pointed to the server IP address.
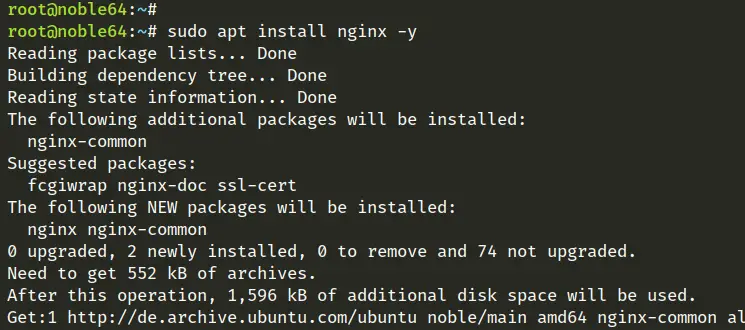
To install the Nginx web server, run the following apt command. Input Y to proceed with the installation.
sudo apt install nginx
After the installation is complete, create a new Nginx server block file /etc/nginx/sites-available/cachet.conf with the nano editor.
sudo nano /etc/nginx/sites-available/cachet.conf
Paste the following configuration and make sure to change the status.howtoforge.local with your domain name.
server {
 listen 80;
 server_name status.howtoforge.local;
 location / {
 proxy_pass http://127.0.0.1:8000;
 proxy_set_header Host $host;
 proxy_set_header X-Real-IP $remote_addr;
 proxy_set_header X-Forwarded-For $proxy_add_x_forwarded_for;
 proxy_set_header X-Forwarded-Proto $scheme;
 }
}
When done, save the file and exit the editor.
Now run the command below to activate server block file cachet.conf /and verify your Nginx syntax. If you’ve proper syntax, you’ll see an output test- is successful – syntax is ok.
sudo ln -s /etc/nginx/sites-available/cachet.conf /etc/nginx/sites-enabled/
sudo nginx -t
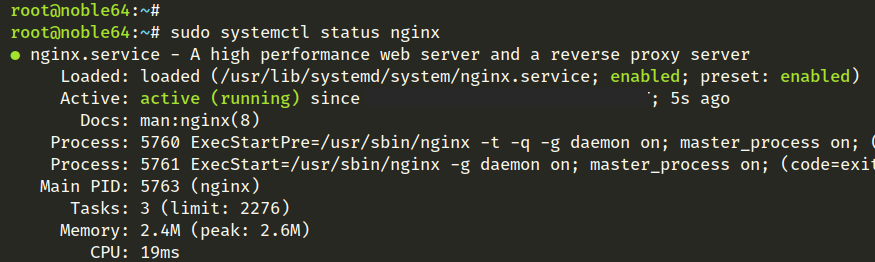
Lastly, run the systemctl command below to restart the Nginx service and apply your changes. Then, check the Nginx service status to ensure it is running.
sudo systemctl restart nginx
sudo systemctl status nginx
You can see below the Nginx service is running as a reverse proxy for the Cachet installation.
Securing Cachet with HTTPS
At this point, Cachet is running in a container, and you’ve configured Nginx as a reverse proxy for it. To secure Cachet, you’ll generate SSL certificates and implement HTTPS through Certbot and Letsencrypt.
Install the Certbot and Certbot Nginx plugin using the following apt command. Press Y to confirm the installation.
sudo apt install certbot python3-certbot-nginx
Now run the certbot command below to generate SSL certificates and secure Cachet with HTTPS. Make sure to change the domain name and email address with your information.
sudo certbot --nginx
Once the process is complete, your SSL certificates will be available in the /etc/letsencrypt/live/domain.com directory and your Cachet installation should be secured with HTTPS.
Installing Cachet
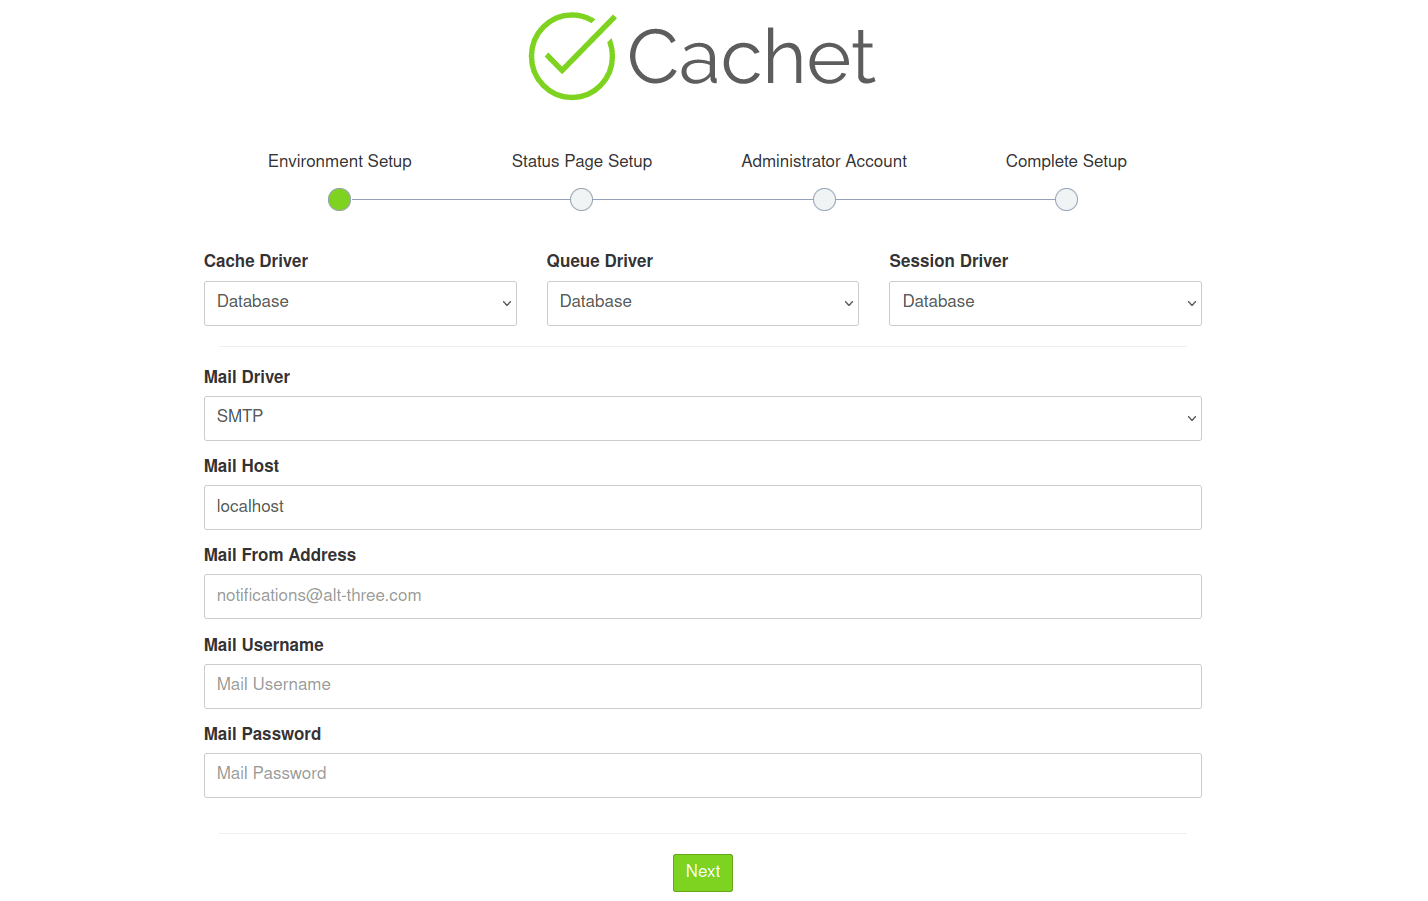
Visit your Cachet domain name such as https://status.howtoforge.local/ using your preferred web browser. you’ll see the installation wizard.
On the Environment Setup section, select the default Cache, Queue, and Session as Database and enter your SMTP details.
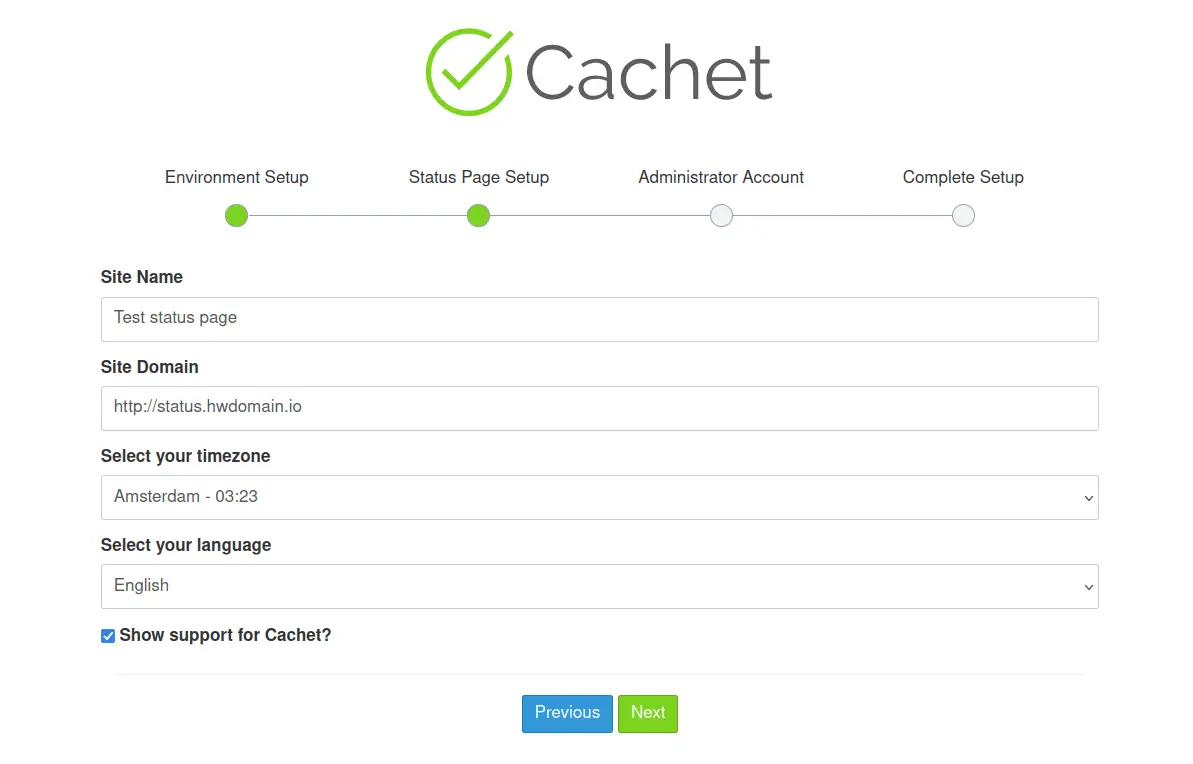
Create your first status page and click Next to continue.
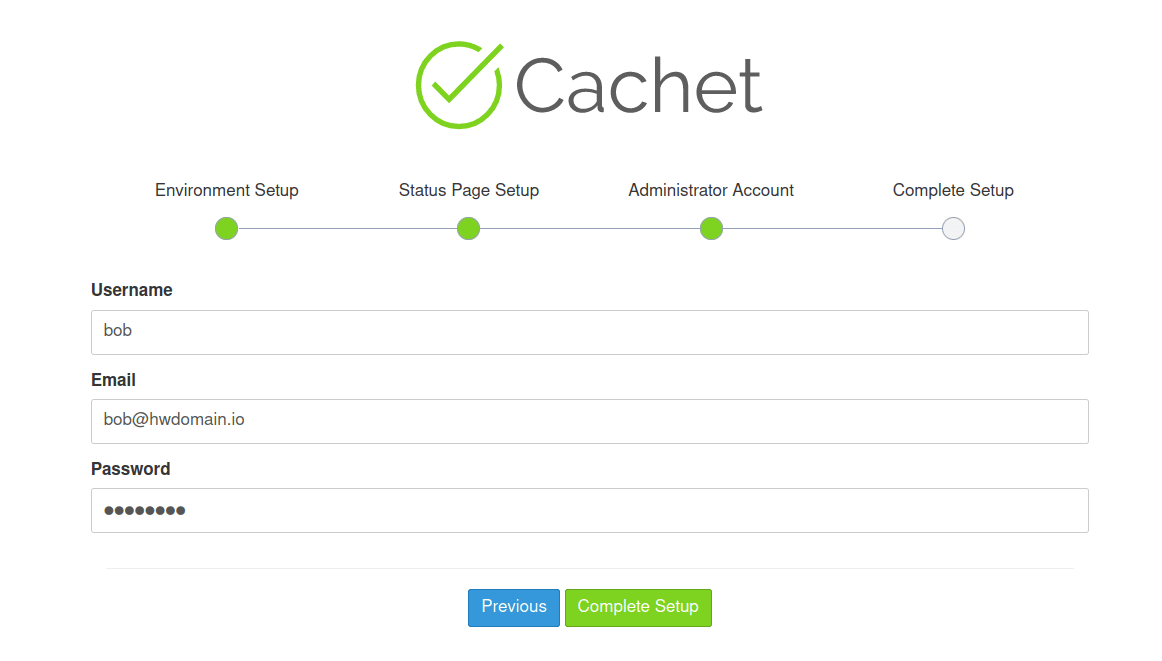
Enter the new administrator user, email address, and password for your Cachet installation.
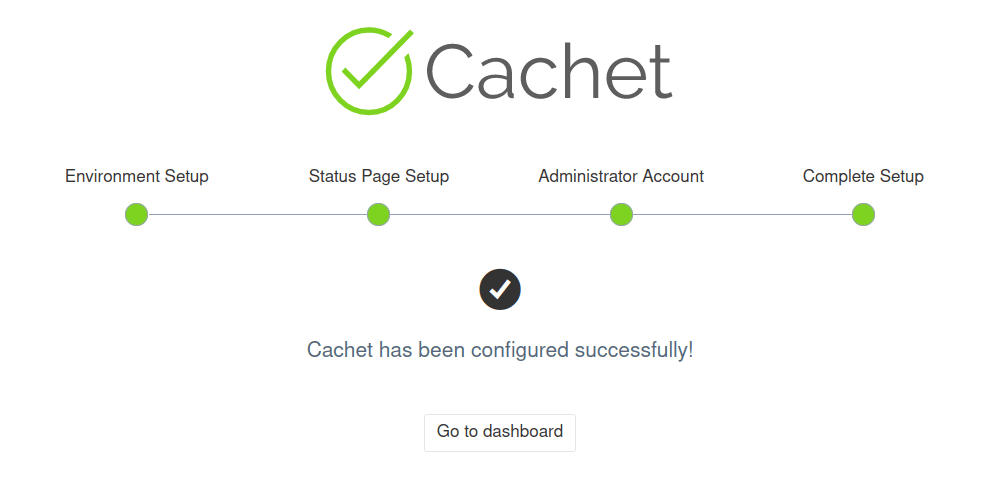
After the installation is finished, you’ll see an output Cachet has been configured successfully. And then click Go to dashboard to access Cachet.
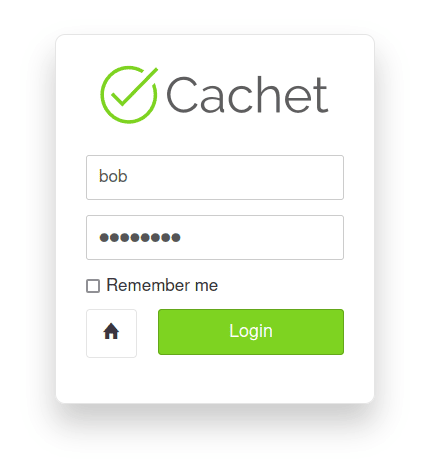
Enter your admin user and password, then click Login.
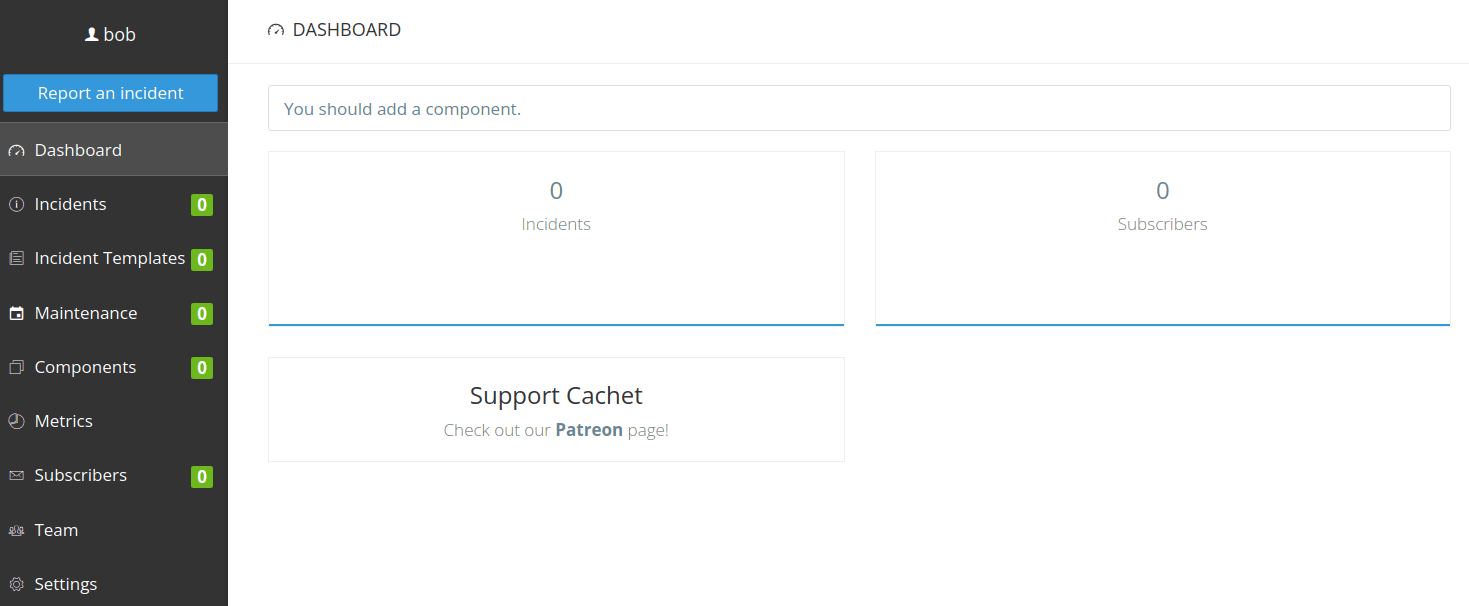
If you have the correct credentials, you’ll see the Cachet dashboard like the following:
Conclusion
Congratulations! You’ve completed the installation of the Cachet status page on an Ubuntu 24.04 server with Docker. You’ve configured Nginx as a reverse proxy for Cachet and secured Cachet with HTTPS through Certbot and Letsencrypt. You can now add and monitor your websites or services with Cachet and set up additional notifications with email addresses etc.

