
Drupal is a popular content management system written in PHP. It is used by at least 14% of the top 10,000 websites on the internet, from global enterprise industries, governments, education, and institutions sites. Drupal provides a high-scalable system integrated with digital applications and can be used to create multisite for different organizations with multilingual support.
This guide will show you how to install Drupal on Ubuntu 24.04 server. We will install Drupal with the LAMP Stack (Linux, Apache, MariaDB, and PHP) and secure Drupal with HTTPS from Letsencrypt.
Prerequisites
Before you begin, make sure you have:
- An Ubuntu 24.04 server
- A non-root user with administrator privileges
- A domain name pointed to server IP address
Installing Dependencies
Drupal is a CMS based on MySQL/MariaDB and PHP. To install it, you must ensure both MySQL/MariaDB and PHP are installed on your system. For the web server, you can use Apache or Nginx.
In this section, you will install dependencies for Drupal. This includes the LAMP Stack (Linux, Apache, MariaDB, and PHP) and Composer.
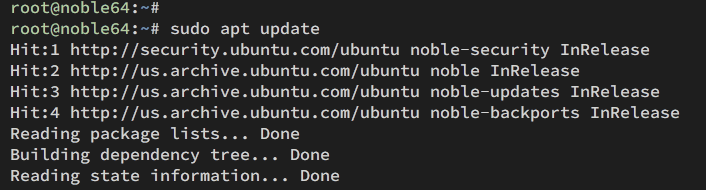
First, update your Ubuntu package index with the following command.
sudo apt update
Now install the LAMP Stack (Linux, Apache, MariaDB, and PHP) and Composer dependencies to your Ubuntu system with this:
sudo apt install apache2 mariadb-server composer php php-apcu php-dev libapache2-mod-php libcurl4-openssl-dev php-cli php-mysql php-zip php-gd php-fpm php-json php-common php-intl php-mbstring php-curl php-xml php-pear php-tidy php-uploadprogress php-soap php-bcmath php-xmlrpc
Input Y to confirm the installation.
After the installation, check both Apache and MariaDB status, and then check the PHP and Composer versions.
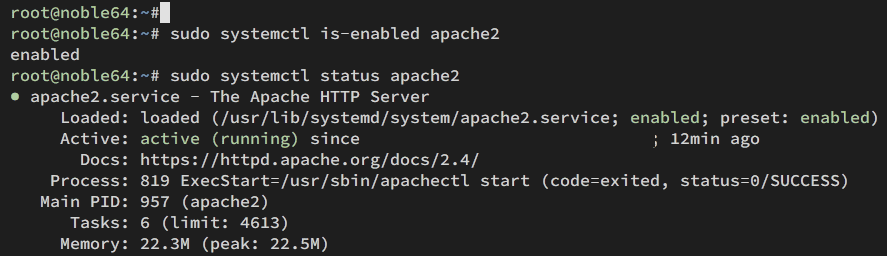
Check the Apache service with the command below. This will ensure that Apache is running and enabled on your server.
sudo systemctl is-enabled apache2
sudo systemctl status apache2
An out enabled indicates that the Apache web server will start at boot. And the active(running) shows that Apache is running.
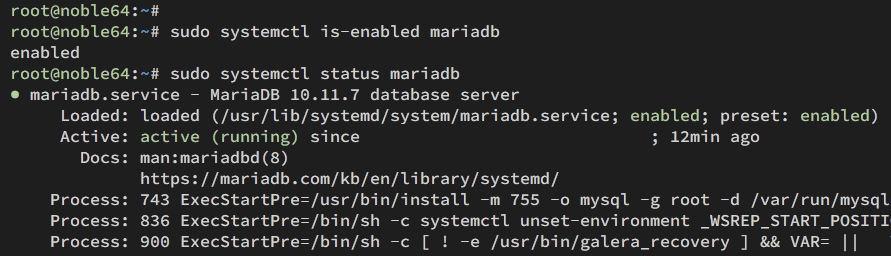
Now check the MariaDB service status with the following:
sudo systemctl is-enabled mariadb
sudo systemctl status mariadb
Like Apache, you will see an output enabled and the ‘active(running)’ status, confirming that MariaDB will start at boot and the status is running.
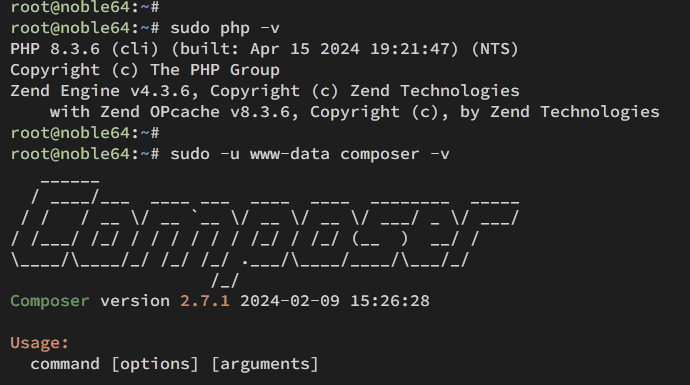
Lastly, check the PHP and Composer versions using the command below. At this time, the default Ubuntu 24.04 repository provides PHP 8.3 and Composer 2.7.1.
sudo php -v
sudo -u www-data composer -v
Configuring PHP
After installing dependencies, you need to set up PHP for Drupal. You need to edit the default ‘php.ini’ file and change some default configurations as needed for Drupal.
Open the php.ini configuration with the following nano editor command.
sudo nano /etc/php/8.3/apache2/php.ini
Change the default configuration with the following and make sure to adjust the memory_limit and date.timezone options with your server environments.
memory_limit = 512M
upload_max_filesize = 60M
max_execution_time = 300
date.timezone = Europe/Amsterdam
When done, save and exit the file.
Now restart the Apache web server to apply the new PHP configuration.
sudo systemctl restart apache2
Configuring MariaDB server
Now that you’ve configured PHP, let’s configure the MariaDB server by securing it using the ‘mariadb-secure-installation’ utility and create a new database and user for Drupal.
Secure your MariaDB server installation with the following command. This command will be prompted about MariaDB server configurations.
sudo mariadb-secure-installation
Now input Y to apply the changes to MariaDB, or type n to reject it:
- The default MariaDB installation comes without a password, press ENTER when prompted for the password.
Now input Y to set up the MariaDB root password. Then, type the new password for MariaDB and repeat the password.
Input Y to remove the anonymous user from your MariaDB installation.
Input Y again when prompted to disable the remote login for the MariaDB root user.
Input Y to remove the default database test from your MariaDB.
Lastly, input Y to reload table privileges and apply new changes.
When the MariaDB server is secured, you need to create a new database and user for Drupal. This can be done using the ‘mariadb’ client command.
Log in to the MariaDB server with the following – Input your MariaDB root password when prompted.
sudo mariadb -u root -p
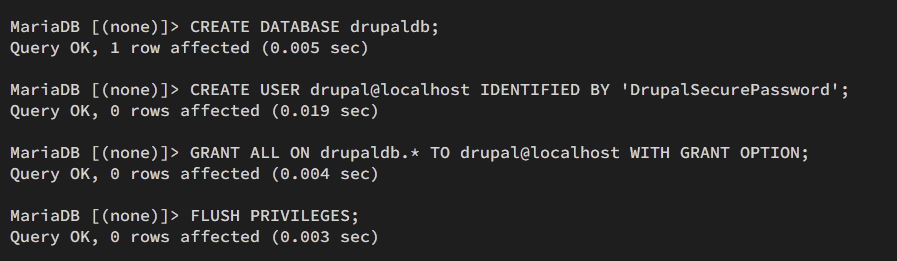
Run the following queries to create a new database and user for Drupal. In this example, you will create a new user ‘drupal‘, database ‘drupaldb‘, with the password ‘DrupalSecurePassword‘. Make sure to change the information with your details.
CREATE DATABASE drupaldb;
CREATE USER drupal@localhost IDENTIFIED BY 'DrupalSecurePassword';
GRANT ALL ON drupaldb.* TO drupal@localhost WITH GRANT OPTION;
FLUSH PRIVILEGES;
Now run the query below to verify user ‘drupal‘. Ensure that user ‘drupal‘ can access the database ‘drupaldb‘.
SHOW GRANTS FOR drupal@localhost;
The following output indicates that user ‘drupal‘ can access the database ‘drupaldb‘.
Lastly, type quit to exit from the MariaDB server.
Downloading Drupal source code
In this step, you will download the Drupal source code and set up the web root directory with proper ownership and permission. In this example, you will be downloading and installing Drupal’s latest version.
Go to the /var/www directory and download the Drupal source code using the wget command below.
cd /var/www/
wget https://www.drupal.org/download-latest/tar.gz -O drupal.tar.gz
When the download is complete, extract the Drupal source code and rename the extracted directory to ‘drupal’. With this, the /var/www/drupal will become your web root or document root directory for Drupal installation.
tar -xvf drupal.tar.gz
mv drupal-* /var/www/drupal
Now run the command below to change the ownership of /var/www/drupal to user www-data and the permission to 755.
sudo chown -R www-data:www-data /var/www/drupal/
sudo chmod -R 755 /var/www/drupal/
Setting up Apache virtual host
After downloading Drupal, you must create the Apache virtual host for your installation. So ensure you’ve prepared your domain name for the Drupal installation.
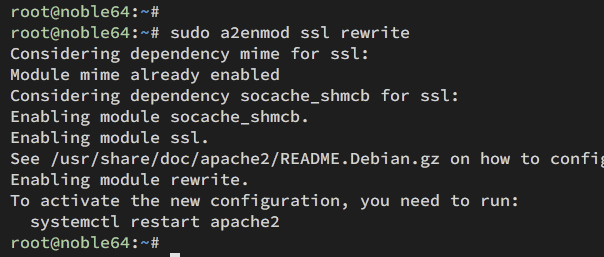
First, run the command below to enable Apache modules ‘ssl‘ and ‘rewrite‘.
sudo a2enmod ssl rewrite
Now create a new Apache virtual host configuration with the following command.
sudo nano /etc/apache2/sites-available/drupal.conf
Copy and paste the configuration below, and make sure to change the ServerName option with the domain name of your Drupal installation.
ServerName hwdomain.io
ServerAdmin [email protected]
DocumentRoot /var/www/drupal# Add security
php_flag register_globals offErrorLog ${APACHE_LOG_DIR}/hwdomain.io.error.log
CustomLog ${APACHE_LOG_DIR}/hwdomain.io.access.log combined
SSLOptions StdEnvVars
Options FollowSymlinks
#Allow .htaccess
AllowOverride All
Require all granted
SecRuleEngine Off
# or disable only problematic rules
RewriteEngine on
RewriteBase /
RewriteCond %{REQUEST_FILENAME} !-f
RewriteCond %{REQUEST_FILENAME} !-d
RewriteRule ^(.*)$ index.php?q=$1 [L,QSA]
When done, save and exit the file.
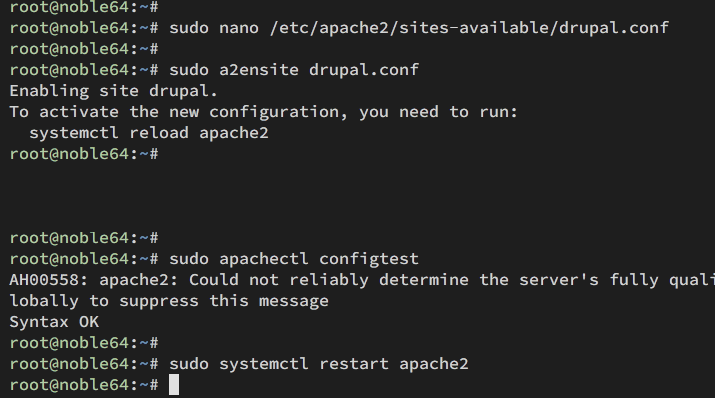
Now run the command below to activate the ‘drupal.conf’ virtual host file, and then verify your Apache syntax. If you have proper Apache syntax, you should get an output ‘Syntax is OK‘.
sudo a2ensite drupal.conf
sudo apachectl configtest
Lastly, restart Apache with the following to apply your new virtual host configuration. With this, your Drupal should be accessible.
sudo systemctl restart apache2
Securing Drupal with HTTPS
To secure Drupal with HTTPS, you can use free SSL certificates from Letsencrypt. If you’re installing on the public domain name, follow this step to enable HTTPS on your Drupal installation. If you’re using the local domain name, you can use self-signed SSL certificates.
Install Certbot and Certbot Apache plugin with the following – Type Y to confirm the installation.
sudo apt install certbot python3-certbot-apache
After installation is complete, run the certbot command below to generate SSL/TLS certificates for your Drupal installation. Make sure to change the email address and domain name with your information.
sudo certbot --apache --agree-tos --redirect --hsts --staple-ocsp --email [email protected] -d hwdomain.io
When finished, your SSL/TLS certificates should gen generated at /etc/letsencrypt/live/example.com directory and your Drupal installation should automatically secured with HTTPS.
Installing Drupal
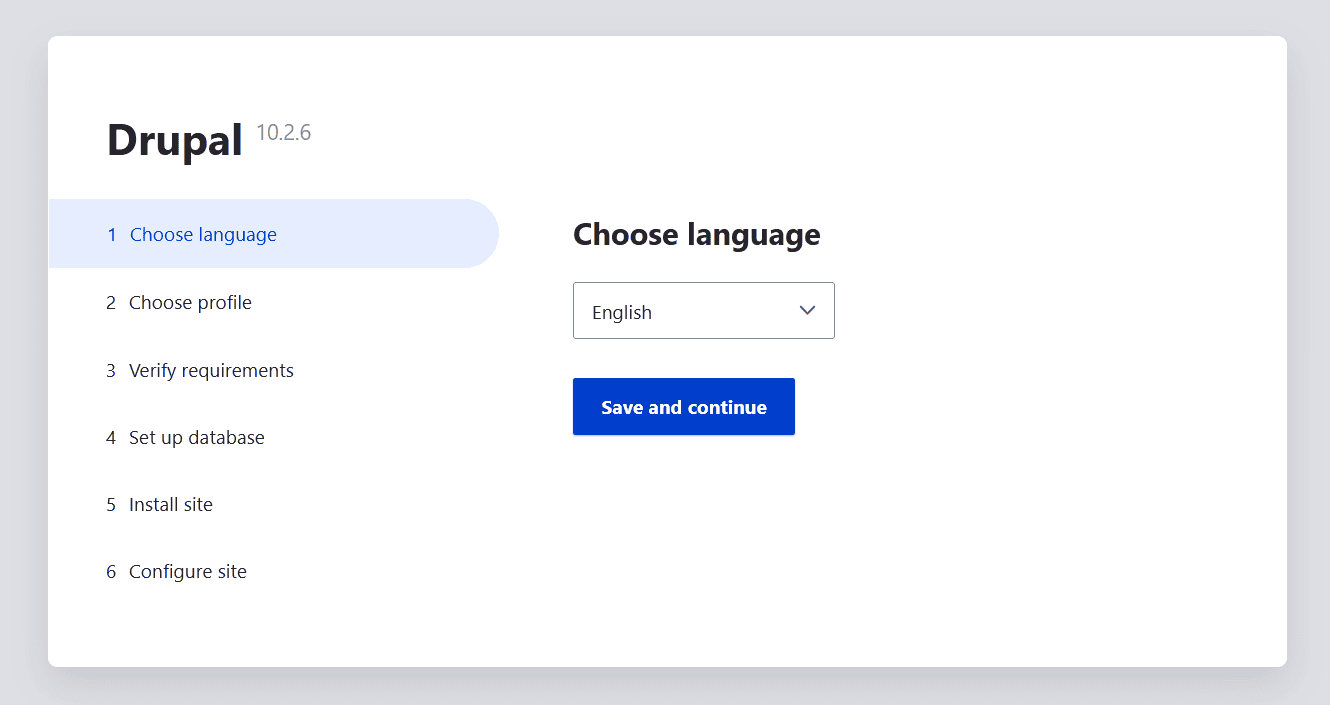
Visit your Drupal domain name, such as https://hwdomain.io from your preferred web browser. If your installation is successful, you should get the Drupal installation wizard.
Select the default language for Drupal, and then click Save and continue.
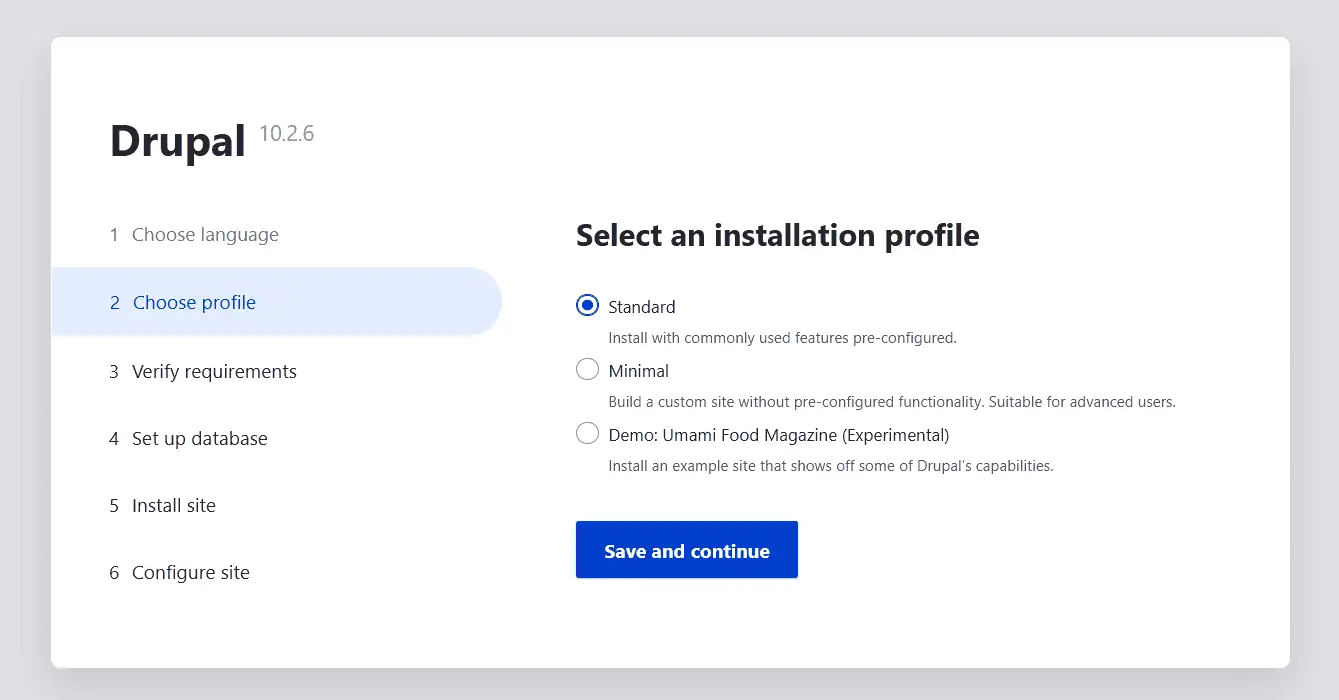
Select your preferred Drupal installation profile click Save and continue. For beginners, use the Standard or Demo profile. If you’re experienced with Drupal, you can select Minimal profile.
Now, make sure that you passed the Drupal environment check, which ensures that your server is ready for Drupal installation.
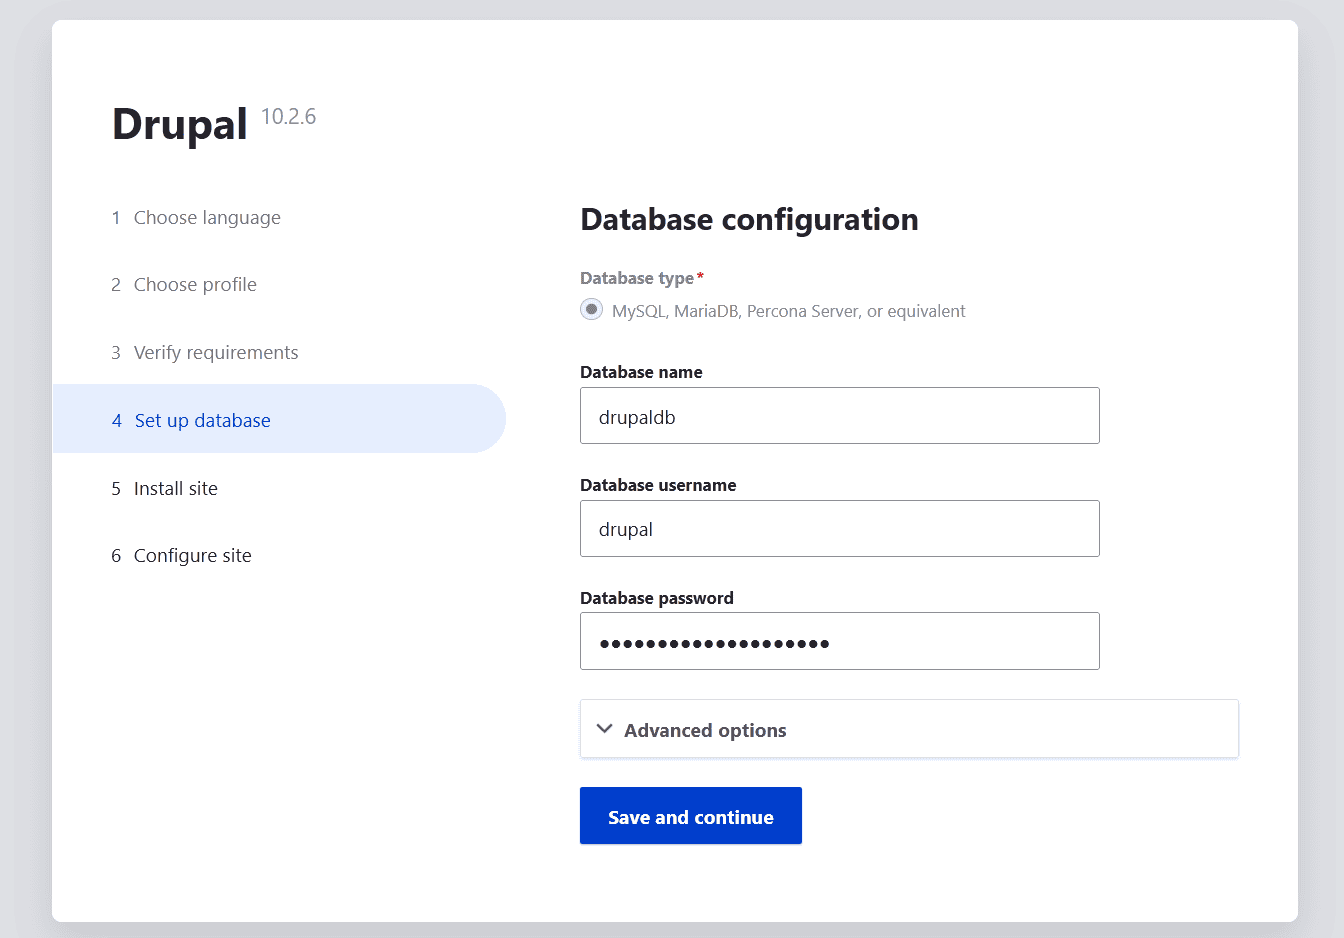
If ready, you will be redirected to the database configuration for Drupal. Input your MariaDB server details, database name, username, and password, and then click Save and continue.
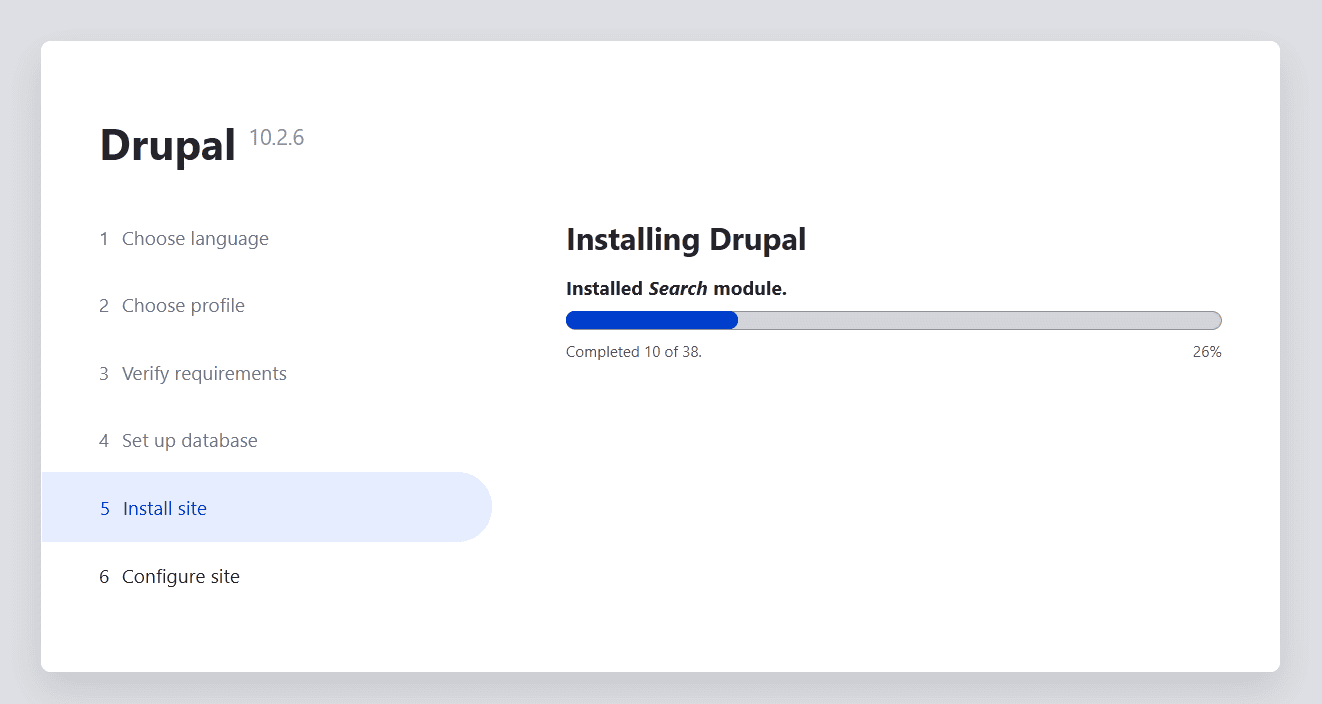
The Drupal installation should begin:
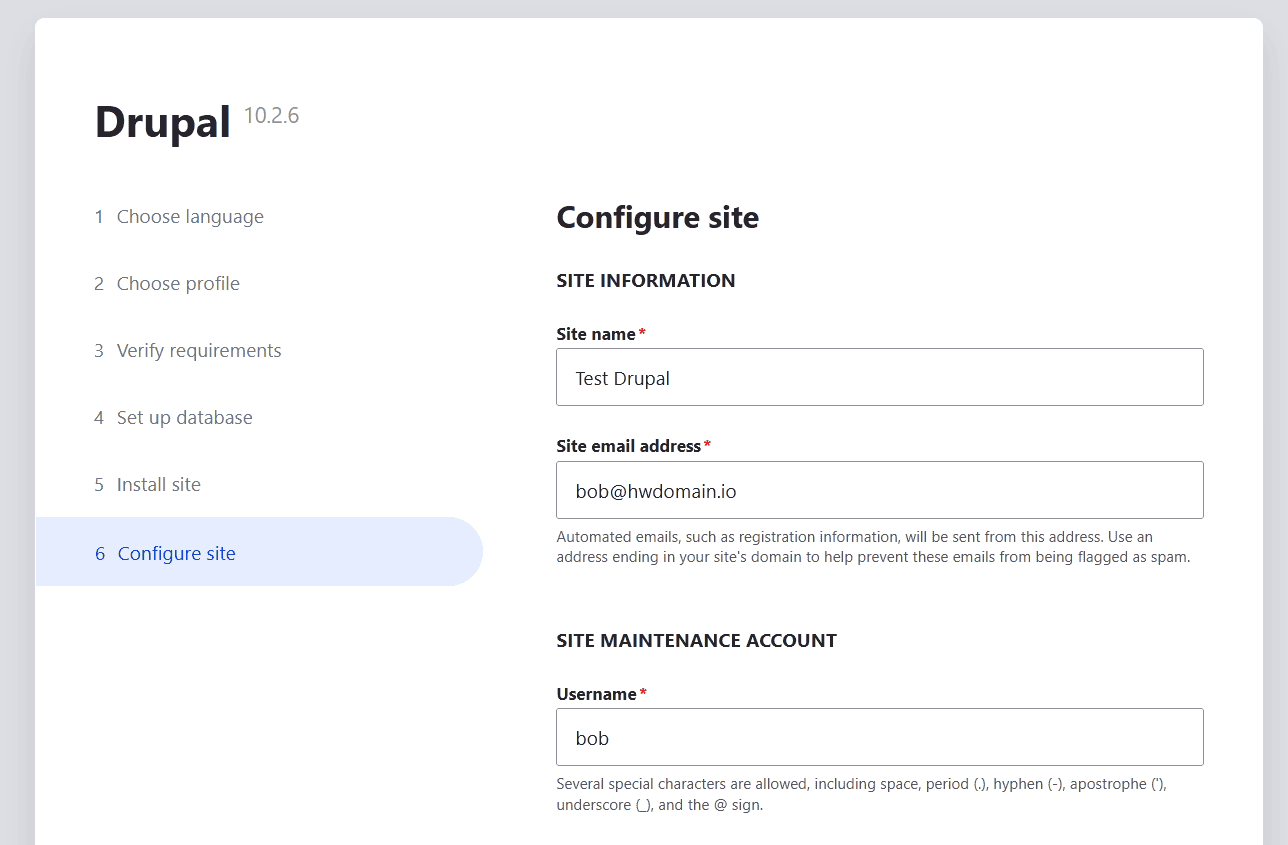
After the Drupal installation is complete, you must configure your Drupal site. Input the Site name, email address, administrator username, password, default country, and time zone.
Click Save and continue to confirm.
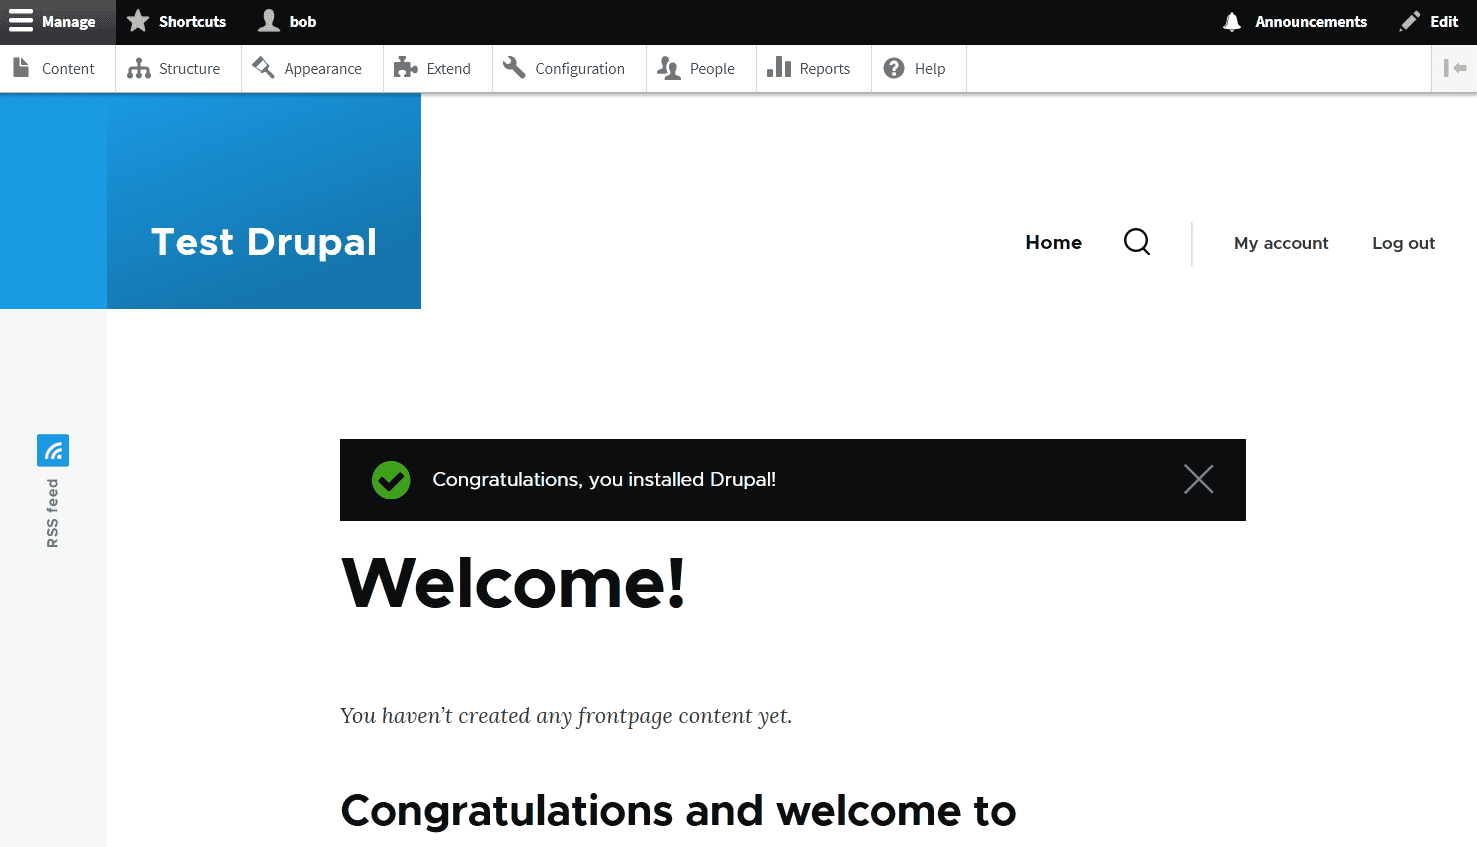
Now if the installation is successful, you should get the message “Congratulations, you installed Drupal!“.
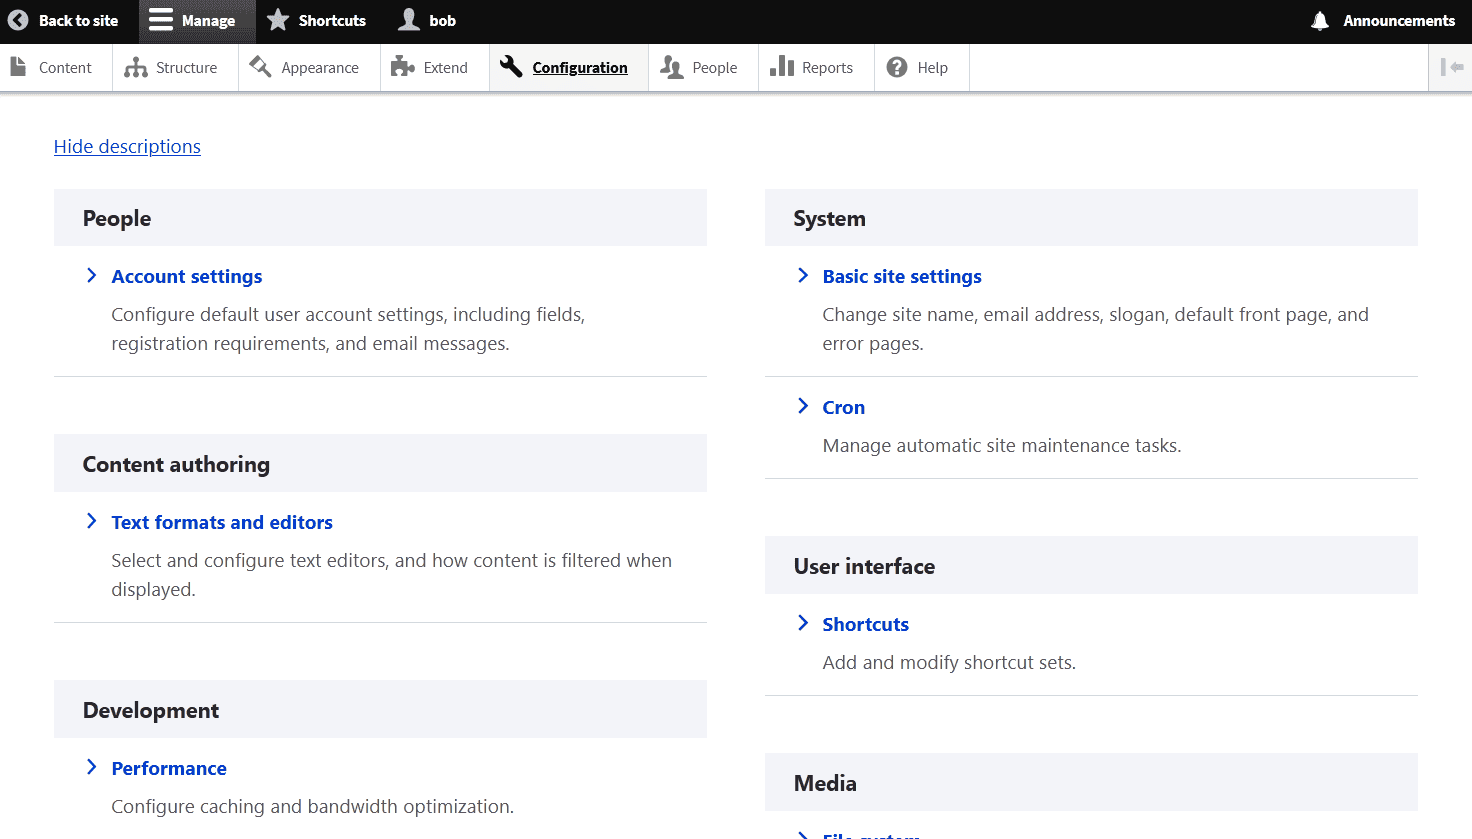
Here, click the Manage > Configuration menu to access the Drupal administration dashboard. You will see the following:
Conclusion
Congratulations! You have completed the installation of Drupal CMS on the Ubuntu 24.04 server. You have Drupal running with the LAMP Stack (Linux, Apache, MariaDB, and PHP) and secured with HTTPS from Letsencrypt. You can now manage your Drupal site by installing themes or adding extensions.


