
eSpeak is a software speech synthesizer for English and other languages, eSpeak is a free and open-source software (FOSS) that can be run on most platforms including Linux, Windows and MacOS. eSpeak was developed by Paul “Joe” Hazeldine based on the eCAVE project’s codebase, which was itself derived from X-SPEAK 1.0 by Bill Berry in 1995— making eSpeak over 20 years old!
eSpeak is a portable software, which means, eSpeak can be moved from one computer to another. eSpeak is a very lightweight program, eSpeak doesn’t need much CPU. It needs only 5Mb of RAM to run smoothly.
Some Ubuntu-based distributions such as Linux Mint and Elementary use eSpeak by default but some other Ubuntu-based distributions don’t install eSpeak, so you might want to check out this guide if eSpeak didn’t get installed with your system.
The latest version of eSpeak at the time of writing is 1.48.03 while new versions are being released regularly which shouldn’t harm anything unless they break backward compatibility or introduce any bugs which should be fixed immediately.
This article covers the installation of eSpeak on Ubuntu 20.04 which is the most used and popular Linux distribution.
Prerequisite
- A Ubuntu server or desktop, eSpeak needs at least Ubuntu 12.04 or later to be installed on it. eSpeak is built on the eCAVE project which was based on X-SPEAK, eCAVE was rewritten in C and that version requires at least Ubuntu 12.04 to run properly.
- A root password is configured on your machine and internet connection. eSpeak installation requires an internet connection to download the eSpeak package from the eSpeak website.
Getting Started
First of all, you need to update your server to the latest version. Open up a terminal and run the following commands to update your system:
sudo apt-get update
On a Ubuntu / Debian system, this command needs to be executed each time before the installation of any package from online repositories. This command will synchronize your system’s local list of packages (available in the /etc/apt directory) with the list available on the server at http://archive.ubuntu.com or other servers. To fully utilize a repository for installing new packages, you have to execute this command after each reboot.
sudo apt-get -y upgrade
This command will find all the out-of-date packages and do a full upgrade. However, it will not install the latest ones. It is designed to make your system as up-to-date as possible.
Also, If you get errors during updates of packages with apt-get command then use sudo apt-get -f install. It will try to fix the problem and continue the installation of updates. If it can’t, it will tell you how to solve them manually.
sudo apt-get -f install
Sample output:
Install eSpeak
By default, eSpeak is available in Ubuntu’s repositories. You can install it by running the following command in your terminal:
sudo apt-get install espeak -y
This command will download and install a package called “espeak” which is an actual version of eSpeak TTS engine. After running the above-mentioned commands, you have successfully installed a new voice engine for your system.
Sample output:
You can verify the installed version of eSpeak using the following command:
espeak –version
Sample output:
By default, espeak is installed system-wide with /usr prefix which means that it can be run by anyone having access to this installation. If you want to restrict access so that only a particular user can use this software, the installation should be done with –prefix=/home/username/.
Use eSpeak for Text to Audio conversion
eSpeak command can be used to convert text into speech. You can give any text file as an input or enter the texts on the terminal for conversion. Let’s speak the line “Hi this is a sample” and record it to the sample.mp4 audio file.
espeak “Hi this is a sample” -w sample.mp4 -g 60 -p 70 -s 100 -v en-usAdvertisement
Here, -w parameter specifies the output file name which should be an audio file. It can also be a .mp3 or any other format like ogg, vorbis etc.
This is followed by -g parameter which controls the pitch of voice and it’s value should not be more than 90 to avoid high-pitched voices which sounds like ‘robotic’ or ‘artificial’.
The -p parameter controls the pause between words and it’s value should be less than 10 to avoid undue pauses. The default value is 2 which means there will be two seconds of silence after each word.
The –s parameter controls the speech speed and may be adjusted to change the reading speed of text.
The -v parameter controls the voice selection which needs an input from a user and it takes en, es (for European accent) or fi suffix for English, Spanish or Finish accents respectively.
You can now play the sample.mp4 file to listen to the spoken text in any mp3 media player of your choice like mplayer or vlc. You can enter as many lines of text as you want and record them all in a single terminal session.
There are many other ways to use eSpeak to read texts. The –help option will suggest some other ways for using it.
espeak –help
Sample output:
Remove eSpeak
Use the following command to remove eSpeak:
sudo apt-get remove espeak
Type y and hit enter when prompted to remove eSpeak with dependencies. This command will remove the espeak package and all its dependencies from your system.
Note:
1. If you installed espeak system-wide, it will also remove the eSpeak engine from your system and use the default voice.
2. If you can’t use sudo apt-get remove espeak. It’ll result in an error that says that ‘espeak’ package is required by this or other packages and you won’t be able to uninstall it, it’s better to use the update option.
sudo apt-get -y upgrade –remove espeak
Install Gspeaker for GUI based text-to-speech conversion
Gspeak is another popular text to speech software for Linux. It was written in Python and uses the espeak TTS engine for actual conversion. It provides a simple user interface which is used to control all the settings related to voice selection, general options etc.
You can install it with any package manager. Type following command in terminal to install GSpeaker:
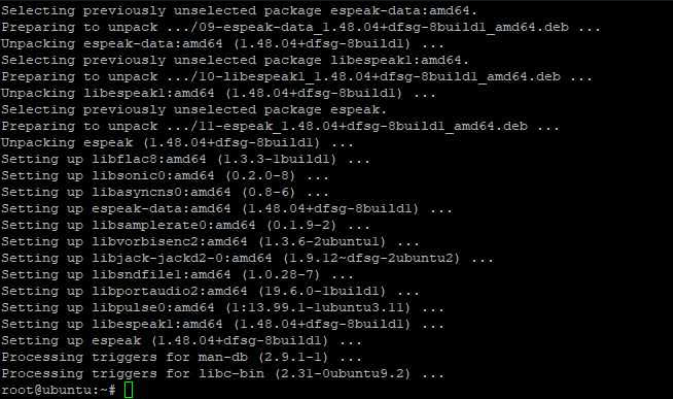
apt-get install gespeaker -y
Once it is installed, you can launch it from your Unity dash. It will launch the gui interface of Gspeak which helps you in controlling your voice engine.
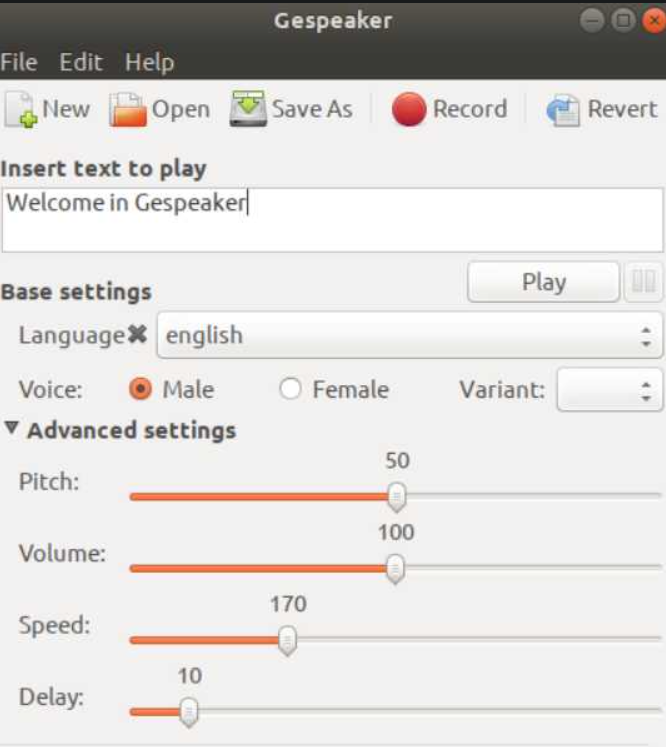
This is how the Gespeaker UI looks like:
There are separate tabs for each option.
The ‘base setting’ tab allows you to set all the general options of the TTS engine like speech rate, pitch etc. You can also set other settings like timeouts and audio settings.
The voices tab allows you to select the voice out of the installed voices.
The history tab allows you to store your custom text-to-speech conversions which can be reused anytime later.
The revert tab restores the previous settings after your voice setting is changed. This tab only works when you’re changing the existing saved settings. The save button will be grey.
You can read more about the Gespeaker option in the gespeaker help section which can be accessed from the “Help” tab.
Remove Gespeaker
If you are not using Gespeaker, remove it to free up some disk space. Type the following command in terminal:
apt-get autoremove gespeaker -y
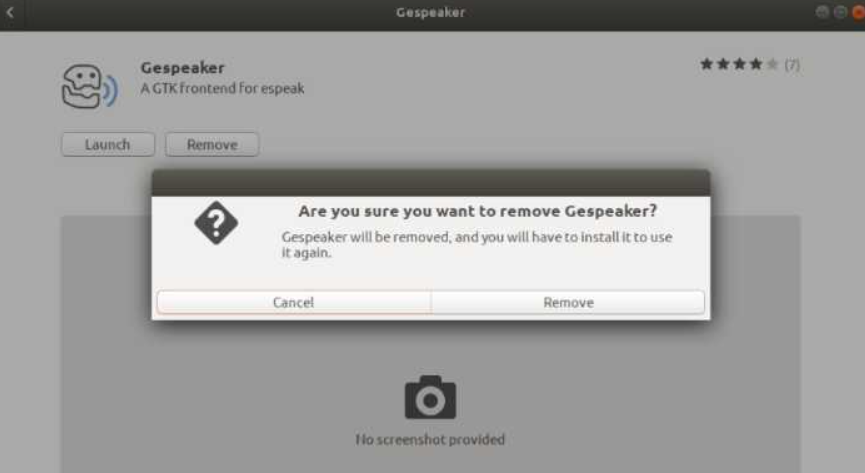
You can also remove Gespeaker via the software center of Ubuntu. Open the software center and search for “gespeaker”. Click on the icon and select the remove option from the right side menu.
Conclusion
This tutorial showed you how to install eSpeak and Gespeaker on a Ubuntu machine. You can use any of this TTS software to read texts out loud, it is up to you which one to choose.
If you don’t like these two, there are many other text-to-speech engines available for Linux. I recommend that you check out espeak alternatives wiki page. It’s always handy to have more than one speech engine installed on your machine.


