
In this tutorial, we will learn how to install Horde Groupware on Debian 10 server.
Prerequisites
- A server running Debian 10.
- A valid domain name pointed with your server IP. in this tutorial, we will use test.example.com domain.
- A root password is configured on your server.
Getting Started
Before starting, it is a good idea to update your system with the latest version. You can update your system with the following command:
apt-get update -y

 apt-get upgrade -y
After updating the system, restart it to implement the changes.
Install Apache, MariaDB and PHP
Horde runs on the webserver, written in PHP and uses MariaDB to store its data. So you will need to install Apache, MariaDB, PHP and other required dependencies in your system. You can install all of them by running the following command:
apt-get install apache2 mariadb-server php php-pear libapache2-mod-php php-common php-curl php-mbstring php-xmlrpc php-mysql php-gd php-xml php-intl php-ldap php-imagick php-tidy php-json php-cli -yOnce all the packages are installed, open php.ini file make some changes:
nano /etc/php/7.3/apache2/php.iniChange the following lines:
memory_limit = 256M
upload_max_filesize = 100M
max_execution_time = 360
date.timezone = Asia/Kolkata
Save and close the file when you are finished.
Configure Database
By default, the MariaDB root password is not configured in Debian 10. So, you will need to set it first.
To do so, log in to the MariaDB shell with the following command:
mysqlOnce login, set your MariaDB root password with the following command:
MariaDB [(none)]> SET PASSWORD FOR 'root'@'localhost' = PASSWORD("rootpassword");Next, create a database and user for Horde with the following command:
MariaDB [(none)]> CREATE DATABASE hordedb;

 MariaDB [(none)]> CREATE USER 'hordeuser'@'localhost' IDENTIFIED BY 'password';
Next, grant all the privileges to the Horde database with the following command:
MariaDB [(none)]> GRANT ALL ON hordedb.* TO 'hordeuser'@'localhost' WITH GRANT OPTION;Next, flush the privileges and exit from the MariaDB shell with the following command:
MariaDB [(none)]> FLUSH PRIVILEGES;

 MariaDB [(none)]> EXIT;
Once you are finished, you can proceed to the next step.
Install and Configure Horde
In order to install Horde, you will need to register the Horde pear channel. You can do it with the following command:
pear channel-discover pear.horde.orgYou should see the following output:
Adding Channel "pear.horde.org" succeeded
Discovery of channel "pear.horde.org" succeeded
Next, install Horde role with the following command:
pear install horde/horde_roleYou should see the following output:
downloading Horde_Role-1.0.1.tgz ...
Starting to download Horde_Role-1.0.1.tgz (10,977 bytes)
.....done: 10,977 bytes
install ok: channel://pear.horde.org/Horde_Role-1.0.1
horde/Horde_Role has post-install scripts:
/usr/share/php/PEAR/Installer/Role/Horde/Role.php
Horde_Role: Use "pear run-scripts horde/Horde_Role" to finish setup.
DO NOT RUN SCRIPTS FROM UNTRUSTED SOURCES
Next, you will need to set the Horde file system directory. You can set it with the following command:
pear run-scripts horde/horde_roleYou will be asked to provide Horde directory path as shown below:
Including external post-installation script "https://www.howtoforge.com/usr/share/php/PEAR/Installer/Role/Horde/Role.php" - any errors are in this script
Inclusion succeeded
running post-install script "Horde_Role_postinstall->init()"
init succeeded
Filesystem location for the base Horde application : /var/www/horde
Configuration successfully saved to PEAR config.
Install scripts complete
Finally, install the Horde Groupware with the following command:
pear install -a -B horde/groupware

 groupware-install
You will be asked for several setting like, database backend, database user, password, database, Horde administrator user and password as shown below:
Installing Horde Groupware

Configuring database settings

What database backend should we use?
    (false) [None]
    (mysql) MySQL / PDO
    (mysqli) MySQL (mysqli)
    (oci8) Oracle
    (pgsql) PostgreSQL
    (sqlite) SQLite

Type your choice []: mysql

Username to connect to the database as* [] hordeuser
Password to connect with
How should we connect to the database?
    (unix) UNIX Sockets
    (tcp) TCP/IP

Type your choice [unix]: unix

Location of UNIX socket []

Database name to use* [] hordedb

Internally used charset* [utf-8]
Use SSL to connect to the server?
    (false) No
    (true) Yes

Type your choice []: false
Split reads to a different server?
    (false) Disabled
    (true) Enabled

Type your choice [false]:
Should Horde log all queries. If selected, queries will be logged at the DEBUG level to your configured logger.
    (1) Yes
    (0) No

Type your choice [0]:

Writing main configuration file... done.

Creating and updating database tables... done.

Configuring administrator settings

Specify a user name for the administrator account: [email protected]
Specify a password for the administrator account:

Writing main configuration file... done.

Thank you for using Horde Groupware.
Once the installation has been finished, create a temp directory for Horde with the following command:
mkdir /var/www/horde/tmpNext, setup Horde password tool using the following command:
pear install -a -B horde/passwdNext, give proper permission to the Horde directory with the following command:
chown -R www-data:www-data /var/www/horde/Once you are finished, you can proceed to the next step.
Configure Apache for Horde
Next, you will need to configure the Apache virtual host configuration file for Horde. You can create it with the following command:
nano /etc/apache2/conf-available/horde.confAdd the following lines:
Alias /Microsoft-Server-ActiveSync /var/www/horde/rpc.php
Alias /horde /var/www/horde
ServerName test.example.com
DocumentRoot /var/www/horde

           DirectoryIndex index.php
           Options  FollowSymLinks
           AllowOverride All
           Require all granted
           AddType application/x-httpd-php .php
           php_value include_path ".:/usr/share/php"
           php_value open_basedir "none"
           php_value upload_tmp_dir "https://www.howtoforge.com/var/www/horde/tmp/"
Save and close the file when you are finished. Then, enable the Horde configuration file with the following command:
a2enconf hordeFinally, restart the Apache service to apply the changes:
systemctl restart apache2Access Horde Groupware
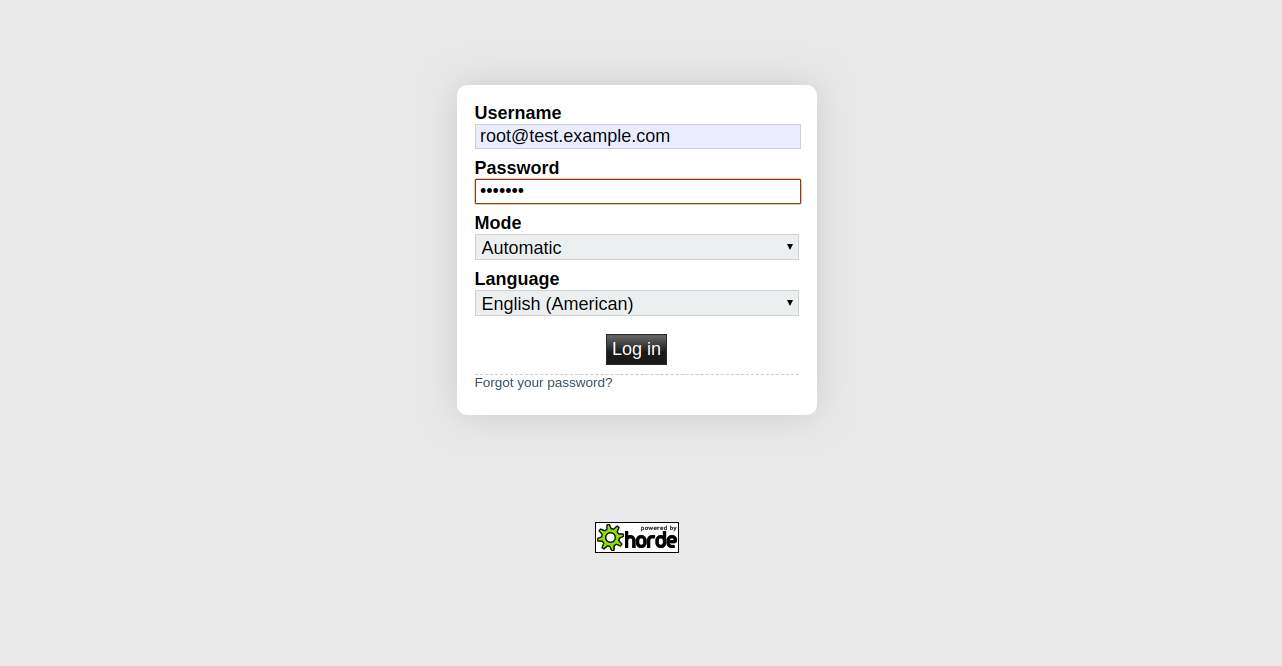
Now, open your web browser and type the URL http://test.example.com/horde. You will be redirected to the Horde Groupware login page:
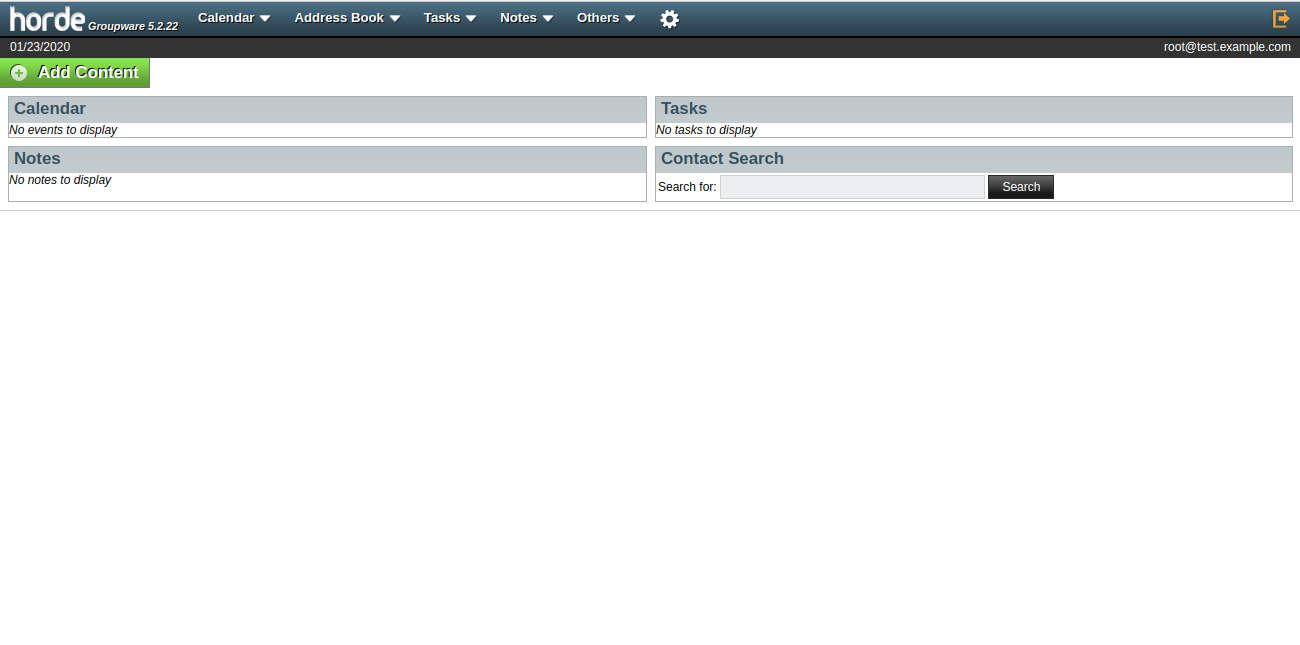
Provide your administrator user name, password and click on the Log In button. You should see the Horde Groupware default dashboard in the following page:
Conclusion
Congratulations! you have successfully installed and configured Horde Groupware on Debian 10 server. You can now start exploring the Horde and extend the functionality. Feel free to ask me if you have any questions.


