
Magento is a widely-used open source e-commerce software and content management system for e-commerce websites based on the PHP Zend Framework. It uses MySQL or MariaDB as the database backend. The development of Magento was started in 2008 by Varien.
In this tutorial, we will show you step by step how to install Magento 2 on the latest version Ubuntu 20.04. We will install Magento under the LEMP stack, the Nginx web server, PHP-FPM 7.3, and MariaDB server.
Requirements
For this tutorial, we will install the Magento 2 on the Ubuntu 20.04 system with 2 GB RAM, 50 GB free disk space and 2 CPUs.
What we will do?
- Install Nginx Webserver
- Install and Configure PHP-FPM 7.3
- Install and Configure MySQL Server
- Install PHP Composer
- Download and Install Magento
- Generate SSL Letsencrypt
- Setup Nginx Virtualhost for Magento
- Magento Post-Installation
Step 1 – Install Nginx Webserver
First, we will install the Nginx webserver to the Ubuntu 20.04 system.
Install Nginx using the apt command below.
sudo apt install nginxOnce all installation is complete, start the Nginx service and add it to the system boot.
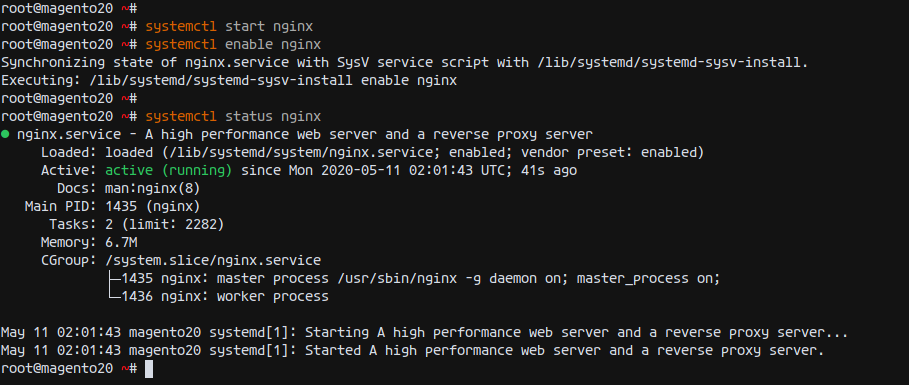
systemctl start nginx
systemctl enable nginx
After that, check the Nginx service status using the following command.
systemctl status nginxThe Nginx web server is up and running on the Ubuntu 20.04 Server.
Next, we will open the HTTP and HTTPS ports on our Ubuntu system.
Run the ufw command below.
for svc in ssh http https
do
ufw allow $svc
done
As a result, the SSH, HTTP, and HTTPS services have been added to the ufw firewall rule.
Now run the enable the ufw firewall using the following command.
ufw enableType ‘y’ and press Enter, and you’ve enabled the ufw firewall.
Step 2 – Install and Configure PHP-FPm 7.3
After installing the Nginx web server, we will install the PHP-FPM to our Ubuntu 20.04 Server.
By default, the Ubuntu 20.04 comes with the newest version of PHP/PHP-FPM 7.4. But for now, the Magento only works with PHP/PHP-FPM 7.3. And in this step, we will install the PHP-FPM 7.3 from the PPA repository.
Before going any further, install the ‘software-properties-common’ package and add the PPA repository for PHP 7.3 using the following command.
sudo apt install software-properties-common
sudo add-apt-repository ppa:ondrej/php
The ‘add-apt-repository’ will automatically update all repositories on the system.
Now install PHP-FPM 7.3 packages from the PPA repository using the apt command below.
sudo apt install php7.3-fpm php7.3-common php7.3-curl php7.3-cli php7.3-mysql php7.3-gd php7.3-xml php7.3-json php7.3-intl php-pear php7.3-dev php7.3-common php7.3-mbstring php7.3-zip php7.3-soap php7.3-bcmath php7.3-opcache -yAnd the PHP-FPM 7.3 installation has been completed.
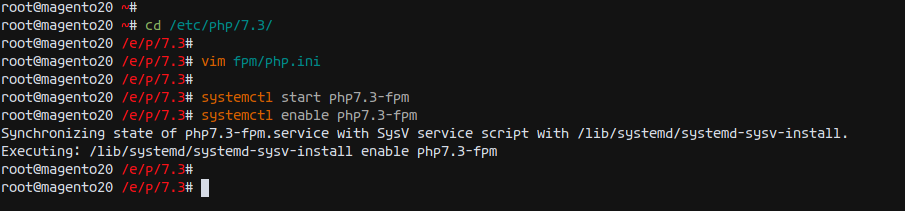
After that, go to the ‘/etc/php/7.3’ directory and edit the ‘php.ini’ configuration for PHP-FPM.
cd /etc/php/7.3/
vim fpm/php.ini
Uncomment and change the configuration as below.
date.timezone = Asia/Singapore
memory_limit = 1G
max_execution_time = 1800
zlib.output_compression = On
cgi.fix_pathinfo = 0opcache.enable=1
opcache.save_comments = 1
Save and close.Advertisements
Next, start the PHP-FPM service and add it to the system boot.
systemctl start php7.3-fpm
systemctl enable php7.3-fpmThe PHP-FPM service is up and running, check it using the command below.
ss -xa | grep php
systemctl status php7.3-fpm
As a result, the PHP-FPM is up and running on the Ubuntu 20.04 server, it’s running under the sock file ‘/run/php/php7.3-fpm.sock’.
Step 3 – Install and Configure MariaDB Server
In this step, we will install the MariaDB database server, setup the default root password for MariaDB, and create a new database and user for Magento.
Install MariaDB Server packages to the Ubuntu 20.04 using the apt command below.
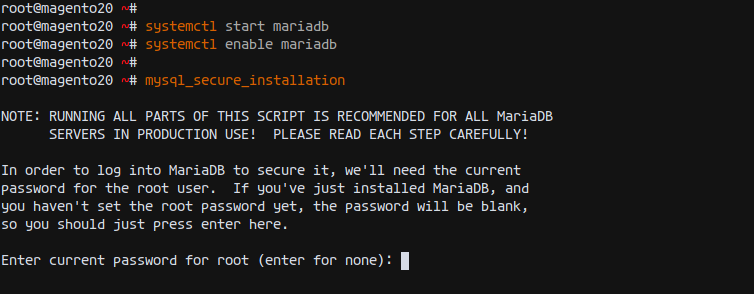
sudo apt install mariadb-serverOnce all installation is completed, start the MariaDB service and add it to the system boot.
systemctl start mariadb
systemctl enable mariadb
The MariaDB service is up and running.
Next, we will set up the MariaDB root password using the ‘mysql_secure_instalaltion’ utility.Advertisements
Run the ‘mysql_secure_instalaltion’ command below.
mysql_secure_installationType your strong password for MariaDB root user and type ‘Y’ for all configuration.
Set a root password? [Y/n] Y
Remove anonymous users? [Y/n] Y
Disallow root login remotely? [Y/n] Y
Remove test database and access to it? [Y/n] Y
Reload privilege tables now? [Y/n] Y
As a result, the MariaDB root password has been configured.
Next, we will create a new database and user for the Magento installation.
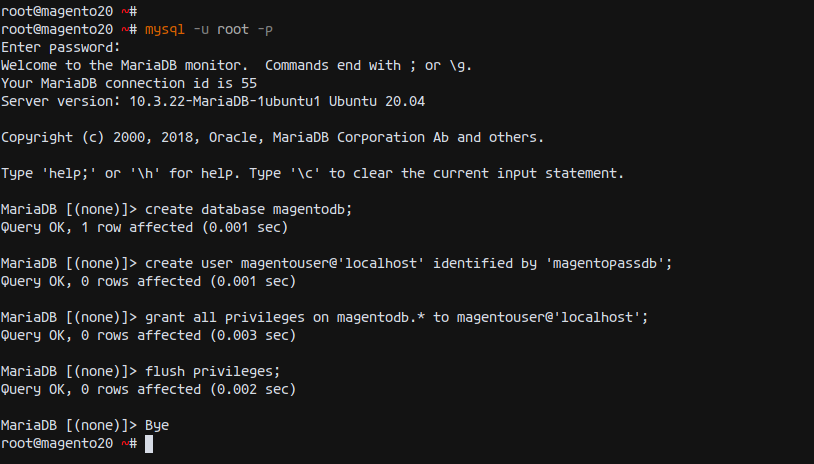
Log in to the MariaDB/MySQL shell using the mysql command below.
mysql -u root -pNow create a new database for our Magento installation. Create the database ‘magentodb’ and the user ‘magentouser’ with the password ‘magentodbpass’.
Run the MySQL queries below.
create database magentodb;
create user [email protected]'localhost' identified by 'magentopassdb';
grant all privileges on magentodb.* to [email protected]'localhost';
flush privileges;
Now type ‘exit’ to log out from the MySQL shell.
As a result, the new database and user for Magento installation has been completed.
Step 4 – Install Composer
Composer is a dependency manager for PHP. it’s an application-level package manager for PHP that allows you to download additional PHP dependencies and libraries to your PHP project.
In this step, we will install the PHP Composer from the Ubuntu repository.
Install Composer using the apt command below.
sudo apt install composer -yOnce the installation is completed, check the composer version below.
composer --versionBelow is the response you will get.
Composer 1.10.1 2020-03-13 20:34:27As can be seen, the Composer 1.10 has been installed on the ubuntu 20.04 Server.
Step 5 – Download and Install Magento 2
In this step, we will download and install the Magento 2, and all PHP packages needed using the Composer.
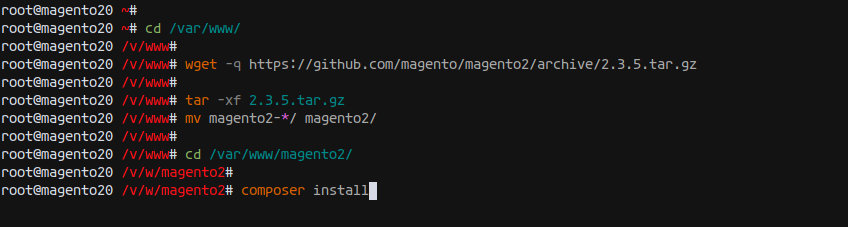
First, go to the ‘/var/www/’ directory and download the Magento 2.3.5 CE (Community Edition) source code using wget command as below.
cd /var/www/
wget -q https://github.com/magento/magento2/archive/2.3.5.tar.gz
Once all is completed, extract the Magento source code and rename the extracted directory to ‘magento2’ directory.
tar -xf 2.3.5.tar.gz
mv magento2-*/ magento2/
Next, go to the Magento installation directory ‘/var/www/magento2’ and install all PHP packages dependencies for Magento using the Composer command as below.
cd /var/www/magento2/
composer installOnce all installation is completed, fix the ownership of the Magento 2 installation directory to the user ‘www-data’.
chown -R www-data:www-data /var/www/magento2As a result, the installation of Magento 2 and all packages dependencies has been completed.
Step 6 – Generate SSL Letsencrypt
For this tutorial, we will secure the Magento 2 installation using the SSL Letsencrypt. And in this step, we will generate the SSL Letsencrypt using the certbot command. Also, make sure that your domain name is resolved to the server IP address.
Install the certbot tool using the apt command below.
sudo apt install certbotOnce the installation is completed, stop the Nginx service.
systemctl stop nginx
certbot certonly --standalone --agree-tos --no-eff-email --email [email protected] -d magento.hakase-labs.io
Once all is completed, you will get your SSL certificates at the ‘/etc/letsencrypt/live/magento.your-domain.com’ directory.
As a result, the SSL Letsencrypt for Magento 2 installation has been generated.
Step 7 – Set up Nginx Virtualhost for Magento 2
In this step, we will add a new Nginx virtualhost configuration for Magento 2.
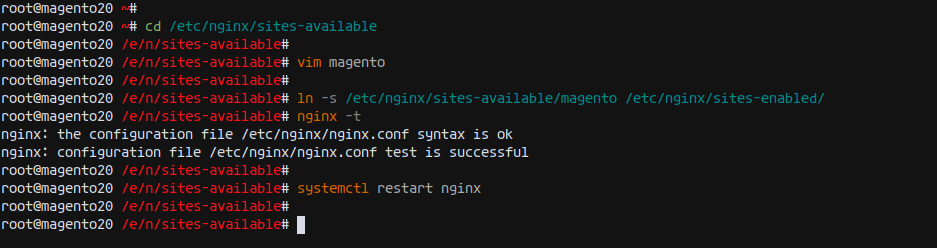
Go to the ‘/etc/nginx/sites-available/’ directory and create a new configuration ‘magento’ using vim editor.
cd /etc/nginx/sites-available/
vim magento
Paste the following configuration into it.
upstream fastcgi_backend {
server unix:/run/php/php7.3-fpm.sock;
}server {
listen 80;
listen [::]:80;
server_name magento.hakase-labs.io;
return 301 https://$server_name$request_uri;
}
server {
listen 443 ssl http2;
server_name magento.hakase-labs.io;
ssl_certificate /etc/letsencrypt/live/magento.hakase-labs.io/fullchain.pem;
ssl_certificate_key /etc/letsencrypt/live/magento.hakase-labs.io/privkey.pem;
set $MAGE_ROOT /var/www/magento2;
set $MAGE_MODE developer;
include /var/www/magento2/nginx.conf.sample;
}
Save and close.
Next, activate the Magento Nginx virtualhost and test the nginx configuration, and make sure there is no error.
ln -s /etc/nginx/sites-available/magento /etc/nginx/sites-enabled/
nginx -t
Now restart the Nginx service using the following command.
systemctl restart nginxAs a result, the Nginx virtual host configuration for Magento 2 has been created and enabled.
Step 8 – Magento Post-Installation
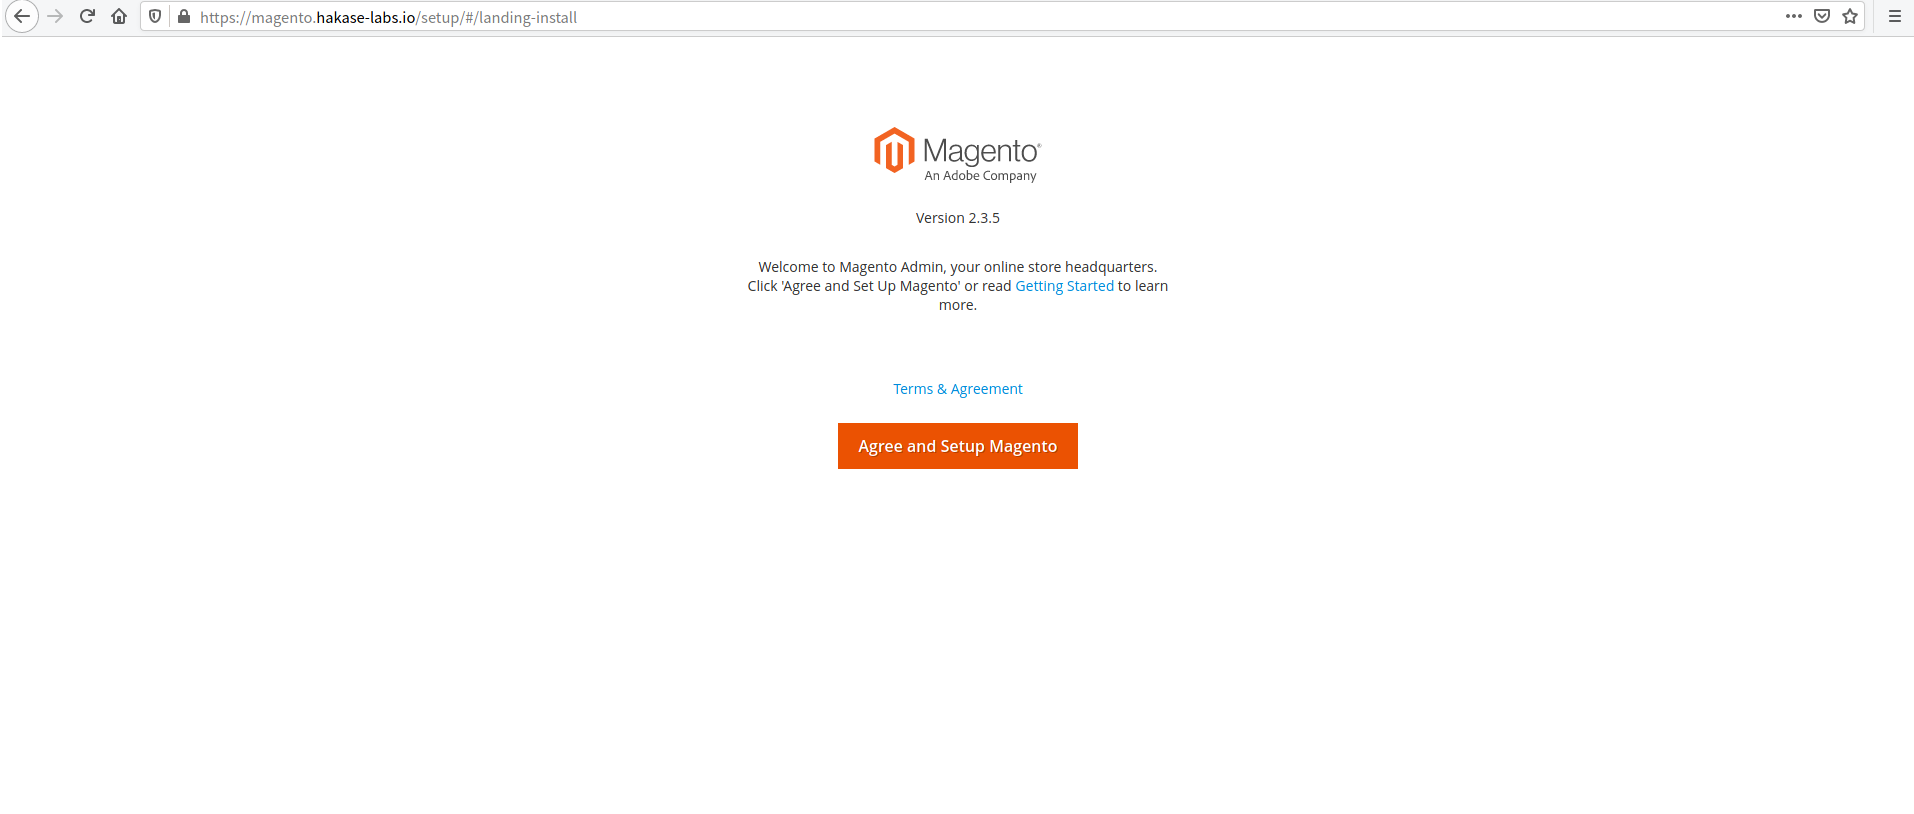
Open your web browser and type your Magento installation domain name on the address bar.
https://magento.hakase-labs.io/
Now you will be redited to HTTPS secure connection and you will get the Magento welcome page and Terms of Service.
Click ‘Agree and Setup Magento‘ button to continue.
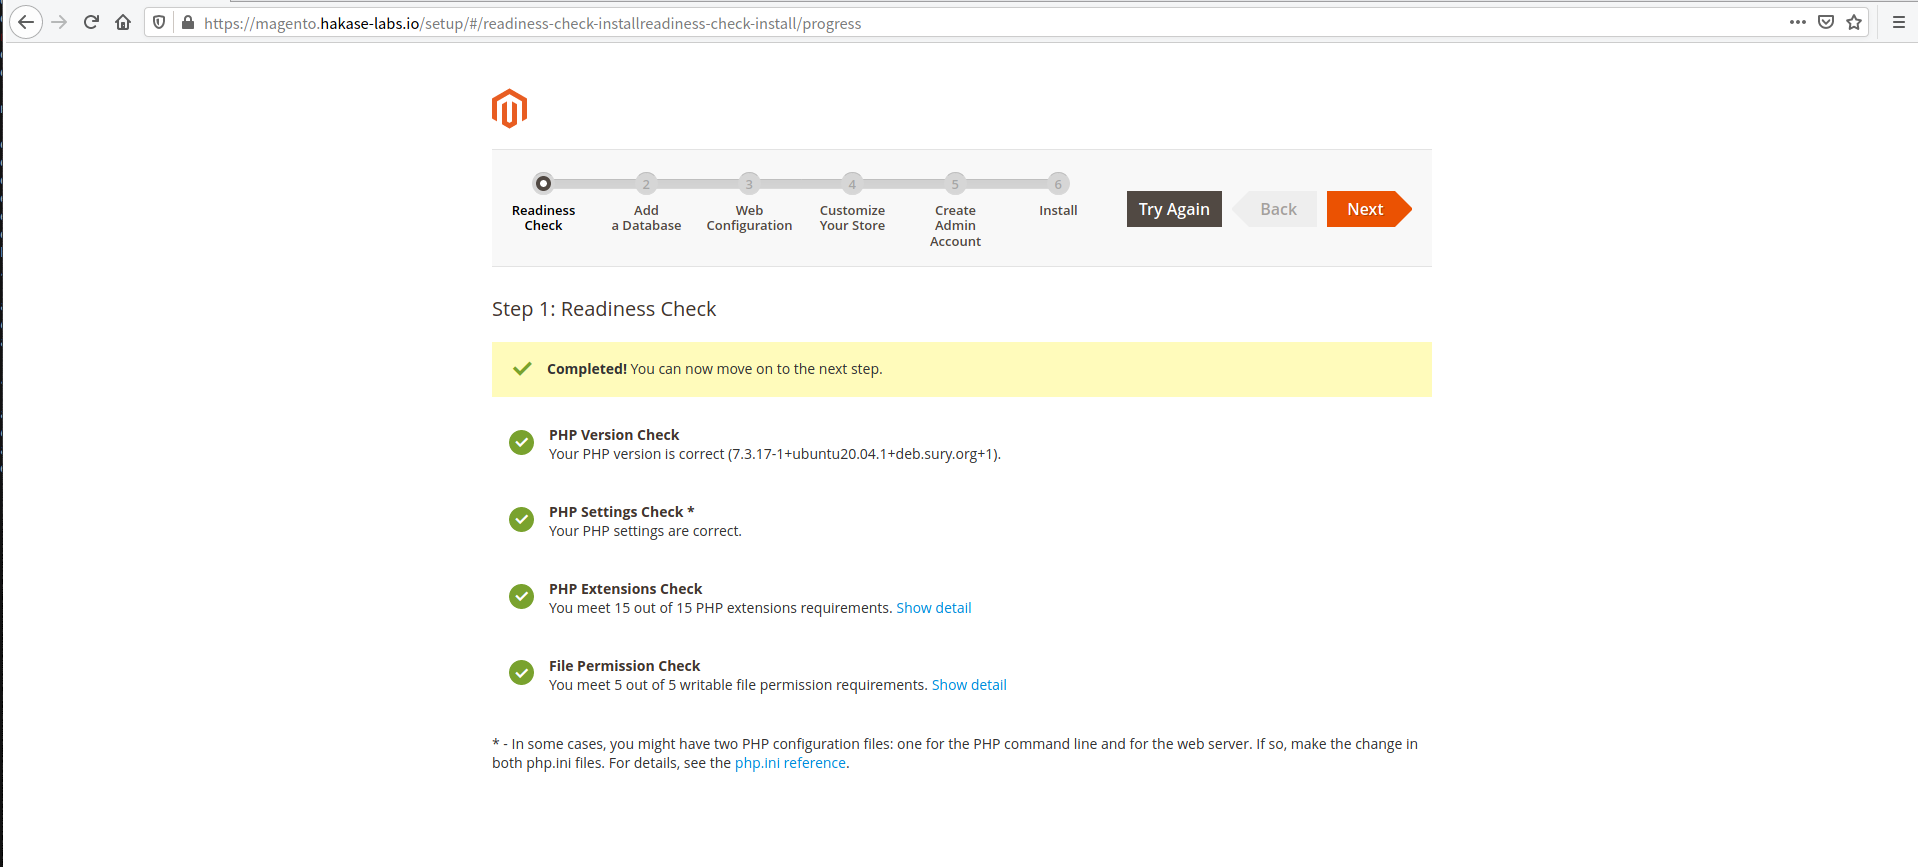
On the ‘Readiness check’ page, make sure all requirements are green and click the ‘Next‘ button.
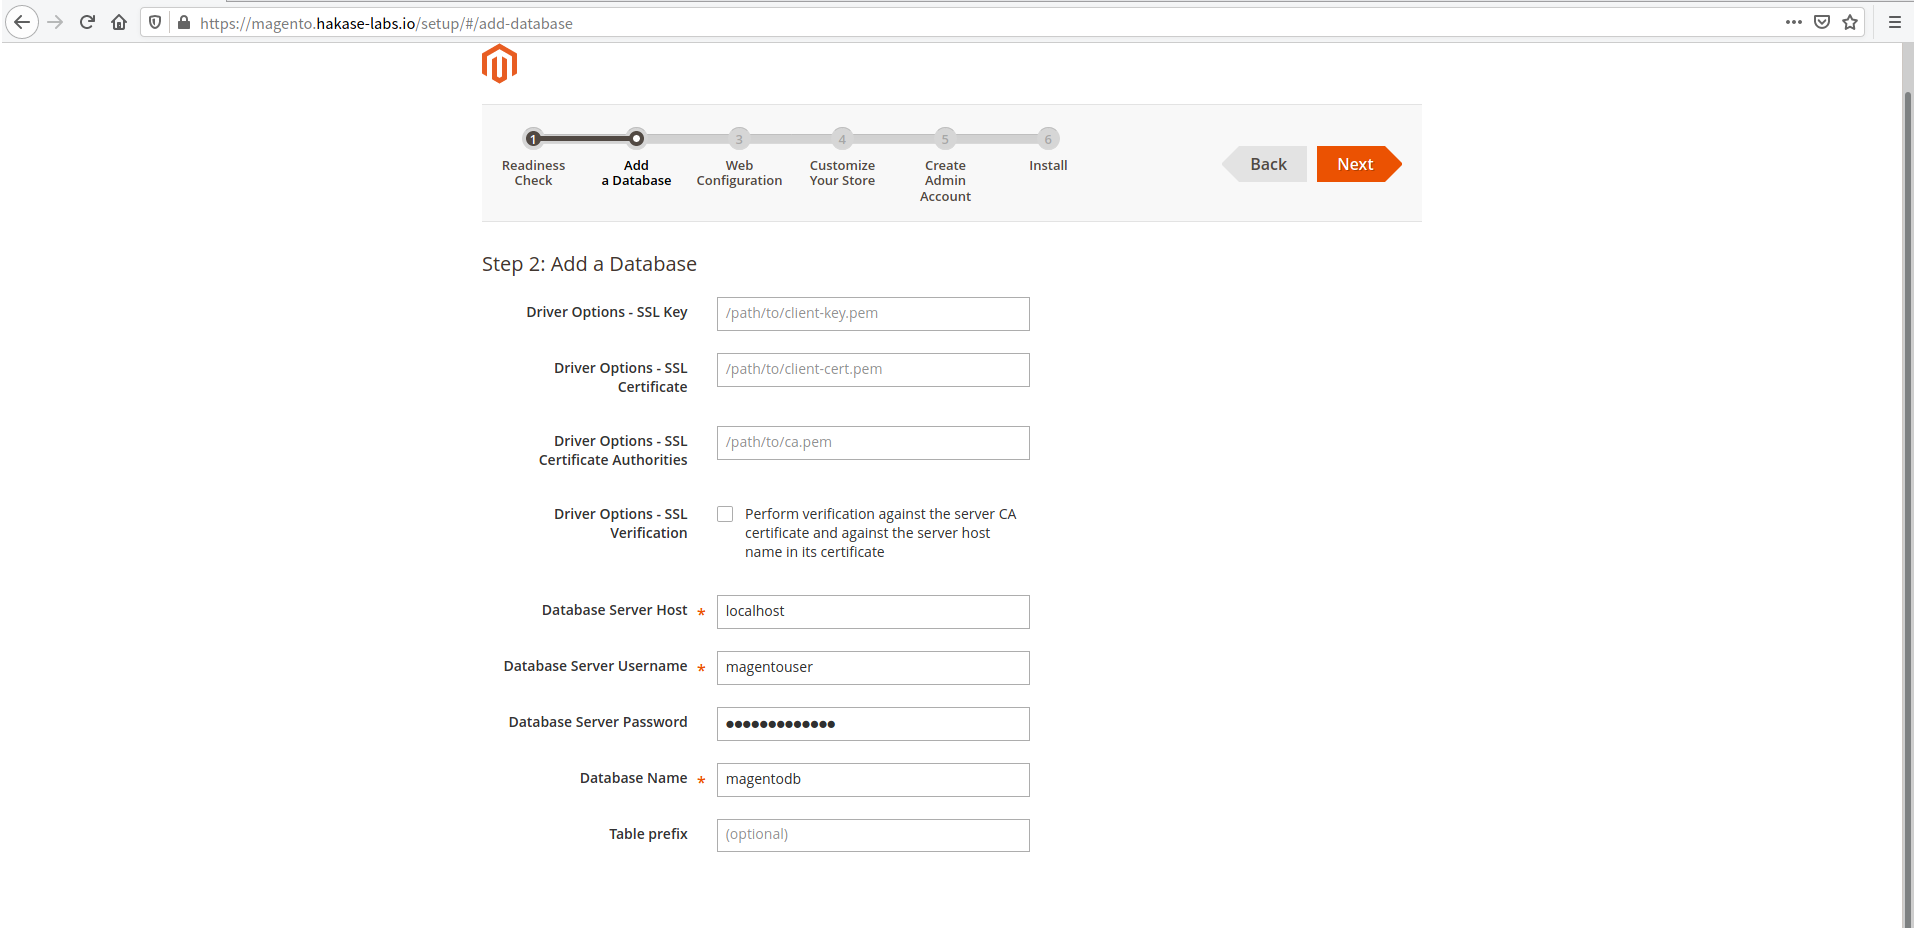
Type in the details of the MariaDB database and the user that we created above and click ‘Next‘.
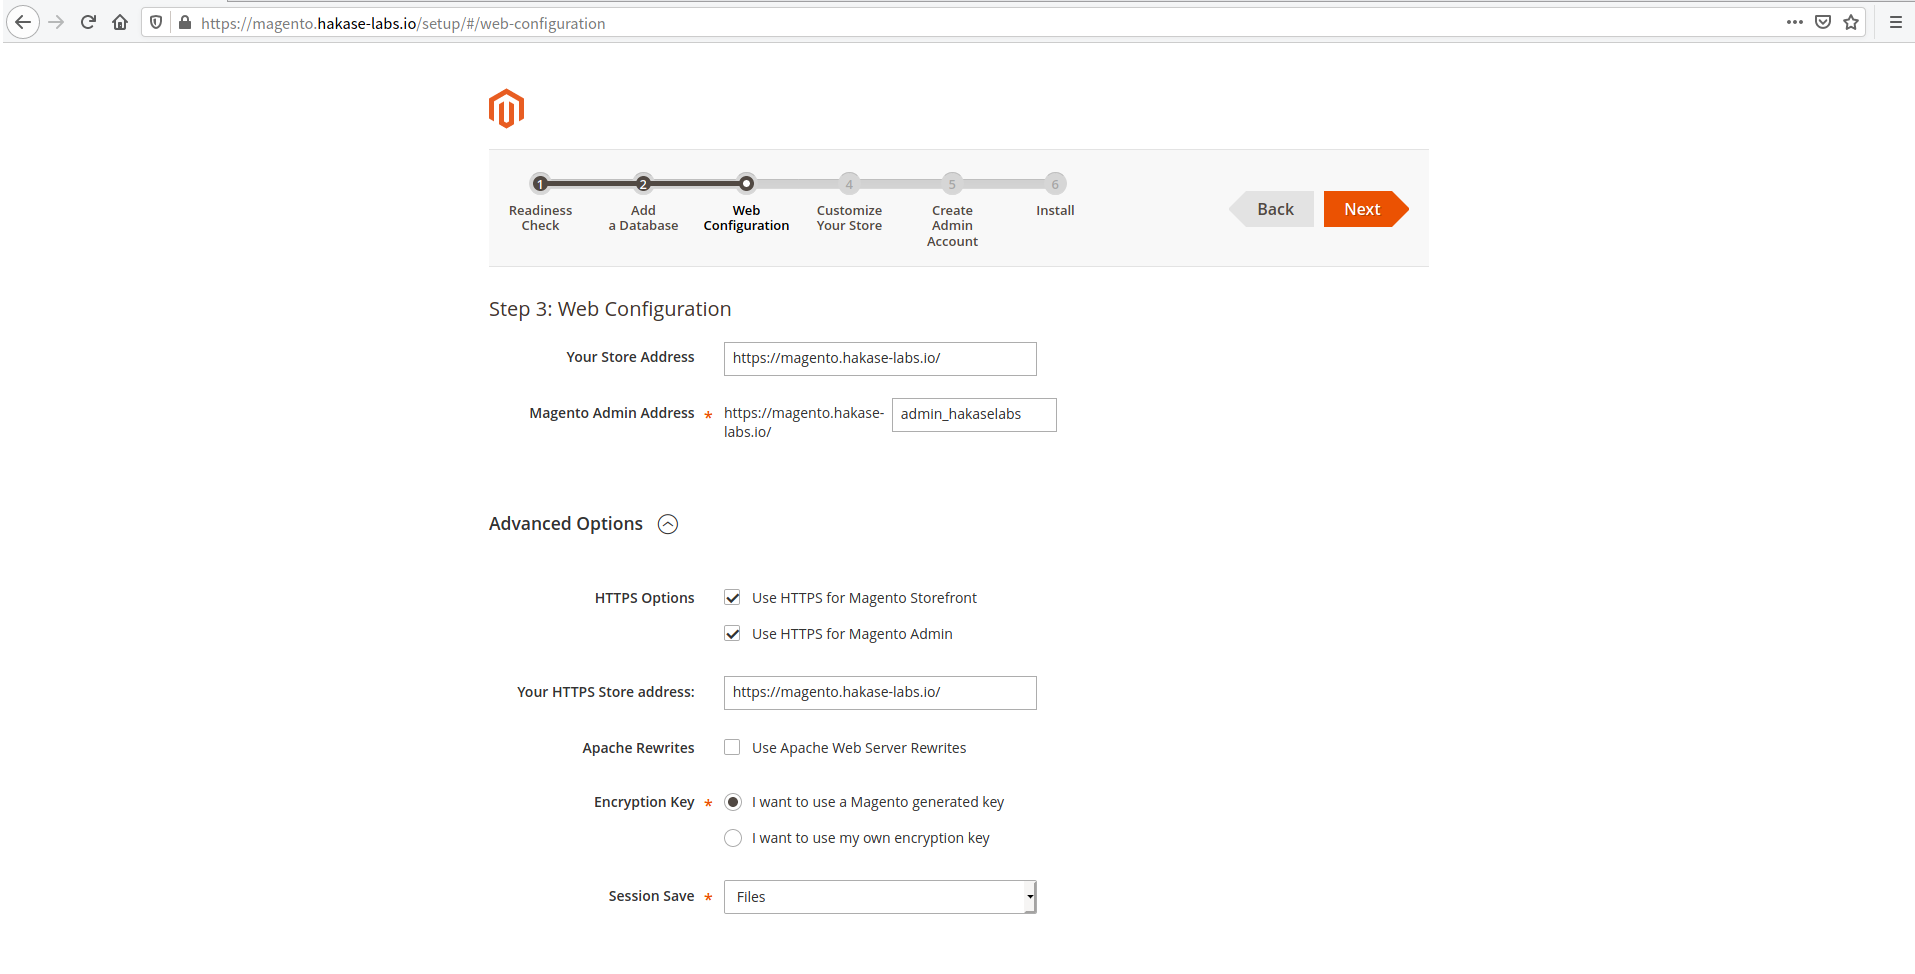
For the ‘Web configuration’, change all HTTP protocol to HTTPS, and make sure to change the ‘Magento Admin Address’.
Now clik the ‘Advanced Options’ and mark all HTTPS options, then unmark the ‘Apache Rewrites’ option and click the ‘Next‘ button again.
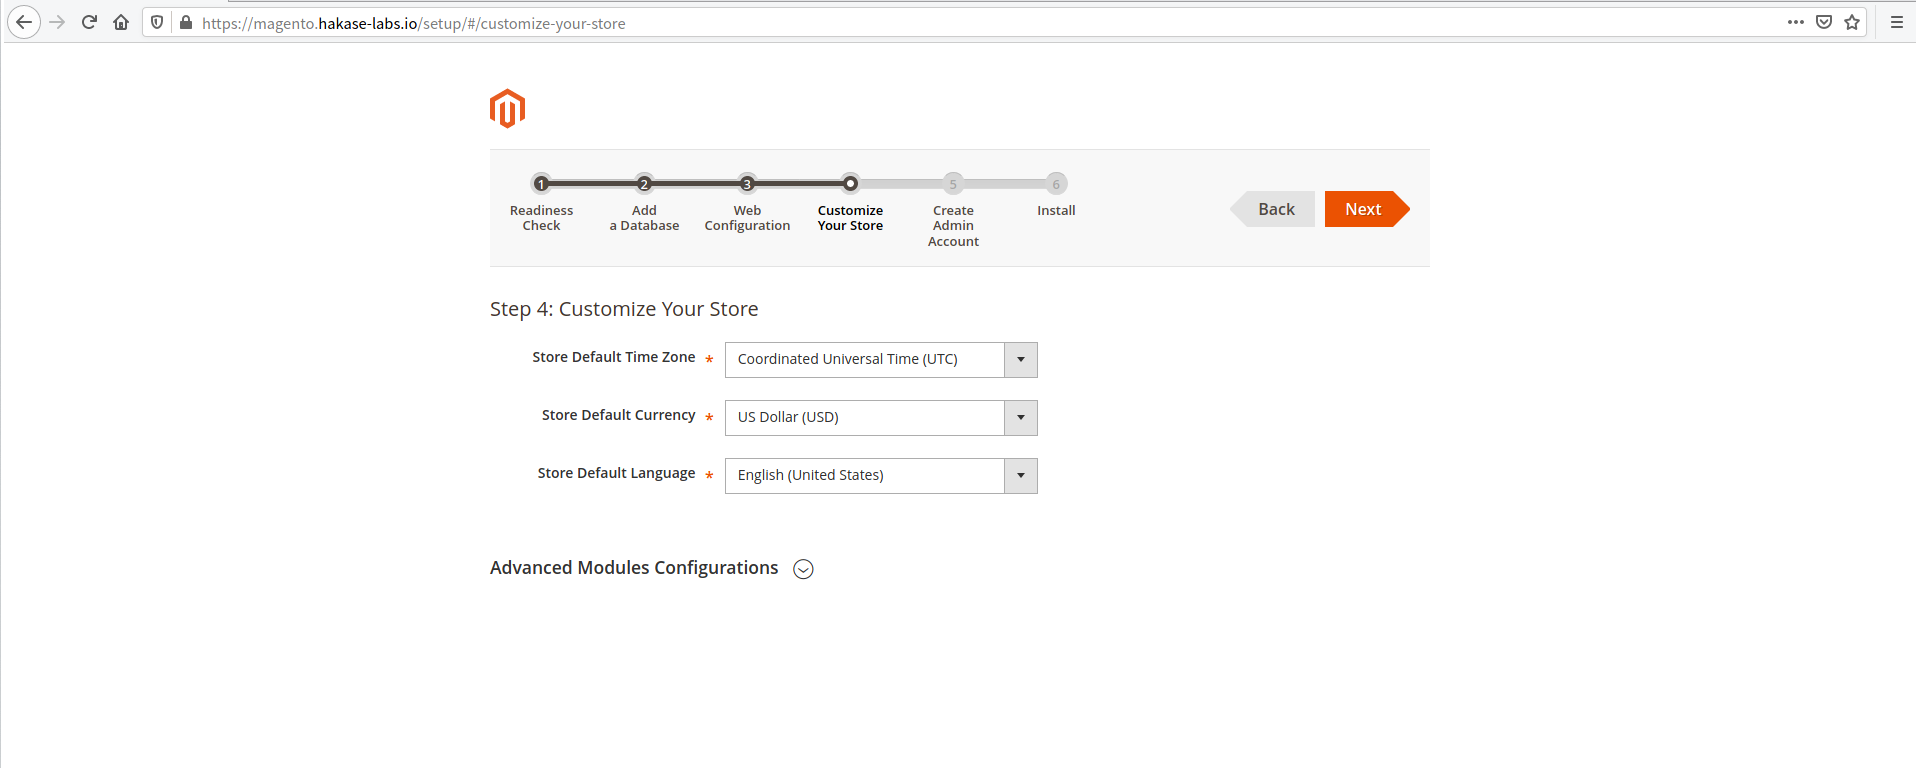
Next, on the Magento ‘Customize Your Store’ configuration, leave it as default and click ‘Next‘ button.
Now type details admin user, email, and password. Then click the Next button.
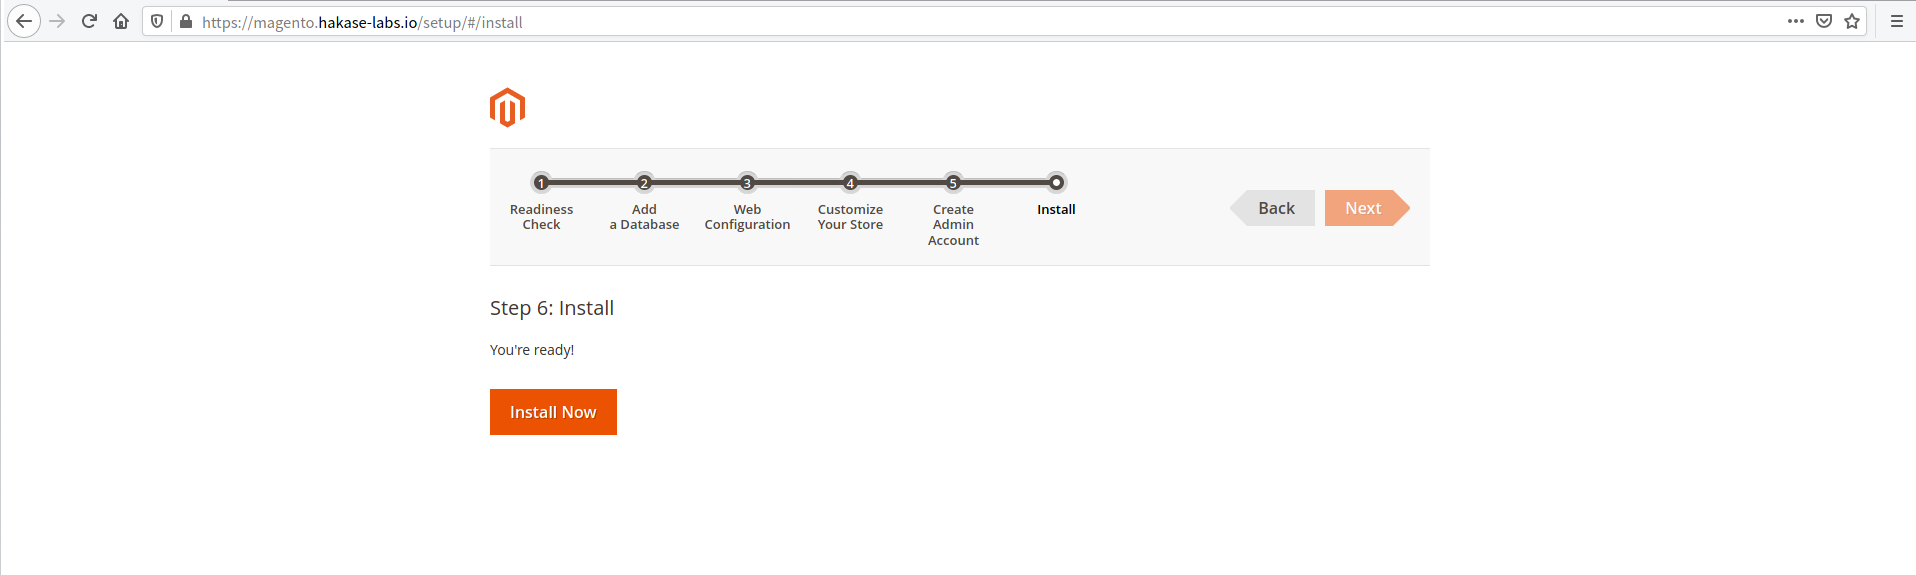
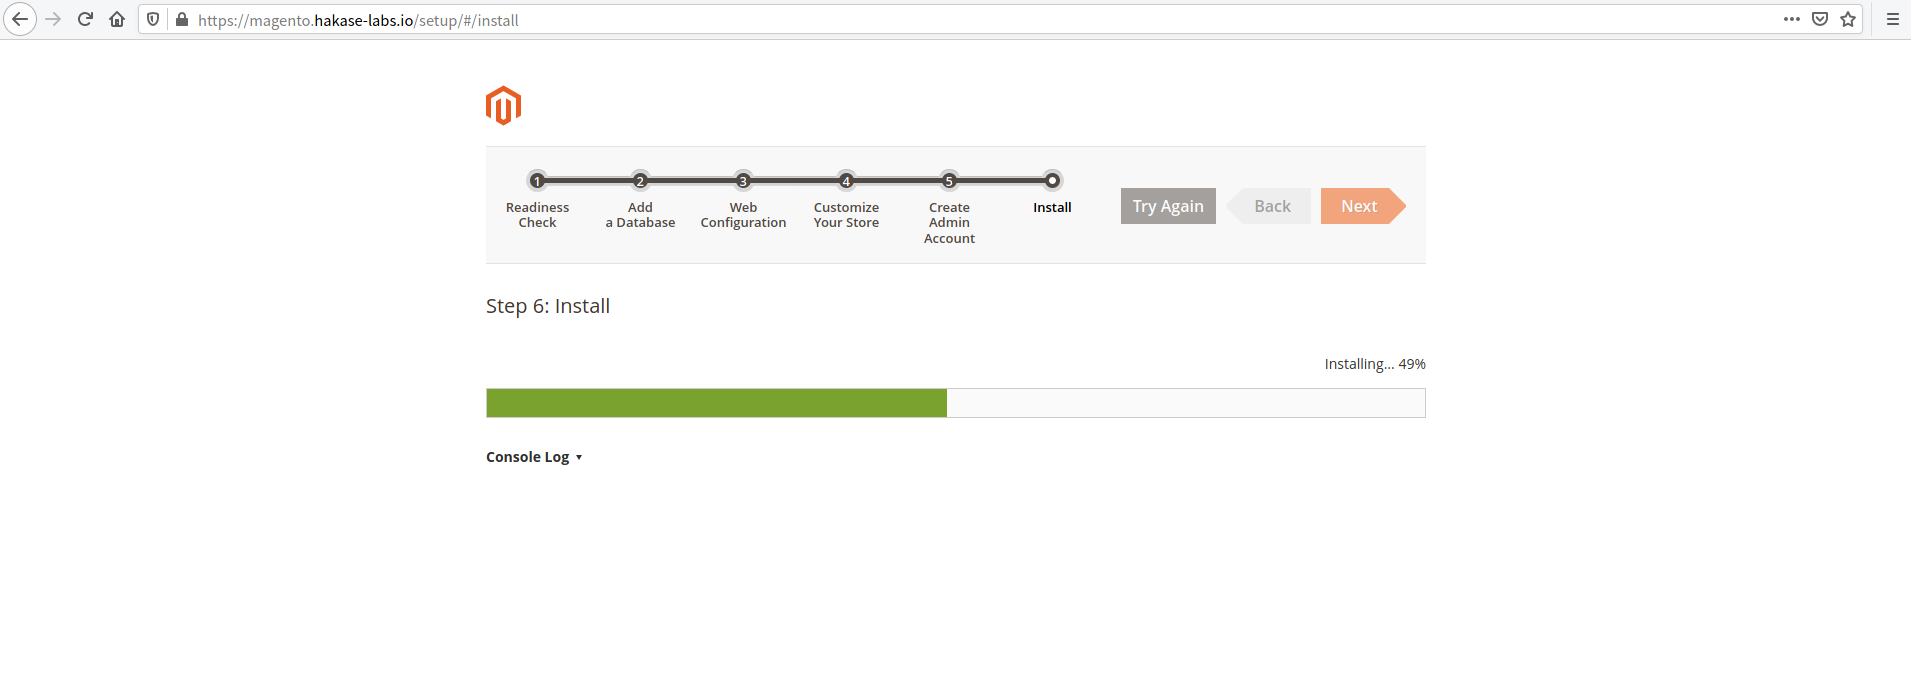
Clcik the ‘Install Now’ button to install your Magento 2 store.
Now make all installation has no error.
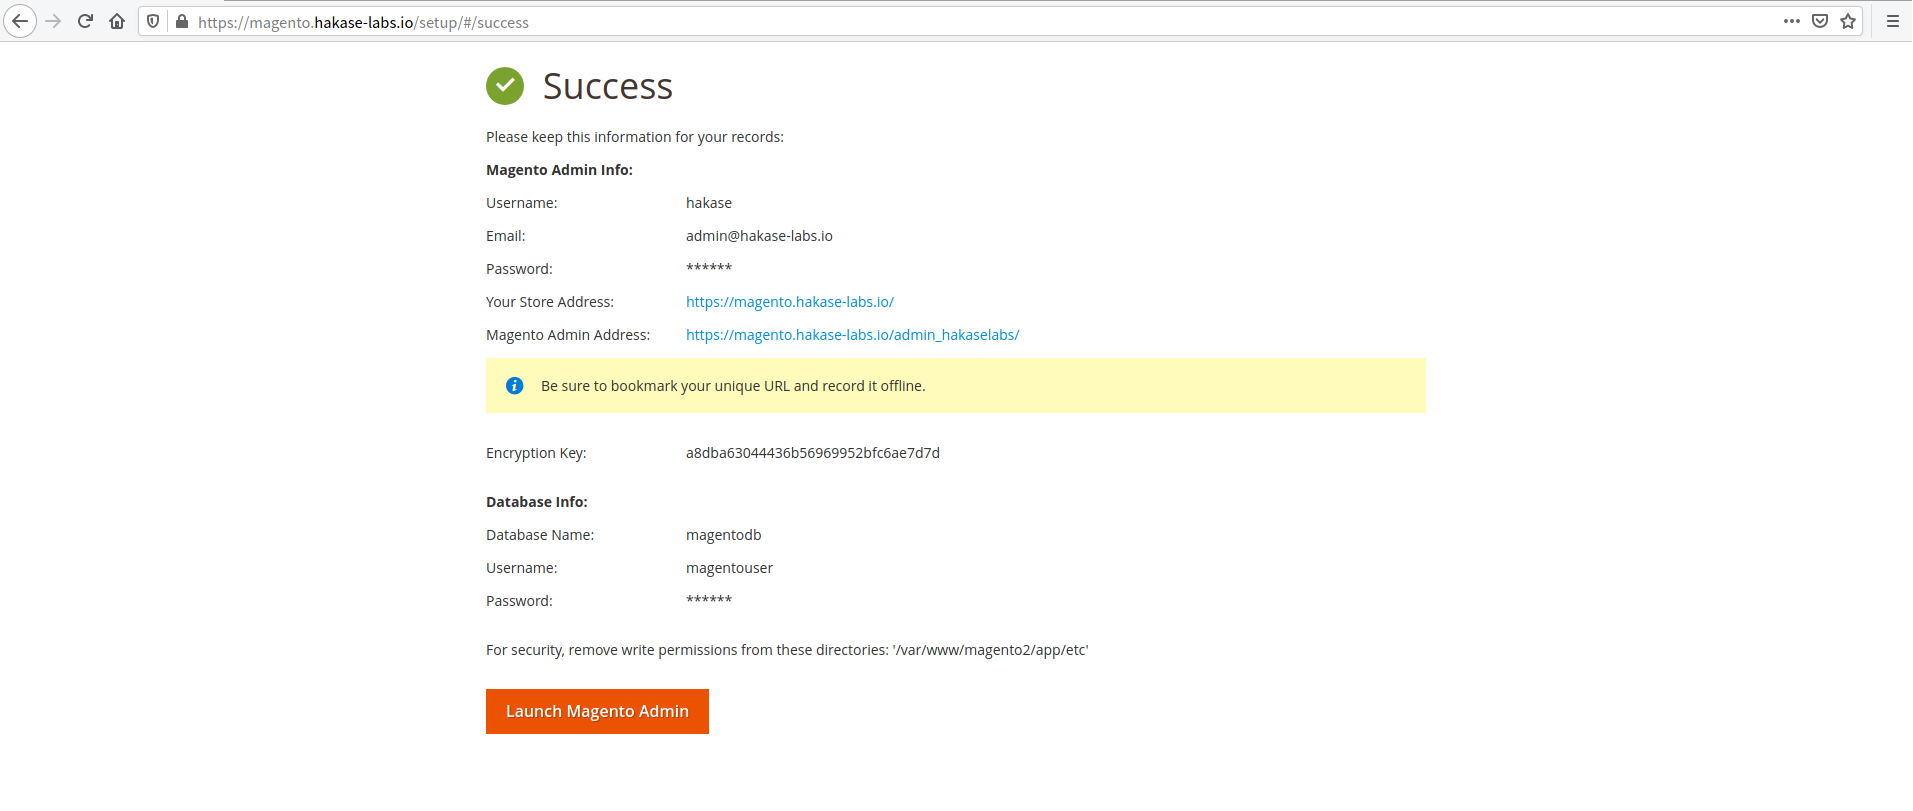
Once all installation is finished, you will get ‘Success‘ page as below.
Click the ‘Launch Magento Admin‘ to log in to your Magento Admin Dashboard.
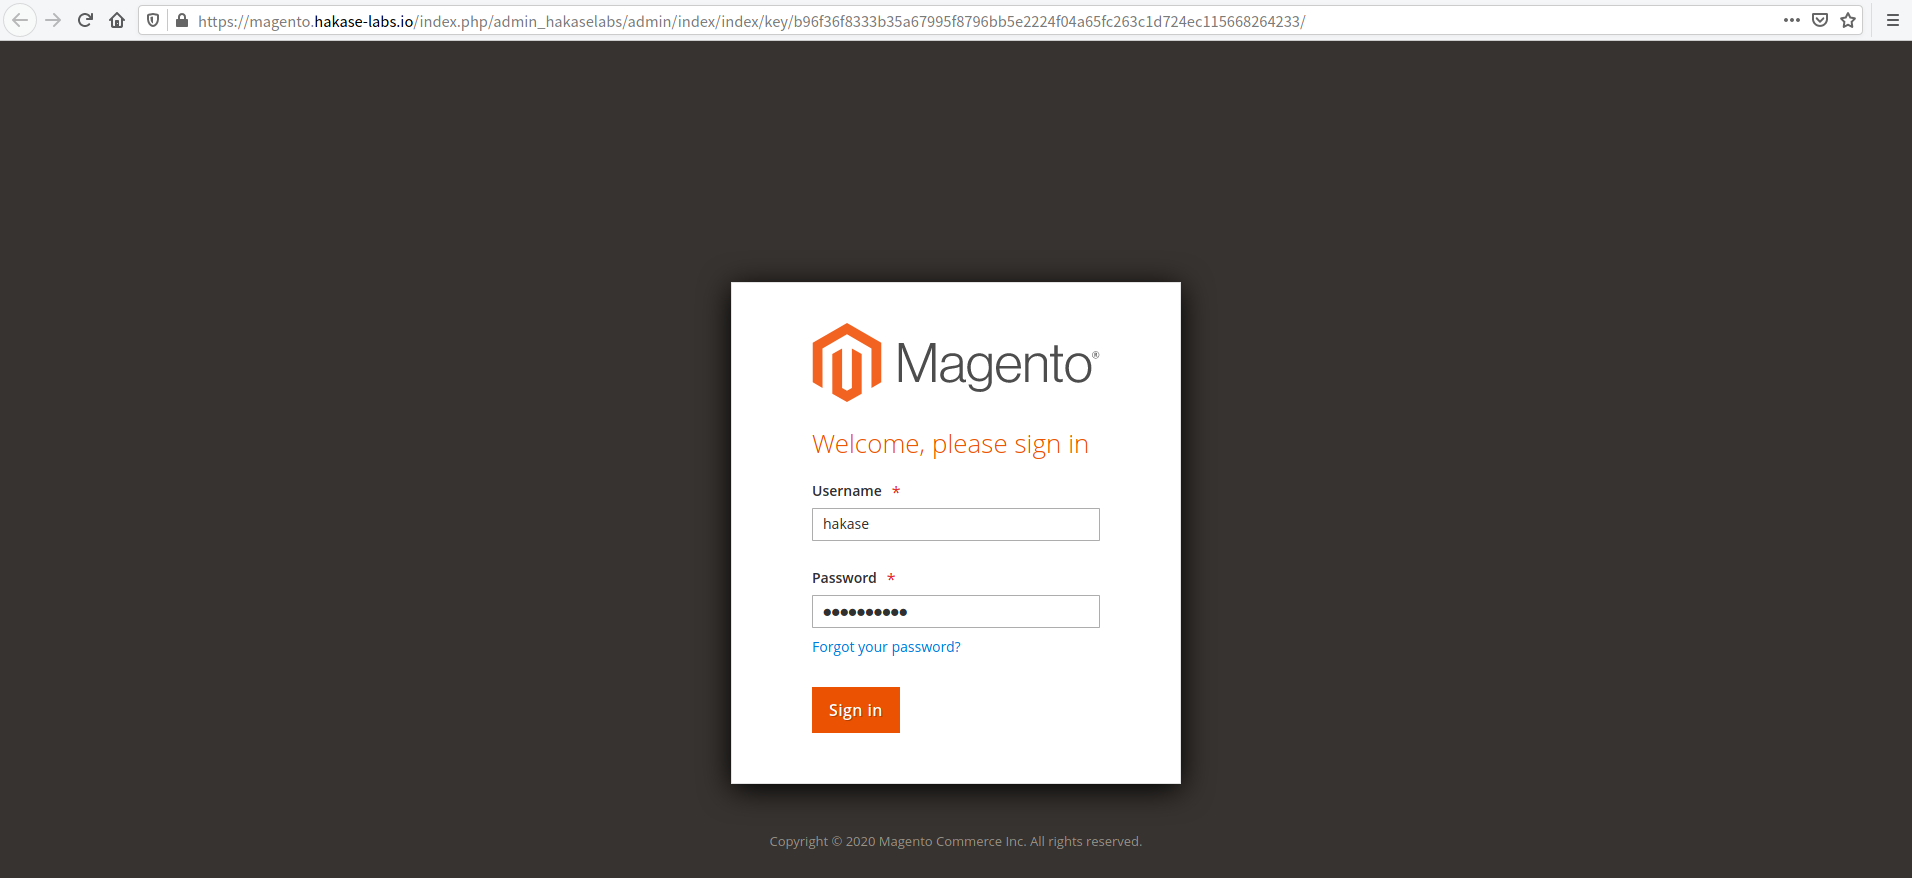
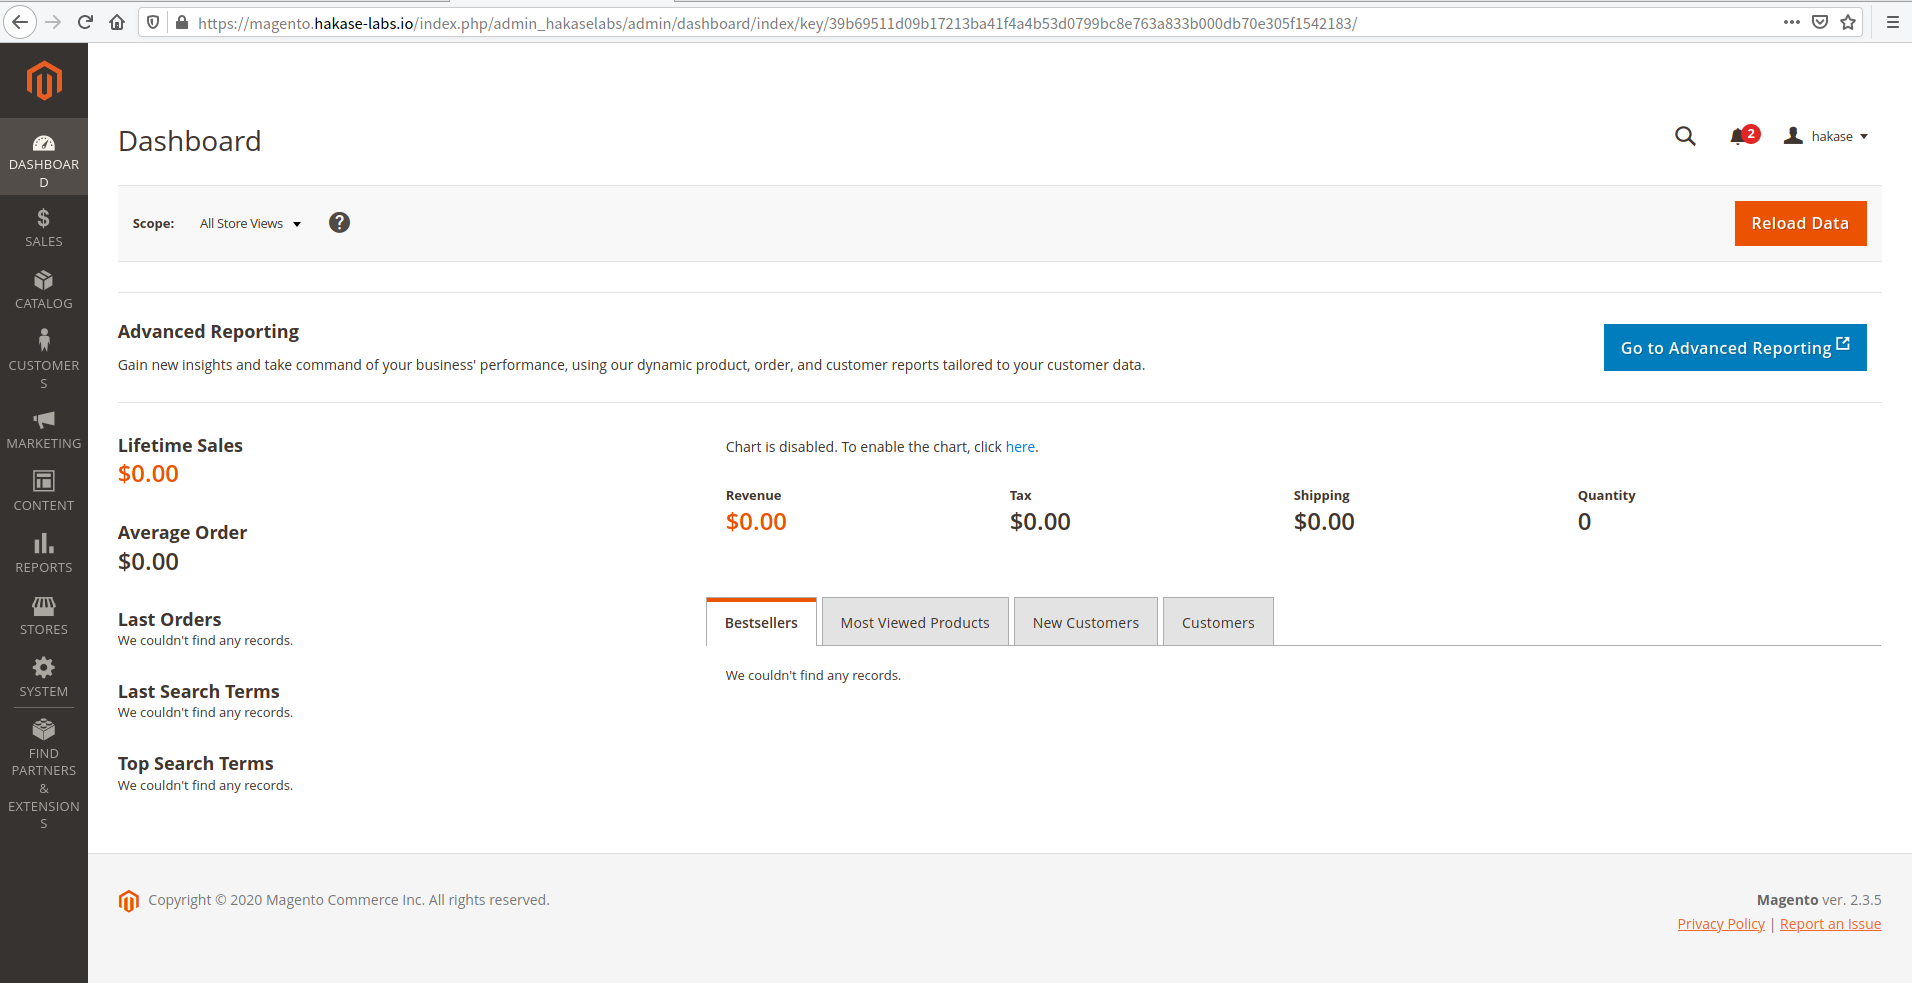
Now type your Magento Admin user and password, then click the ‘Sign In’ and you wil get the Magento Admin Dashboard as below.
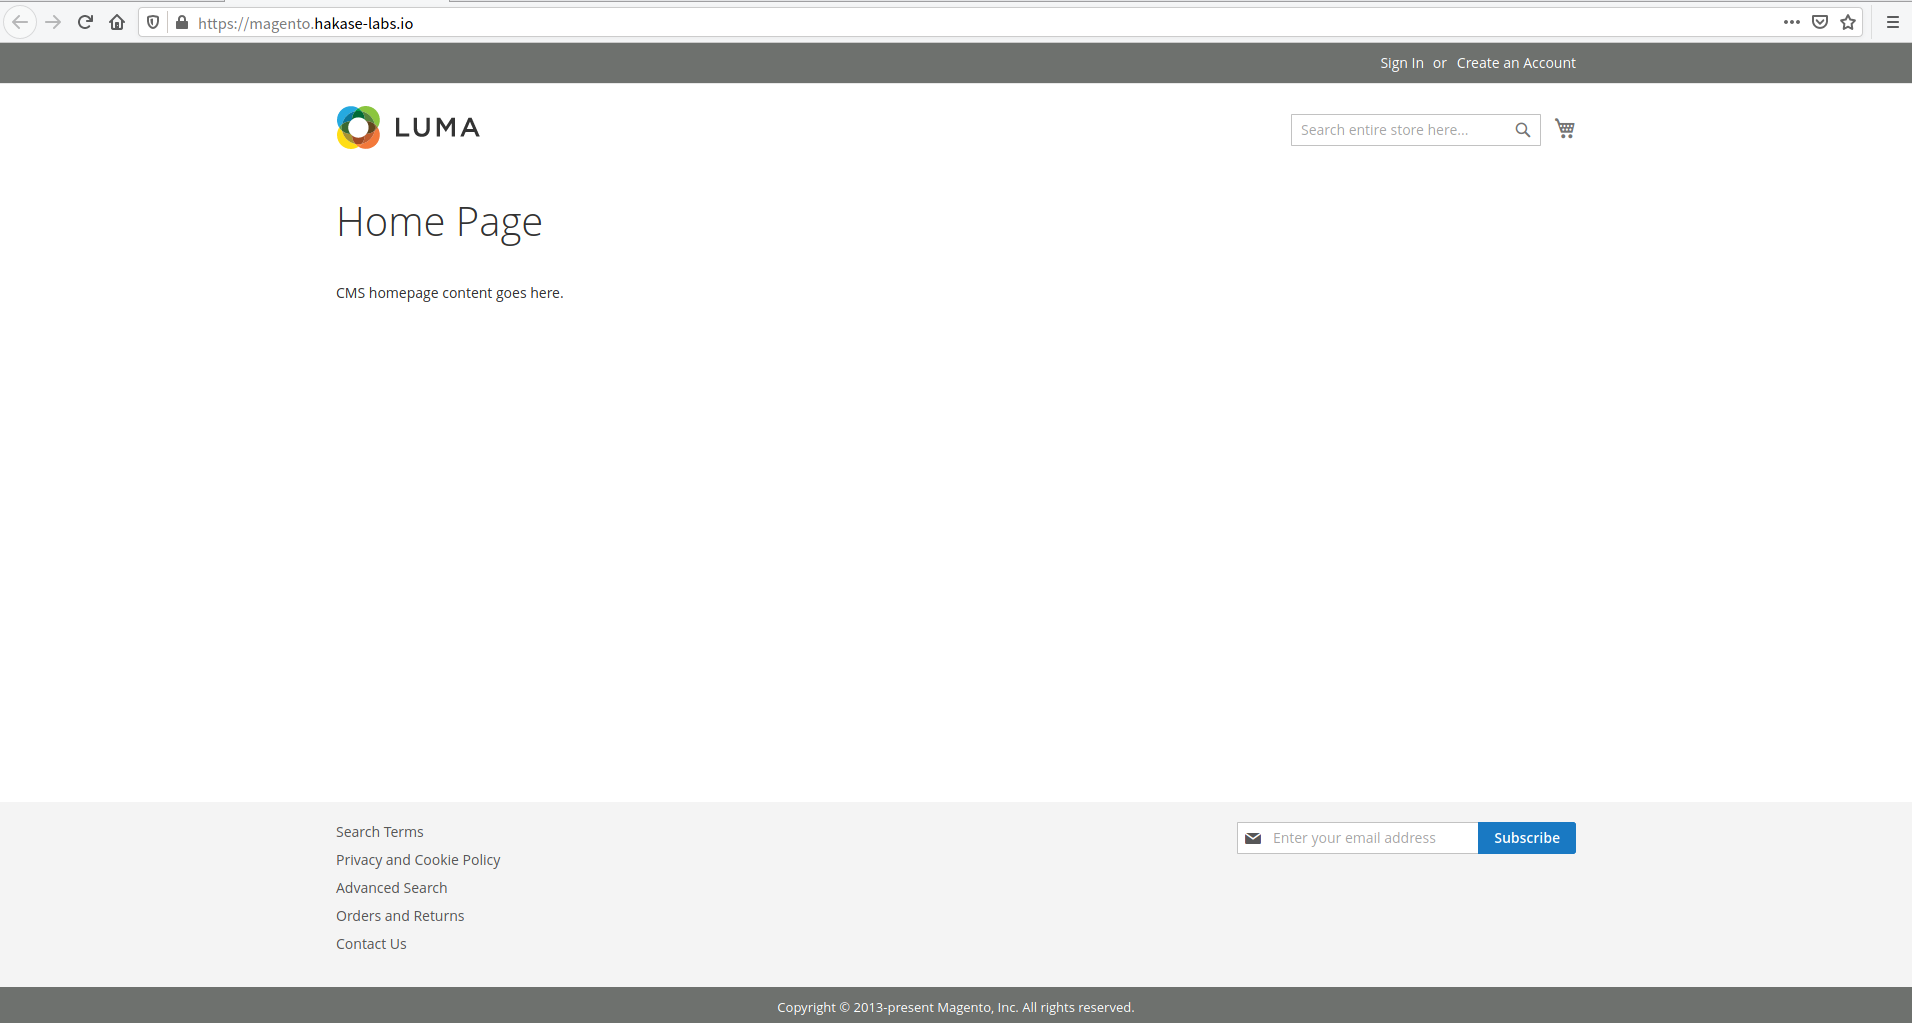
For the Magento default index page, open new tab and type your domain name on the address bar.
Below is the Magento default index page.
As a result, the installation of Magento 2 has been completed.
Next, back to your server shell and we will set up the Magento Cron and remove the permission to write of some Magento installation directory.
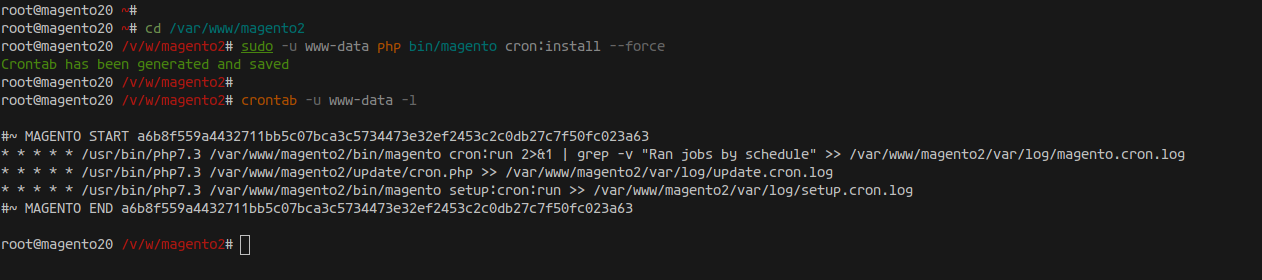
To set up the Magento cron, run the command below.
cd /var/www/magento2
sudo -u www-data php bin/magento cron:install --force
The Magento cron will run under the user ‘www-data’, check it using the following command.
crontab -u www-data -lAs a result, the Magento Cron has been added to the system.
Next, we need to remove the write permission of the ‘/var/www/magento2/app/etc’ directory.
Run the chmod command below.
chmod u-w /var/www/magento2/app/etcAnd finally, the installation of Magento 2 with Nginx web server, MariaDB server, PHP-FPM 7.3 on the latest Ubuntu 20.04 has been completed successfully.


