
MariaDB, the Maria database software is an open-source relational database management system. MariaDB has been forked from MySQL and can be installed on Rocky Linux. MariaDB was created to meet the perceived needs of small to midsize businesses that need a robust, reliable, and scalable SQL server without spending lots of money. MariaDB offers many advanced features not found in other open-source databases including subqueries, stored procedures (in addition to triggers), and window functions. This guide will show you how to install MariaDB on Rocky Linux.
Prerequisite
You need to be logged in as root user or with the sudo privilege. If you are not, log out and log in again with the correct credentials.
Step 1: Updating the System
For any Linux system, regular updates are critical. The following command will update all packages currently available in the repositories. If your Rocky installation was a minimal one, this step may take some time as many of these upgrades are for libraries and other dependencies which were not included by default but rather pulled from external sources.
sudo dnf update
Reboot the system, and login again to verify all packages have been updated.
sudo reboot now
Step 2: Adding the MariaDB Repository
You can find MariaDB package in the AppStream repository but it’s not the latest version. By running the following commands, you may verify the versions maintained in the repository:
sudo dnf module list mariadb
To get the latest version of MariaDB, which is 10.6 as of writing this article, you first need to create a MariaDB repo file.
sudo dnf install nano -y
sudo nano /etc/yum.repos.d/mariadb.repo
Populate the file with the lines below:
[mariadb]name = MariaDB
baseurl = http://yum.mariadb.org/10.6/rhel8-amd64
module_hotfixes=1
gpgkey=https://yum.mariadb.org/RPM-GPG-KEY-MariaDB
gpgcheck=1
Save and close the file when you are done.
Step 3: Install MariaDB
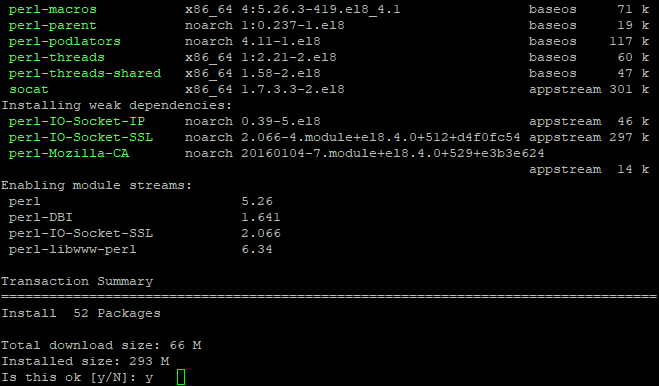
Now that you have added the repository, you can install MariaDB on your server. To do so run the command below:
sudo dnf update
sudo dnf install mariadb-server mariadb
Once the installation is complete, start the MariaDB service and enable it to run on system boot:
sudo systemctl start mariadb
sudo systemctl enable mariadb
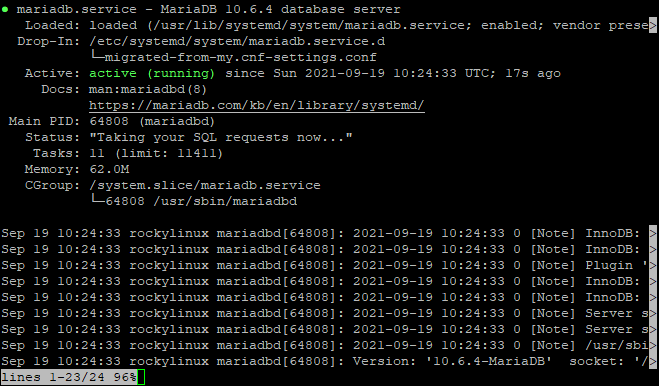
To check whether MariaDB has been installed successfully or not, type:
sudo systemctl status mariadb
If you see a message that says active (running), then it has been installed successfully.
Step 4: Secure MariaDB Server
Now that you have MariaDB installed on your system, it is time to secure the server. This is essential for any server that will be connected to the internet.
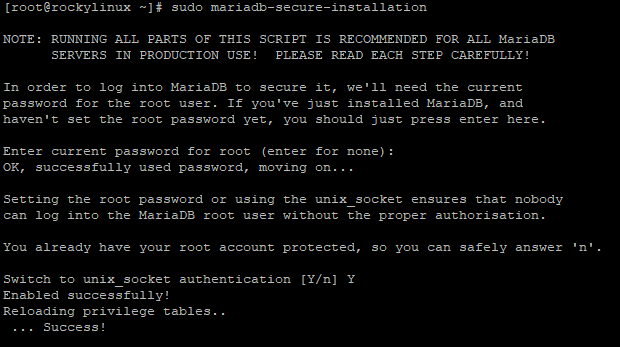
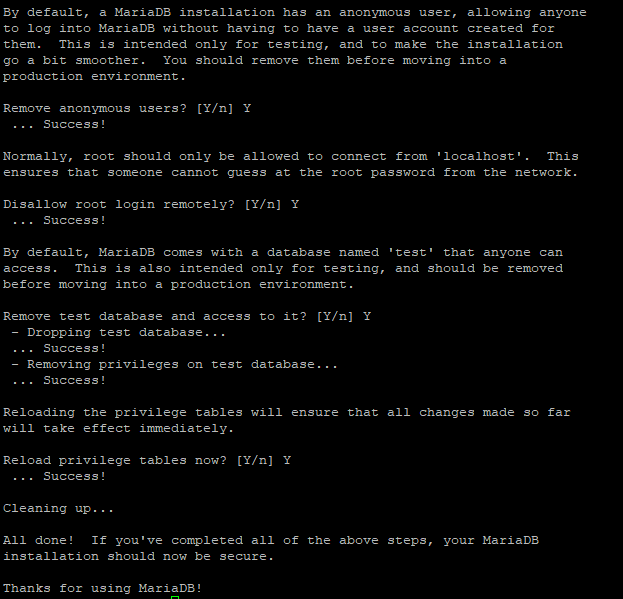
sudo mariadb-secure-installation
This process takes just a few minutes. When prompted to enter the current root password, press the Enter key. Type Y and presss Enter key to switch to unix_socket authentication
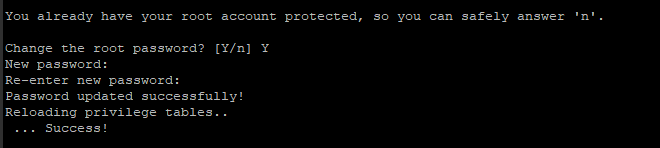
The type Y to change the MariaDB root password. Type a new password when prompted and press Enter key to confirm it.
The next time you access the MariaDB shell, you will be requested the root password.
After that, you will be asked some basic questions about your database system; answer them according to what you would like done. For example, enter ‘Y’ or ‘yes’ when prompted whether to remove anonymous users.
Step 7: Connect MariaDB server
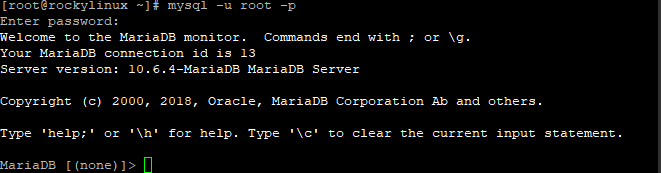
MariaDB is now ready to use. You can connect to the MariaDB server with the following command:
mysql -u root -p
Type in the password for your MariaDB root user. After that, you will see a > prompt which is used for another shell to run command on this database server.
Type exit or press CTRL D to close the connection and go back to your terminal shell.
That’s it! You have successfully installed MariaDB on Rocky Linux. Remember that you can still use the version provided by the AppStream repository, but if you are looking forward to installing an up-to-date version of MariaDB – or any other package for that matter – then adding the repository is what it takes.
Conclusion
In this guide, you learned how to install MariaDB on Rocky Linux. We hope you enjoyed it and managed to install the latest MariaDB version on your system.


