
Metabase is a Java-based open-source Business Intelligence (BI) tool. It connects to a number of databases and uses a question builder to hide the complexity of large SQL queries that allow you to visualize customer data in a readable format and analyze it. You can ask questions about your data or embed it in your app to let your customers explore their data on their own. It can generate dashboards and visualizations and send alerts to your Slack channel. It can connect to many database platforms and data sources, including MySQL, Google Analytics, MongoDB, PostgreSQL, ClickHouse, Amazon Athena, Amazon Redshift, and many more.
Using Docker, you will learn how to install Metabase on a Ubuntu 22.04 server.
Prerequisites
-
A server running Ubuntu 22.04 with a minimum of 2 CPU cores and 2GB of memory. You will need to upgrade the server as per requirements.
-
A non-root user with sudo privileges.
-
A fully qualified domain name (FQDN) pointing to your server. For our purposes, we will use
metabase.example.comas the domain name. -
Metabase sends email notifications to users. We recommend you use a 3rd party Transactional mail service like Mailgun, Sendgrid, Amazon SES, or Sparkpost. The instructions in the guide will be using Amazon SES.
-
Make sure everything is updated.
$ sudo apt update -
Install basic utility packages. Some of them may already be installed.
$ sudo apt install wget curl nano software-properties-common dirmngr apt-transport-https gnupg gnupg2 ca-certificates lsb-release ubuntu-keyring unzip -y
Step 1 – Configure Firewall
The first step is to configure the firewall. Ubuntu comes with ufw (Uncomplicated Firewall) by default.
Check if the firewall is running.
$ sudo ufw status
You should get the following output.
Status: inactive
Allow SSH port so the firewall doesn’t break the current connection on enabling it.
$ sudo ufw allow OpenSSH
Allow HTTP and HTTPS ports as well.
$ sudo ufw allow http
$ sudo ufw allow https
Enable the Firewall
$ sudo ufw enable
Command may disrupt existing ssh connections. Proceed with operation (y|n)? y
Firewall is active and enabled on system startup
Check the status of the firewall again.
$ sudo ufw status
You should see a similar output.
Status: active

To                         Action      From
--                         ------      ----
OpenSSH                    ALLOW       Anywhere
80/tcp                     ALLOW       Anywhere
443                        ALLOW       Anywhere
OpenSSH (v6)               ALLOW       Anywhere (v6)
80/tcp (v6)                ALLOW       Anywhere (v6)
443 (v6)                   ALLOW       Anywhere (v6)
Step 2 – Install Docker and Docker Compose
Ubuntu 22.04 ships with an older version of Docker. To install the latest version, first, import the Docker GPG key.
$ curl -fsSL https://download.docker.com/linux/ubuntu/gpg | sudo gpg --dearmor -o /etc/apt/keyrings/docker.gpg
Create a Docker repository file.
$ echo
  "deb [arch=$(dpkg --print-architecture) signed-by=/etc/apt/keyrings/docker.gpg] https://download.docker.com/linux/ubuntu
  $(lsb_release -cs) stable" | sudo tee /etc/apt/sources.list.d/docker.list > /dev/null
Update the system repository list.
$ sudo apt update
Install the latest version of Docker.
$ sudo apt install docker-ce docker-ce-cli containerd.io docker-compose-plugin
Verify that it is running.
$ sudo systemctl status docker
? docker.service - Docker Application Container Engine
     Loaded: loaded (/lib/systemd/system/docker.service; enabled; vendor preset: enabled)
     Active: active (running) since Thu 2023-01-05 05:55:23 UTC; 2min 16s ago
TriggeredBy: ? docker.socket
       Docs: https://docs.docker.com
   Main PID: 2116 (dockerd)
      Tasks: 8
     Memory: 22.5M
        CPU: 252ms
     CGroup: /system.slice/docker.service
             ??2116 /usr/bin/dockerd -H fd:// --containerd=/run/containerd/containerd.sock
By default, Docker requires root privileges. If you want to avoid using sudo every time you run the docker command, add your username to the docker group.
$ sudo usermod -aG docker $(whoami)
You will need to log out of the server and back in as the same user to enable this change or use the following command.
$ su - ${USER}
Confirm that your user is added to the Docker group.
$ groups
navjot wheel docker
Create a directory for Metabase.
$ mkdir ~/metabase
Create and open the Docker compose file for editing.
$ nano docker-compose.yml
Paste the following code in it.
version: '3.9'
services:
  metabase:
    image: metabase/metabase:latest
    container_name: metabase
    hostname: metabase
    volumes:
    - /dev/urandom:/dev/random:ro
    ports:
      - 3000:3000
    environment:
      MB_DB_TYPE: postgres
      MB_DB_DBNAME: metabase
      MB_DB_PORT: 5432
      MB_DB_USER_FILE: /run/secrets/db_user
      MB_DB_PASS_FILE: /run/secrets/db_password
      MB_DB_HOST: postgres
    env_file:
      - metabase.env
    healthcheck:
      test: curl --fail -I http://localhost:3000/api/health || exit 1
      interval: 15s
      retries: 5
      start_period: 10s
      timeout: 5s
    networks:
      - metanet1
    depends_on:
      - postgres
    secrets:
      - db_password
      - db_user
  postgres:
    image: postgres:latest
    container_name: postgres
    hostname: postgres
    environment:
      POSTGRES_USER_FILE: /run/secrets/db_user
      POSTGRES_DB: metabase
      POSTGRES_PASSWORD_FILE: /run/secrets/db_password
    healthcheck:
      test: ['CMD', 'pg_isready', '-U', 'postgres']
    volumes:
      - ./postgresql:/var/lib/postgresql/data
    networks:
      - metanet1
    secrets:
      - db_password
      - db_user
networks:
  metanet1:
    driver: bridge
secrets:
   db_password:
     file: db_password.txt
   db_user:
     file: db_user.txt
Save the file by pressing Ctrl X and entering Y when prompted.
The above Docker compose file grabs the latest version of the Metabase Docker image and exposes the app via port 3000. It is connected to the PostgreSQL image. The PostgreSQL database username and password are stored in the files db_user.txt and db_password.txt files respectively.
Create and open the db_user.txt file for editing.
$ nano db_user.txt
Paste your username in it and save the file by pressing Ctrl X and entering Y when prompted.
Create and open the db_password.txt file for editing.
$ nano db_password.txt
Paste your password in it and save the file by pressing Ctrl X and entering Y when prompted.
Step 4 – Configure Environment files and Start Metabase
Generate an encryption key using the following command.
$ openssl rand -base64 32
aWPk99bIjkG7NvWYVqR5NIAojhW1Idk0OvTH1xWVMbY=
Copy the key for use later.
Create and open the metabase.env file for editing.
$ nano metabase.env
Paste the following code in it. Paste the secret key you generated against the MB_ENCRYPTION_SECRET_KEY variable. Fill in your Metabase domain including the https protocol. Fill in your SMTP details using whichever provider you use. We are using Amazon SES. The MB_PASSWORD_COMPLEXITY variable is set to strong which means your Metabase password should be a minimum of 8 characters in length, with 2 lowercase, 2 uppercase, 1 digit, and 1 special character.
MB_SITE_URL=https://metabase.example.com
MB_SITE_NAME="Howtoforge"

[email protected]
[email protected]
MB_EMAIL_FROM_NAME=Howtoforge
MB_EMAIL_SMTP_HOST=email-smtp.us-west-2.amazonaws.com
MB_EMAIL_SMTP_USERNAME=AWS_USERID
MB_EMAIL_SMTP_PASSWORD=AWS_KEY
MB_EMAIL_SMTP_PORT=587
MB_EMAIL_SMTP_SECURITY=starttls

MB_ENCRYPTION_SECRET_KEY=aWPk99bIjkG7NvWYVqR5NIAojhW1Idk0OvTH1xWVMbY=
MB_ANON_TRACKING_ENABLED=false
MB_APPLICATION_NAME=Howtoforge Metabase
MB_PASSWORD_COMPLEXITY=strong
Save the file by pressing Ctrl X and entering Y when prompted.
Launch the Docker container.
$ docker compose up -d
You can watch the status of the containers using the following command.
$ watch docker ps
You will receive a similar output. Wait for the status of both containers to become healthy and then press Ctrl C to exit the screen.
CONTAINER ID   IMAGE                      COMMAND                  CREATED         STATUS                   PORTS                                       NAMES
15698ae2de6a   metabase/metabase:latest   "https://www.howtoforge.com/app/run_metabase.sh"   2 minutes ago   Up 2 minutes (healthy)   0.0.0.0:3000->3000/tcp, :::3000->3000/tcp   metabase
ee2d03dc3a00   postgres:latest            "docker-entrypoint.s…"   2 minutes ago   Up 2 minutes (healthy)   5432/tcp                                    postgres
Step 5 – Install Nginx
Ubuntu 22.04 ships with an older version of Nginx. To install the latest version, you need to download the official Nginx repository.
Import Nginx’s signing key.
$ curl https://nginx.org/keys/nginx_signing.key | gpg --dearmor
	| sudo tee /usr/share/keyrings/nginx-archive-keyring.gpg >/dev/null
Add the repository for Nginx’s stable version.
$ echo "deb [signed-by=/usr/share/keyrings/nginx-archive-keyring.gpg arch=amd64]
http://nginx.org/packages/ubuntu `lsb_release -cs` nginx"
    | sudo tee /etc/apt/sources.list.d/nginx.list
Update the system repositories.
$ sudo apt update
Install Nginx.
$ sudo apt install nginx
Verify the installation.
$ nginx -v
nginx version: nginx/1.22.1
Start the Nginx server.
$ sudo systemctl start nginx
Check the status of the server.
$ sudo systemctl status nginx
? nginx.service - nginx - high performance web server
     Loaded: loaded (/lib/systemd/system/nginx.service; enabled; vendor preset: enabled)
     Active: active (running) since Thu 2023-01-05 07:21:46 UTC; 1s ago
       Docs: https://nginx.org/en/docs/
    Process: 13197 ExecStart=/usr/sbin/nginx -c /etc/nginx/nginx.conf (code=exited, status=0/SUCCESS)
   Main PID: 13198 (nginx)
      Tasks: 3 (limit: 2237)
     Memory: 2.6M
        CPU: 7ms
     CGroup: /system.slice/nginx.service
             ??13198 "nginx: master process /usr/sbin/nginx -c /etc/nginx/nginx.conf"
             ??13199 "nginx: worker process" "" "" "" "" "" "" "" "" "" "" "" "" "" "" "" "" "" "" ""
             ??13200 "nginx: worker process" "" "" "" "" "" "" "" "" "" "" "" "" "" "" "" "" "" "" ""

Jan 05 07:21:46 metabase systemd[1]: Starting nginx - high performance web server...
Jan 05 07:21:46 metabase systemd[1]: Started nginx - high performance web server.
Step 6 – Install SSL
We need to install Certbot to generate the SSL certificate. You can either install Certbot using Ubuntu’s repository or grab the latest version using the Snapd tool. We will be using the Snapd version.
Ubuntu 22.04 comes with Snapd installed by default. Run the following commands to ensure that your version of Snapd is up to date. Ensure that your version of Snapd is up to date.
$ sudo snap install core
$ sudo snap refresh core
Install Certbot.
$ sudo snap install --classic certbot
Use the following command to ensure that the Certbot command runs by creating a symbolic link to the /usr/bin directory.
$ sudo ln -s /snap/bin/certbot /usr/bin/certbot
Run the following command to generate an SSL Certificate.
$ sudo certbot certonly --nginx --agree-tos --no-eff-email --staple-ocsp --preferred-challenges http -m [email protected] -d metabase.example.com
The above command will download a certificate to the /etc/letsencrypt/live/metabase.example.com directory on your server.
Generate a Diffie-Hellman group certificate.
$ sudo openssl dhparam -dsaparam -out /etc/ssl/certs/dhparam.pem 4096
Do a dry run of the process to check whether the SSL renewal is working fine.
$ sudo certbot renew --dry-run
If you see no errors, you are all set. Your certificate will renew automatically.
Step 7 – Configure Nginx
Open the file /etc/nginx/nginx.conf for editing.
$ sudo nano /etc/nginx/nginx.conf
Add the following line before the line include /etc/nginx/conf.d/*.conf;.
server_names_hash_bucket_size 64;
Save the file by pressing Ctrl X and entering Y when prompted.
Create and open the file /etc/nginx/conf.d/metabase.conf for editing.
$ sudo nano /etc/nginx/conf.d/metabase.conf
Paste the following code in it.
server {
  # Redirect any http requests to https
  listen         80;
  listen         [::]:80;
  server_name    metabase.example.com;
  return 301     https://$host$request_uri;
}

server {
  listen                    443 ssl http2;
  listen                    [::]:443 ssl http2;
  server_name               metabase.example.com;

  access_log                /var/log/nginx/metabase.access.log;
  error_log                 /var/log/nginx/metabase.error.log;

  # TLS configuration
  ssl_certificate           /etc/letsencrypt/live/metabase.example.com/fullchain.pem;
  ssl_certificate_key       /etc/letsencrypt/live/metabase.example.com/privkey.pem;
  ssl_trusted_certificate   /etc/letsencrypt/live/metabase.example.com/chain.pem;
  ssl_protocols             TLSv1.2 TLSv1.3;

  ssl_ciphers 'ECDHE-ECDSA-AES256-GCM-SHA384:ECDHE-RSA-AES256-GCM-SHA384:ECDHE-ECDSA-CHACHA20-POLY1305:ECDHE-RSA-CHACHA20-POLY1305:ECDHE-ECDSA-AES256-SHA384:ECDHE-RSA-AES256-SHA384';
  ssl_prefer_server_ciphers on;
  ssl_session_cache         shared:SSL:50m;
  ssl_session_timeout       1d;

  # OCSP Stapling ---
  # fetch OCSP records from URL in ssl_certificate and cache them
  ssl_stapling on;
  ssl_stapling_verify on;
  ssl_dhparam /etc/ssl/certs/dhparam.pem;

  location / {
    proxy_set_header        X-Real-IP $remote_addr;
    proxy_set_header        X-Forwarded-Proto $scheme;
    proxy_set_header	    X-Forwarded-Host $http_host;
    proxy_set_header        X-Forwarded-For $proxy_add_x_forwarded_for;
    proxy_pass              http://127.0.0.1:3000;
  }
}
Once finished, save the file by pressing Ctrl X and entering Y when prompted.
Verify the Nginx configuration file syntax.
$ sudo nginx -t
nginx: the configuration file /etc/nginx/nginx.conf syntax is ok
nginx: configuration file /etc/nginx/nginx.conf test is successful
Restart the Nginx server.
$ sudo systemctl restart nginx
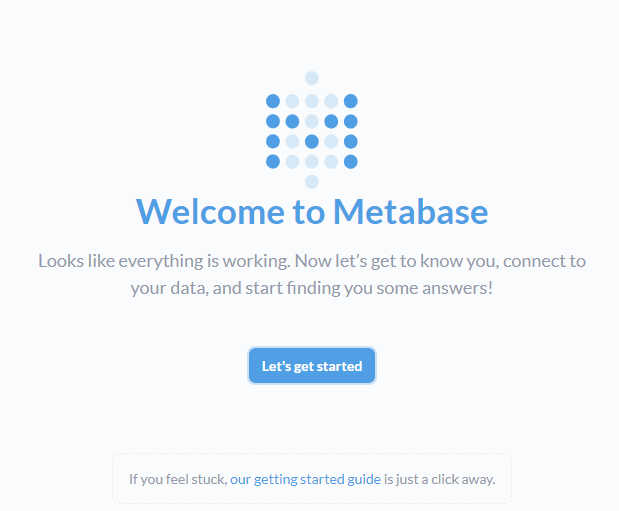
Open the URL https://metabase.example.com to launch the Metabase setup wizard.
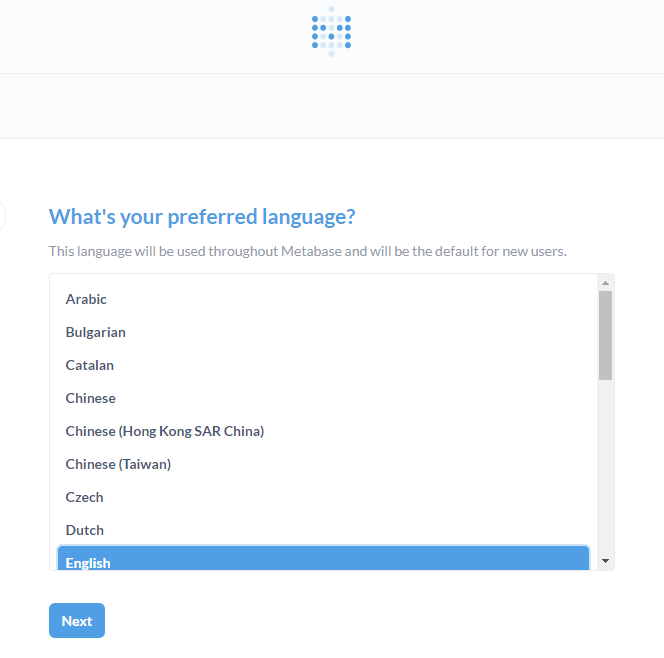
Click the Let’s get started button to proceed to the next step. The next page will have several steps listed. Choose your language and click Next to proceed.
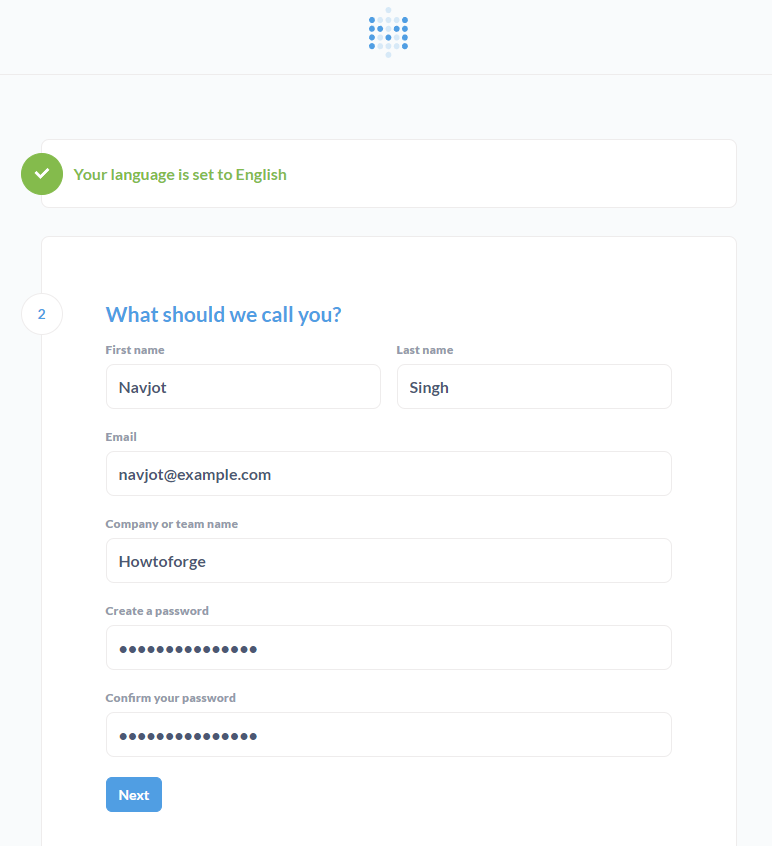
Enter your Metabase administrator details.
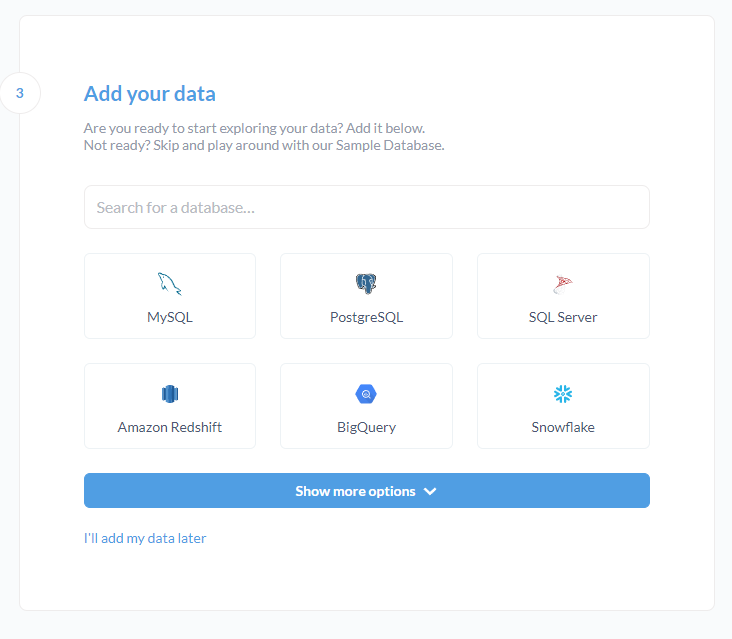
Next, you will be asked to add data to the Metabase to explore. You can add the data either now or do it later.
Click the I’ll add my data later to proceed.
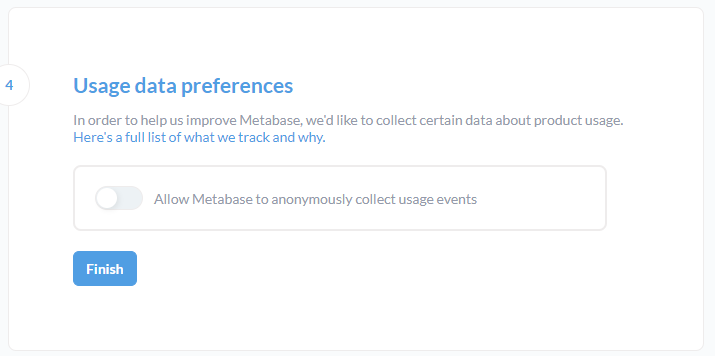
Uncheck the Allow Metabase to anonymously collect usage events checkmark and click the Finish button to complete the process.
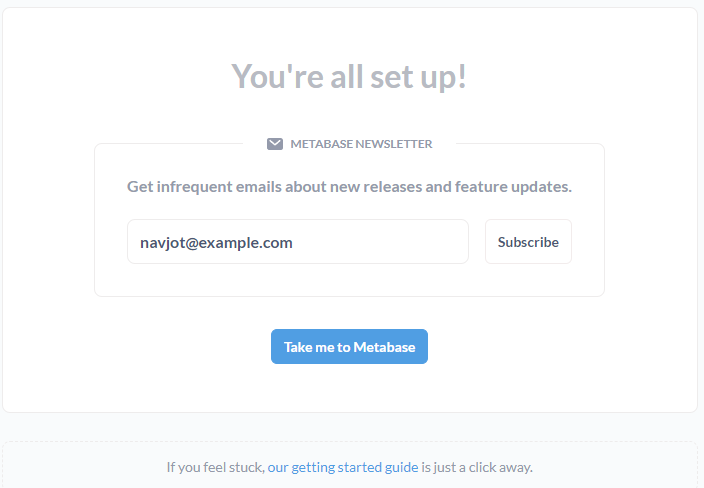
Click the Take me to Metabase button to launch the Metabase dashboard.
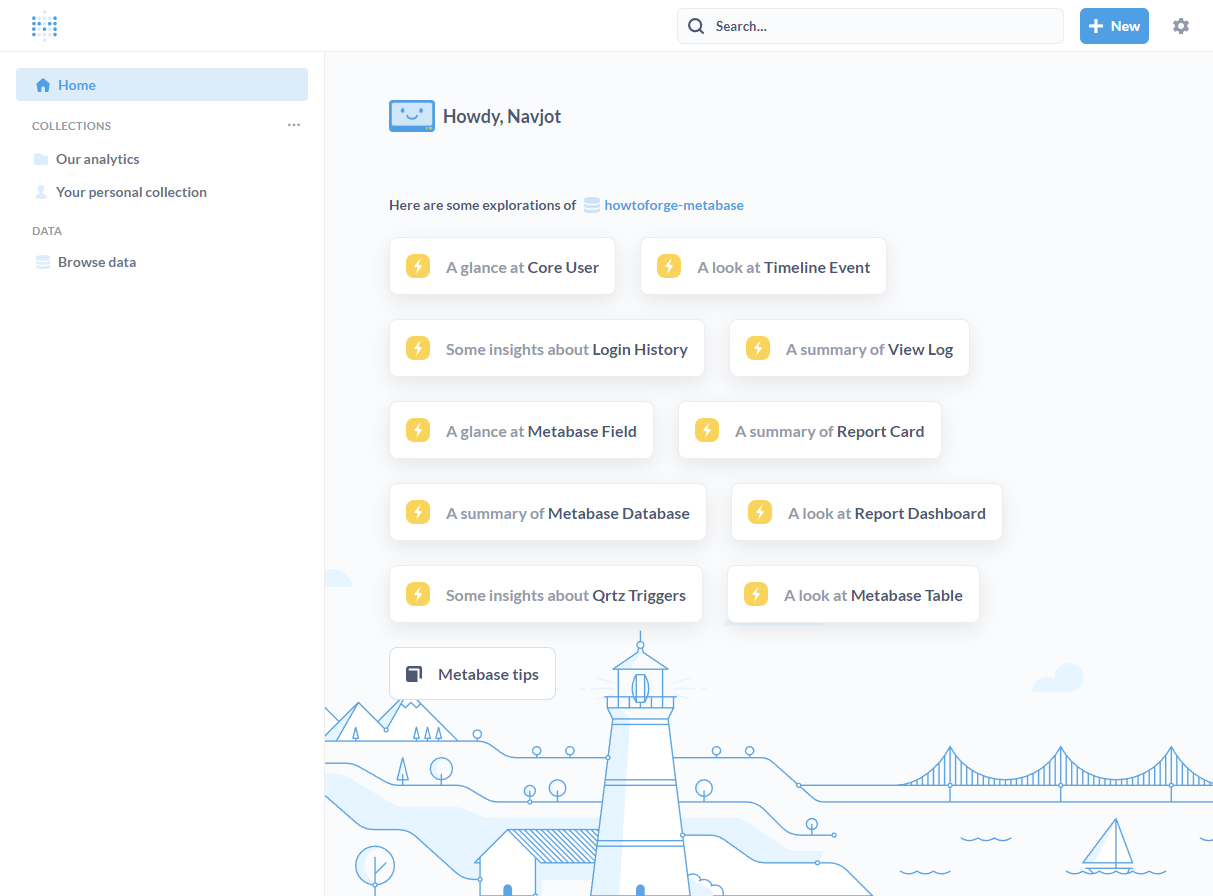
You can start using Metabase now.
Step 9 – Backup Metabase
If you want to back up the Metabase database, use the following command.
$ docker exec -t postgres pg_dumpall -c -U navjot > dump_`date %d-%m-%Y"_"%H_%M_%S`.sql
Replace navjot with your database username and postgres with the name of your docker container name for PostgreSQL.
To restore the database, use the following command.
$ cat dump_*.sql | docker exec -i your-db-container psql -U navjot
Upgrading Metabase requires several steps. The first step is to back up the Metabase database using the command from step 9.
Then, switch to the directory.
$ cd /opt/metabase
Pull the latest container images for Mastodon.
$ docker compose pull metabase/metabase:latest
Make any changes in the docker-compose.yml if you want.
Restart the Mastodon containers.
$ docker compose up -d
The above instructions are generic update instructions. Always check the GitHub releases page of Mastodon to look for any specific update tasks and commands between versions to ensure everything goes smoothly.
Conclusion
This concludes our tutorial on installing Metabase on a Ubuntu 22.04 server. If you have any questions, post them in the comments below.


