
SuiteCRM is an open-source customer relationship management solution written in PHP. It’s a fork of the popular SugarCRM software after SugarCRM stopped releasing its community edition. It is used to create a central repository for all your customer data to gain insights that can be used to enhance and nurture your business relationships.
Some of its features include Document Storage, Email marketing, Calendar, Social Media Integration, Territory management, Segmentation, Marketing automation, Lead qualification, Internal Chat integration, Customer support, Social CRM, Sales-force automation, marketing campaigns, Mobile CRM, and reporting. It can be integrated with third-party SMTP relay services like Mandrill, Sendgrid, Amazon SES, etc. You can install plugins to extend the functionality of SuiteCRM. It can be integrated with third-party apps like Mautic, Facebook, Twitter, MailChimp, Zoom, Quickbooks, DocuSign, etc.
In this post, you will learn how to install SuiteCRM using the Nginx web server and Let’s Encrypt SSL on Ubuntu 22.04.
Prerequisites
-
A server running Ubuntu 20.04.
-
A non-root sudo user.
- A Fully Qualified Domain Name (FQDN) pointing to the server like
suitecrm.example.com. -
Make sure everything is updated.
$ sudo apt update
$ sudo apt upgrade
-
Few packages that your system needs.
$ sudo apt install wget curl nano ufw software-properties-common dirmngr apt-transport-https gnupg2 ca-certificates lsb-release ubuntu-keyring unzip -y
Some of these packages may already be installed on your system.
Step 1 – Configure Firewall
The first step is to configure the firewall. Ubuntu comes with ufw (Uncomplicated Firewall) by default.
Check if the firewall is running.
$ sudo ufw status
You will get the following output.
Status: inactive
Allow SSH port so that the firewall doesn’t break the current connection on enabling it.
$ sudo ufw allow OpenSSH
Allow HTTP and HTTPS ports as well.
$ sudo ufw allow http
$ sudo ufw allow https
Enable the Firewall
$ sudo ufw enable
Command may disrupt existing ssh connections. Proceed with operation (y|n)? y
Firewall is active and enabled on system startup
Check the status of the firewall again.
$ sudo ufw status
You should see a similar output.
Status: active

To                         Action      From
--                         ------      ----
OpenSSH                    ALLOW       Anywhere
80/tcp                     ALLOW       Anywhere
443                        ALLOW       Anywhere
OpenSSH (v6)               ALLOW       Anywhere (v6)
80/tcp (v6)                ALLOW       Anywhere (v6)
443 (v6)                   ALLOW       Anywhere (v6)
Step 2 – Install Nginx
Ubuntu ships with an older version of Nginx. To install the latest version, you need to download the official Nginx repository.
Import Nginx’s signing key.
$ curl https://nginx.org/keys/nginx_signing.key | gpg --dearmor
	| sudo tee /usr/share/keyrings/nginx-archive-keyring.gpg >/dev/null
Add the repository for Nginx’s stable version.
$ echo "deb [signed-by=/usr/share/keyrings/nginx-archive-keyring.gpg arch=amd64]
http://nginx.org/packages/ubuntu `lsb_release -cs` nginx"
    | sudo tee /etc/apt/sources.list.d/nginx.list
Update the system repositories.
$ sudo apt update
Install Nginx.
$ sudo apt install nginx
Verify the installation.
$ nginx -v
nginx version: nginx/1.20.2
Enable the Nginx service.
$ sudo systemctl enable nginx
Step 3 – Install and Configure MariaDB
Ubuntu 22.04 ships with v10.6.7 of MariaDB. Run the following command to install it.
$ sudo apt install mariadb-server
Secure the MariaDB install.
$ sudo mysql_secure_installation
You will face various prompts. Answer them as follows.
Enter current password for root (enter for none): Press Enter
Switch to unix_socket authentication [Y/n] Type y
Change the root password? [Y/n] Type n
Remove anonymous users? [Y/n] Type y
Disallow root login remotely? [Y/n] Type y
Remove test database and access to it? [Y/n] Type y
Reload privilege tables now? [Y/n] Type y
Connect to the MariaDB shell using the following command.
$ sudo mysql
Create a new database for SuiteCRM.
$ CREATE DATABASE suitecrm;
Create a new database user and use a strong password for t.
$ CREATE USER 'suitecrmuser'@'localhost' identified by 'yourpassword';
Grant permissions on the database to the user.
$ GRANT ALL PRIVILEGES ON suitecrm.* TO 'suitecrmuser'@'localhost';
Flush all privileges.
$ FLUSH PRIVILEGES;
Exit the MySQL shell.
$ exit
Step 4 – Install PHP and extensions
Ubuntu 22.04 ships with PHP 8.1 which is not yet supported by SuiteCRM. We need to install PHP 8.0. For that, we need to add Ondrej’s PHP repository.
$ sudo add-apt-repository ppa:ondrej/php
Next, install PHP and its extensions required by SuiteCRM.
$ sudo apt install php-imagick php8.0-fpm php8.0-mysql php8.0-common php8.0-gd php8.0-imap php8.0-curl php8.0-zip php8.0-xml php8.0-mbstring php8.0-bz2 php8.0-intl php8.0-gmp
Verify the installation.
$ php --version
PHP 8.0.18 (cli) (built: May  1 2022 04:42:09) ( NTS )
Copyright (c) The PHP Group
Zend Engine v4.0.18, Copyright (c) Zend Technologies
    with Zend OPcache v8.0.18, Copyright (c), by Zend Technologies
Step 5 – Download SuiteCRM
Download the latest stable version of SuiteCRM. You can grab the download link from SuiteCRM’s official website.
For our tutorial, we will be installing the v7 of SuiteCRM as it is supported for an extended period of time. You can install the v8 version if you want but it will have a shorter support period initially.
$ wget -O suitecrm.zip https://suitecrm.com/files/147/SuiteCRM-7.12/614/SuiteCRM-7.12.5.zip
Create a web root directory to serve SuiteCRM. The -p flag creates the top-level directories in the path if they are not present.
$ sudo mkdir -p /var/www/
Extract the downloaded zip archive.
$ sudo unzip suitecrm.zip -d /var/www/
The -d flag specifies the target directory for the archive.Advertisement
It will be saved under /var/www/SuiteCRM-7.12.5/ directory. We rename it to make it simpler.
$ sudo mv /var/www/SuiteCRM-7.12.5/ /var/www/suitecrm
Switch to the web root.
$ cd /var/www/suitecrm
Set correct ownership and permissions to the various directories.
$ sudo chown -R nginx:nginx .
$ sudo chmod -R 755 .
$ sudo chmod -R 775 cache custom modules themes data upload
$ sudo chmod 775 config_override.php 2>/dev/null
Step 6 – Install and Configure SSL
Before configuring Nginx, we need to set up the SSL certificate.
To install an SSL certificate using Let’s Encrypt, we need to download the Certbot tool. We will use the Snapd package installer for that.
Install Snap installer.
$ sudo apt install snapd
Ensure that your version of Snapd is up to date.
$ sudo snap install core
$ sudo snap refresh core
Install Certbot.
$ sudo snap install --classic certbot
Use the following command to ensure that the Certbot command runs by creating a symbolic link to the /usr/bin directory.
$ sudo ln -s /snap/bin/certbot /usr/bin/certbot
Stop the Nginx server as it interferes with the Certbot tool.
$ sudo systemctl stop nginx
Generate an SSL certificate.
$ sudo certbot certonly --standalone --agree-tos --no-eff-email --staple-ocsp --preferred-challenges http -m [email protected] -d suitecrm.example.com
The above command will download a certificate to the /etc/letsencrypt/live/suitecrm.example.com directory on your server.
Generate a Diffie-Hellman group certificate.
$ sudo openssl dhparam -out /etc/ssl/certs/dhparam.pem 4096
Create a challenge web root directory for Let’s Encrypt auto-renewal.
$ sudo mkdir -p /var/lib/letsencrypt
Create a Cron Job to renew the SSL. It will run every day to check the certificate and renew it if needed. For that, first, create the file /etc/cron.daily/certbot-renew and open it for editing.
$ sudo nano /etc/cron.daily/certbot-renew
Paste the following code.
#!/bin/sh
certbot renew --cert-name suitecrm.example.com --webroot -w /var/lib/letsencrypt/ --post-hook "systemctl reload nginx"
Save the file by pressing Ctrl X and entering Y when prompted.
Change the permissions on the task file to make it executable.
$ sudo chmod x /etc/cron.daily/certbot-renew
Step 7 – Configure Nginx and PHP
Configure PHP-FPM
Open the file /etc/php/8.0/fpm/pool.d/www.conf.
$ sudo nano /etc/php/8.0/fpm/pool.d/www.conf
We need to set the Unix user/group of PHP processes to nginx. Find the user=www-data and group=www-data lines in the file and change them to nginx.
...
; Unix user/group of processes
; Note: The user is mandatory. If the group is not set, the default user's group
;       will be used.
user = nginx
group = nginx
...
Also, find the lines listen.owner=www-data and listen.group=www-data in the file and change them to nginx.
listen.owner = nginx
listen.group = nginx
Save the file by pressing Ctrl X and entering Y when prompted.
Configure PHP upload size
PHP sets a limit for upload file size. The default size set by PHP is 2 MB. To increase the upload size, open the PHP configuration file for editing.
$ sudo nano /etc/php/8.0/fpm/php.ini
Find the following line.
upload_max_filesize = 2M
Change its value to 20MB as shown.
upload_max_filesize = 20M
Find the following line.
post_max_size = 8M
Change its value to 20MB as shown.
post_max_size = 20M
Find the following line.
;cgi.fix_pathinfo=1
Uncomment it by removing the semi-colon and changing its value to 0.
cgi.fix_pathinfo=0
Save the file by pressing Ctrl X and entering Y when prompted.
Restart the PHP-fpm process.
$ sudo systemctl restart php8.0-fpm
Configure Nginx
Create and open the file /etc/nginx/conf.d/suitecrm.conf for editing.
$ sudo nano /etc/nginx/conf.d/suitecrm.conf
Paste the following code in it.
server {
    listen 443 ssl http2;
    listen [::]:443 ssl http2;
    server_name suitecrm.example.com;

    root /var/www/suitecrm;
    error_log /var/log/nginx/suitecrm.error.log;
    access_log /var/log/nginx/suitecrm.access.log;
    client_max_body_size 20M;

    index index.php index.html index.htm;

    ssl_certificate      /etc/letsencrypt/live/suitecrm.example.com/fullchain.pem;
    ssl_certificate_key  /etc/letsencrypt/live/suitecrm.example.com/privkey.pem;
    ssl_trusted_certificate /etc/letsencrypt/live/suitecrm.example.com/chain.pem;

    ssl_session_timeout  5m;
    ssl_session_cache shared:MozSSL:10m;
    ssl_session_tickets off;

    ssl_protocols TLSv1.2 TLSv1.3;
    ssl_prefer_server_ciphers on;
    ssl_ciphers ECDHE-ECDSA-AES128-GCM-SHA256:ECDHE-RSA-AES128-GCM-SHA256:ECDHE-ECDSA-AES256-GCM-SHA384:ECDHE-RSA-AES256-GCM-SHA384:ECDHE-ECDSA-CHACHA20-POLY1305:ECDHE-RSA-CHACHA20-POLY1305:DHE-RSA-AES128-GCM-SHA256:DHE-RSA-AES256-GCM-SHA384;
    ssl_ecdh_curve X25519:prime256v1:secp384r1:secp521r1;
    ssl_stapling on;
    ssl_stapling_verify on;
    ssl_dhparam /etc/ssl/certs/dhparam.pem;

    location / {
        # try to serve file directly, fallback to app.php
        try_files $uri /index.php$is_args$args;
    }

    location ~ .php$ {
        # try_files $uri =404;
        fastcgi_split_path_info ^(. .php)(/. )$;
        # NOTE: You should have "cgi.fix_pathinfo = 0;" in php.ini

        fastcgi_pass unix:/var/run/php/php8.0-fpm.sock;
        #Note: If you install SuiteCRM on iRedMail server, you should use the TCP socket instead.
        #fastcgi_pass 127.0.0.1:9999
        fastcgi_index index.php;
        fastcgi_param SCRIPT_FILENAME $document_root$fastcgi_script_name;
        include fastcgi_params;

        fastcgi_buffer_size 128k;
        fastcgi_buffers 256 16k;
        fastcgi_busy_buffers_size 256k;
        fastcgi_temp_file_write_size 256k;
    }

    # Don't log favicon
    location = /favicon.ico {
        log_not_found off;
        access_log off;
    }

    # Don't log robots
    location = /robots.txt  {
        access_log off;
        log_not_found off;
    }

    # Deny all attempts to access hidden files/folders such as .htaccess, .htpasswd, .DS_Store (Mac), etc...
    location ~ /. {
        deny all;
        access_log off;
        log_not_found off;
    }

    # A long browser cache lifetime can speed up repeat visits to your page
    location ~* .(jpg|jpeg|gif|png|webp|svg|woff|woff2|ttf|css|js|ico|xml)$ {
        access_log        off;
        log_not_found     off;
        expires           360d;
    }
}

# enforce HTTPS
server {
    listen       80;
    listen       [::]:80;
    server_name  suitecrm.example.com;
    return 301   https://$host$request_uri;
}
Save the file by pressing Ctrl X and entering Y when prompted once finished.
Open the file /etc/nginx/nginx.conf for editing.
$ sudo nano /etc/nginx/nginx.conf
Add the following line before the line include /etc/nginx/conf.d/*.conf;.
server_names_hash_bucket_size 64;
Save the file by pressing Ctrl X and entering Y when prompted.
Verify the Nginx configuration file syntax.
$ sudo nginx -t
nginx: the configuration file /etc/nginx/nginx.conf syntax is ok
nginx: configuration file /etc/nginx/nginx.conf test is successful
Restart the Nginx service to enable the new configuration.
$ sudo systemctl restart nginx
Step 8 – Install and Configure SuiteCRM
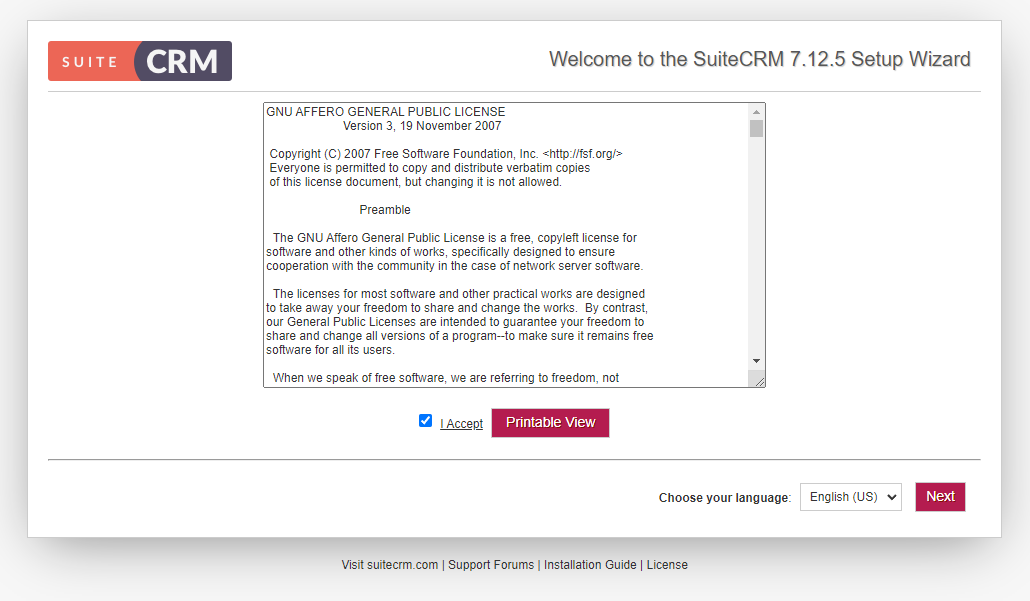
Open the site https://suitecrm.example.com in the browser and you will be presented with the setup wizard.
Check the I Accept box and click the Next button to proceed. You will be presented with the screen which checks for pre-installation requirements.
If everything is okay, click the Next button to proceed.
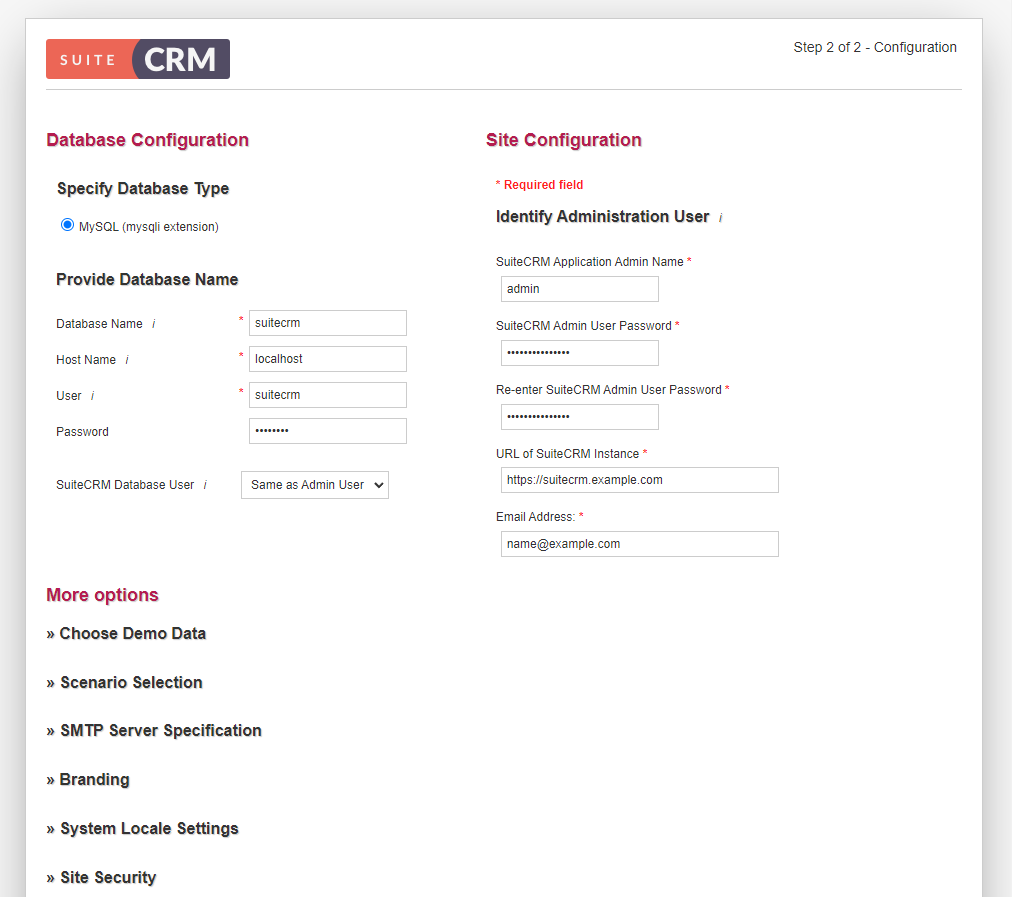
Enter the database credentials set in step 3. Enter localhost as the Host Name. Also, enter the details for the administrator account and enter https://suitecrm.example.com as the Instance URL.
You can configure additional settings like demo data, SMTP server settings, branding, system locale, security, and database settings.
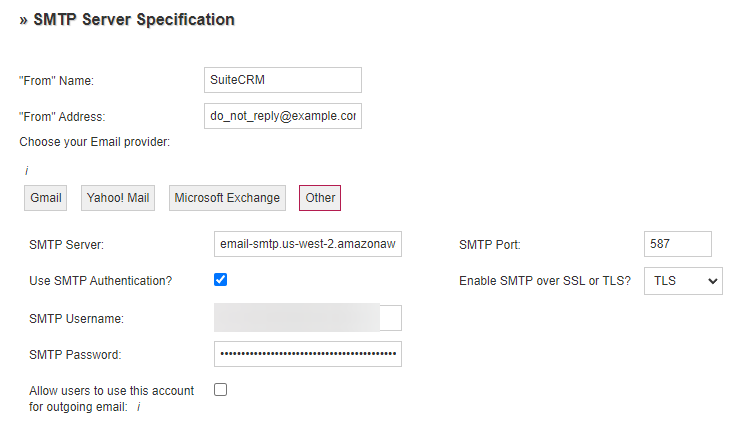
To enable SMTP settings, expand the SMTP Server Specification section of the page and fill in the appropriate values. If you are using Gmail or Microsoft exchange, you can use the dedicated buttons to configure them. For our tutorial, we are using Amazon SES.
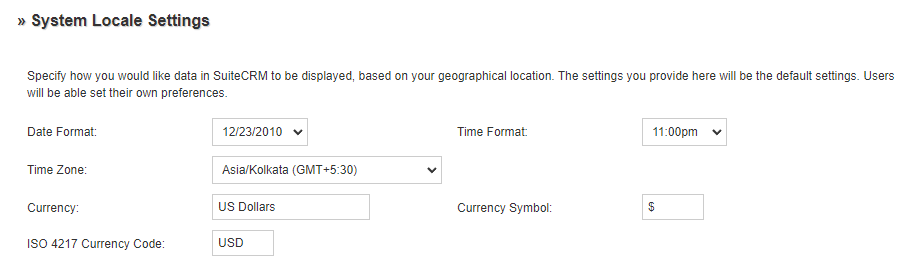
Also, set the system locale settings.
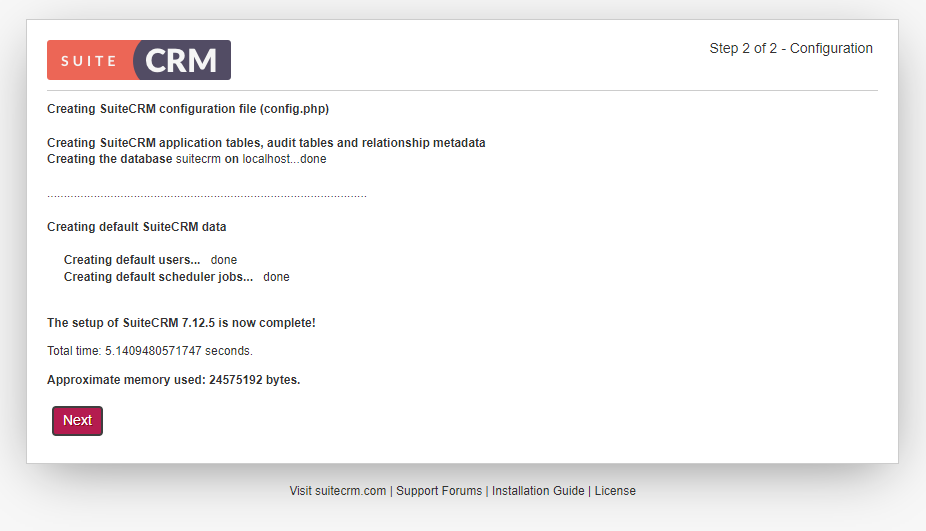
Once finished, click the Next button at the bottom of the page to proceed. You are presented with the details of SuiteCRM’s configuration completion.
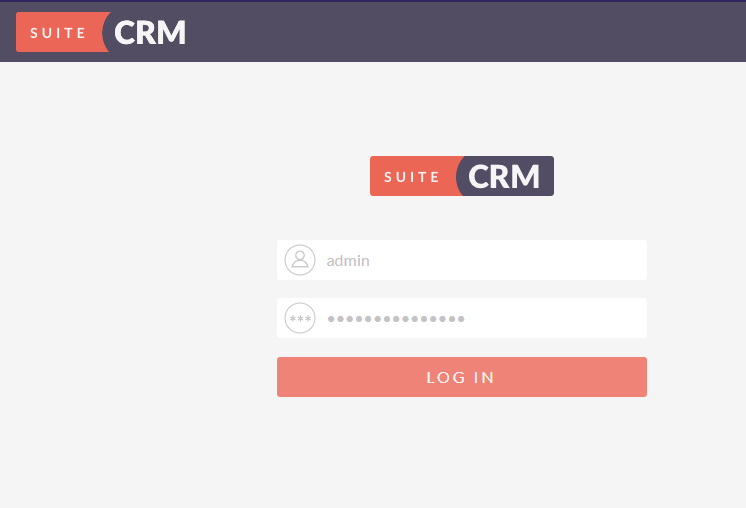
Click the Next button to proceed. You will be presented with the login page.
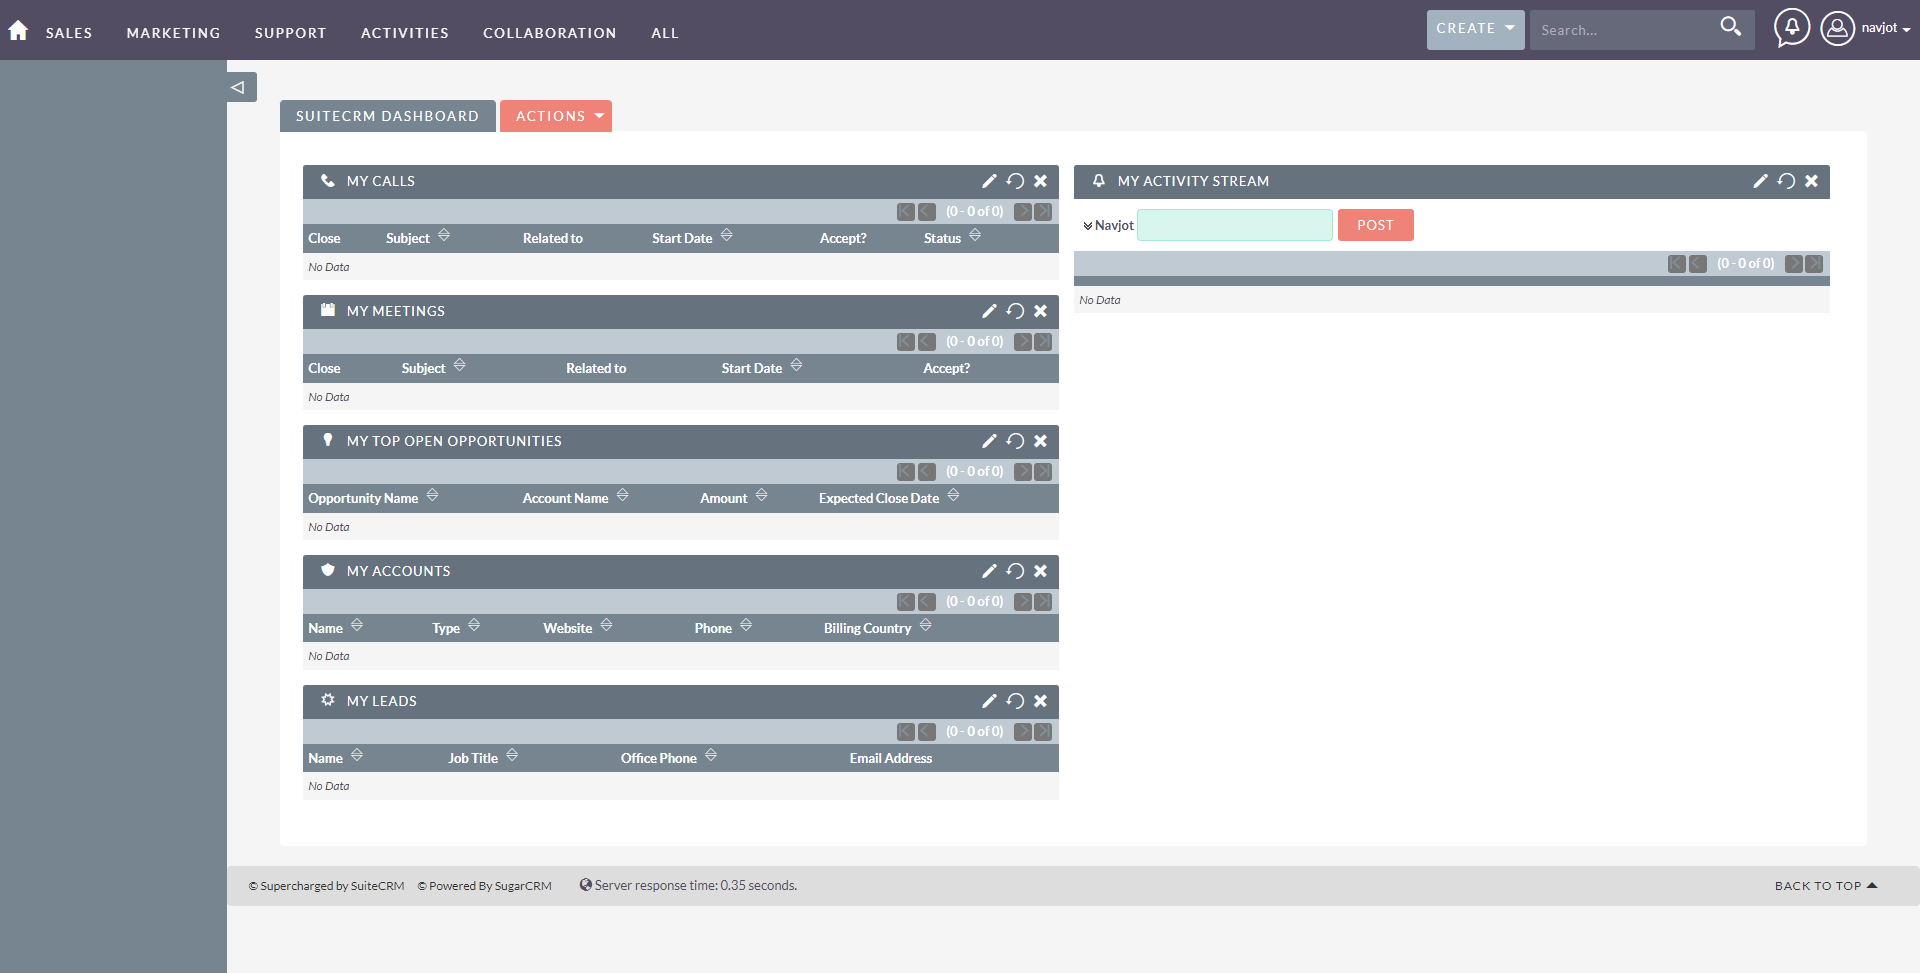
Enter the administrator account credentials and click Log in to open the SuiteCRM dashboard.
You can start using SuiteCRM to manage your business and customers’ data.
Step 9 – Set up Cron Jobs
SuiteCRM needs cron jobs to function properly. Edit the nginx user’s crontab file.
$ sudo crontab -e -u nginx
Add the following line at the end of the file.
* * * * * cd /var/www/suitecrm; php -f cron.php > /dev/null 2>&1
Save and close the file.
Conclusion
This concludes the tutorial on installing SuiteCRM using the Nginx server with Let’s Encrypt SSL on Ubuntu 22.04. If you have any questions, post them in the comments below.


