
Umami is a free and open-source web analytics platform written in Nodejs. It’s easy to use and install and provides a user-friendly user interface. It’s built on top of privacy as an alternative to services like Google Analytics. Allows you to deploy your web analytics on your server with your own database choices, which can be PostgreSQL or MySQL database.
In this guide, you’ll learn how to install Umami privacy-focused analytics on the Ubuntu 24.04 server.
Prerequisites
To complete this guide, make sure you have:
- An Ubuntu 24.04 server.
- A non-root user with administrator privileges.
- A domain name pointed to a server IP address.
Installing dependencies
Umami is a privacy-focused web analytics written in JavaScript and Node.js. It supports MySQL/MariaDB and PostgreSQL as the database. In this section, you’ll install dependencies for Umami, including Node.js, NPM, PostgreSQL, Apache web server, and Git.
First, run the command below to update your Ubuntu package list.
sudo apt update
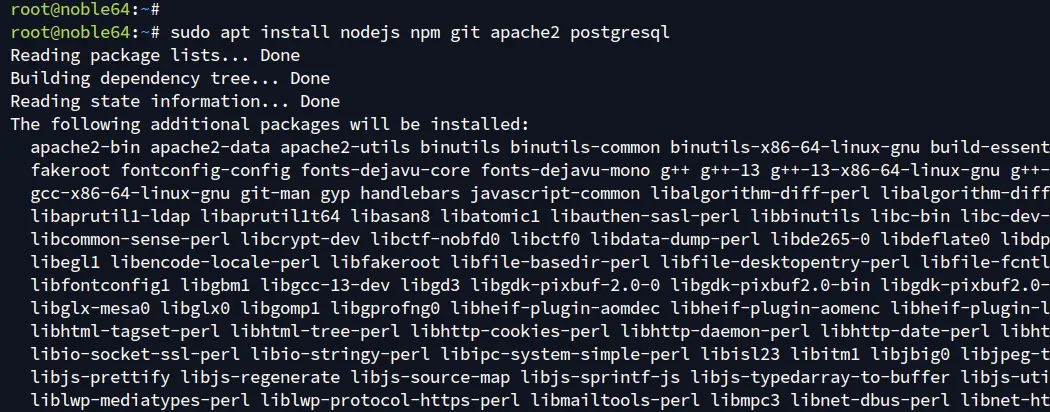
Now run the following command to install dependencies such as Node.js, NPM, Python, Git, and PostgreSQL. Input Y to confirm the installation.
sudo apt install nodejs npm git apache2 postgresql
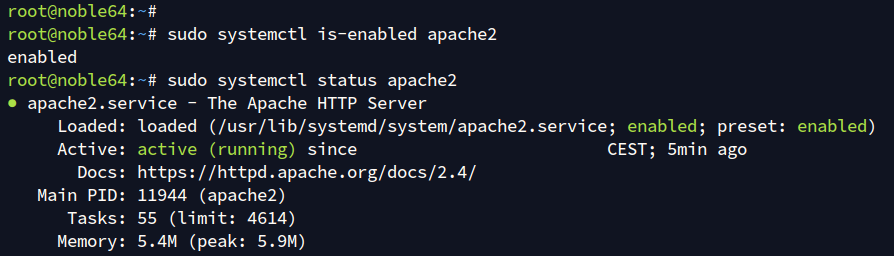
After the installation is finished, check the Apache service with the following.
sudo systemctl is-enabled apache2
sudo systemctl status apache2
In the following, you can see Apache is running and enabled.
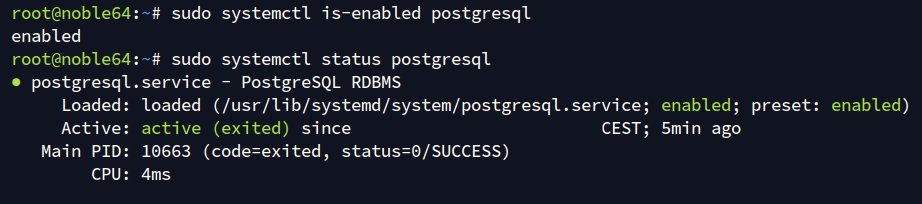
Now check the PostgreSQL server using the following command.
sudo systemctl is-enabled postgresql
sudo systemctl status postgresql
You will see the PostgreSQL service enabled and active(exited).
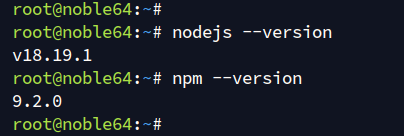
Lastly, check the Node.js and NPM version with the command below:
nodejs –version
npm –version
You can see that Node.js 18.19 and NPM 9.2 are installed.
Setting up PostgreSQL database and user
After you’ve installed dependencies, you’ll create a new PostgreSQL database and user for Umami. You’ll be using the psql PostgreSQL shell to create a new database and user.
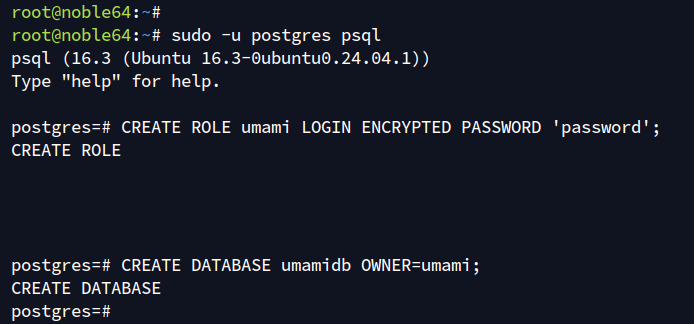
Log in to the PostgreSQL server with the following command:
sudo -u postgres psql
Now run the following queries to create a new user umami and the database umamidb. Make sure to change the following password with your information.
CREATE ROLE umami LOGIN ENCRYPTED PASSWORD ‘password’;
CREATE DATABASE umamidb OWNER=umami;
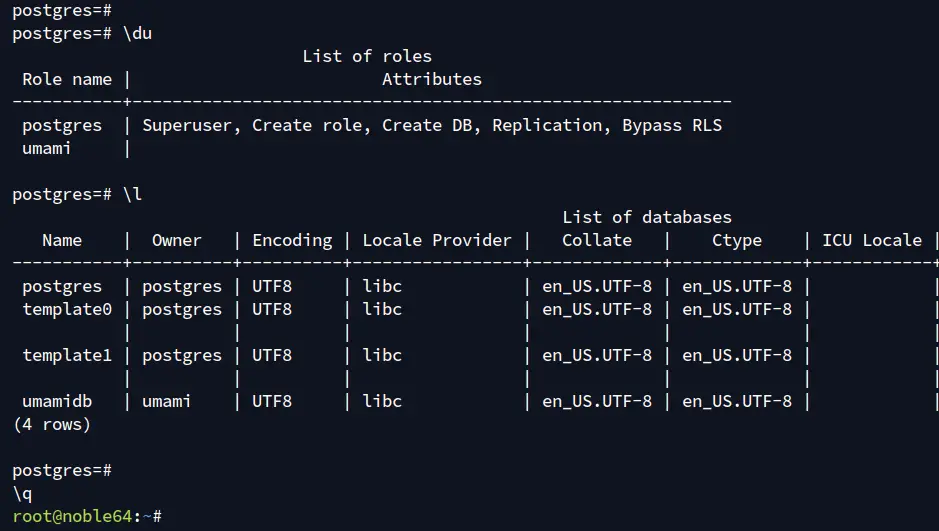
Next, check the list of available databases and users with the queries below. You’ll see the user umami with the database umamidb available on your PostgreSQL server.
du
l
Lastly, type q to exit from the PostgreSQL server.
Installing umami
In this section, you’ll install the yarn package manager, download the Umami source code, and install JavaScript dependencies with yarn, and then build and start Umami from the command line.
Run the command below to install the yarn package manager.
npm install -g yarn
Create a new system user and group umami with the command below.
sudo adduser –system –group –no-create-home –shell /sbin/nologin umami
Now run the git command below to download the Umami source code to the /var/www/umami directory and go into it.
git clone https://github.com/umami-software/umami.git /var/www/umami
cd /var/www/umami
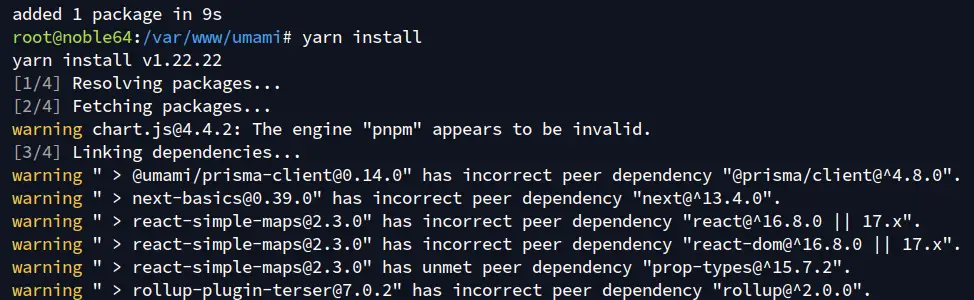
Next, run the yarn command below to install JavaScript dependencies for Umami.
yarn install
Below you can see the installation of JavaScript dependencies for Umami.
Now, create a new .env file with the following nano editor.
nano .env
Add the following to set up PostgreSQL as the Umami database.
DATABASE_URL=postgresql://umami:StrongPasswordUmami@localhost:5432/umamidb
Save and exit the file when done.
Next, run the following command to build Umami.
yarn build
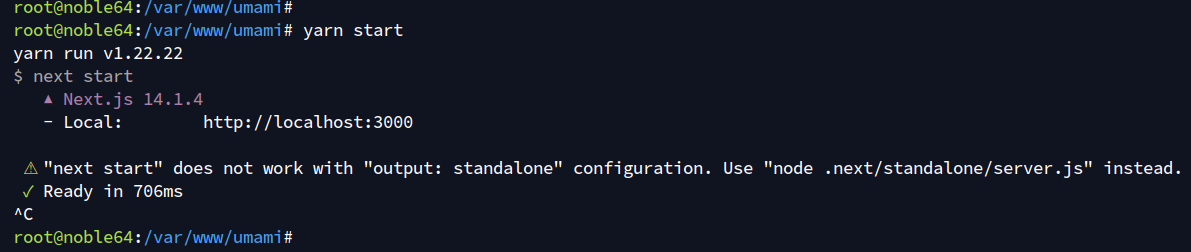
After finishing, start Umami with the following command – This will start Umami on port 3000:
yarn start
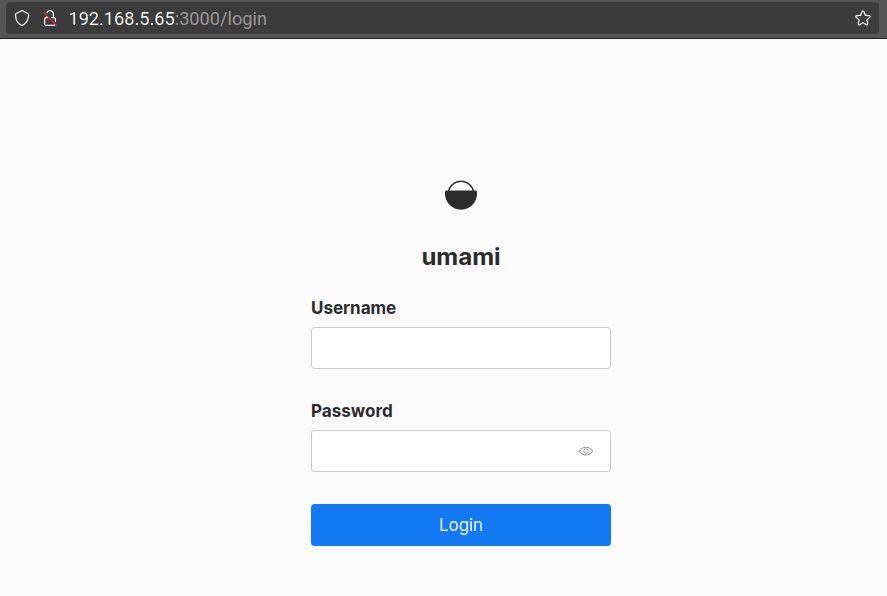
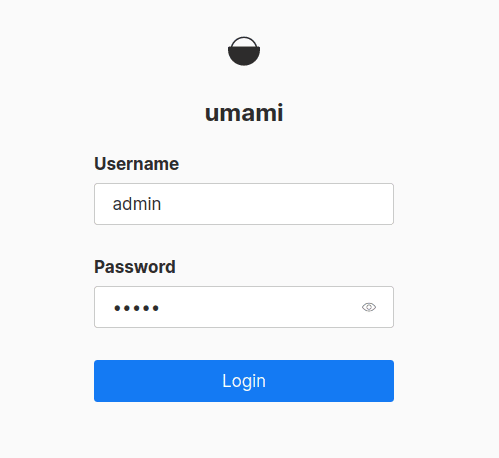
Open your web browser and visit http://SERVER-IP:3000/. If your installation is successful, you’ll see the Umami login like the following:
Back to the terminal server and press Ctrl c to terminate the process.
Lastly, run the command below to change the ownership of the /var/www/umami directory to user umami.
sudo chown -R umami:umami /var/www/umami
Running umami as a systemd service
In this guide, you’ll run Umami as a systemd service in the background. So now you’ll create a new service file for Umami.
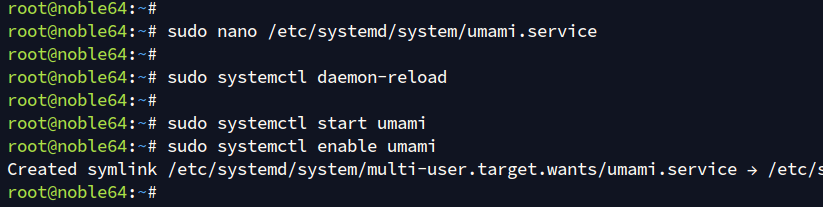
Create a new systemd service file /etc/systemd/system/umami.service with the following nano editor command.
sudo nano /etc/systemd/system/umami.service
Insert the configuration below into the file.
[Unit]
Description=Umami Website Analytics
After=network.target postgresql.service

[Service]
Type=simple
ExecStart=/usr/bin/npm start
Restart=always
# Consider creating a dedicated user for umami here:
User=umami
Group=umami
#Environment=NODE_ENV=production
WorkingDirectory=/var/www/umami

[Install]
WantedBy=multi-user.target
When finished, save the file and exit the file.
Now run the command below to reload the systemd manager and apply the new service umami.service.
sudo systemctl daemon-reload
Lastly, run the following command to start, enable, and verify the umami.service status.
sudo systemctl enable –now umami
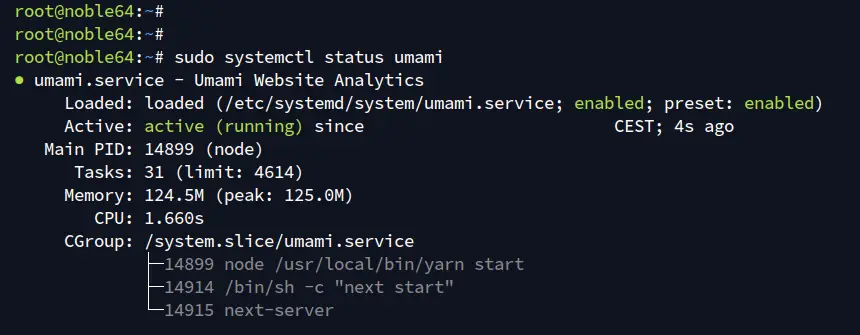
sudo systemctl status umami
As you can see below, the umami.service is enabled and running. And by default, running on port 3000.
Setting up Apache as a reverse proxy
Now that Umami is running in the background, you’ll set up Apache as a reverse proxy for Umami.
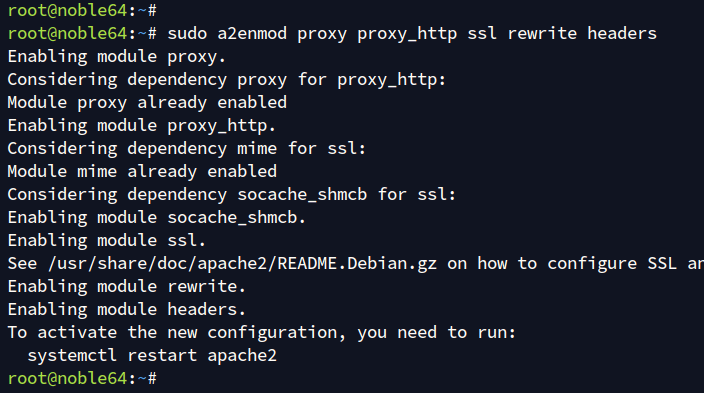
First, run the command below to enable Apache modules that will be used as a reverse proxy.
sudo a2enmod proxy proxy_http ssl rewrite headers
Now, create a new Apache virtual host file /etc/apache2/sites-available/umami.conf with the nano editor.
sudo nano /etc/apache2/sites-available/umami.conf
Add the configuration below and make sure to change the ServerName option with your domain name.
  ServerName analytics.howtoforge.local

  Options -Indexes
  ProxyRequests on

  ProxyPass / http://localhost:3000/
  ProxyPassReverse / http://localhost:3000/
Save and exit the file when finished.
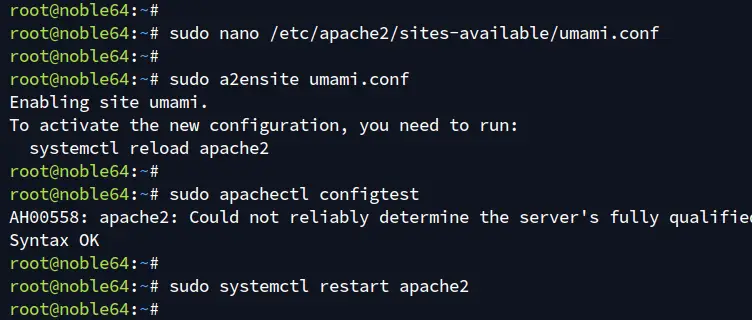
Next, run the command below to enable the virtual host file umami.conf and verify your Apache syntax. If you’ve proper syntax, you’ll see an output Syntax is OK.
sudo a2ensite umami.conf
sudo apachectl configtest
Lastly, restart the Apache web server to apply your changes using the following command.
sudo systemctl restart apache2
Setting up UFW
Before setting up UFW, make sure it’s up and running. In this section, you’ll enable the Apache Full profile to allow HTTP and HTTPS access.
Run the command below to open HTTP and HTTPS ports through the UFW profile Apache Full.
sudo ufw allow ‘Apache Full’
Now reload UFW and verify its status with the command below. You’ll see UFW is active with the Apache Full profile enabled.
sudo ufw status
Securing Umami with HTTPS
To secure Umami, you’ll be using HTTPS. In this section, you’ll generate SSL/TLS certificates through letsencrypt. Local domain users can use self-signed certificates.
Install certbot and python3-certbot-apache with the command below. Input Y to confirm the installation.
sudo apt install certbot python3-certbot-apache
Now run the certbot command below to generate SSL/TLS certificates for Umami. Make sure to change the domain name and email address with your information.
sudo certbot –apache –agree-tos –no-eff-email –redirect –hsts –staple-ocsp –email [email protected] -d analytics.howtoforge.local
After the process is complete, your SSL certificates will be available in the /etc/letsencrypt/live/domain.com directory, and your Umami installation should be secured with HTTPS.
Accessing Umami
Open your web browser and visit https://analytics.howtoforge.local/ to access your Umami installation. Log in with the default user admin and password umami.
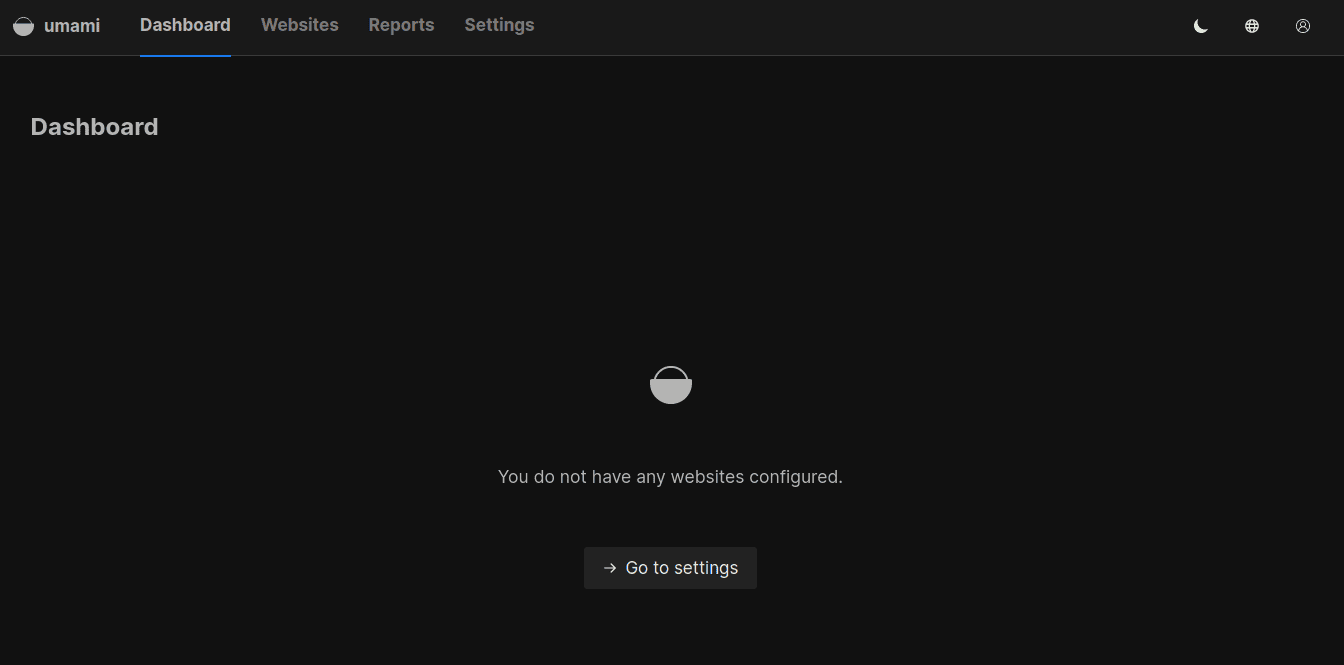
If successful, you’ll see the Umami dashboard like the following:
To add new analytics for your websites, click the Websites > Add Websites button. To change the default password, click on Settings > Users > Edit.
Conclusion
Congratulations! You’ve installed Umami privacy-focused analytics on the Ubuntu 24.04 server. Umami is running with the PostgreSQL server and Apache as a reverse proxy. Also, you’ve secured Umami with HTTPS through certbot and letsencrypt.


