Virtualmin is a web hosting control panel that allows you to manage your virtual private servers through an easy-to-use interface. You can use this software to create and delete websites, install and update server applications, and monitor resource usage.
Virtualmin features a number of scripts that can simplify the process of installing and maintaining software on your servers. It comes with a script installer for popular applications like Drupal, Joomla, bbPress, Django… and many others.
Virtualmin also provides an updater tool to help you update all aspects of your server software in a single operation. It even allows you to check for security updates and clone your entire Virtualmin installation with one click of a button.
Virtualmin provides extensive configuration options, which can be accessed through its web interface or by using command-line tools. For example, you can use this software to set up a blacklist that prevents certain websites from being accessed. You can also create an access control list and store it in your database as custom variables. Virtualmin offers support for MySQL, PostgreSQL, MongoDB and other databases through their respective command-line tools or web interfaces.
This article will show you how to install Virtualmin on an Ubuntu 20.04 server. Virtualmin is available in two editions: Community and Enterprise. The latter comes with more features, but it requires a license key. In this guide, we will install the Community Edition which is free to try this software.
Prerequisites
- You need to have root access on your server through SSH for this guide to work.
- A fully qualified domain name(FQDN)
Updating the System
Virtualmin requires a fully updated system. Start by updating your package list and then upgrade all installed packages to the latest versions using the below command:
sudo apt-get update && sudo apt-get upgrade -y
Once this is done, you should restart the server and log back in:
sudo reboot now
Installing Virtualmin on Ubuntu
Now that your system is updated, you can proceed with the installation of Virtualmin. Installing this software on Ubuntu 20.04 couldn’t be easier thanks to its developers. The developers of Virtualmin have created a script that allows you to install their software with a few quick commands.
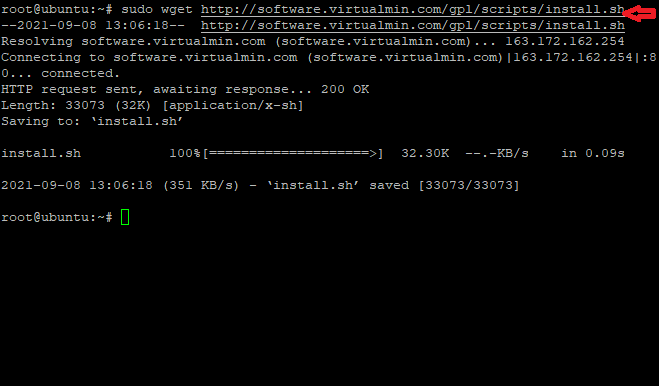
First, use the following command to download the script to the server:
sudo wget http://software.virtualmin.com/gpl/scripts/install.sh
Let’s change to permission to execute the script:
sudo chmod a x install.sh
Finally, run it to start the installation with this command:
sudo ./install.sh
The installer will now ask you a series of questions about your server and its configuration. Press Y on the prompt to continue.Advertisement
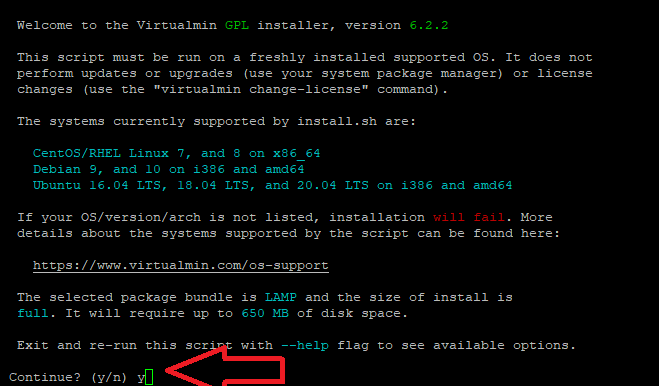
You should see output like this:
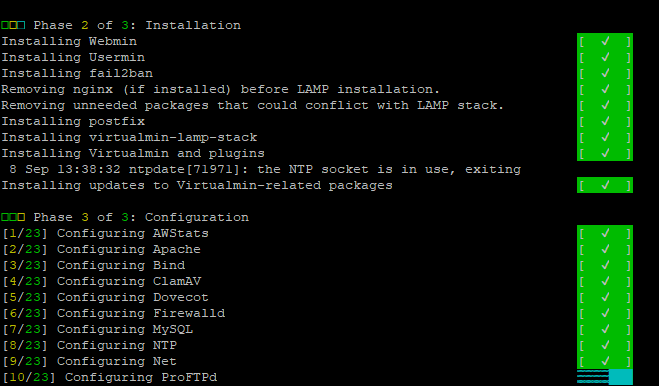
Set the Hostname
Virtualmin requires a fully qualified domain name before it can be used. You need to set the hostname of your server and make sure that you have configured DNS records for it as well so you can use this FQDN to connect to your server. A subdomain could be used for a FQDN, too. For example we want to use virtualmin.example.com for this installation, we will set the system hostname as follows:
sudo hostnamectl set-hostname virtualmin.example.com
Remember to replace virtualmin.example.com in the above command with your chosen FQDN name.
Configuring the Firewall for Virtualmin
Your firewall is necessary to keep your server secure from outside attacks. Configuring it for Virtualmin will allow you to let clients connect through and use port 1000 if needed.
Run these commands to allow port 1000 in your firewall:
sudo ufw enable
sudo ufw allow 1000 && sudo ufw reload
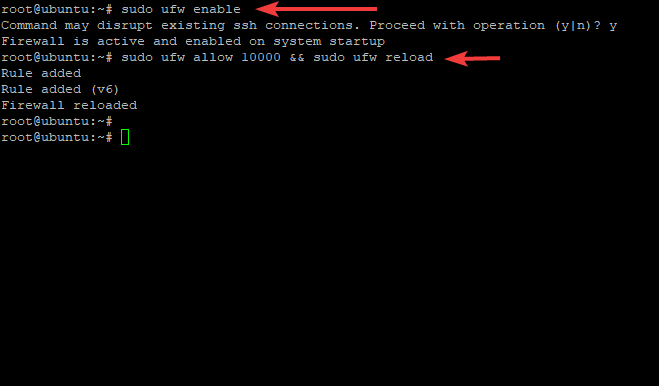
You can check the status of UFW at any time by the following command:
sudo ufw status verbose
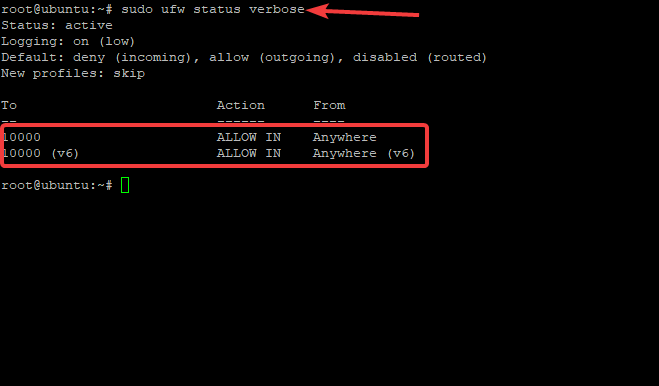
You can see UFW is active and allows port 10000.
Your server is now ready to go.
Accessing Virtualmin’s Web Interface On Ubuntu 20.04
Now that you have installed Virtualmin, it’s time to access its web interface by pointing a browser on your client machine at your server’s IP address or FQDN like this:
https://your-server-ip-address:10000
https://your-domain.com:10000
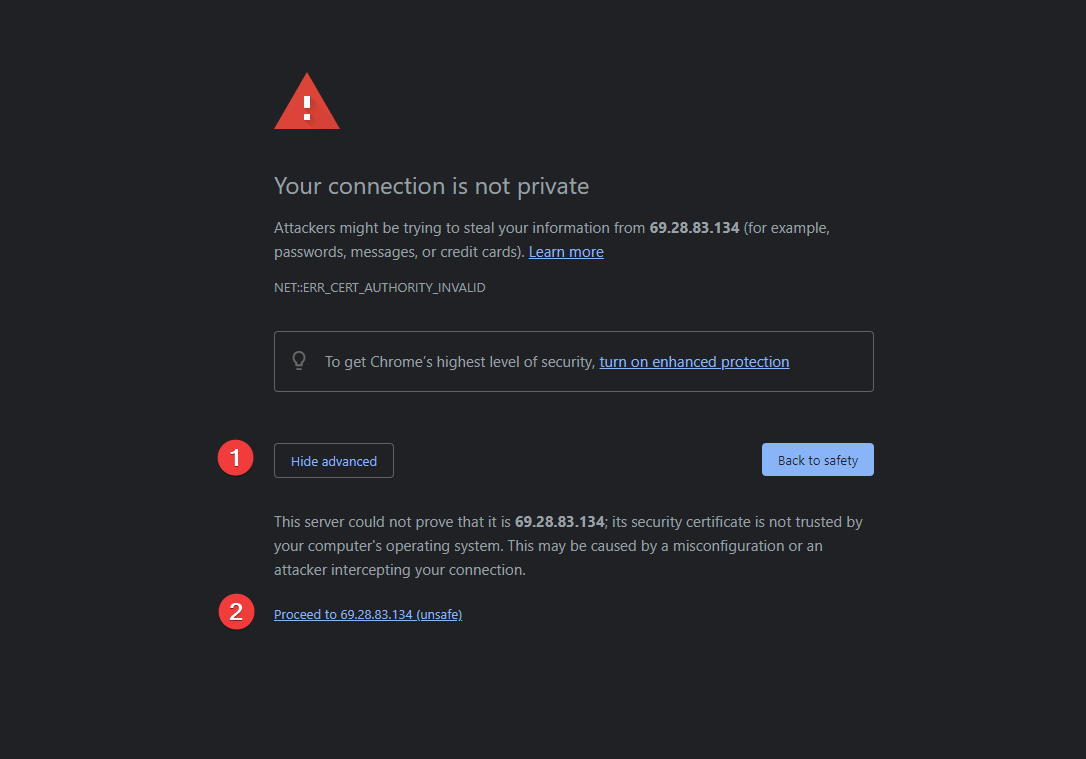
Your screen should look similar to this one:
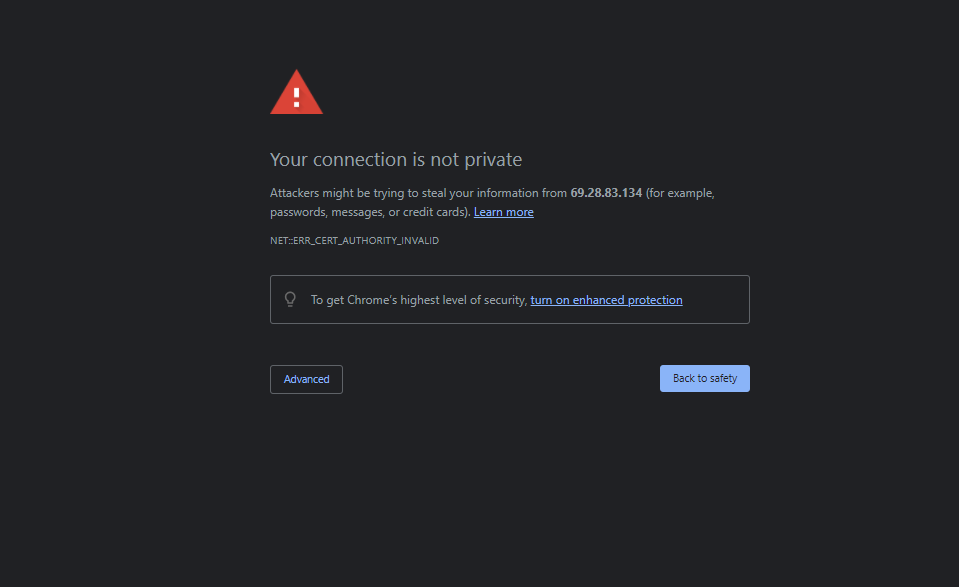
This web page indicates that your connection to your server is not secure. Don’t worry, though. It isn’t a big deal. The browser does not consider Webmin’s self-signed SSL certificate safe because it was generated by itself.
To continue, click on the Advanced tab and then click on Proceed to…(unsafe).
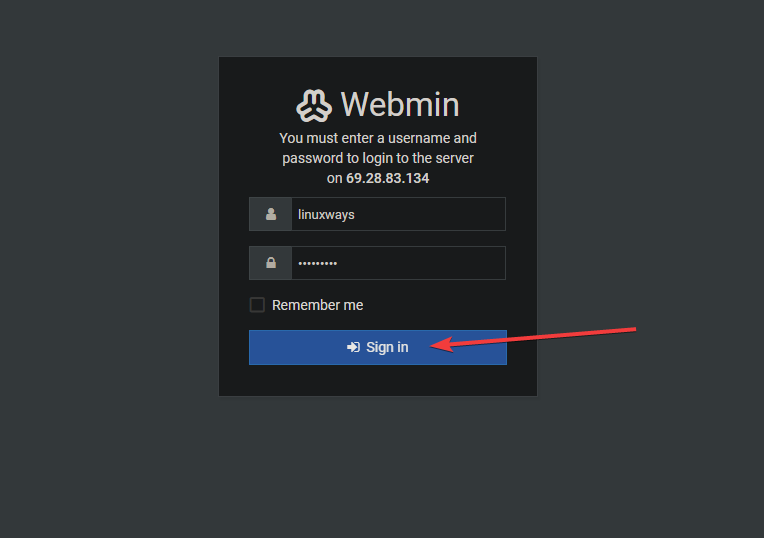
The next screen will ask you for your Virtualmin credentials. Use the same root password to log into Virtualmin as root.
Once you have entered both your username and password, click the Sign In button.
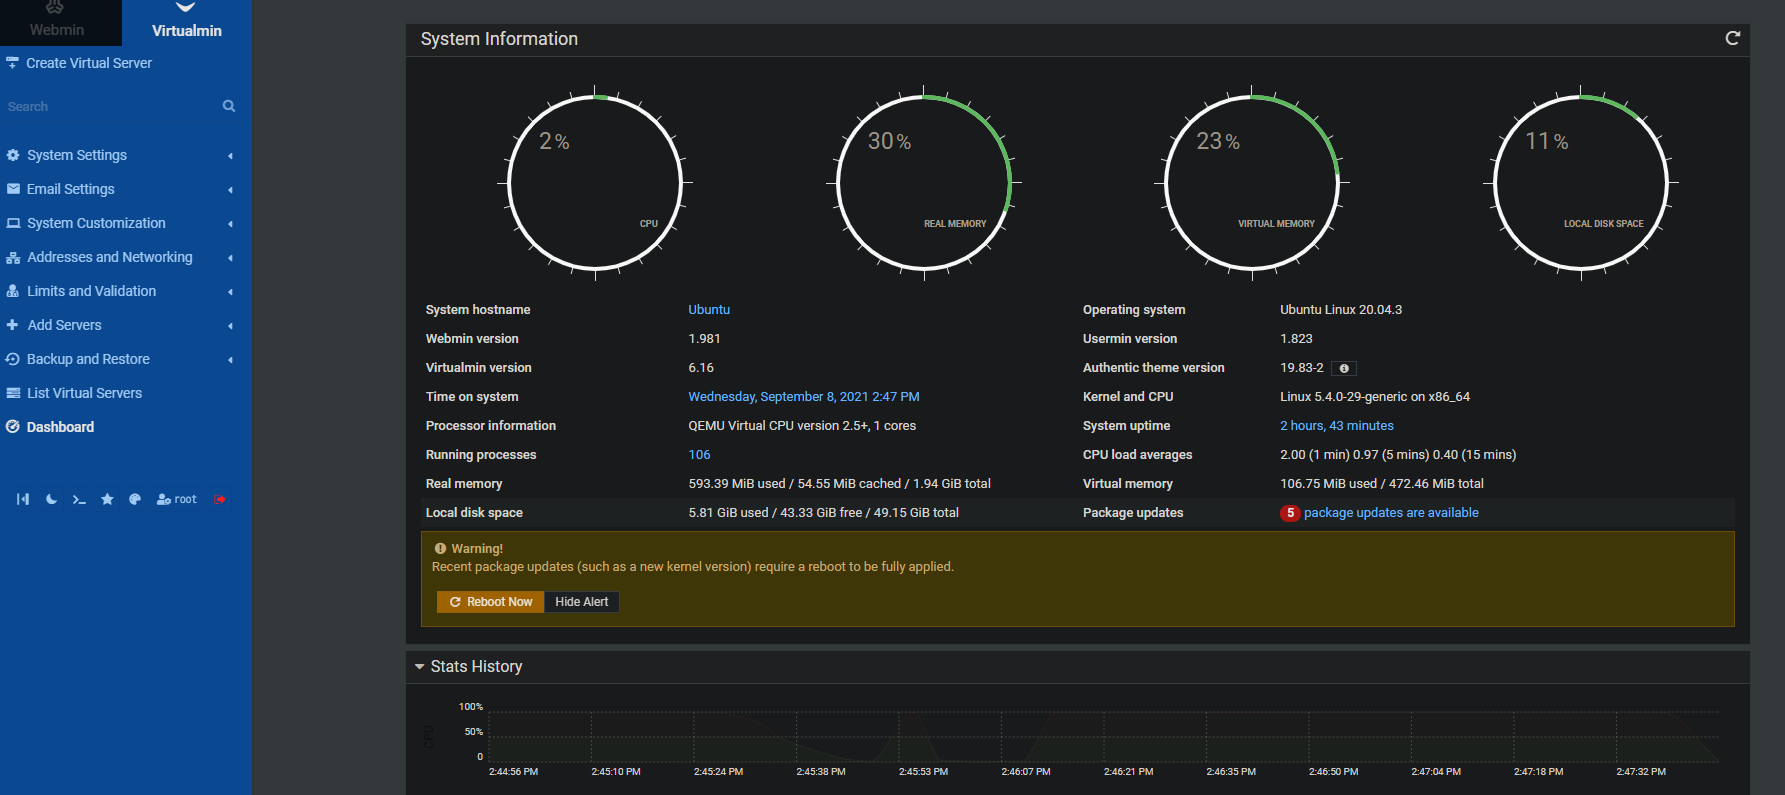
Finally, you will be brought to the main Virtualmin interface as shown
below:
Conclusion
Virtualmin is a good choice for a web hosting control panel. It is very versatile and offers many features to help you manage your Linux servers from one place.
This blog post has shown how to install Virtualmin on Ubuntu 20.04 using a script developed by the project’s developers themselves. We have also learned how to configure a firewall to allow clients to connect through port 10000.
Now that you are familiar with Virtualmin’s features and interface, feel free to explore it on your own.

