
Visual Studio Code has become one of the most popular IDEs for coding. It has integrated Git and Docker support, a code debugger, code autocompletion, the ability to work with remote files and supports various plugins.
With everything moving to the cloud, having access to the IDE of your choice from anywhere is perfect for modern-day development. Cloud IDE allows for real-time collaboration between developers, thus enhancing productivity. coder-server is an application that allows you to run Visual Studio Code from a remote server and makes it accessible via any browser.
This tutorial will teach you how to install Visual Studio Code IDE using the code-server application on your Rocky Linux 8 server. You will also expose it via a public domain along with SSL support.
Prerequisites
-
A server running Rocky Linux with at least 2 GB of RAM and 2 CPU cores.
-
A non-root user with sudo privileges.
-
A domain registered and pointed to the server.
-
Nginx installed on your server.
-
Ensure everything is updated.
$ sudo dnf update
Step 1 – Configure Firewall
The first step is to configure the firewall. Rocky Linux comes with the Firewalld firewall.
Check if the firewall is running.
$ sudo firewall-cmd --state
The following output proves that the firewall is running.
running
Check the current allowed services/ports.
$ sudo firewall-cmd --permanent --list-services
It should show the following output.
dhcpv6-client mdns ssh
Open port 8080 for code-server.
$ sudo firewall-cmd --permanent --add-port=8080/tcp
Allow HTTP and HTTPS ports.
$ sudo firewall-cmd --permanent --add-service=http
$ sudo firewall-cmd --permanent --add-service=https
Recheck the status of the firewall.
$ sudo firewall-cmd --permanent --list-all
You should see a similar output.
public
  target: default
  icmp-block-inversion: no
  interfaces:
  sources:
  services: cockpit dhcpv6-client http https ssh
  ports: 8080/tcp
  protocols:
  masquerade: no
  forward-ports:
  source-ports:
  icmp-blocks:
  rich rules:
Reload the firewall to enable the changes.
$ sudo systemctl reload firewalld
Step 2 – Install code-server
code-server comes with an installation script that can detect the Linux version and install the appropriate binary for your server. You can test the installation script to check if it will or won’t work on your server.
Run the following command to perform a dry run of the installation.
$ curl -fsSL https://code-server.dev/install.sh | sh -s -- --dry-run
Rocky Linux 8.4 (Green Obsidian)
Installing v3.12.0 of the amd64 rpm package from GitHub.

  mkdir -p ~/.cache/code-server
  curl -#fL -o ~/.cache/code-server/code-server-3.12.0-amd64.rpm.incomplete -C - https://github.com/cdr/code-server/releases/download/v3.12.0/code-server-3.12.0-amd64.rpm
  mv ~/.cache/code-server/code-server-3.12.0-amd64.rpm.incomplete ~/.cache/code-server/code-server-3.12.0-amd64.rpm
  sudo rpm -i ~/.cache/code-server/code-server-3.12.0-amd64.rpm

rpm package has been installed.

To have systemd start code-server now and restart on boot:
  sudo systemctl enable --now [email protected]$USER
Or, if you don't want/need a background service you can run:
  code-server
Run the setup after the successful dry run.
$ curl -fsSL https://code-server.dev/install.sh | sh
The installation script may ask for your sudo password.
Enable the code-server service.
$ sudo systemctl enable [email protected]$USER
If you want to update your instance of code-server, repeat the installation process. code-server will preserve your files and settings.
Step 3 – Configure code-server
code-server stores its configuration file at ~/.config/code-server/config.yaml. Open it for editing.
$ sudo nano ~/.config/code-server/config.yaml
Here are the default settings set during the installation.
bind-addr: 127.0.0.1:8080
auth: password
password: a4768b3439e5e93b5d62489b
cert: false
The default configuration file enables the following behavior:
- Listen on the loopback IP port 8080
- Enables password authorization with a randomly generated password
- Does not use TLS
You can change the password by changing its value in the file.
If you want to store a hashed version of the password, you must install npm first. Once installed, run the following command to set the hashed password.
$ echo -n "thisismypassword" | npx argon2-cli -e
$argon2i$v=19$m=4096,t=3,p=1$wst5qhbgk2lu1ih4dmuxvg$ls1alrvdiwtvzhwnzcm1dugg 5dto3dt1d5v9xtlws4
You will get the hashed value at your terminal. Copy it and paste it into the configuration file.
auth: password
hashed-password: "$argon2i$v=19$m=4096,t=3,p=1$wST5QhBgk2lu1ih4DMuxvg$LS1alrVdIWtvZHwnzCM1DUGg 5DTO3Dt1d5v9XtLws4"
Make sure to wrap the hashed password with quotes. If you want to disable Telemetry, add the following line in the file.
disable-telemetry: false
There are other options you can define in the file. To check all the other options you can add, use the following command to list all the flags.
$ code-server --help
Save the file by pressing Ctrl X and entering Y when prompted once finished.
Step 4 – Install SSL
To install an SSL certificate using Let’s Encrypt, we need to download the Certbot tool. But first, we need to install the EPEL repository.
Run the following commands to install Certbot.
$ sudo dnf install epel-release
$ sudo dnf install certbot
Generate the SSL certificate.
$ sudo certbot certonly --standalone --agree-tos --preferred-challenges http -d code-server.example.com -m [email protected]
The above command will download a certificate to the /etc/letsencrypt/live/code-server.example.com directory on your server. Be sure to replace [email protected] with your actual email.
Generate a Diffie-Hellman group certificate.
$ sudo openssl dhparam -out /etc/ssl/certs/dhparam.pem 2048
Create a challenge webroot directory for Let’s Encrypt auto-renewal.
$ sudo mkdir -p /var/lib/letsencrypt
Create a Cron Job to renew the SSL. It will run every day to check the certificate and renew if needed. For that, first, create the file /etc/cron.daily/certbot-renew and open it for editing.Advertisement
$ sudo nano /etc/cron.daily/certbot-renew
Paste the following code.
#!/bin/sh
certbot renew --cert-name example.com --webroot -w /var/lib/letsencrypt/ --post-hook "systemctl reload nginx"
Save the file by pressing Ctrl X and entering Y when prompted.
Change the permissions on the task file to make it executable.
$ sudo chmod x /etc/cron.daily/certbot-renew
Step 5 – Install and Configure Nginx
Create and open the /etc/yum.repos.d/nginx.repo file for creating the official Nginx repository.
[nginx-stable]
name=nginx stable repo
baseurl=http://nginx.org/packages/centos/$releasever/$basearch/
gpgcheck=1
enabled=1
gpgkey=https://nginx.org/keys/nginx_signing.key
module_hotfixes=true

[nginx-mainline]
name=nginx mainline repo
baseurl=http://nginx.org/packages/mainline/centos/$releasever/$basearch/
gpgcheck=1
enabled=0
gpgkey=https://nginx.org/keys/nginx_signing.key
module_hotfixes=true
Save the file by pressing Ctrl X and entering Y when prompted.
Install Nginx server.
$ sudo dnf install nginx
Enable the Nginx service.
$ sudo systemctl enable nginx
Create a configuration file for code-server in the /etc/nginx/conf.d directory.
$ sudo nano /etc/nginx/conf.d/code-server.conf
Paste the following code in it.
server {
    	listen 80; listen [::]:80;
	    server_name code-server.example.com;
    	return 301 https://$host$request_uri;
}

server {
        server_name code-server.example.com;

        listen 443 ssl http2;
        listen [::]:443 ssl http2;

        access_log /var/log/nginx/code-server.access.log;
        error_log /var/log/nginx/code-server.error.log;

        ssl_certificate /etc/letsencrypt/live/code-server.example.com/fullchain.pem;
        ssl_certificate_key /etc/letsencrypt/live/code-server.example.com/privkey.pem;
        ssl_trusted_certificate /etc/letsencrypt/live/code-server.example.com/chain.pem;
        ssl_session_timeout 1d;
        ssl_session_cache shared:MozSSL:10m;
        ssl_session_tickets off;

        ssl_protocols TLSv1.2 TLSv1.3;
        ssl_ciphers ECDHE-ECDSA-AES128-GCM-SHA256:ECDHE-RSA-AES128-GCM-SHA256:ECDHE-ECDSA-AES256-GCM-SHA384:ECDHE-RSA-AES256-GCM-SHA384:ECDHE-ECDSA-CHACHA20-POLY1305:ECDHE-RSA-CHACHA20-POLY1305:DHE-RSA-AES128-GCM-SHA256:DHE-RSA-AES256-GCM-SHA384;

        ssl_stapling on;
        ssl_stapling_verify on;
        ssl_dhparam /etc/ssl/certs/dhparam.pem;

	   location / {
	       proxy_pass http://localhost:8080/;
	       proxy_set_header Host $host;
	       proxy_set_header Upgrade $http_upgrade;
	       proxy_set_header Connection upgrade;
	       proxy_set_header Accept-Encoding gzip;
	   }
}
Save the file by pressing Ctrl X and entering Y when prompted.
Validate the configuration file.
$ sudo nginx -t
If you get the following error, you will need to edit the file /etc/nginx/nginx.conf to add/adjust the size of the variable server_names_hash_bucket_size.
nginx: [emerg] could not build the server_names_hash, you should increase server_names_hash_bucket_size
Open the file /etc/nginx/nginx.conf for editing.
$ sudo nano /etc/nginx/nginx.conf
Add the following line before the line include /etc/nginx/conf.d/*.conf;.
server_names_hash_bucket_size 64;
Save the file by pressing Ctrl X and entering Y when prompted. Validate Nginx again.
Start the Nginx server.
$ sudo systemctl start nginx
Step 6 – Use code-server
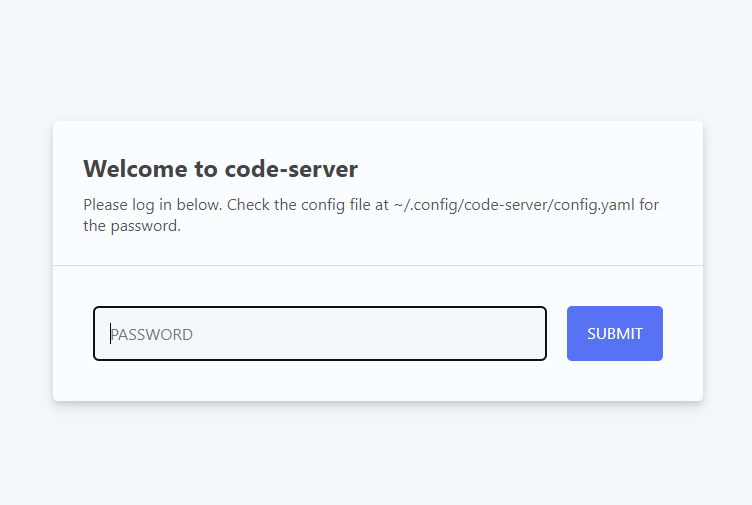
Launch the domain https://code-server.example.com in your browser, and enter the password to authenticate your code-server installation. Enter the password from the configuration file.
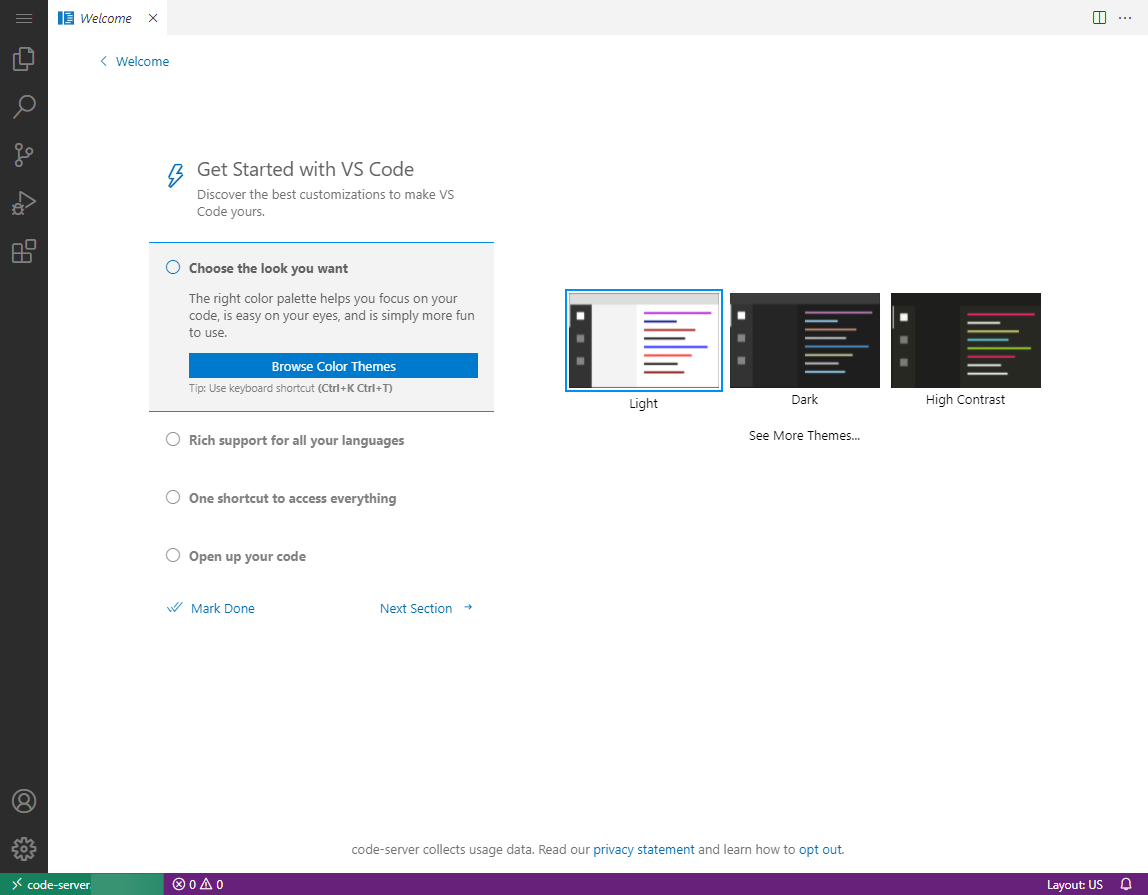
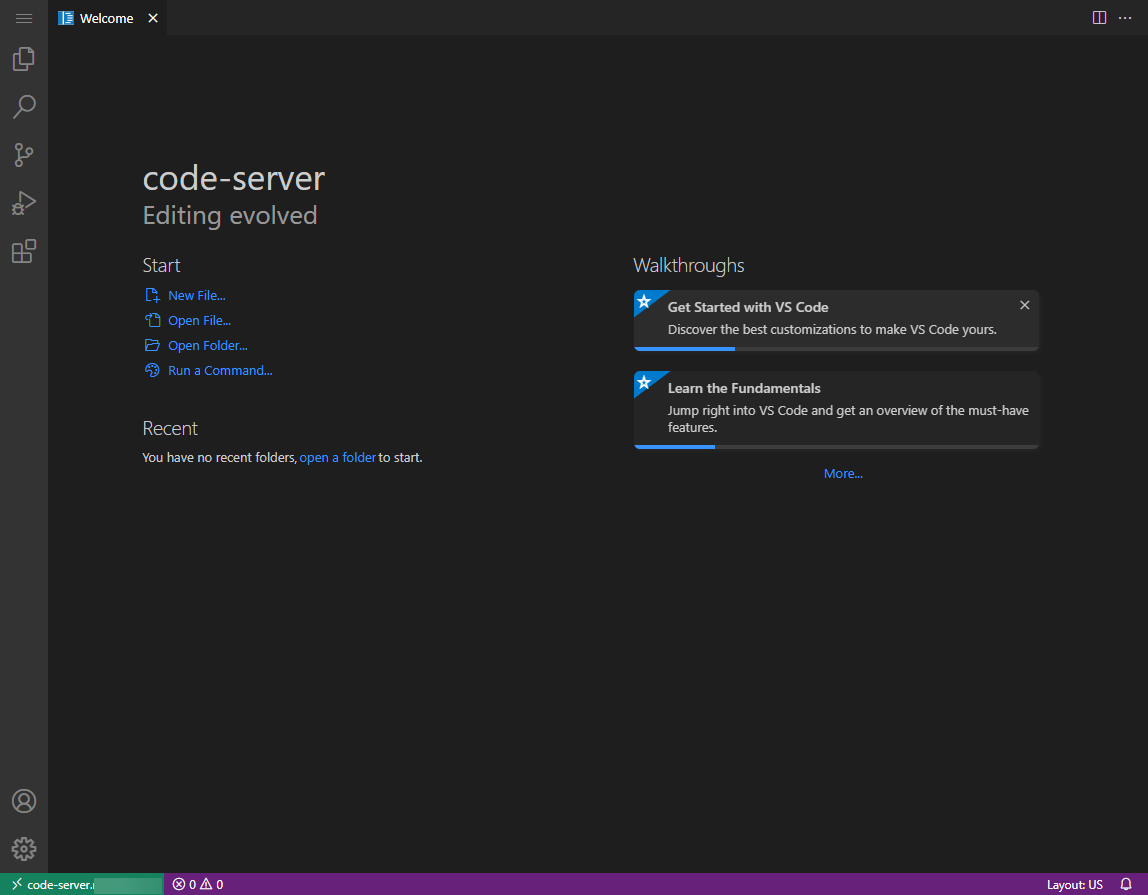
code-server will ask for VS Code Settings the first time you launch it.
Choose a color scheme, Go through the remaining sections and click Mark Done when finished.
Conclusion
You now have a Visual Studio Code instance installed on your Rocky Linux server. There are certain caveats with this as compared to the official VS Code. The extensions available are not the official extensions but offered from code-server’s unofficial repository. You can consult their official docs if you want to install the official extension. It will take some effort. If you have any questions, post them in the comments below.


