
This tutorial will cover how to install and setup Wallabag on a server running on Ubuntu 18.04 and above. It will also cover how to setup Nginx, MariaDB, Git, Postfix, Composer and PHP which are all required by Wallabag to run.
Prerequisites
You would need the following before proceeding ahead with our tutorial.
- An Ubuntu 18.04 based server having a non-root user with sudo privileges.
- You will also need the Make tool. To install it, just use the following command
$ sudo apt install make
Install git
The first step is to install Git which we will use later on to copy the wallabag installation files from its git repository. Git comes installed usually these days on most webservers. If it is not, then proceed with the following commands.
$ sudo apt install git

$ git config --global user.name "Your name"

$ git config --global user.email "[email protected]"
Install Nginx
$ sudo apt install nginx If you are using Ubuntu’s firewall, then add the following rules to its list.
$ sudo ufw allow "Nginx HTTP" Check the status as well.
$ sudo ufw status You should see something like this
Status: active

To                         Action      From
--                         ------      ----
OpenSSH                    ALLOW       Anywhere
Nginx HTTP                 ALLOW       Anywhere
OpenSSH (v6)               ALLOW       Anywhere (v6)
Nginx HTTP (v6)            ALLOW       Anywhere (v6)
Try accessing your server’s IP address in the browser. You should see the following default Nginx page which confirms that Nginx was successfully installed.
Install MariaDB
MariaDB is a drop-in replacement for MySQL which means commands to run and operate MariaDB are the same as those for MySQL. To install MariaDB issue the following commands
$ sudo apt install mariadb-server Run the following command to perform default configuration such as giving a root password, removing anonymous users, disallowing root login remotely and dropping test tables. Press yes for everything and set up a root password.
$ sudo mysql_secure_installation There is a caveat with setting up the root password. MariaDB by default allows system root users to log in to MariaDB without a password. But if you are going to use a 3rd party application to access via root, a password is a must otherwise apps like PHPMyAdmin will fail. For this, you need to disable the plugin-based authentication which is the default option on MariaDB.
To Disable plugin authentication and restore the root password, enter the MySQL prompt first by using the following command.
$ sudo mysql -u root Now enter the following commands to disable the plugin authentication.
use mysql;

update user set plugin='' where User='root';

flush privileges;

exit
After this restart your MariaDB service.
$ sudo systemctl restart mariadb.service That’s it. Next time you want to login to MySQL, use the following command
$ sudo mysql -u root -p And you will be asked for your root password which you had set initially.
Configure MariaDB for Wallabag
Now we need to set up a database to use for the wallabag application. To do that login to MySQL prompt. We will assume that you are using the default authentication method of MariaDB ( i.e. without using root password) for the rest of the tutorial.
$ sudo mysql -u root Once at the prompt enter following commands which will setup a database named wallabag and a database user named wallabaguser and grant it access to the database.
create database wallabag;
create user [email protected];
set password for [email protected]= password("yourpassword");
grant all privileges on wallabag.* to [email protected] identified by "yourpassword";
flush privileges;
exit
Install PHP and composer
Now that our server is up and running, its time to install PHP and Composer. Since we are using Nginx, we need to install the PHP-FPM package. Along with it we will need several other PHP extensions such as mbstring, mysql, gd, bc-math, curl, zip and xml.
$ sudo apt install php-fpm php-mysql php-bcmath php-xml php-zip php-curl php-mbstring php-gd php-tidy php-gettext php-tokenizer

$ sudo apt install composer
That’s it for now. We will come to the configuring part of PHP and composer later on. Let’s move to the next step.
Configure Nginx
It is time to configure our Nginx installation before we proceed with the actual install. Assuming the domain name you are using for wallabag is example.com, create a directory where you will host your installation. Wallabag will be installed in the html directory.
$ sudo mkdir -p /var/www/example.com/html Next, assign ownership of the directory to the www-data which is used by Nginx.
$ sudo chown -R www-data:www-data /var/www/example.com/html Make sure the correct permissions are set.
$ sudo chmod -R 755 /var/www/example.com Next, create a virtual host for the site.
sudo nano /etc/nginx/sites-available/example.com Paste the following configuration which works with wallabag.
server {
    server_name example.com www.example.com;
    root /var/www/example/html/web;

    location / {
        try_files $uri /app.php$is_args$args;
    }
    location ~ ^/app.php(/|$) {
        # replace php7.2-fpm with whichever php 7.x version you are using
        fastcgi_pass unix:/run/php/php7.2-fpm.sock;
        fastcgi_split_path_info ^(. .php)(/.*)$;
        include fastcgi_params;
        fastcgi_param  SCRIPT_FILENAME  $realpath_root$fastcgi_script_name;
        fastcgi_param DOCUMENT_ROOT $realpath_root;
        internal;
    }

    location ~ .php$ {
        return 404;
    }

    error_log /var/log/nginx/wallabag_error.log;
    access_log /var/log/nginx/wallabag_access.log;
}
Save the file by pressing Ctrl X and entering Y when prompted. Next, we need to enable this configuration. For this, create a link from it to the sites-enabled directory.
$ sudo ln -s /etc/nginx/sites-available/example.com /etc/nginx/sites-enabled/ You may face a memory bucket issue that arises due to additional server names. To fix that, open nginx.conf file
$ sudo nano /etc/nginx/nginx.conf Find the server_names_hash_bucket_size directive and remove the # symbol to uncomment the line:
server_names_hash_bucket_size 64; Save the file. Next, make sure there are no errors in Nginx configurations.
$ sudo nginx -t If there aren’t any issues, restart Nginx to enable the new changes.
$ sudo systemctl restart nginx Install Wallabag
First, clone wallabag from its GitHub repository. Since we gave the permissions of the html folder to www-data user, we will need to switch to it to run the installation.
$ sudo -u www-data /bin/bash
$ cd /var/www/example.com
git clone https://github.com/wallabag/wallabag.git html
This will copy the wallabag installation files into the html directory. Install Wallabag using the make command.
$ cd html
$ make install
You will be asked several questions during the installation.
If you want to use http, enter http://example.com instead when asked for the Domain name and skip the HTTPS portion of the tutorial.
database_driver (pdo_mysql): pdo_mysql
database_driver_class (null): Press Enter
database_host (127.0.0.1): 127.0.0.1
database_port (null): 3306
database_name (wallabag): wallabag
database_user (root): wallabaguser
database_password (null): wallabagpassword
database_path (null): Press Enter
database_table_prefix (wallabag_): Prefix of your choice or Press Enter for the default.
database_socket (null): Press Enter
database_charset (utf8mb4): Press Enter
domain_name ('https://your-wallabag-url-instance.com'): http://example.com
You will also be asked for the SMTP details for getting mails regarding forgotten password or two-factor authentication. If you want to use a 3rd party SMTP service like Mailgun or Sendgrid, you can fill the remaining values or else just press Enter through them. Enter no against the parameter fosuser_registration if you don’t want anyone to register on your site. Also, change the value of the secret parameter. If you have large data to import, install RabbitMQ or Redis and enter the values when asked.
When prompted whether to reset your existing database, press Enter to use the default option (no). You will also be asked to create an Admin user.
Switch back to your default Ubuntu user login when finished.
$ exit
Configure SMTP
If you want to set up a basic SMTP server and not use 3rd party SMTP services, install Mailutils.
$ sudo apt install mailutils
During installation, it will ask you to select a configuration type for Postfix. Select Internet Site and proceed. Enter example.com when asked for the System mail name field. That’s it.
Configure HTTPS
We will use Let’s Encrypt to set up HTTPS for our wallabag installation. Add the following repository for the Certbot tool.
$ sudo add-apt-repository ppa:certbot/certbot
Install the Certbot Nginx package from the repository.
$ sudo apt install python-certbot-nginx
Obtain the certificate for your domain example.com.
$ sudo certbot --nginx -d example.com -d www.example.com
If this is your first time with the Certbot tool, you will be asked to provide an email and agree to the terms of service. You will also be asked whether you want your email to be shared with EFF(Electronic Frontier Foundation). Choose N if you don’t want EFF to email you regarding their news and campaigns.
If that’s successful, Certbot will ask you how you want to configure your HTTPS settings.
Please choose whether or not to redirect HTTP traffic to HTTPS, removing HTTP access.
-------------------------------------------------------------------------------
1: No redirect - Make no further changes to the webserver configuration.
2: Redirect - Make all requests redirect to secure HTTPS access. Choose this for
new sites, or if you're confident your site works on HTTPS. You can undo this
change by editing your web server's configuration.
-------------------------------------------------------------------------------
Select the appropriate number [1-2] then [enter] (press 'c' to cancel):
Choose 2 since we want all requests to your domain to be redirected to https.
That’s it. Your HTTPS domain is live. Certbot will automatically renew your domain after every 90 days. To test the renewal process, do a dry run.
$ sudo certbot renew --dry-run
If you don’t see any errors, that means everything is perfect.
Configure Wallabag
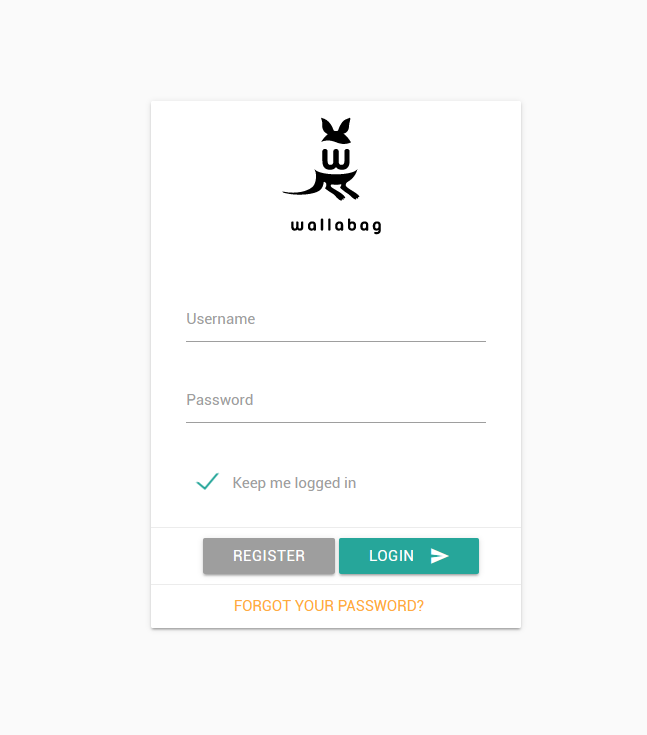
Now that we have setup wallabag, open your wallabag domain. You should see the following screen.
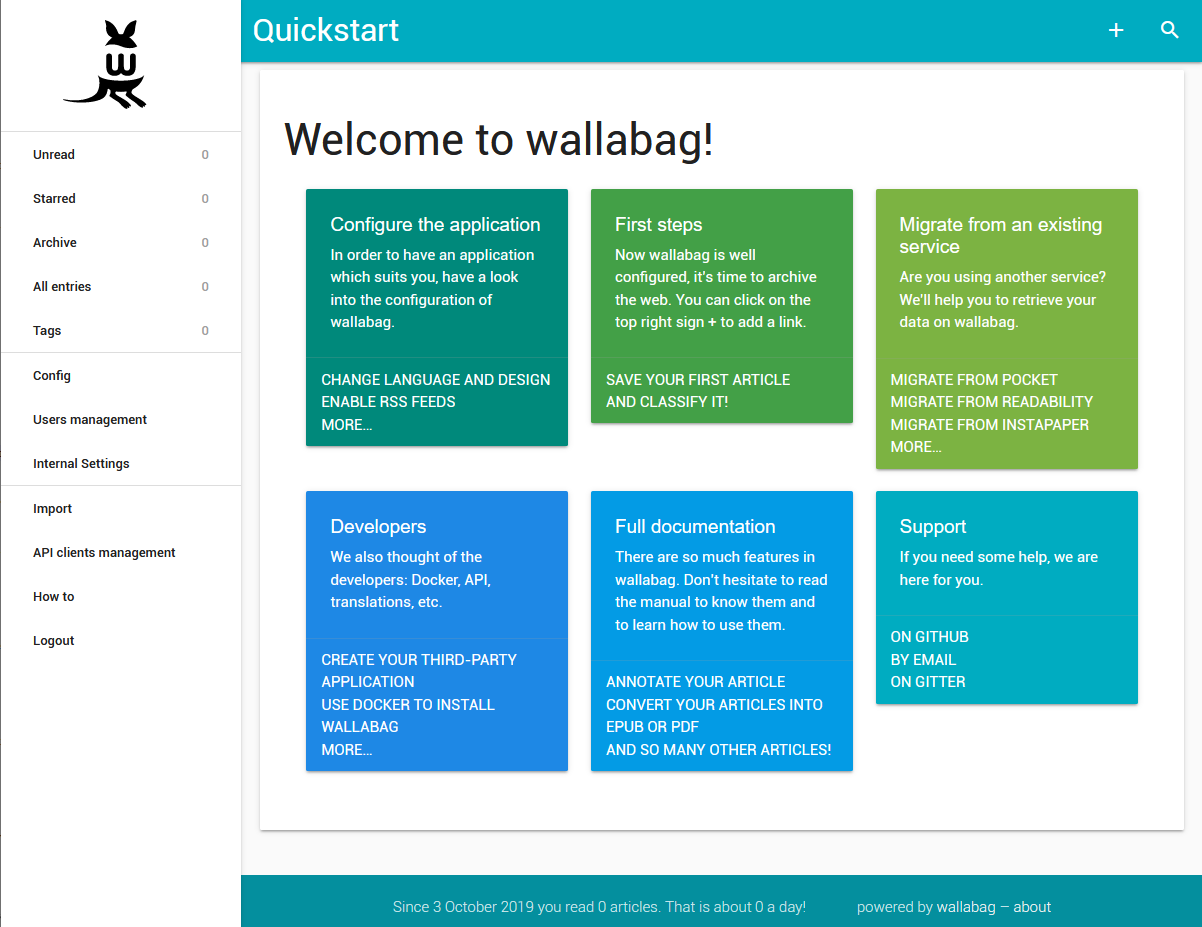
Enter the credentials you chose during the make process above. After logging in, you should see the following screen.
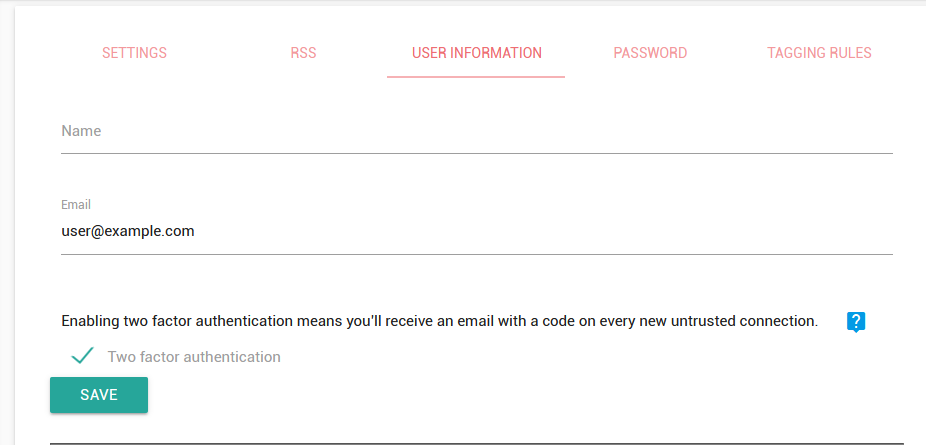
You should enable two-factor authentication. To do that click on the Config button on the left and select the USER INFORMATION tab from the following screen. Enable the checkmark Two-factor authentication to enable it.
You can import your data from Pockets, Instapaper, Pinboard and bookmarks from Firefox and Chrome-based browsers.
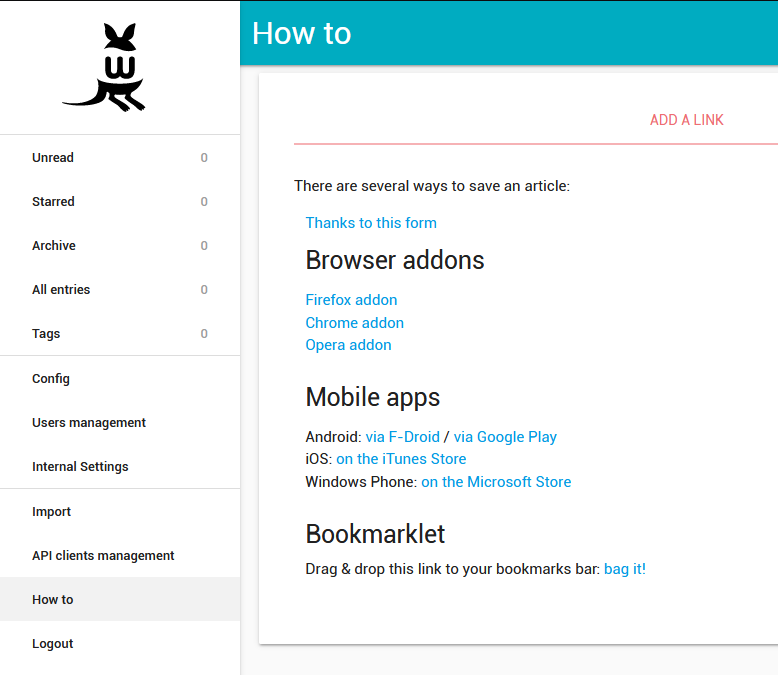
Wallabag provides you with a multitude of apps for every browser, mobile or Ebook reader using which you can add links. And if nothing else fancies you, you can even use a Bookmarklet, the details of which you can access from the How to section in your settings.
Upgrade Wallabag
To Upgrade Wallabag to the latest version, just issue the following commands.
$ sudo -u www-data /bin/bash
$ cd /var/www/example.com/html
$ make update
That’s it for this tutorial. Now you can save and read articles from your server without compromising on the privacy of your data.


