Wiki.js is an open-source wiki software written in JavaScript and running on the Node.js runtime, it’s released under the APGL-v3 license. Wiki.js is a lightweight, and powerful wiki software with a beautiful and intuitive user interface, it’s designed for the modern web. Wiki.js is very extensible wiki software and suitable for different types of documents and deployments, it can be used for both technical and non-technical people.
Wiki.js is backed by various types of modules to extend its features and make it a powerful and extensible wiki software. Some notable and default Wiki.js features are seen below:
- Support multiple databases (PostgreSQL, MySQL, SQLite, and MSSQL Server).
- Multiple editors, including Markdown for developers, WYSIWYG for non-technical people, code, and Tabular (Excel-like)
- Built-in databases-based search engine, also support for another search engine such as Apache Solr, Elasticsearch, etc.
- Supports multiple data storage for backup such as Git, sFTP, AWS S3, Google Drive, Dropbox, etc.
In this guide, you will learn how to install Wiki.js on the Rocky Linux server. You will be installing the Wiki.js with the latest LTS version of Node.js, using PostgreSQL as its main database, and using the Nginx web server as a reverse proxy.
Prerequisites
- A Rocky Linux system. Make sure all packages and repositories updated to the latest version
- A root user or a user with root privileges. You will be using this user for installing new packages and editing system configurations.
Installing Nodejs on Rocky Linux
First, you will be installing Node.js on Rocky Linux. And by default, the AppStream repository provides multiple Node.js LTS versions.
1. Check the repository module for ‘nodejs‘ by running the following command.
sudo dnf module list nodejs
You will see multiple versions of the Node.js module.
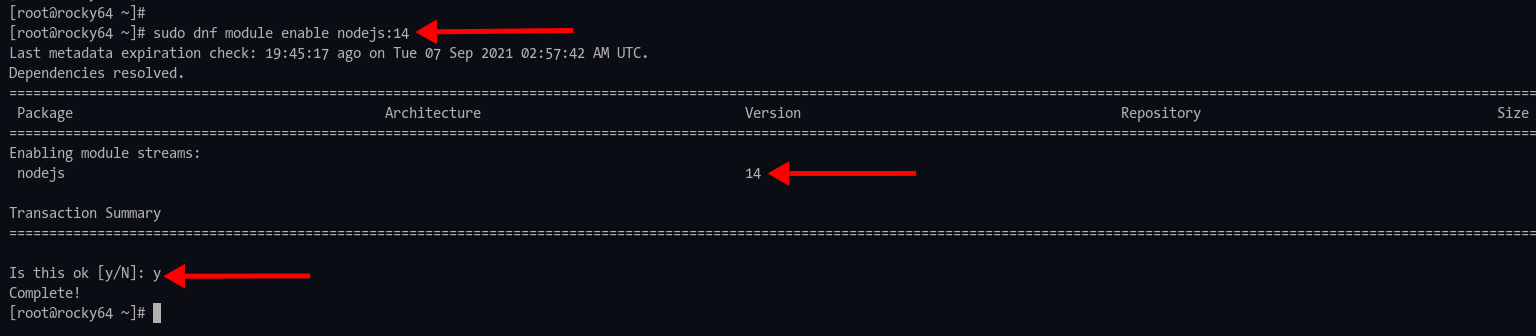
2. Enable the ‘nodejs:14‘ repository module using the command below.
sudo dnf module enable nodejs:14
Type ‘y‘ to enable the ‘nodejs:14‘ repository module.
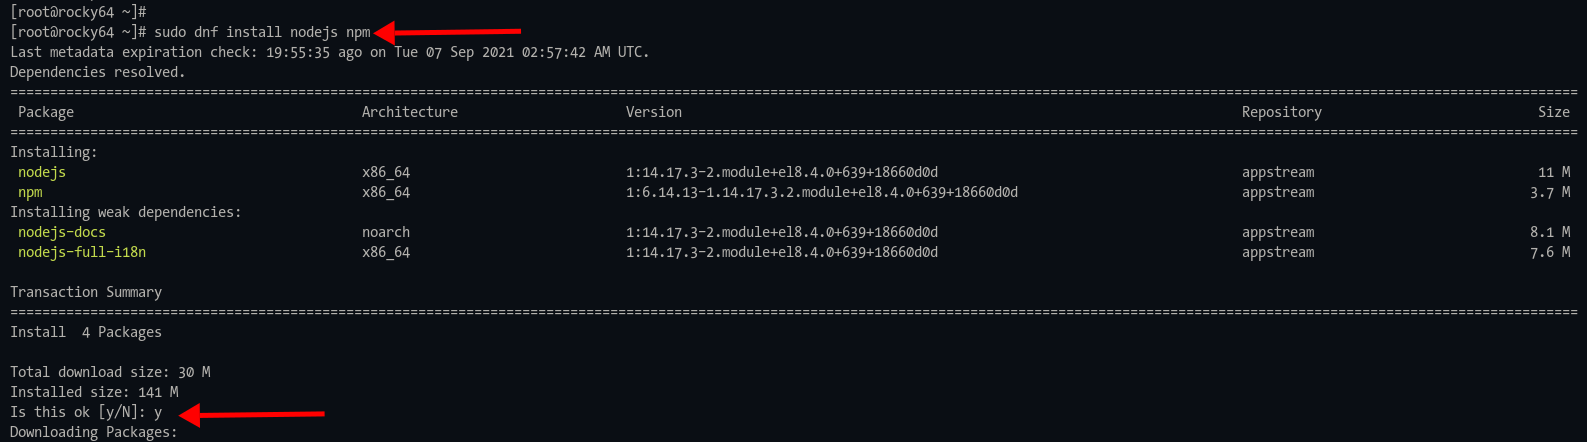
3. Next, execute the following command to install Node.js and npm packages.
sudo dnf install nodejs npm
Type ‘y‘ and press ‘Enter‘ to confirm the installation.
4. After the installation is complete, execute the following command to check the Node.js and npm versions.
node --version
npm --version
You will see a similar output as below.
# Node.js version
v14.17.3# NPM version
6.14.13
Installing PostgreSQL Database
For this stage, you will be installing PostgreSQL from the official PostgreSQL repository. For production, it’s recommended to use PostgreSQL as the main database for Wiki.js.
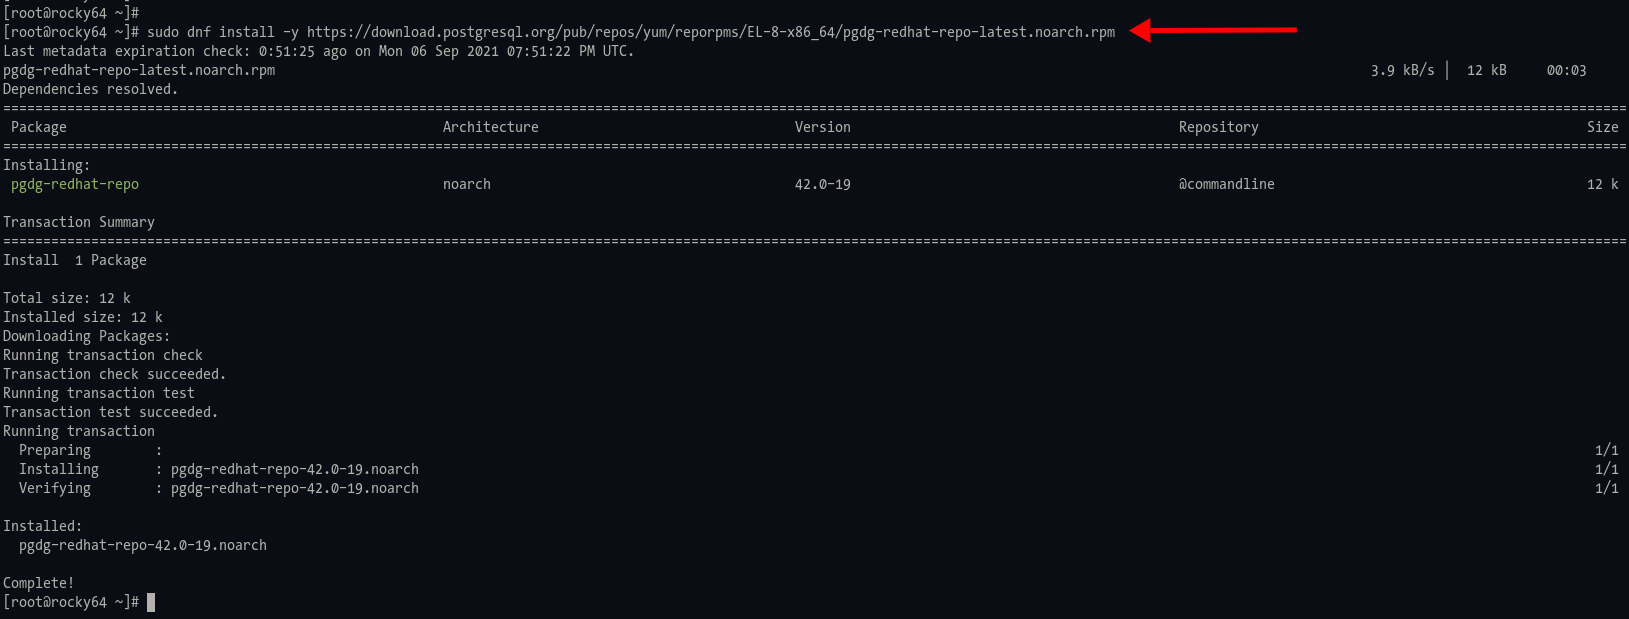
1. Now execute the following command to add the PostgreSQL repository to the Rocky Linux system.
sudo dnf install -y https://download.postgresql.org/pub/repos/yum/reporpms/EL-8-x86_64/pgdg-redhat-repo-latest.noarch.rpm
2. Disable the default Rocky Linux PostgreSQL repository using the following command.
sudo dnf module -qy disable postgresql
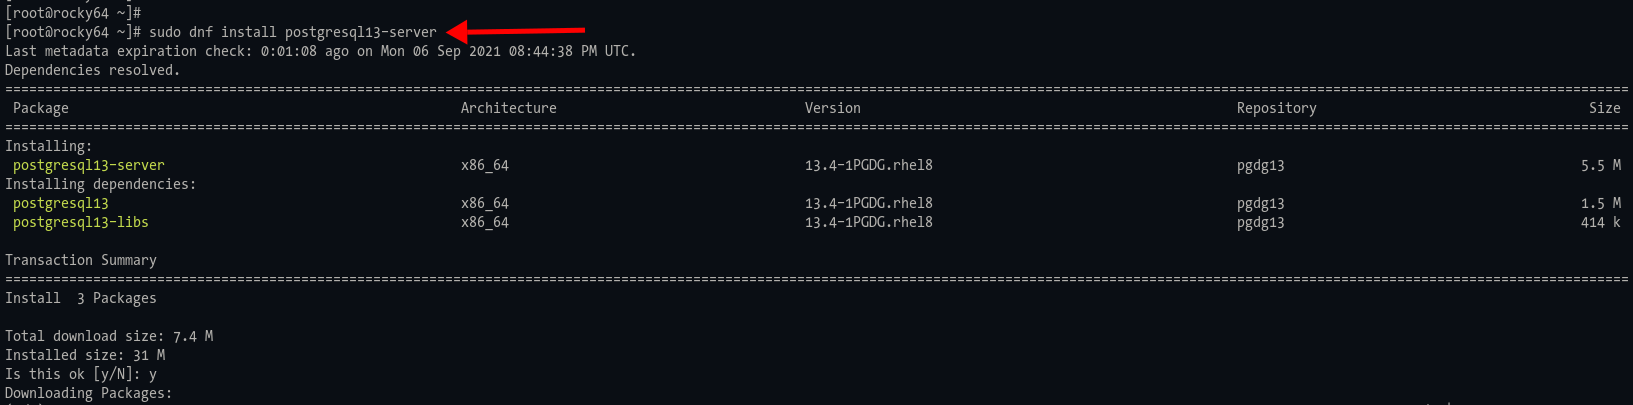
3. Next, run the command below to install the PostgreSQL 13 to the Rocky Linux server.
sudo dnf install postgresql13-server
Type ‘y‘ and press ‘Enter‘ to continue the installation.
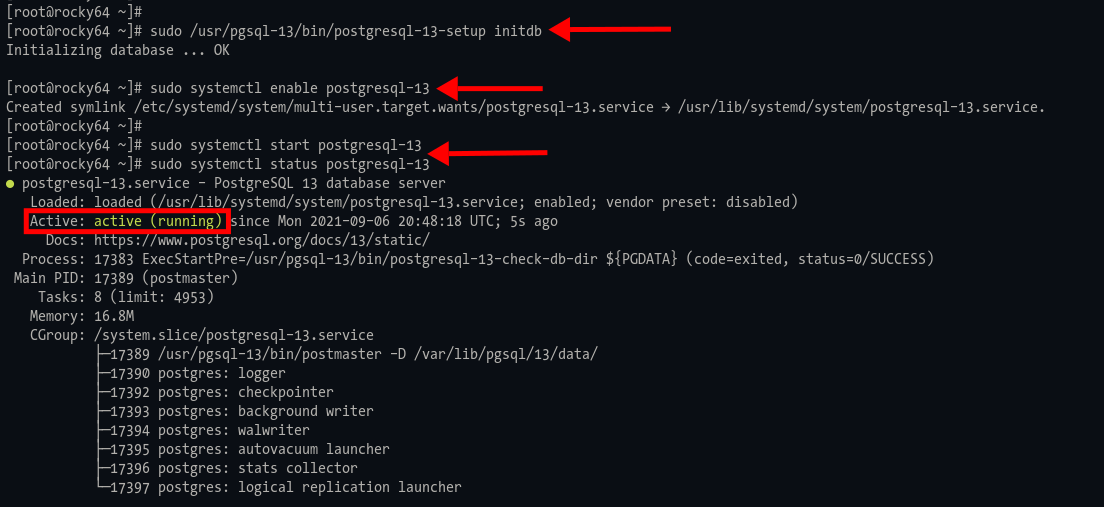
4. If the PostgreSQL installation is complete, execute the following command to initialize the PostgreSQL database, start and enable the PostgreSQL service.
Initialize PostgreSQL database using the command below.
sudo /usr/pgsql-13/bin/postgresql-13-setup initdb
Enable the PostgreSQL to start automatically at the system startup using the command below.
sudo systemctl enable postgresql-13
Now start the PostgreSQL service and check its status using the following command.
sudo systemctl start postgresql-13
sudo systemctl status postgresql-13
If your PostgreSQL service is running, you will see the message output as ‘active (running)‘ like the screenshot below.
Create New Database and User
After installing the PostgreSQL server, you will be creating a new database and user for the Wiki.js installation.
1. Execute the following command to log in to the PostgreSQL shell.
sudo -u postgres psql
2. Create a new PostgreSQL user name ‘wiki‘ with the password ‘wikijspassworddb‘ using the following query.
CREATE USER wiki WITH
CREATEDB
PASSWORD 'wikijspassworddb';
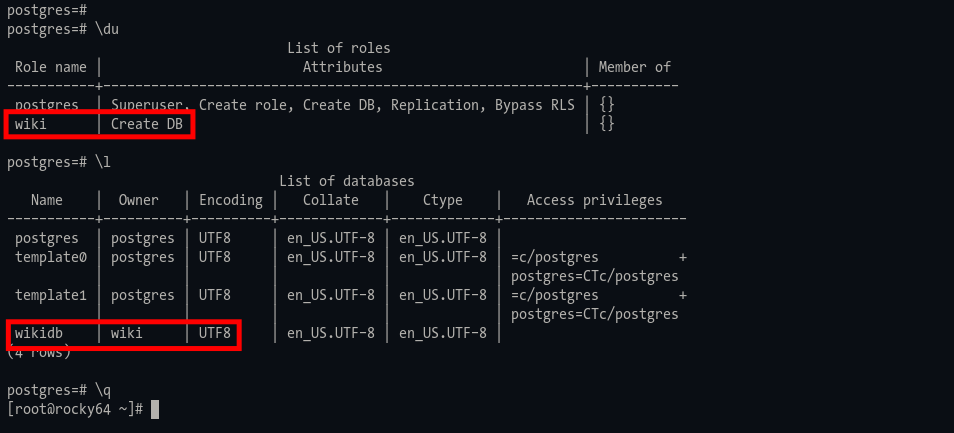
3. Now create a new database name ‘wikidb‘ and make the user ‘wiki‘ as the owner of the database using the PostgreSQL query below.
CREATE DATABASE wikidb OWNER wiki;
Now type ‘q‘ to exit from the PostgreSQL shell.
Optionally, you can verify the user and database using the queries below.
# Check available users
du# Display list of databases
l
Downloading and Configuring Wiki.js
For this guide, you will be running the Wiki.js as a service, and it will be running as a non-root user.
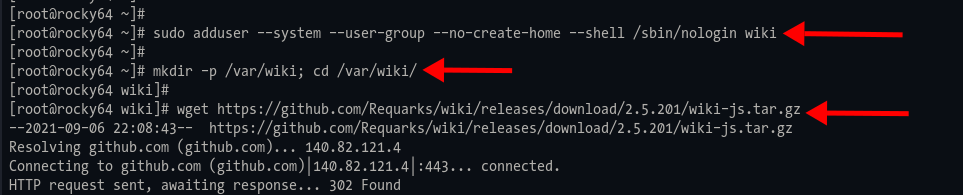
1. Execute the command below to create a new user ‘wiki‘ for the Wiki.js installation.
sudo adduser --system --user-group --no-create-home --shell /sbin/nologin wiki
2. Create a new directory ‘/var/wiki’ and change the working directory into it. Then run the wget command to download the latest stable version of Wiki.js source code.
mkdir -p /var/wiki; cd /var/wiki/
wget https://github.com/Requarks/wiki/releases/download/2.5.201/wiki-js.tar.gz
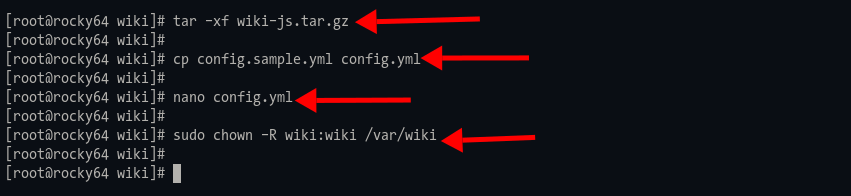
If the download process is complete, extract the Wiki.js source code using the tar command below.
tar -xf wiki-js.tar.gz
3. Next, copy the Wiki.js sample configuration to ‘config.yml’ and edit it with nano.
cp config.sample.yml config.yml
nano config.yml
Change details of the database name, user, and password as below.
db:
type: postgres# PostgreSQL / MySQL / MariaDB / MS SQL Server only:
host: localhost
port: 5432
user: wiki
pass: wikijspassworddb
db: wikidb
ssl: false
Put the ‘#’ in front of the SQLite storage option as below.
  # SQLite only:
  #storage: path/to/database.sqlite
Change the ‘bindIP‘ option to ‘127.0.0.1‘ to run the Wiki.js on local IP only.
# ---------------------------------------------------------------------
# IP address the server should listen to
# ---------------------------------------------------------------------
# Leave 0.0.0.0 for all interfacesbindIP: 127.0.0.1
Save the configuration and exit by pressing the ‘Ctrl x‘ button, type ‘y‘, then press ‘Enter‘.
4. Next, the most important thing is to change the ownership of the ‘/var/wiki‘ directory to user and group ‘wiki‘ using the command below.
sudo chown -R wiki:wiki /var/wiki
Setting up Wiki.js as a Systemd Service
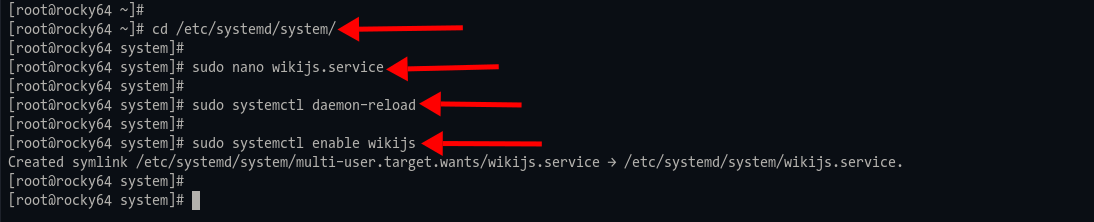
1. To create a new systemd service file, change the working directory to ‘/etc/systemd/system’ and create a new service file ‘wikijs.service’ using nano.
cd /etc/systemd/system/
sudo nano wikijs.service
Copy and paste the following configuration.
[Unit]
Description=Wiki.js
After=network.target postgresql-13.service[Service]
Type=simple
ExecStart=/bin/node server
Restart=always
# Consider creating a dedicated user for Wiki.js here:
User=wiki
Group=wiki
Environment=NODE_ENV=production
WorkingDirectory=/var/wiki[Install]
WantedBy=multi-user.target
Press ‘Ctrl x‘, type ‘y‘, then press ‘Enter‘ to save the configuration and exit.
2. Reload the ‘systemd-manager‘ to apply a new service configuration.
sudo systemctl daemon-reload
3. Next, enable the service ‘wikijs‘ to be running at system startup using the command below.
sudo systemctl enable wikijs
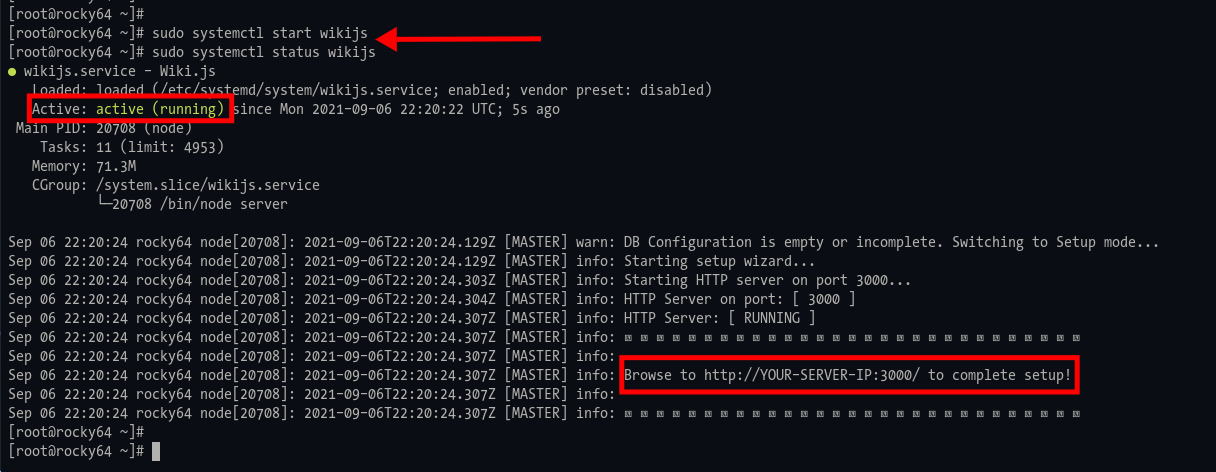
4. Start the ‘wikijs‘ service and check its status using the following command.
sudo systemctl start wikijs
sudo systemctl status wikijs
Now you will see the wikijs.service is active and running on the Rocky Linux system.
Installing and Configuring Nginx as a Reverse Proxy for Wiki.js
For this stage, you will be installing and configuring the Nginx web server as a reverse proxy for Wiki.js. If you’ve installed the Nginx web server on your server, move to stage number 2 for configuring the Nginx server blocks.
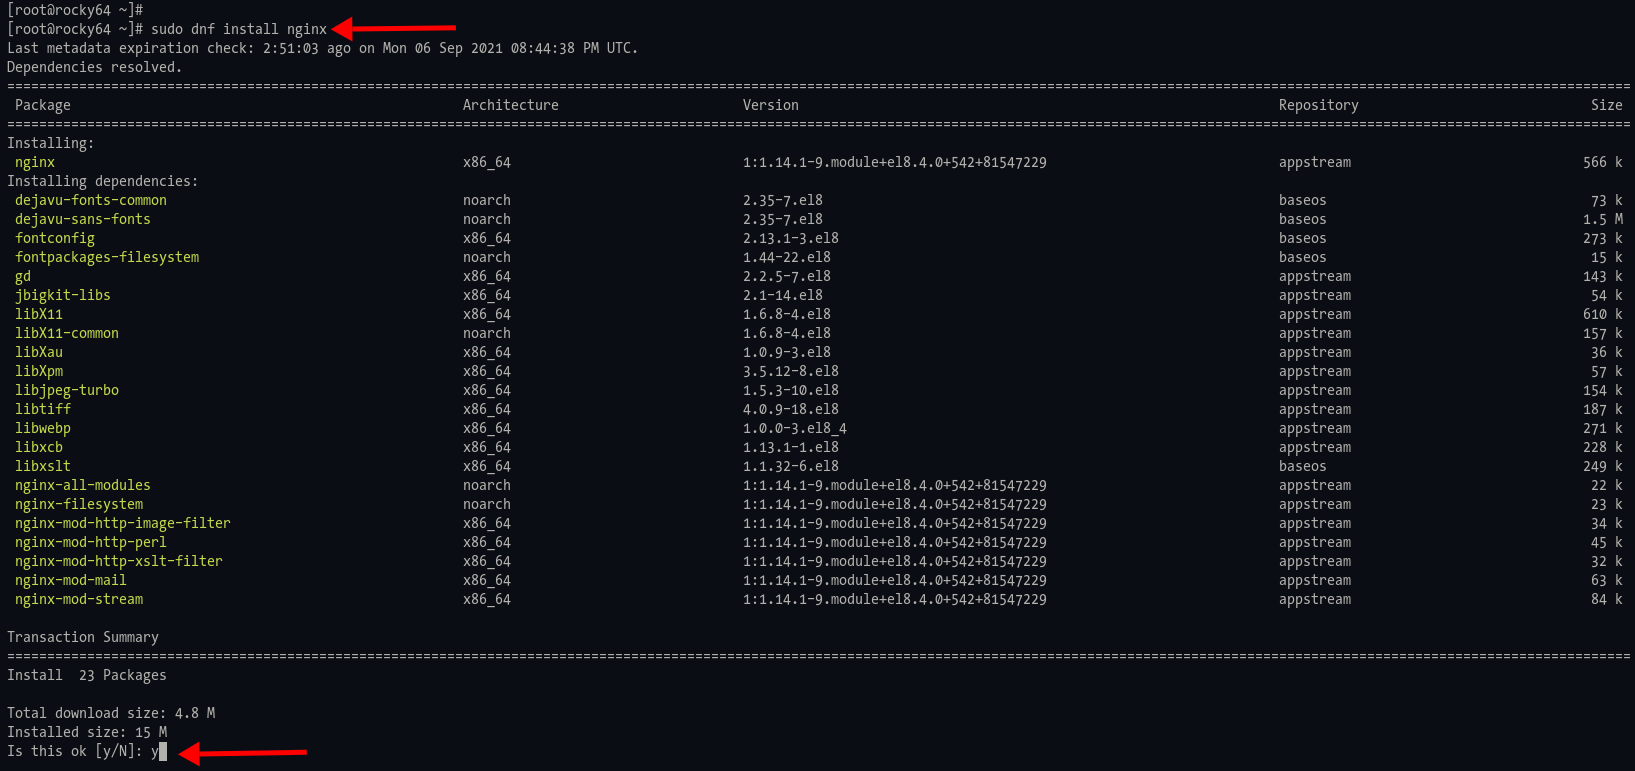
1. To install the Nginx web server, execute the dnf command below.
sudo dnf install nginx
Type ‘y‘ to confirm and install the Nginx web server.
2. If the installation is complete, change the working directory to ‘/etc/nginx/conf.d’ and create a new Nginx server block configuration ‘wikijs.conf‘ using nano.
cd /etc/nginx/conf.d/
sudo nano wikijs.conf
Copy and paste the following configuration, and make sure to change the value of the ‘server_name‘ option with your domain name.
server {
listen 80; server_name wiki.domain-name.io;
charset utf-8;
client_max_body_size 50M;
location / {
proxy_set_header Host $http_host;
proxy_set_header X-Real-IP $remote_addr;
proxy_pass http://127.0.0.1:3000;
proxy_http_version 1.1;
proxy_set_header Upgrade $http_upgrade;
proxy_set_header Connection "upgrade";
proxy_next_upstream error timeout http_502 http_503 http_504;
}
}
Press ‘Ctrl x‘, type ‘y‘, then press ‘Enter‘ to save the configuration and exit.
3. Next, test the Nginx configuration and make sure there is no error, then enable the Nginx service.
sudo nginx -t
sudo systemctl enable nginx
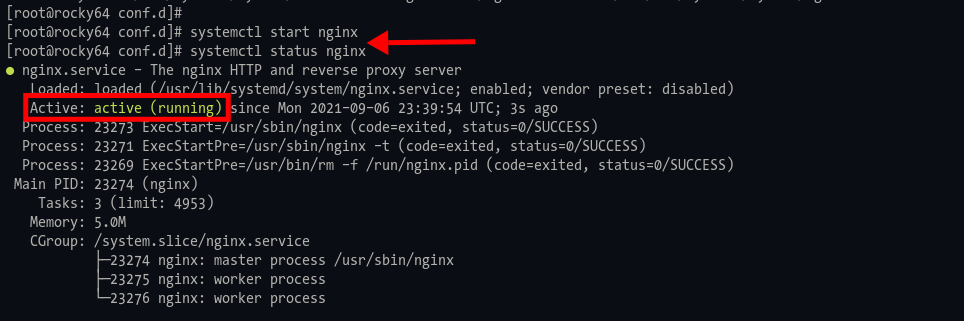
4. Now start and check the status of the Nginx service by running the following command.
sudo systemctl start nginx
sudo systemctl enable nginx
You will see the output of the Nginx service is ‘active (running)‘ as below.
Securing Wikijs with SSL Letsencrypt
For this stage, you will be securing the Wiki.js installation using the SSL Letsencrypt.
1. Execute the following command to install the certbot and certbot-nginx plugin.
sudo dnf install certbot python3-certbot-nginx
2. After the installation is complete, generate a new SSL Letsencrtypt for the radicale domain name using the certbot command below.
sudo certbot --nginx --agree-tos --email [email protected] -d wiki.domain-name.io
And you will be asked some questions below.
- An email address: when the SSL certificate expires, you will be noticed to this email.
- Letsencrypt TOS (Terms of Service): type ‘A’ to agree.
- Sharing email with EFF: you can choose ‘N’ for no.
- Automatically redirect HTTP to HTTPS: choose number ‘2’ to enable auto-redirect.
Once the process is complete, you will see the SSL certificates are available at the ‘/etc/letsencrypt/live/wiki.domain-name.io‘ directory. And your Nginx server blocks configuration has changed with additional configuration from letsencrypt.
Configuring Wiki.js Admin and Default Homepage
Open your web browser and type the URL address of your Wiki.js installation on the address bar.
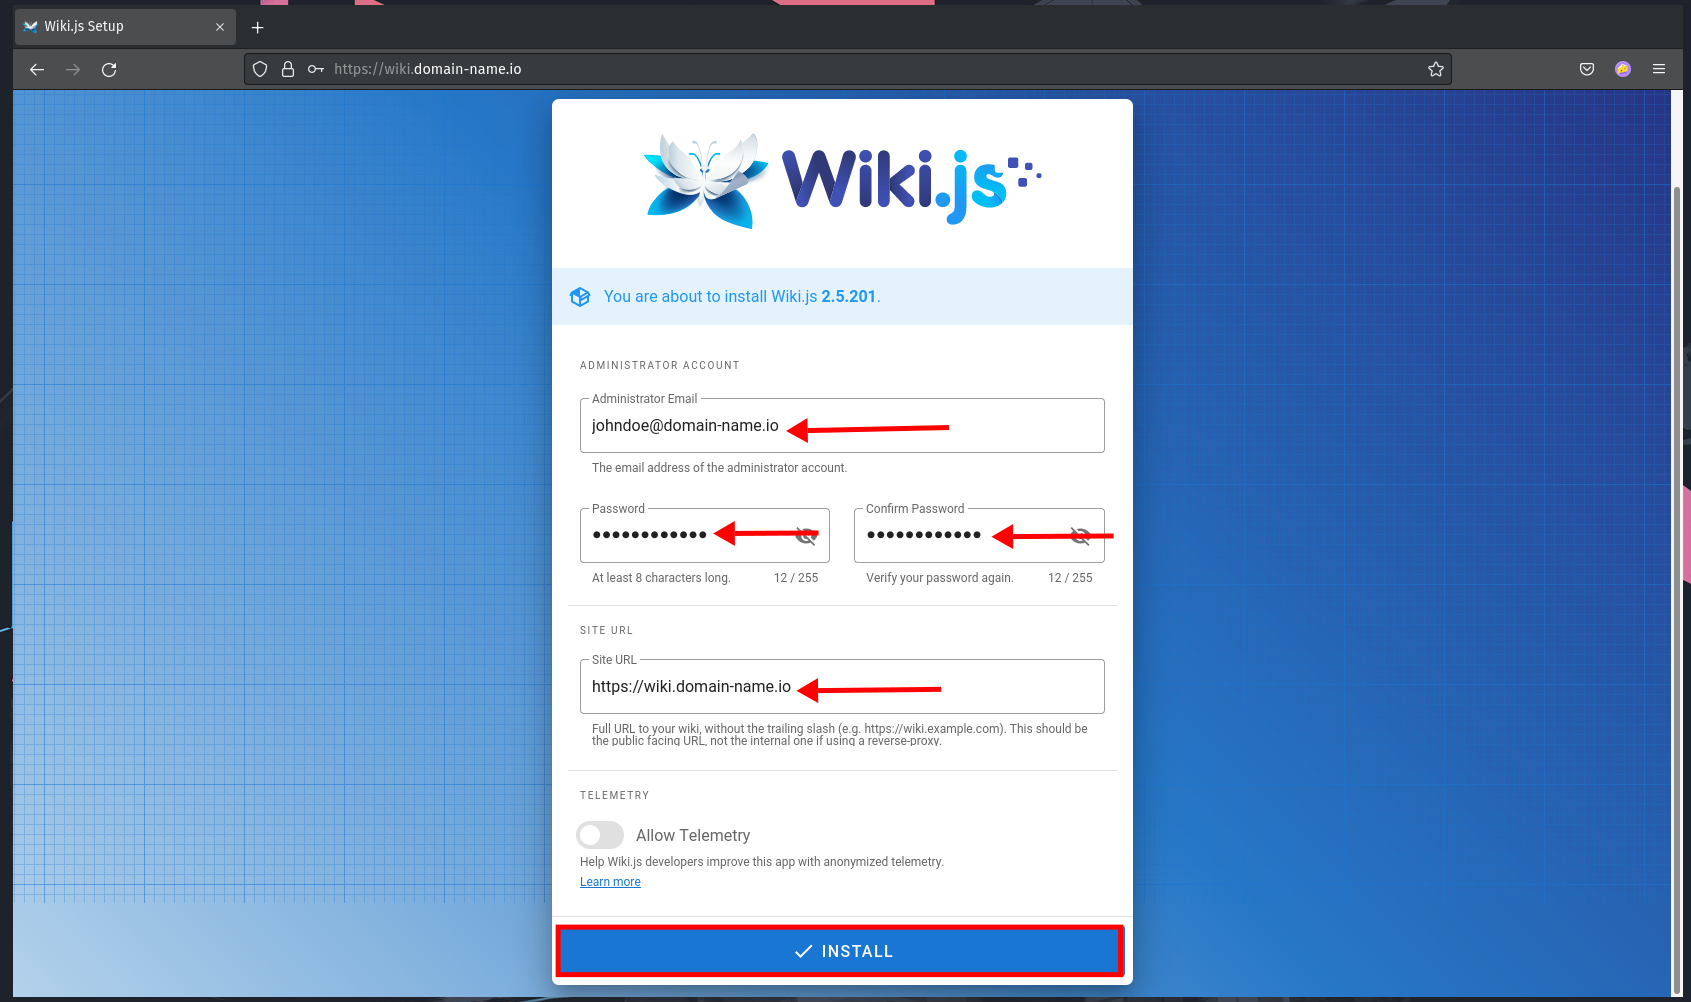
1. You will be redirected to the HTTPS connection and you will see the following page.
Type details of the Administrator account with your email address and password, then type your domain of Wiki.js as the site URL, then click the ‘INSTALL’ button.
Wait for the Wiki.js installation.
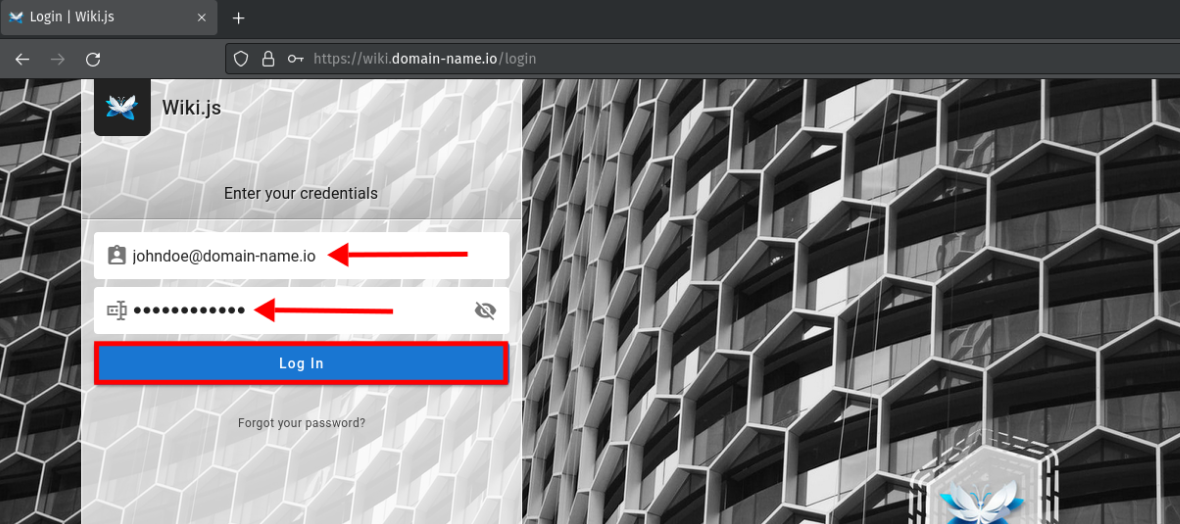
2. And if the installation is complete, you will be redirected to the Wiki.js login page as below.
Type your administrator email address and password, then click the ‘Log In‘ button.
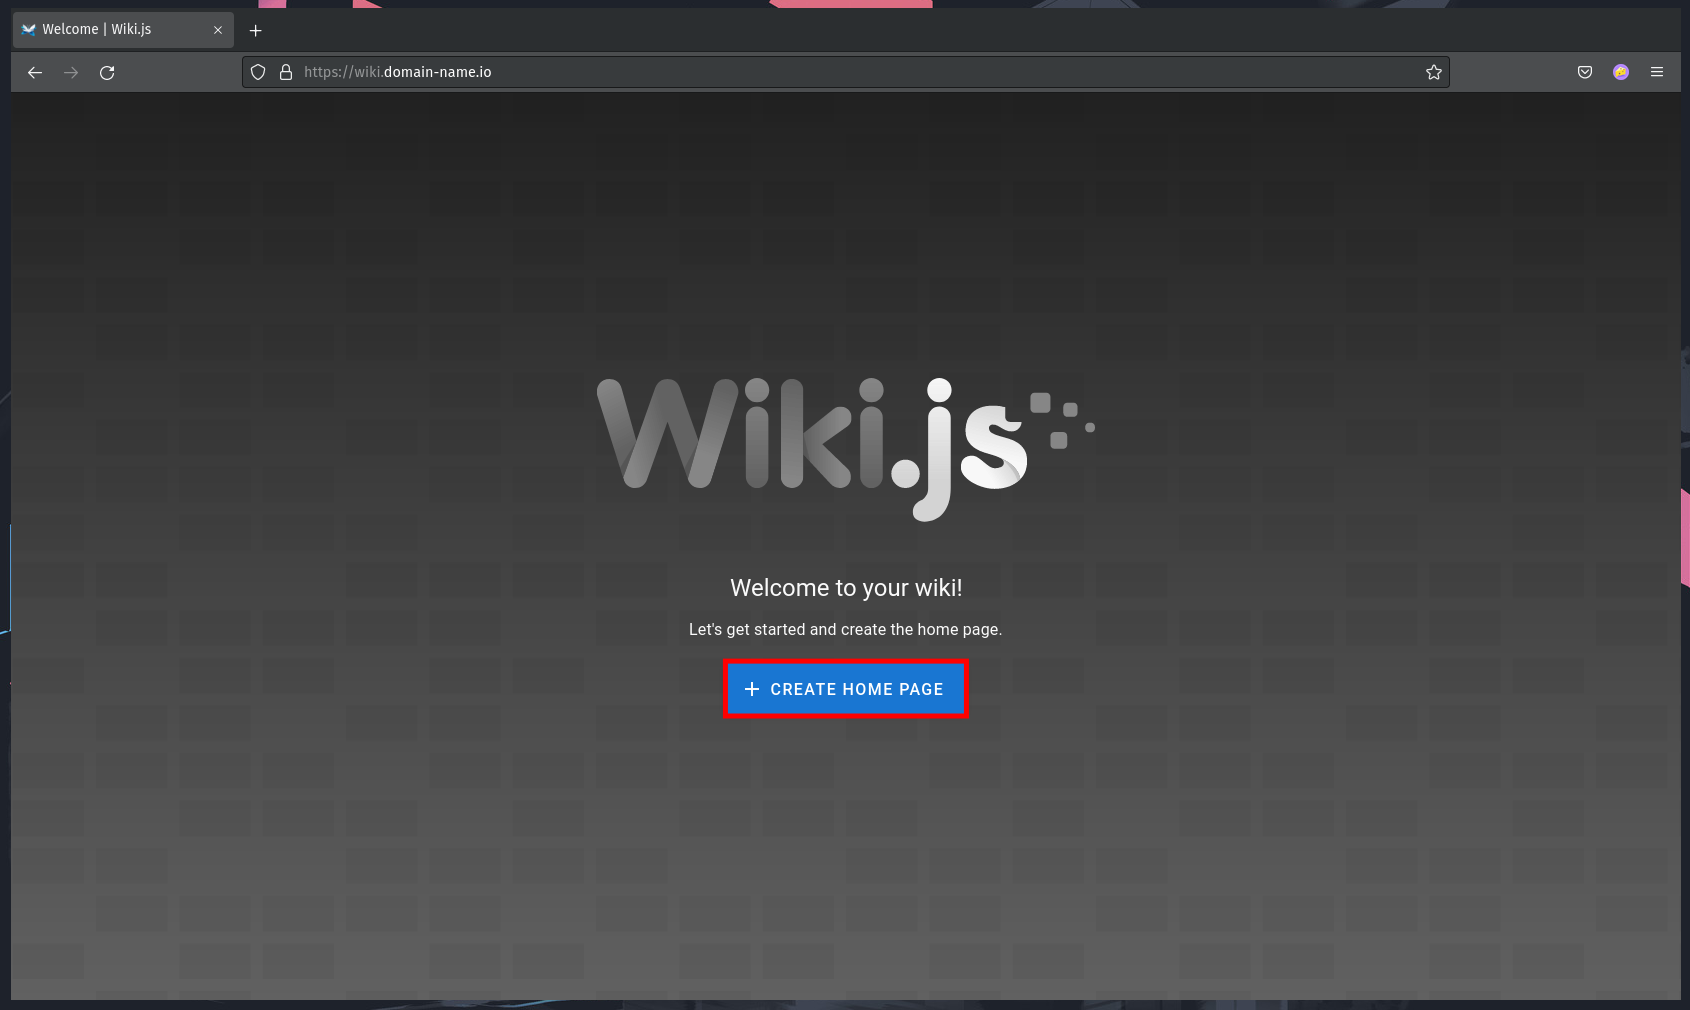
3. And you will be shown the welcome message of Wiki.js.
Click the button ‘ CREATE HOME PAGE‘ to create a new homepage for your wiki.
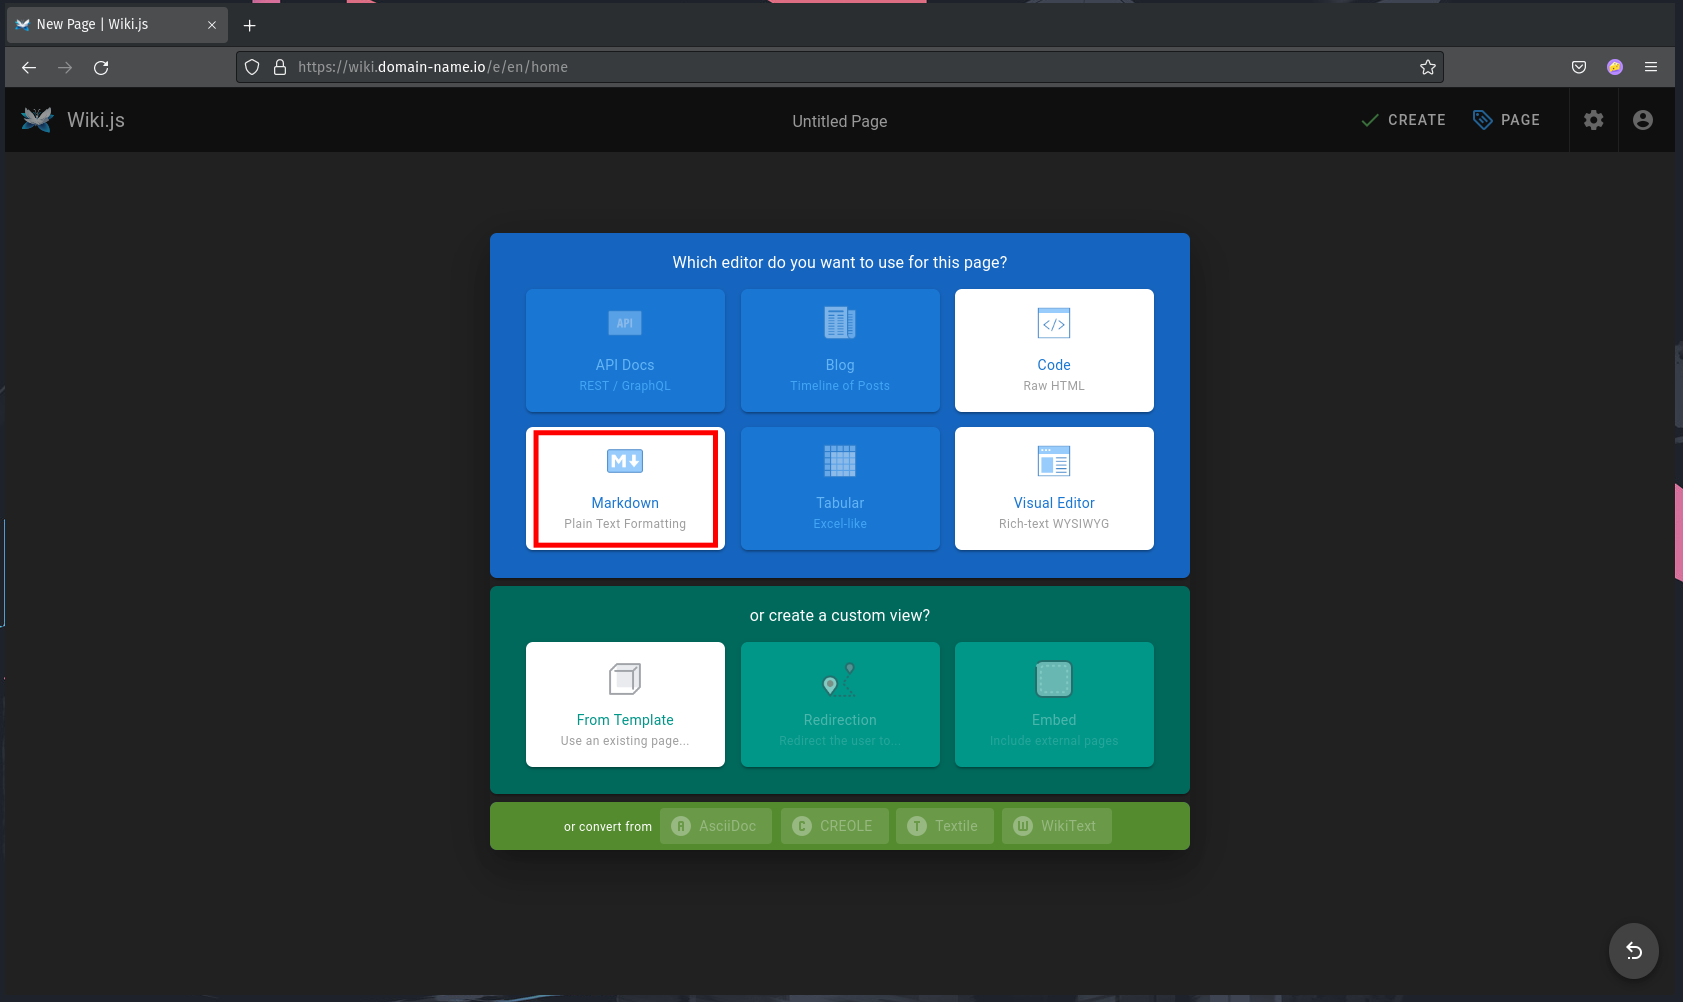
4. Choose the editor as you are comfortable and click on that editor. For this example, we will use the ‘Markdown‘ editor.
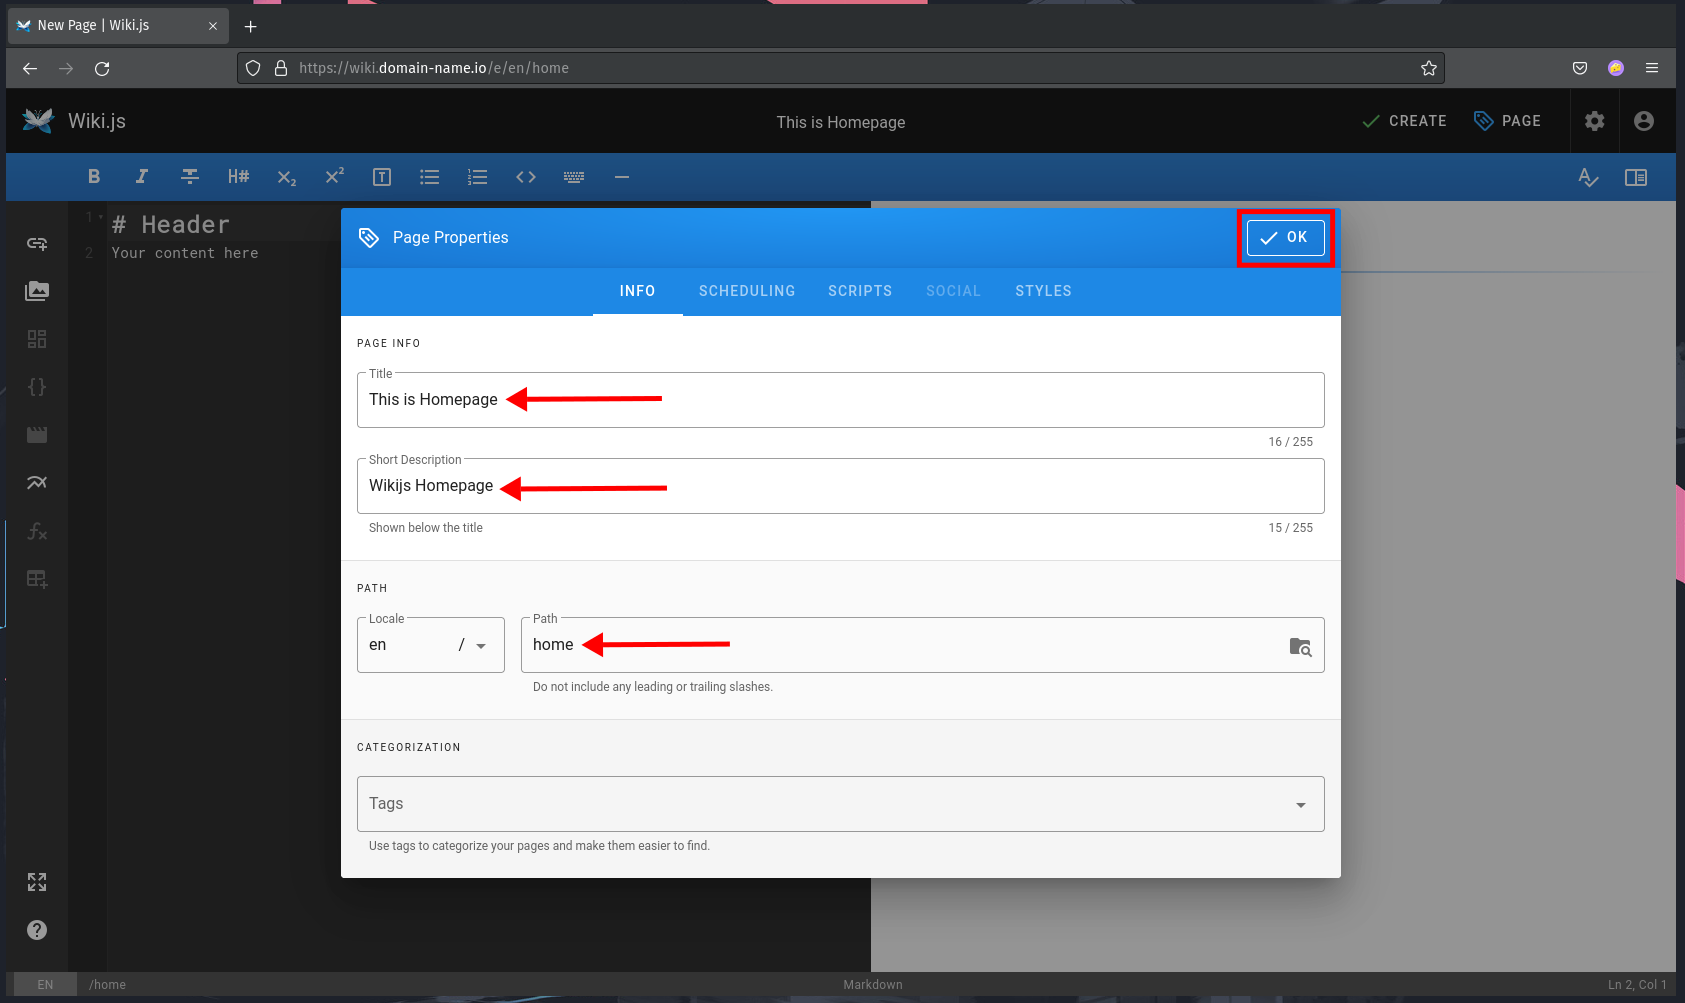
5. On the ‘Page Properties‘ pop-up, type details title and a short description of your home page. And leave the path as default ‘home‘.
Click ‘Ok‘ to confirm the page properties configuration.
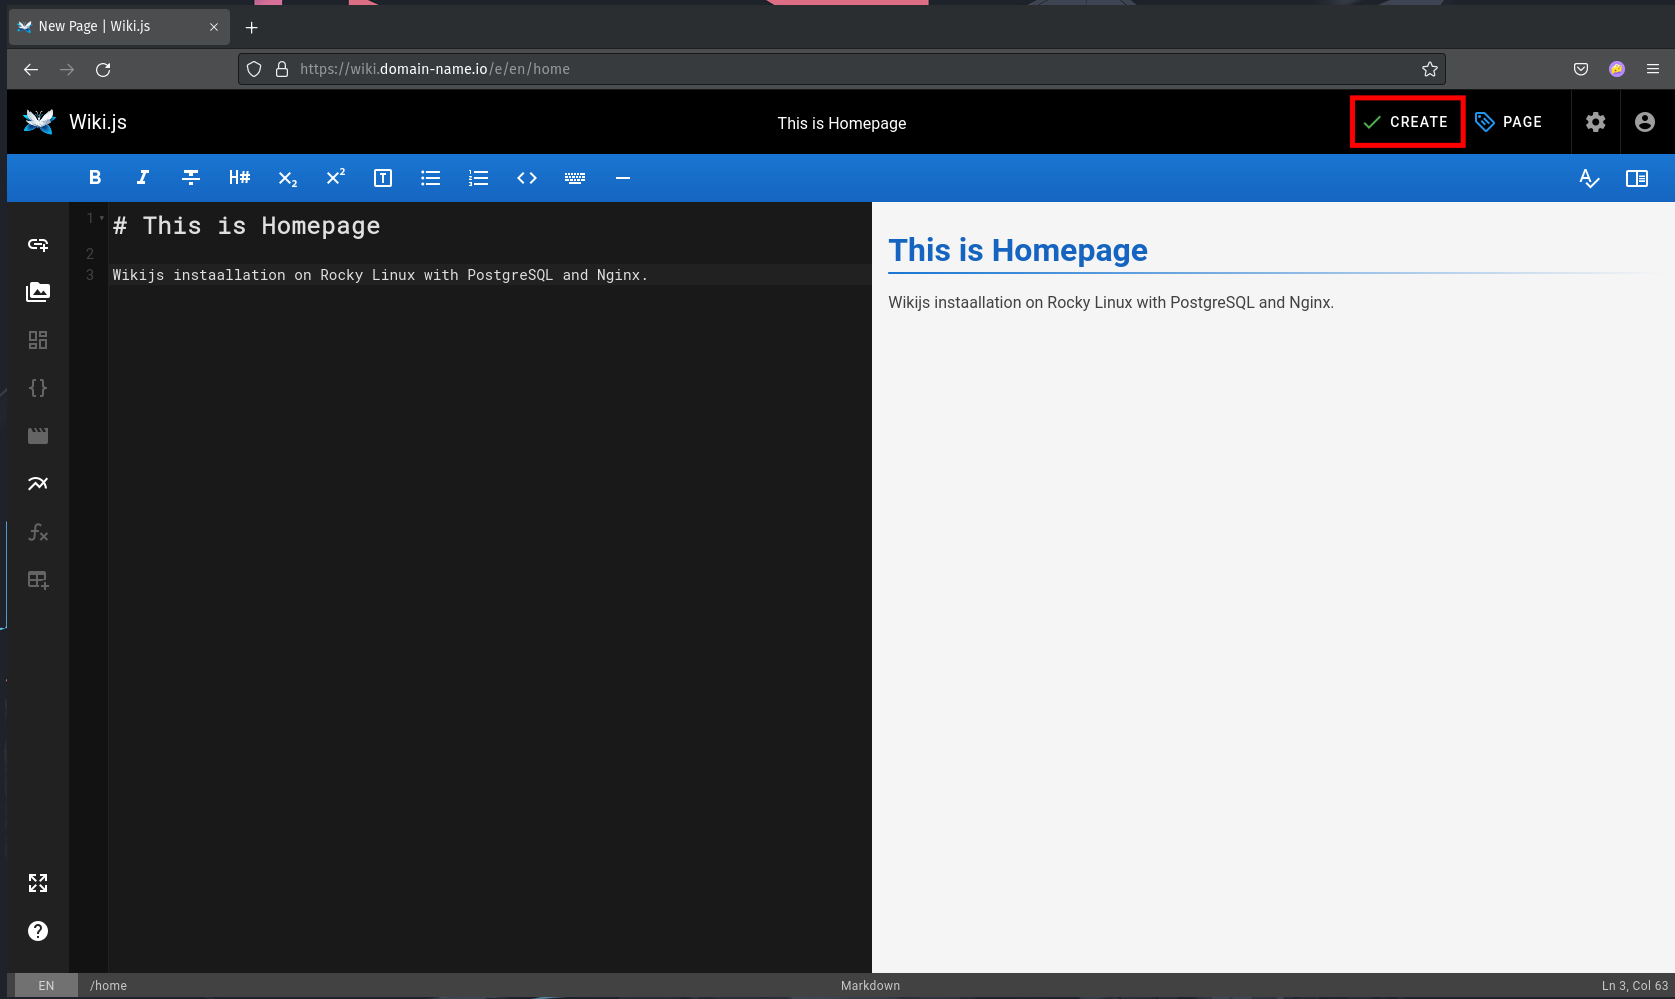
6. Type the content of your home page, then click the ‘CREATE‘ button to save.
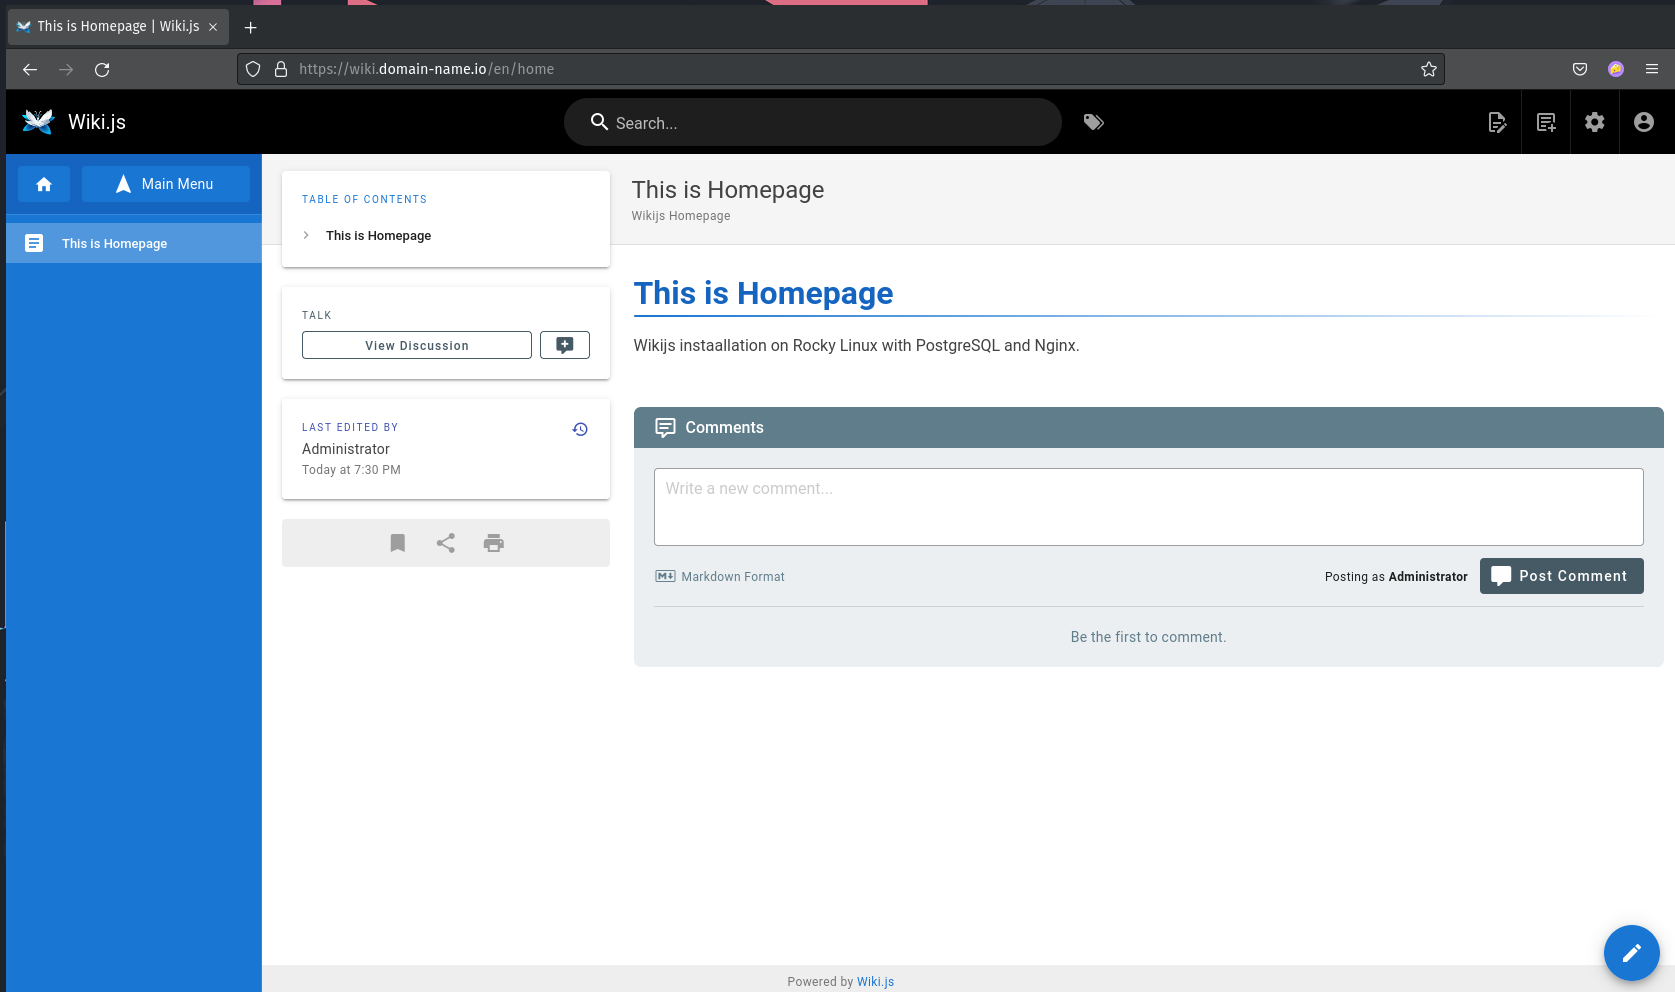
7. Now you will be redirected to your Wiki.js home page as below.
Conclusion
Congratulations! Now you’ve successfully created your Wiki with Wiki.js on the Rocky Linux server. The Wiki.js is now running with the latest stable version of Node.js, database PostgreSQL, and the Nginx reverse proxy. Also, it’s secured with SSL Letsencrypt. For the next step, you can add some additional modules as you need, such as analytics, authentication, logging, and code/text editors. And you’re ready to write documentation about your projects.


