
Zammad is an open-source customer support/ticketing solution based on Ruby and PostgreSQL. It helps organizations manage communications across various email, chat, and social media channels.
In this guide, you will learn how to install the Zammad Ticketing System on the Rocky Linux server. You will run Zammad with PostgreSQL, Nginx, and Elasticsearch.
Prerequisites
Before you start, make sure you have the following:
- A Rocky Linux 9 server.
- A non-root user with administrator privileges.
- A domain name pointed to a server IP address.
- A SELinux with status permissive.
Installing Dependencies
In this section, you will install dependencies for Zammad, this includes the EPEL repository, PostgreSQL database, Nginx web server, Redis, and Node.js.
First of all, add the EPEL repository to your Rocky Linux system with the following.
sudo dnf install epel-release -y
Now set up the default locale to en_US.UTF-8 with the command below.
sudo localectl set-locale LC_CTYPE=en_US.UTF-8
Now run the command below to enable the Node.js repository for version 18.
sudo dnf module enable nodejs:18 -y
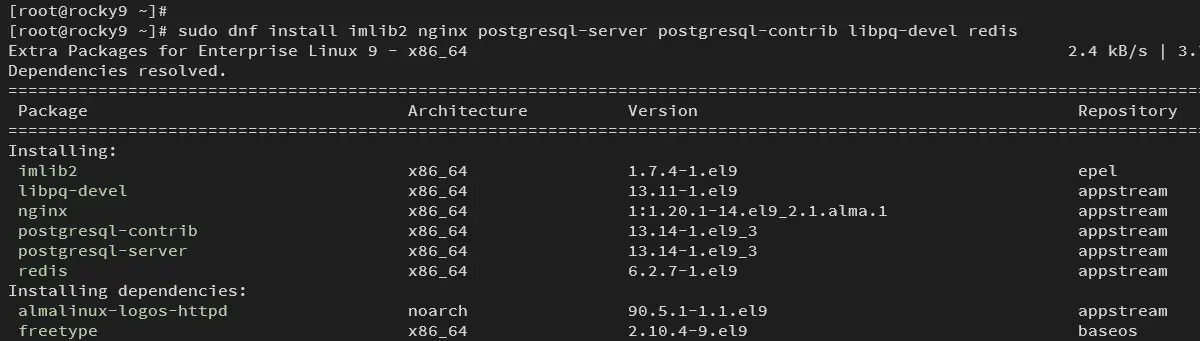
Next, run the dnf command below to install dependencies for Zammad, including Nginx, PostgreSQL, Redis, and Node.js.
sudo dnf install imlib2 nginx postgresql-server postgresql-contrib libpq-devel redis nodejs
Input y to confirm and proceed.
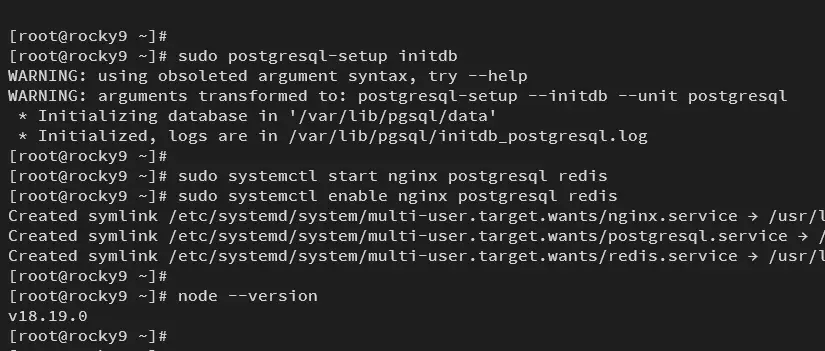
After installation is finished, run the command below to initialize the PostgreSQL server.
sudo postgresql-setup initdb
Start and enable services for Nginx, PostgreSQL, and Redis with the command below.
sudo systemctl start nginx postgresql redis
sudo systemctl enable nginx postgresql redis
Lastly, check the Node.js version using the command below. Make sure you have Node.js 18.0 installed.
node --version
Installing Elasticsearch
After installing Dependencies, you will need to install Elasticsearch. In this section, you will install Elasticsearch 7.x for Zammad.
Now run the command below to add the GPG key for the Elasticsearch repository.
rpm --import https://artifacts.elastic.co/GPG-KEY-elasticsearch
Add the Elasticsearch repository for the Rocky Linux server with the following command.
echo "[elasticsearch-7.x]
name=Elasticsearch repository for 7.x packages
baseurl=https://artifacts.elastic.co/packages/7.x/yum
gpgcheck=1
gpgkey=https://artifacts.elastic.co/GPG-KEY-elasticsearch
enabled=1
autorefresh=1
type=rpm-md"| tee /etc/yum.repos.d/elasticsearch-7.x.repo
Next, install Elasticsearch to your system with the following command. Input y to confirm the installation and accept the GPG key when prompted.
sudo dnf install elasticsearch
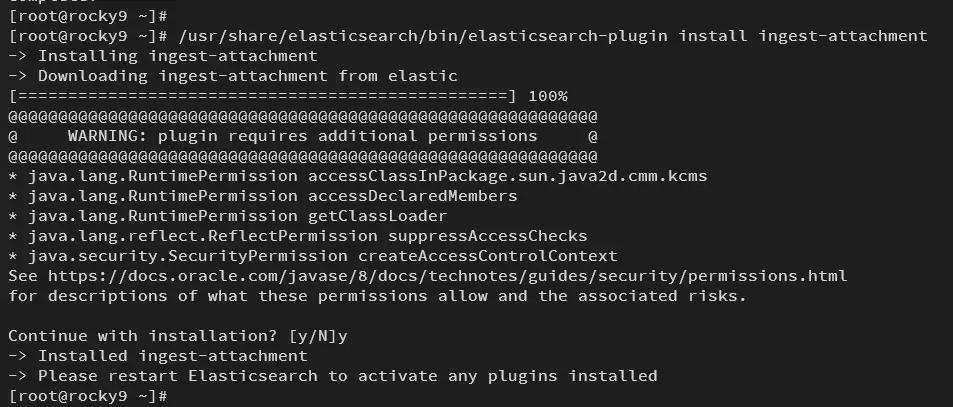
After the installation is finished, install the ingest-attachment plugin to your Elasticsearch installation using the command below.
/usr/share/elasticsearch/bin/elasticsearch-plugin install ingest-attachment
Input y to confirm the installation.
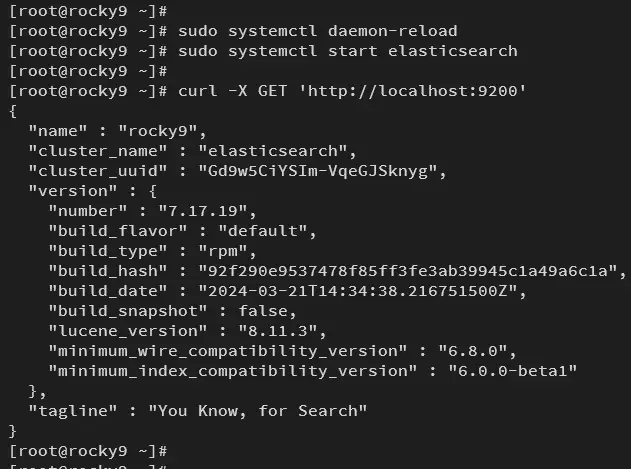
Now reload the systemd manager and start the elasticsearch service using the command below.
sudo systemctl daemon-reload
sudo systemctl start elasticsearch
Once started, check the Elasticsearch with the curl command below. If your installation is successful, you will get detailed information about your Elasticsearch version.
curl -X GET 'http://localhost:9200'
Increase Max connections in PostgreSQL
For PostgreSQl, you need to increase the default max_connections in the postgresql.conf file. This is needed by Zammad.
So log in as a postgres user with the command below.
su - postgres
Open the the PostgreSQL configuration data/postgresql.conf using the nano editor.
nano data/postgresql.conf
Change the default max_connections to 2000 like the following:
max_connections = 2000
Save the file and exit.
Now run the systemctl command below to restart the PostgreSQL service and apply your changes.
sudo systemctl restart postgresql
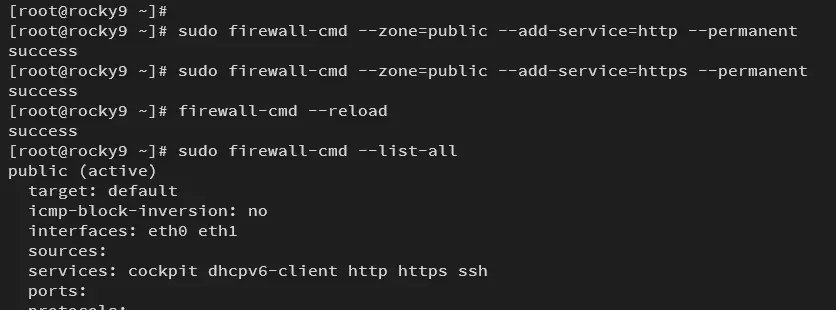
Setting up Firewalld
By default, firewalld is enabled on Rocky Linux. So now you need to open both HTTP and HTTPS services and allow traffic to Zammad.
Add both HTTP and HTTPS services to firewalld using the following command.
sudo firewall-cmd --zone=public --add-service=http --permanent
sudo firewall-cmd --zone=public --add-service=https --permanent
Now reload firewalld to apply new rules for HTTP and HTTPS.
sudo firewall-cmd --reload
Check the list of rules on firewalld using the command below. You will see both HTTP and HTTPS services available on firewalld.
sudo firewall-cmd --list-all
Installing Zammad Customer Support System
Now that you have dependencies installed and configured, you can start the Zammad installation, which can be done via the DNF package manager.
Add the GPG key for the Zammad repository using the command below.
sudo rpm --import https://dl.packager.io/srv/zammad/zammad/key
Now add the Zammad repository to your Rocky Linux server with the following command.
sudo wget -O /etc/yum.repos.d/zammad.repo
https://dl.packager.io/srv/zammad/zammad/develop/installer/el/9.repo
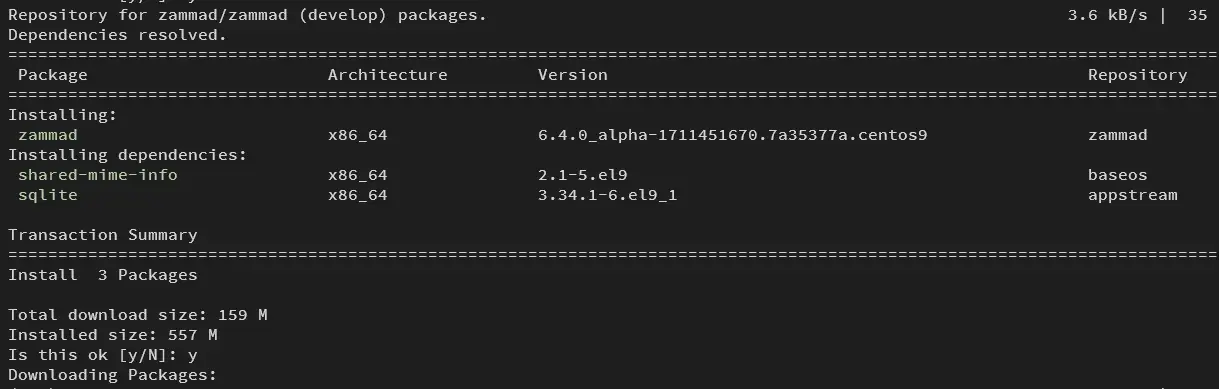
Next, install zammad with the dnf command below. When prompted, type y to confirm the gpg key and Zammad installation.
sudo dnf install zammad
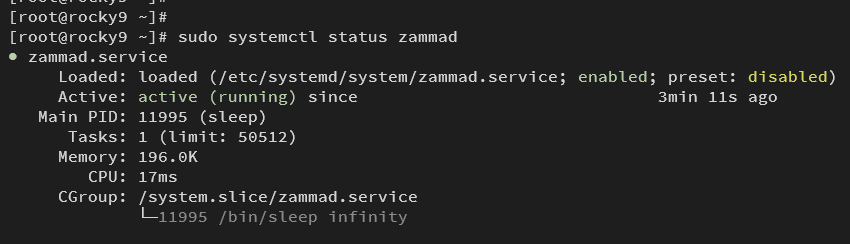
After installation is finished, run the following command to check services for Zammad, including zammad, zammad-web, zammad-worker, and zammad-websocket.
sudo systemctl status zammad
sudo systemctl status zammad-web
sudo systemctl status zammad-worker
sudo systemctl status zammad-websocket
Make sure every service for Zammad is running.
Lastly, run the following command to set up integration between Zammad and Elasticsearch.
zammad run rails r "Setting.set('es_url', 'http://localhost:9200')"
zammad run rake zammad:searchindex:rebuild
After the command executed, this will create an elasticsearch index for Zammad.
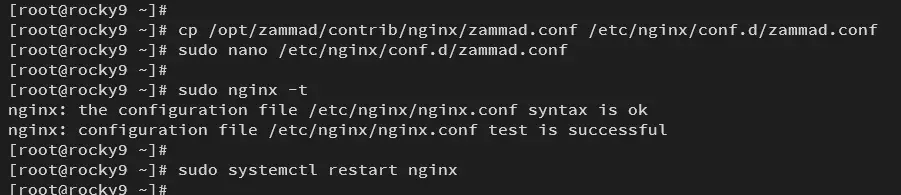
Setting up Nginx as a reverse proxy
Now that you have installed Zammad, you will configure Nginx as a reverse proxy, and by default, Zammad provides a sample configuration that is available in/opt/zammad/contrib directory.
Copy the Nginx configuration for Zammad to /etc/nginx/conf.d/zammad.conf and open it using the nano editor command.
cp /opt/zammad/contrib/nginx/zammad.conf /etc/nginx/conf.d/zammad.conf
sudo nano /etc/nginx/conf.d/zammad.conf
Within the server_name option, change it with your domain.
server_name zammad.hwdomain.io;
Save and exit the file.
Now verify your Nginx configuration to ensure that you have proper syntax. If successful, you should get an output ‘syntax is ok‘.
sudo nginx -t
Lastly, run the command below to restart the Nginx service and apply a new server block configuration for Zammad.
sudo systemctl restart nginx
With this, your Zammad installation should be ready and accessible.
Securing Zammad with HTTPS
Now that Nginx is configured, let’s secure Zammad via SSL/TLS certificates. You will install Certbot and generate SSL certificates utilizing certbot from Letsencrypt.
Install Certbot and Nginx plugin using the dnf command below. Type y to confirm the installation.
sudo dnf install certbot python3-certbot-nginx
After the installation is complete, run the certbot command below to generate SSL/TLS certificates and secure your Zammad installation. Make sure to change information of email address and domain name with your information.
sudo certbot --nginx --agree-tos --redirect --hsts --staple-ocsp --email [email protected] -d zammad.hwdomain.io
Once complete, your SSL/TLS certificates will be available at the /etc/letsencrypt/live/domain.com directory, and your Zammad also secured with HTTPS automatically.
Setting up Zammad installation
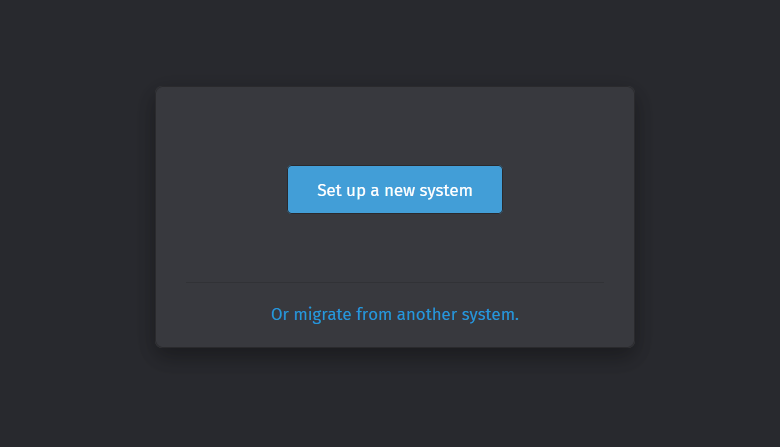
Launch your web browser and visit https://zammad.hwomdian.io/. If your installation is successful, you will be asked the following:
Click Setup a new system to start configuring Zammad.
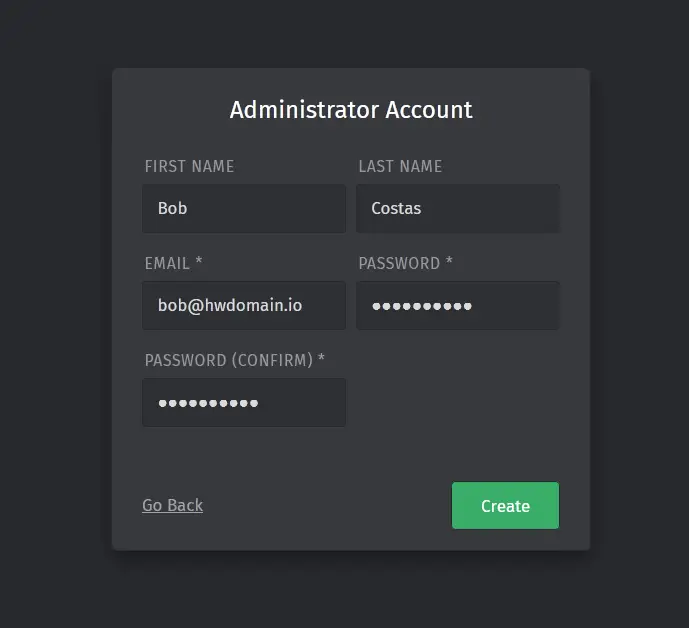
Type details of your admin user and password for Zammad, then click Create.
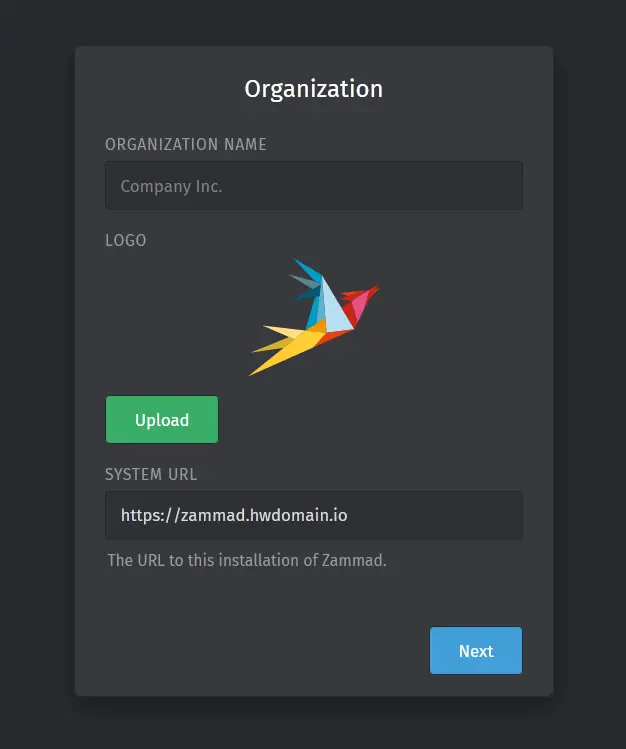
Type your organization name, upload your logo, and click Next to continue.
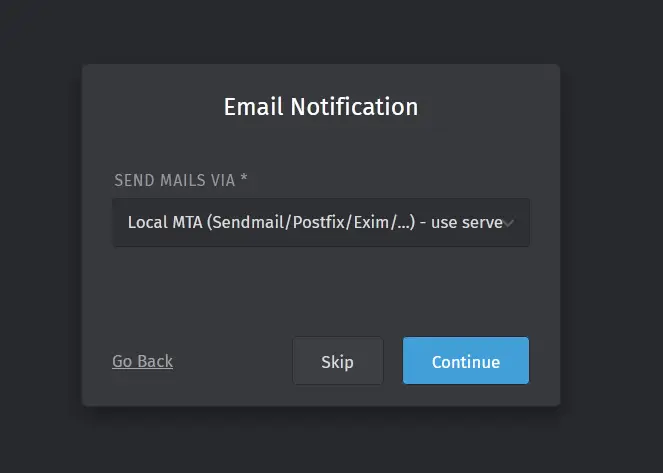
For the email settings, click Skip. You can configure this after finishing the installation.
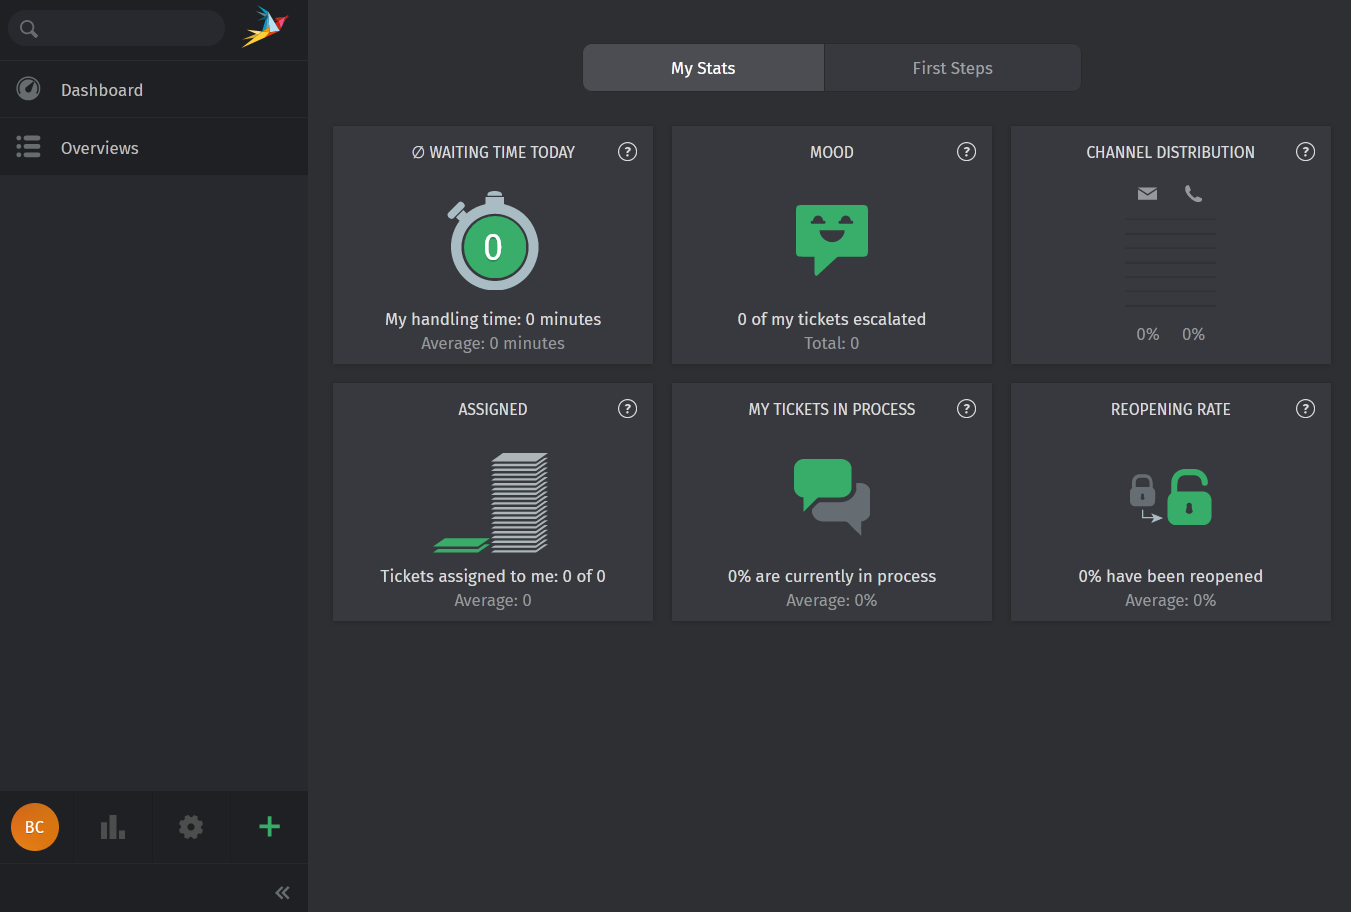
Now you will see the Zammad dashboard like the following.
Conclusion
Congratulations! You have completed the installation of the Zammad Ticketing System on the Rocky Linux 9 server. You have in Zammad running with PostgreSQL database, Nginx as a reverse proxy, Elasticsearch, and also secured with HTTPS via Certbot.


