
Minecraft is a game that has taken the world by storm. There are many different versions of this game, but they have in common the need for a server to host games and keep track of all players. In this tutorial we will show you how to set up your own Minecraft server on Debian 10, using open-source tools available from their official website.
PrerequisiteYou will need a Debian installation with root privileges.
- A Minecraft server that is compatible with the version of your Debian release. If you are using Ubuntu, you can find out what works for you by going to their website. If it’s not clear which one to use, try googling Minecraft Server compatible on Debian /Ubuntu or ask in the comments and we’ll help!
Getting Started
Update your Debian system to the latest release.
This is a good idea before installing any additional packages because it will provide you with all of the latest updates and security patches for both Debian software as well as installed applications like Minecraft server. To do this simply execute the following commands in your terminal:
sudo apt update
sudo apt upgrade
These commands are run in tandem; updating first then upgrading once that has completed successfully. Note that when running these commands there are no pending upgrades, they should only take up to five minutes whereas larger upgrades can take much longer so be patient!
Install Java
sudo apt install default-jre
This will download the current latest release of Java and install it. If you have multiple versions installed, this will remove them all for simplicity’s sake! Once completed, you can confirm which version is currently running by typing the command below in your terminal:
java -version
Sample output:
That’s it! Java has been installed on your server.
Create a new user for Minecraft
In this example, we create a new user named ‘minecraft’:
sudo adduser minecraft
Once done with that step, type or copy-paste your password for this account twice to confirm it (it’s important to make sure this account has its own unique and secure password).
Sample output:
Add the new user to the sudo group.
adduser minecraft minecraft
Install Screen
Screen is a GNU utility that can be used to multiplex terminal sessions. This is a useful tool for remote access, allowing you to detach from an ssh session and resume it later without the need of closing that instance (which would disconnect you).
To install Screen, type:
sudo apt install screen -y
This command will install screen and all of its dependencies to your server.
This is the end of this task, continue with the next task below.
Install Minecraft
Exit your current SSH then, log in again using the minecraft user that we created earlier.
Create a new folder name minecraft and move into it:
mkdir minecraft
cd minecraft
Now, we download the current version from Minecraft.net into this directory. Refer to the Minecraft server page to get the latest version of Minecraft Server, replace the version section below with that URL.
wget https://launcher.mojang.com/v1/objects/a16d67e5807f57fc4e550299cf20226194497dc2/server.jar
Create a startup script
This allows your server to start when you reboot your machine or on boot of Debian itself; it’s also very beneficial if for some reason your home internet connection drops and you need to restart the process without having to log in!
sudo nano start.sh
Copy and paste the following lines into your terminal:
java -Xms1024M -Xmx2560M -jar server.jar nogui
jar parameter can be configured to keep your world persistent or not; if you want a fresh start every time then use nogui. If you do not have enough RAM for this setup in Debian (or Ubuntu), consider dropping the -Xmx value from 2560M to something lower like 512M.
Save your script with Ctrl-o, exit Nano with Ctrl-x then confirm that you want to save this file when prompted by pressing “y”. You should now have a startup script in /home/minecraft/. It will automatically start on boot! To test it out type or copy-paste the following command:
java -Xms1024M -Xmx2560M jar server.jar nogui
If any errors such as “java” are not recognized, please double-check the java installation process.
Make start.sh executable
sudo chmod x start.sh
Once you are done, type “exit” in the terminal window or close it if you would like to log out of this user account; then go back to your main screen. To disconnect from that ssh session entirely, simply exit by typing: exit or pressing Ctrl-D when at a prompt. You can also use nano again and remove ./start.sh. For Debian not to forget about any changes made since we last updated our system, execute this commands:Advertisement
sudo apt update
Run your Minecraft server
./start.sh
If this is your first time installing the package, you will need to accept its Terms of Service and Privacy Policy. If you have already done so in a previous instance (e.g., for Minecraft Server), then it won’t prompt again. Accepting these agreements allows Debian’s repositories to download packages from another server on behalf of yours; this can be more convenient as they’re often better updated than your own! Once accepted, the installation should take just a few minutes to complete and no further action is necessary until that process has finished downloading all needed files and resources.
The next step is to open the eula.txt file and set eula=true. This will allow your server to connect with the Minecraft game client software. Open that file in your preferred editor and ensure it reads: eula=true.
sudo nano eula.txt
eula=true
The next step is using screen to run our Minecraft server process independently so that we don’t need to be logged into the minecraft user account at all times when administering the game server remotely via SSH.
screen /home/minecraft/run.sh
This will create a new “session” called minecraft running the Minecraft process in the background; we can access this from any other shell we are logged into.
Configure Your Minecraft Server Firewall
Next thing we want to do is set up our firewall. Debian has an excellent built-in firewall called ufw that allows us great control over what programs on our system can access outside network resources like the internet! It also includes things like port forwarding which allow certain ports through depending on criteria such as destination address or source IPs.
In Debian, the default settings currently only allow SSH traffic (e.g., ssh from your local system into this server). Let’s go ahead and add rules for Minecraft by typing:
sudo ufw allow 25565
Connect to your Minecraft Server
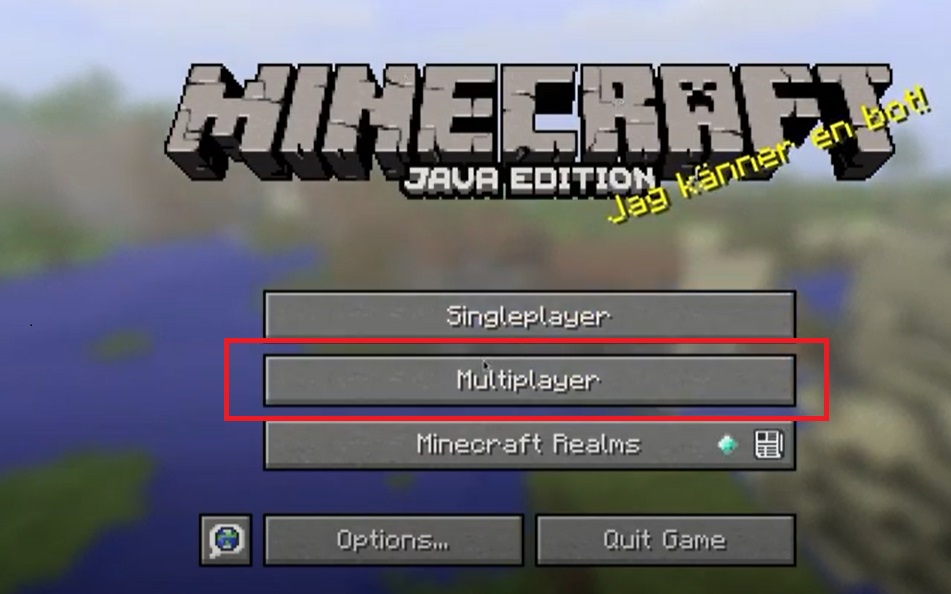
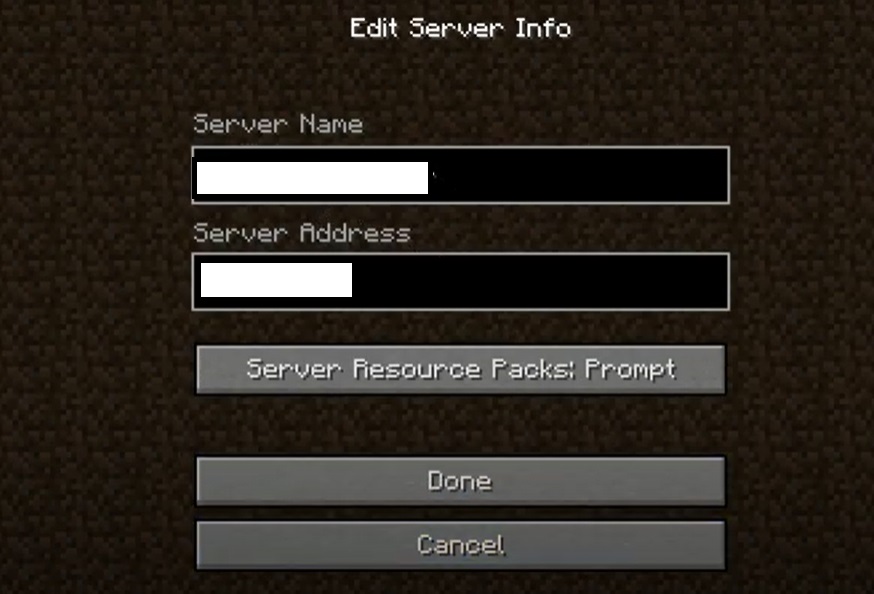
Open your local Minecraft client select the Multiplayer tab and enter your server’s name and IP address.
Note: to play on a public network you will need to buy an external domain name from any domains providers and set up Dynamic DNS yourself which is beyond the scope of this tutorial.Advertisement
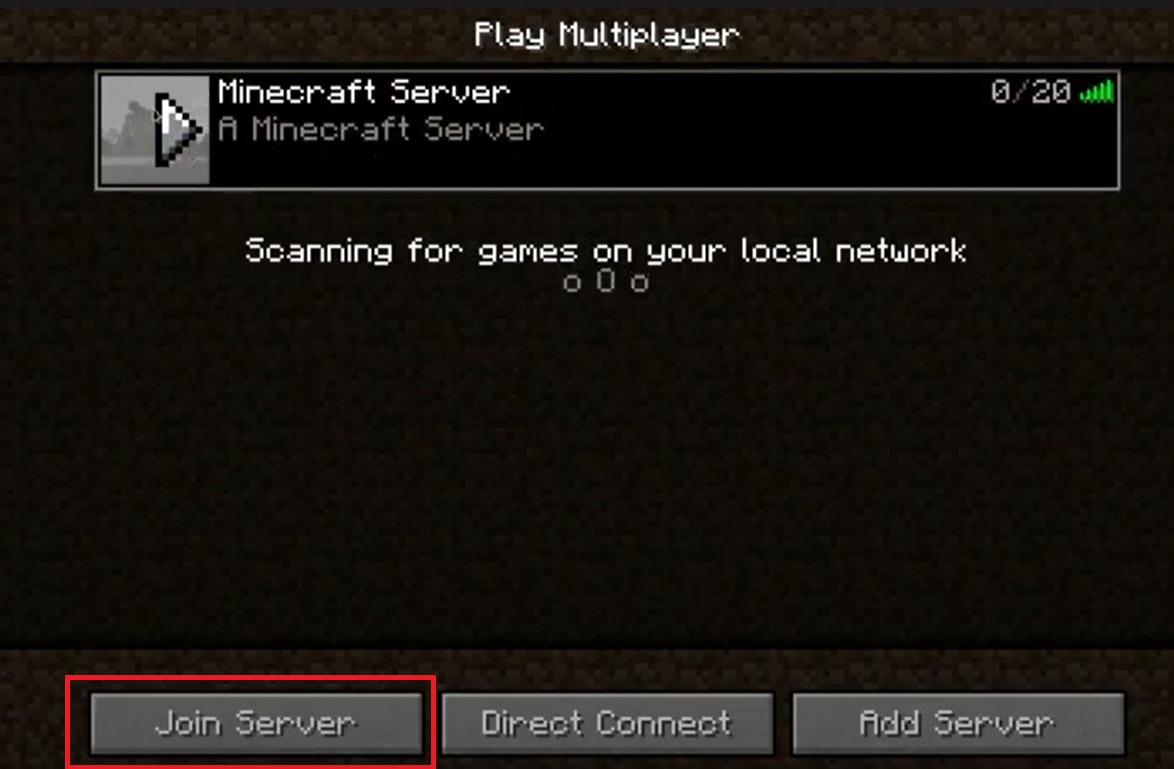
You can now connect to the server. Click on the Join Server button.
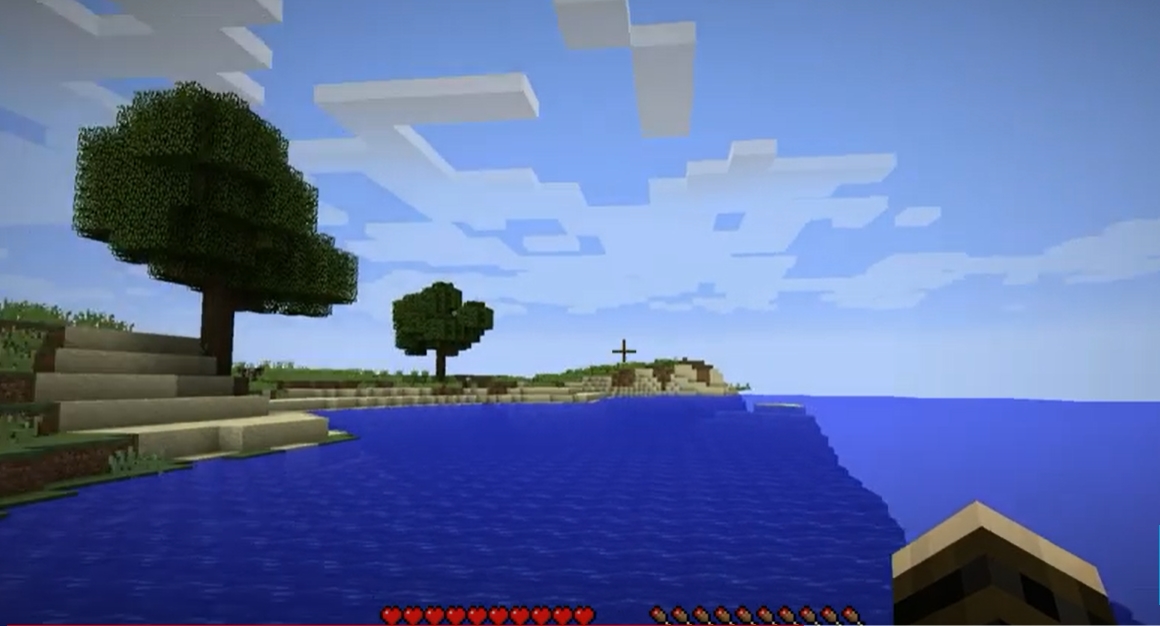
Congratulations! You can now play Minecraft and build worlds. You can build worlds and have fun with your friends, too. For more tips or help, please consult the Minecraft Wiki.
Conclusion
Setting up a Minecraft Server on Debian is easy, just follow the steps in this post. If you have any questions be sure to comment below. The same steps can be applied to any Debian system, such as Debian Stretch. We hope you have enjoyed this tutorial and hope it has helped you to set up your own server! If there is anything we’ve missed, please let us know in the comments below. Happy mining!


