A screenshot is a digital picture that depicts the information of a computer screen. Screenshots allow you to capture exactly what is on your screen, so you may share it with others or refer to it later. You may either take a screenshot of your screen or capture a video of what is occurring on it (screencast). This is important if you want to show someone how to use a computer.
How To Take Screenshot in Ubuntu
There are multiple ways to take the screenshots, and their details are as follows:
Taking the screenshot using the print screen (PrtSc) key
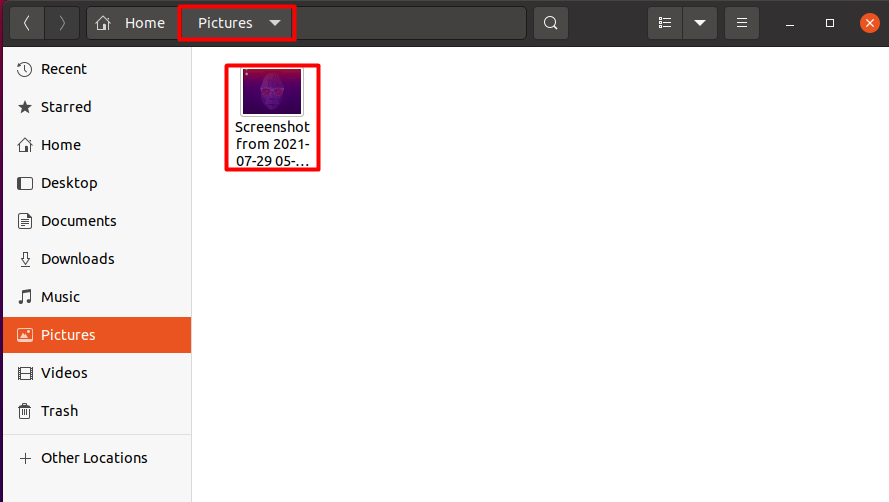
You need to press “PrtSc” or “Fn PrtSc” depending upon your computer system, which will take the screenshot of your whole screen and save it in the picture folder as shown below.
Taking the screenshot using Shift PrtSc
This will take the screenshot of the specified region of your screen as mentioned below.
Taking the screenshot using Alt PrtSc
This command will take the screenshot of any current window that is open that can be seen below.
Similarly,
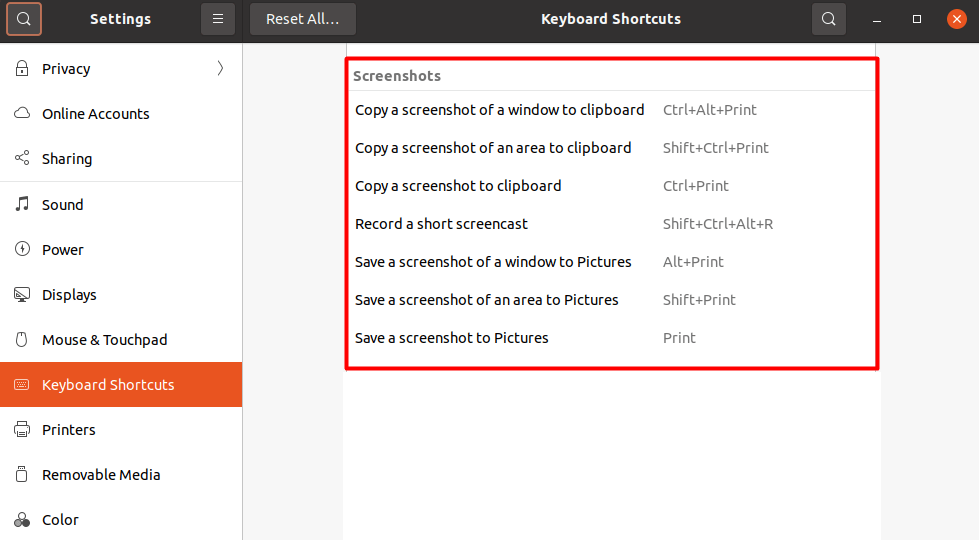
- To get the screenshot of the whole screen use
Ctrl PrtSc, it will copy the screenshot on the clipboard - To get the screenshot of a specific part of the screen use
Shift Ctrl PrtSc - To get screenshot of the current window use
Ctrl Alt PrtSc
It is hard to remember all these shortcut keys, you can also see them by going to the settings option from the application manager and selecting the “Keyboard shortcuts” option to see every shortcut, as shown below.
How to take the screenshot in Ubuntu using built-in Screenshot tool
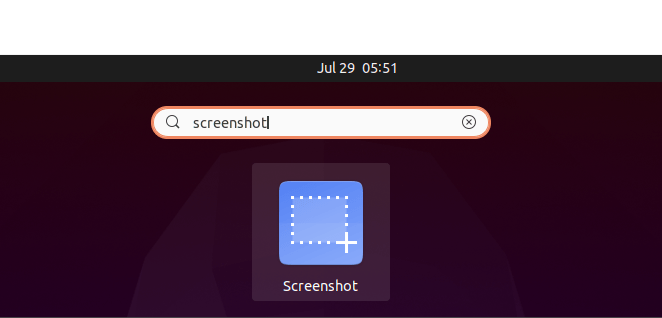
Ubuntu OS also has built-in software that can be used to take the screenshot with ease. You can find it by opening the application manager and type “Screenshot” in the search bar, and then you can use it as shown below.
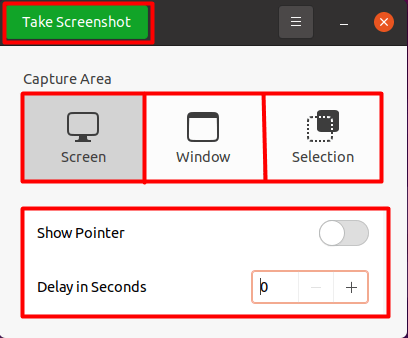
Like the shortcut keys functions described above, it has the same features but in GUI. It can take a screenshot of the entire screen, any specific area of the screen, and the currently opened window. It has two additional features: whether you want to show your pointer or not while taking the screenshot, and the last feature is also its key feature, the timer option. You can take the screenshot with a certain delay depending on the user requirement, as displayed below.
How to take the screenshot on Ubuntu using a third-party application
Some third-party apps provide you with additional features and make your work easier, like editing the screenshot that are not available in above mentioned options.
One of the most famous third party apps is the “Shutter” application for Ubuntu OS due to its easy-to-use and convenient features.
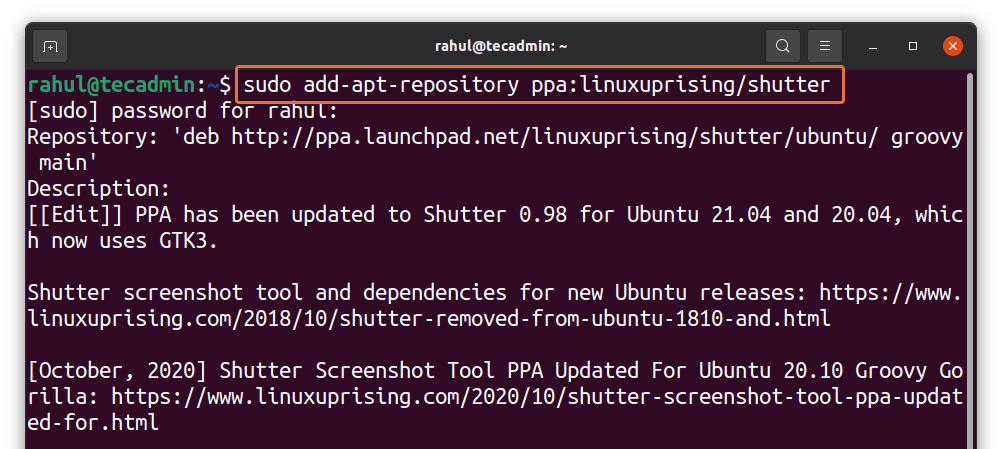
For its installation, you need to open the terminal first and install its repositories; otherwise, it won’t install. For that, use the command:
sudo add-apt-repository ppa:linuxuprising/shutter
Use the below-mentioned command to update the packages list:
sudo apt update
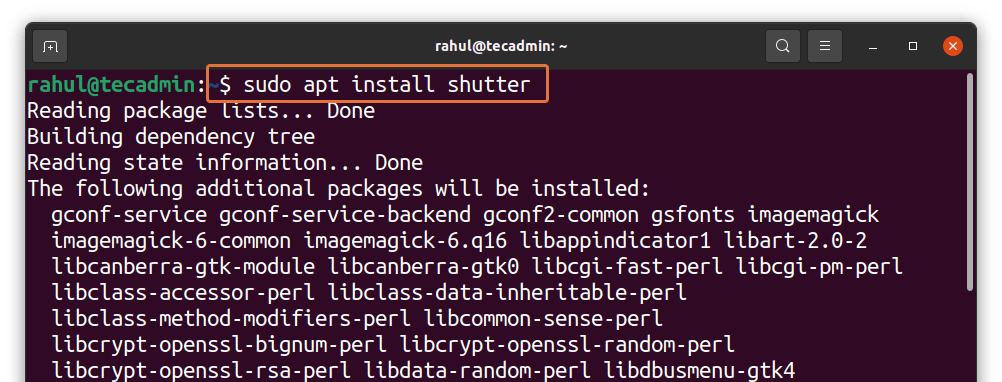
This will also ensure that you are installing the latest package of shutter applications as well. The last step is installation, use:
sudo apt install shutter
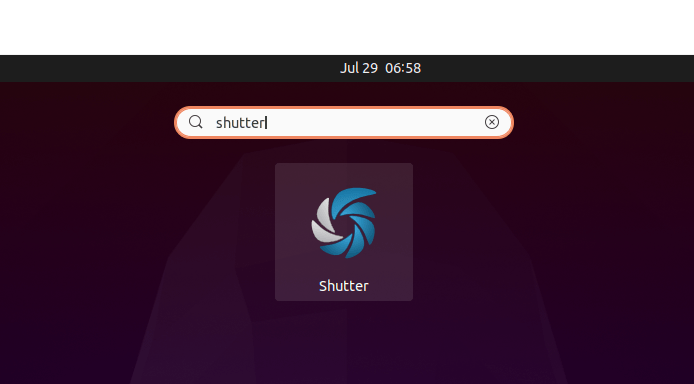
After its installation, you can find it by selecting the application manager and writing shutter in the search command below.
Select the application and open it:
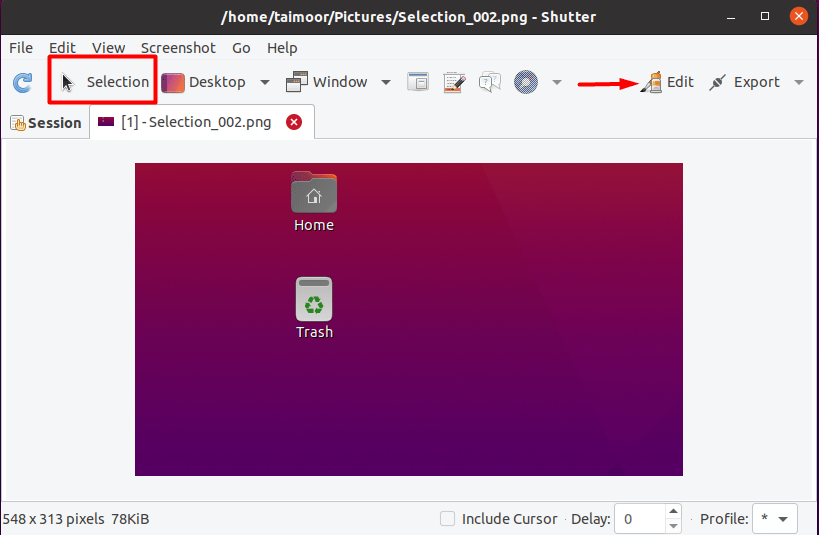
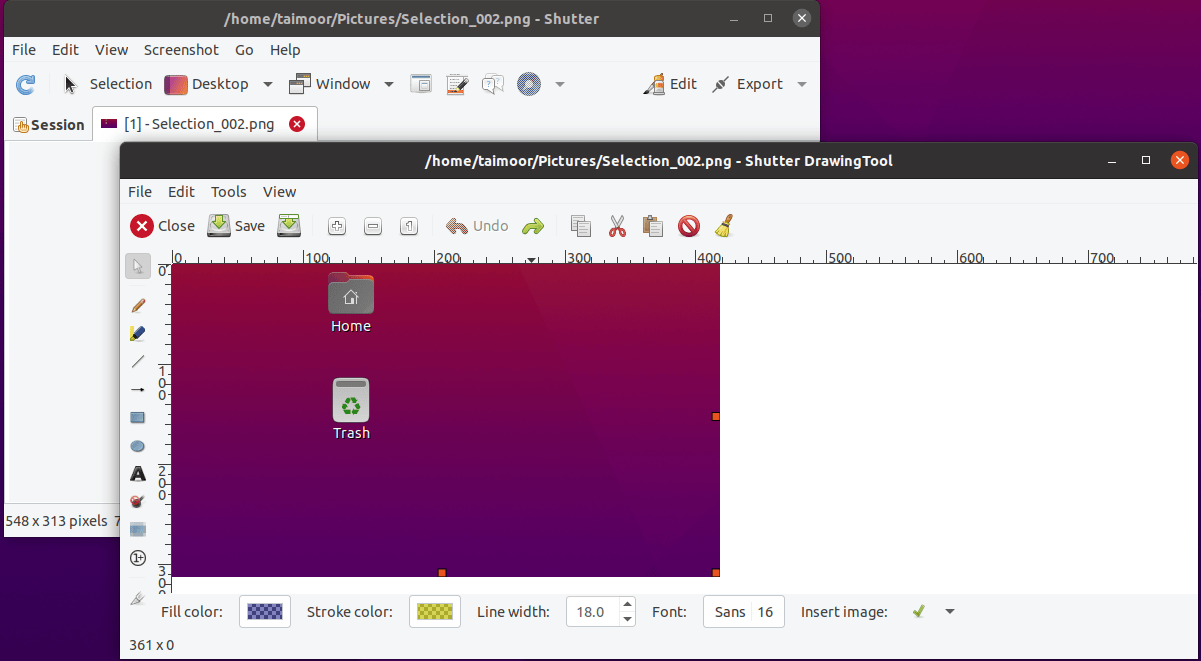
Here you can have the selection option, which can be used to capture any specific part of the screen, and after that, the captured screen will be displayed in its own window. You can select the edit option as well on the top right side. After that, a new window will open along with your captured image having lots of editing options, as shown below.
You can highlight, put arrows or lines, and can even add texts to your image. So this is a very handy tool and highly recommended for anyone who frequently takes screenshots.
Other than that, some other similar tools that are mentioned below:
- Flameshot
- GIMP
- Kazam
- Scrot
- Ksnip
Conclusion
Screenshots taking apps are one the most handy tools for capturing the activities that are going on the screen. You can do that by using the shortcut keys, or Ubuntu’s built-in screenshot application. But these options are quite limited, and you can’t do anything else other than just taking screenshots.
So, this article is also guiding you about some third-party apps, where you can find some editing features as well. Now it’s up to you whatever option you choose.

