
When we work with EC2 instances, we often need to copy a local file to the instance. This is especially necessary if the file should be immediately available on the instance as soon as it is created. For example, one of the requirements of my Terraform project was that a configuration file for an Apache virtual host must be available on the EC2 instance as soon as it is created. This file was used as a template for creating two virtual host configuration files. To do this, I used Terraform’s File Provisioner tool to copy these files.
You should know that Terraform does not recommend the use of provisioners and recommends alternative techniques for cases where they are available. There are many reasons for this restriction, which are mentioned on the Terraform website.
What will we cover?
In this tutorial, we will look at how to copy a file from a local machine running Terraform to a newly created Amazon EC2 instance (Ubuntu) on AWS. In this method, we will use the File utility provided by Terraform. We demonstrate its use by simply copying a file to an EC2 instance.
What are Provisioners used for?
Provisioners are usually used for executing scripts for creating, destroying various resources, and preparing a machine ready to use in a production or development environment. Provisioning operations include things like the below one:
- Upgrade the operating system.
- Create accounts, configure services and other system administrative tasks.
- Software installation.
- Transferring files to and managing files on a system.
- Configuring system IP addresses, ports and other tasks.
Pre-requisites
- Terraform’s basics.
- Terraform and AWS CLI installed on the local system.
- AWS CLI configured for access to your AWS account.
Using the ‘file’ Provisioner for copying the files
The ‘File Provisioner’ is used to copy files and directories from the machine running Terraform to the same or some other machine like EC2 instances. Provisioners can be applied on local as well as remote systems. Although Terraform is great at deployment operations, it is not that adept at provisioning. Many operating systems and commands are not adroitly supported by Terraform. This is why Terraform suggests using Provisioners as the last option.
Practical Application of ‘file’ Provisioner
In this section we will see a practical way of using the ‘file’ provisioner. We will create an EC2 instance resource using Terraform and then copy a file from the local system to this instance. Let’s do it right now:
Step 1. First create the file we want to copy over to the remote system. We are creating it inside the directory containing all our configuration files:
$ nano dummy.txt
Also, add some contents to this file:
$ echo “Our dummy file” > dummy.txt
Step 2. Create a file named ‘instance.tf’ or whatever name you like but with ‘.tf’ extension:
$ sudo instance.tf
Now populate this file with the below content:
provider "aws" {
  region ="us-east-1"
}resource "aws_instance" "webserver" {
  ami ="ami-id-you-want-to-use"
  instance_type = "t2.micro"
  key_name = "Name-of-your- EC2-keypair"
  vpc_security_group_ids = ["Use-an-existing-SG"]
  associate_public_ip_address = true   provisioner "file" {
        source      = "dummy.txt"
        destination = "https://www.howtoforge.com/home/ubuntu/file1.txt"

    connection {
      type        = "ssh"
      user        = "ubuntu"
      private_key = "${file("Path-to-EC2-keyPair-on-Local-system.pem")}"
      host        = "${self.public_ip}"
    }
   }  tags = {
    Name = "FileProvisionerDemo"
  }
}
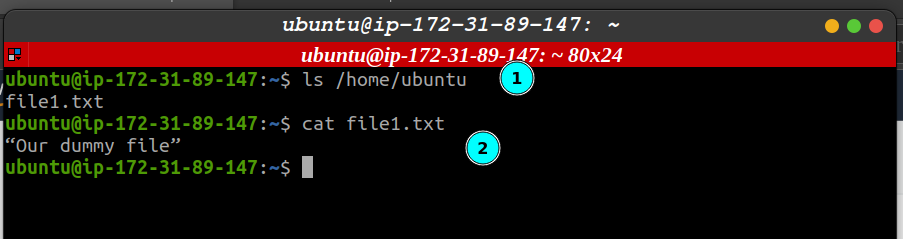
The above code will copy the ‘dummy.txt’ file to the EC2 instance with the name ‘file1.txt’. We have used an existing security group here, you can create a new one using Terraform and use it here. Let’s see a description of some of the arguments used here:
- source: Absolutely locations of files and directories or a relative one corresponding to the Terraform project directory.
- destination: It is the absolute path on the target system.
- connection block: Terraform learns how to communicate with the server by using the connection block. Connections of type ‘ssh’ and ‘winrm’ are both supported by file provisioners.
- type: This field specifies the type of a connection which can be ‘ssh’ or ‘winrm’. We have used an SSH connection here in this lab.
- user: Specifies the user to be used for a connection.
- private_key: The contents of an SSH key for establishing a connection.
- host: Specify the address of the resource we want to connect with.
- self: An object that represents the parent resource of a connection and holds all of the attributes of a resource.
File provisioner also supports other arguments like certificate, agent, host_key and so on.
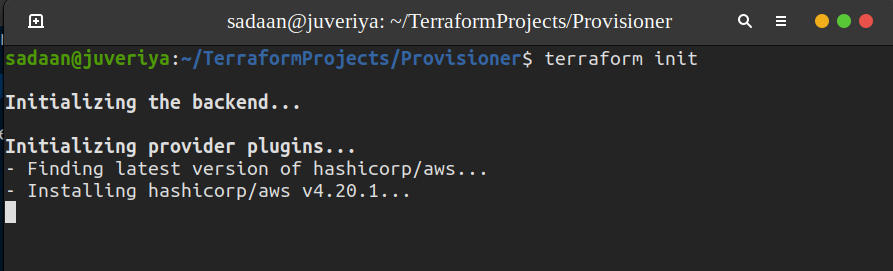
Step 3. Initialize the project directory using:
$ terraform init
<img alt="Initializing Terraform project directory" data-ezsrc="https://kirelos.com/wp-content/uploads/2022/07/echo/image4.png62da812b4312d.jpg" ezimgfmt="rs rscb5 src ng ngcb5" height="227" loading="lazy" src="data:image/svg xml,” width=”750″>
Also, check for any syntactical error by running the command:
$ terraform validate
<img alt="Validating Terraform configuration" data-ezsrc="https://kirelos.com/wp-content/uploads/2022/07/echo/image1.png62da812b5e9a4.jpg" ezimgfmt="rs rscb5 src ng ngcb5" height="146" loading="lazy" src="data:image/svg xml,” width=”750″>
Step 4. To set up this infrastructure, run the ‘terraform apply’ command. You can also review the changes to be made using the ‘terraform plan’ command:
$ terraform apply
Sample Output:
Terraform used the selected providers to generate the following execution plan.
Resource actions are indicated with the following symbols:
    createTerraform will perform the following actions:  # aws_instance.webserver will be created
    resource "aws_instance" "webserver"
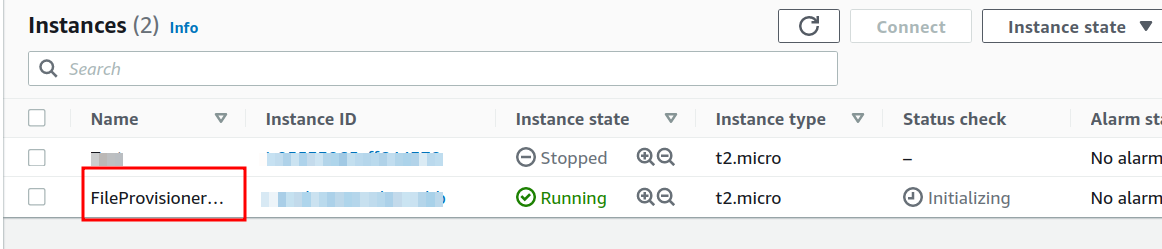
Step 5. Our instance is now being created as shown below:
<img alt="AWS EC2 console" data-ezsrc="https://kirelos.com/wp-content/uploads/2022/07/echo/image3.png62da812bc176b.jpg" ezimgfmt="rs rscb5 src ng ngcb5" height="160" loading="lazy" src="data:image/svg xml,” width=”750″>
Now SSH to your instance and check if the file is copied successfully:
Conclusion
In this guide, we have seen how we can use the ‘file’ provisioner to copy a file to an instance.

