
In this article, I am going to show you how to install Ubuntu in VMware Workstation Virtual Machine. So, let’s get started.
Downloading Ubuntu ISO Image:
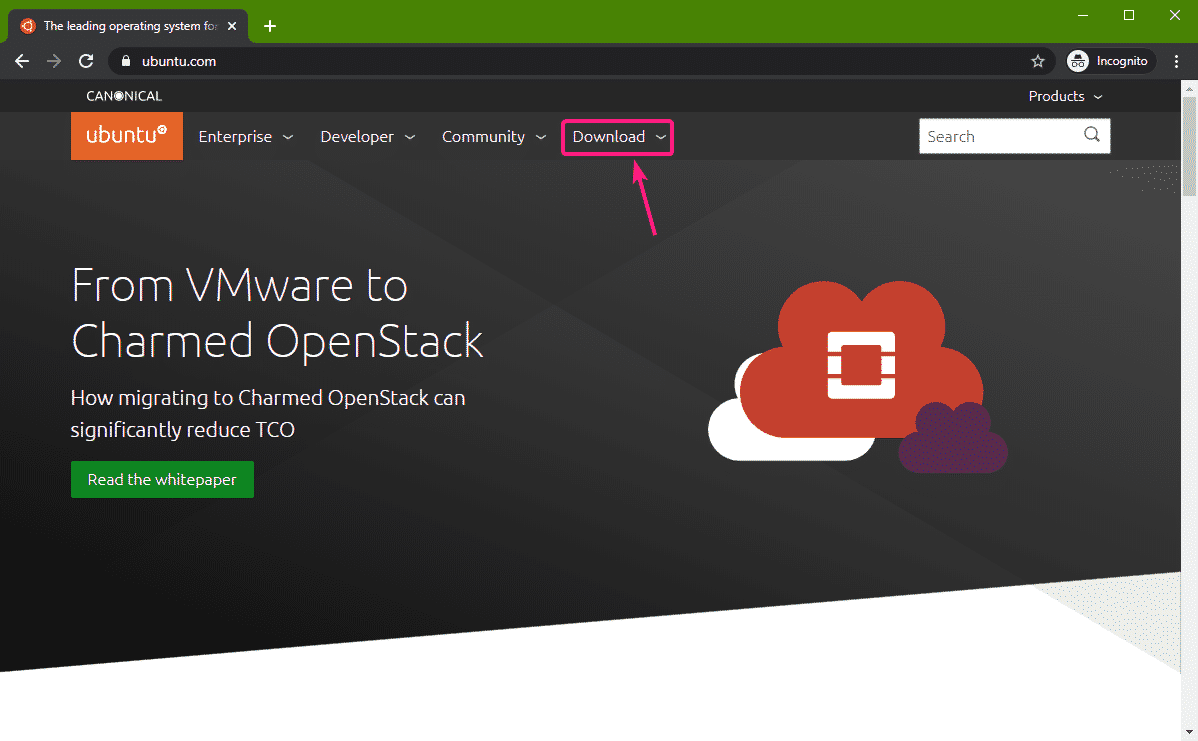
First visit the official website of Ubuntu from your favorite web browser. Once the page loads, click on Download.
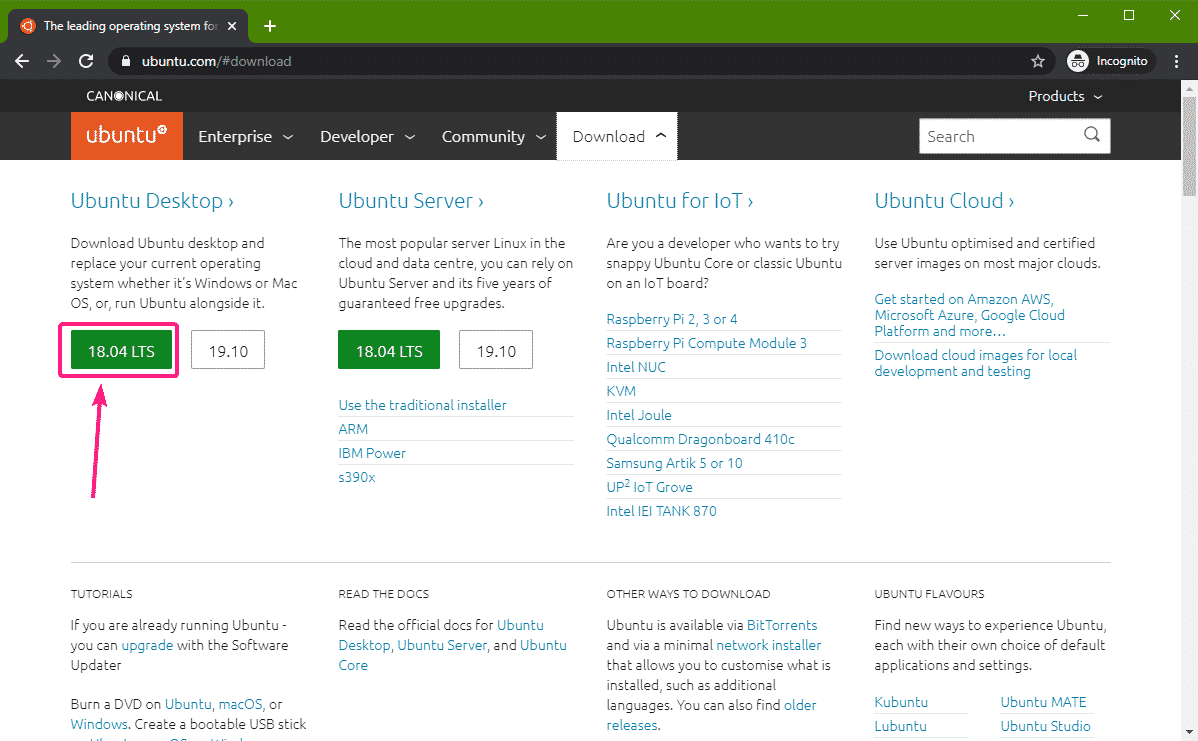
Now, click on the Ubuntu version that you want to download. I will download the Ubuntu 18.04 LTS Desktop version in this article.
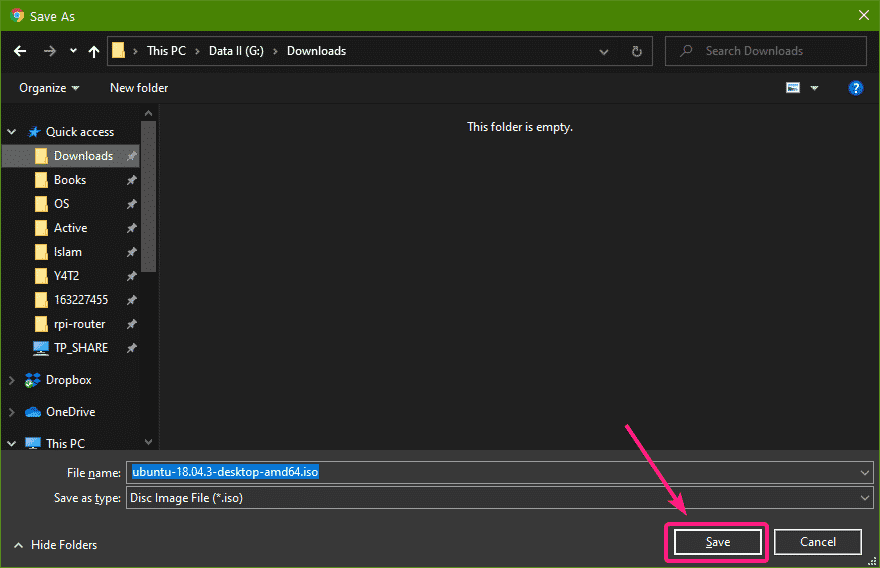
You will be asked for a location where you want to save the Ubuntu ISO file. Select a directory where you want to save the Ubuntu ISO file and click on Save.
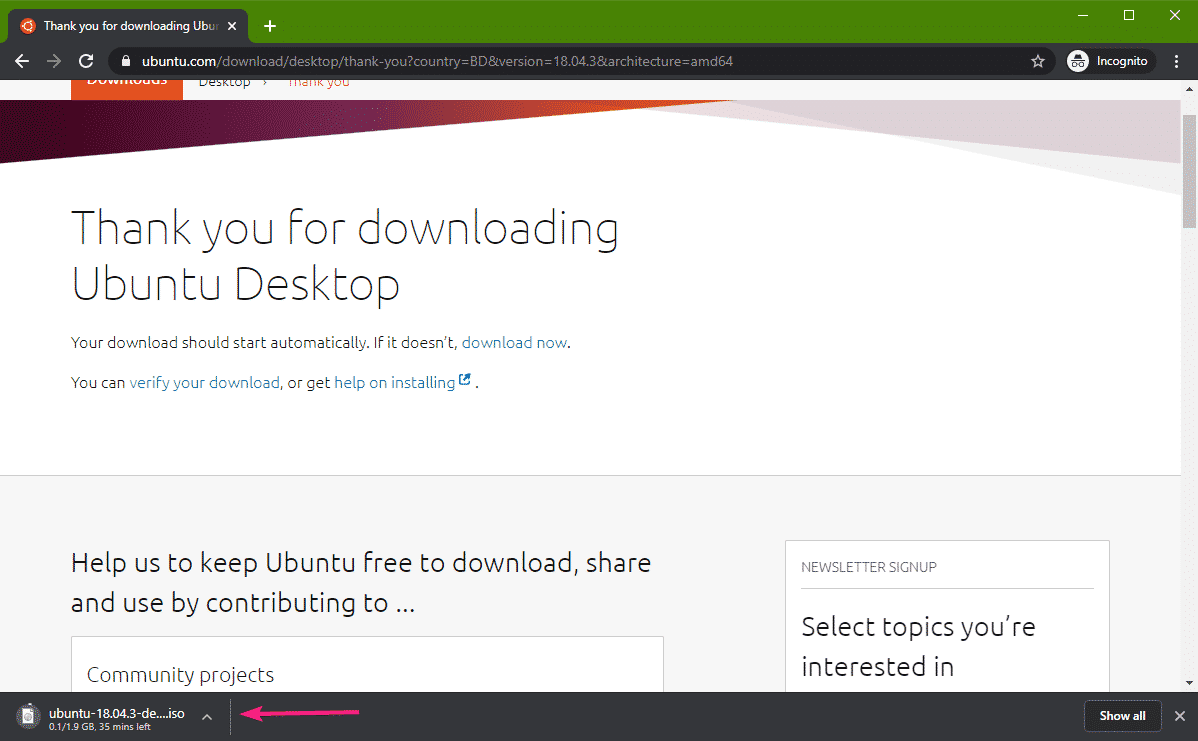
Your browser should start downloading the Ubuntu ISO file. It may take a while to complete.
Creating a VMware Workstation Virtual Machine:
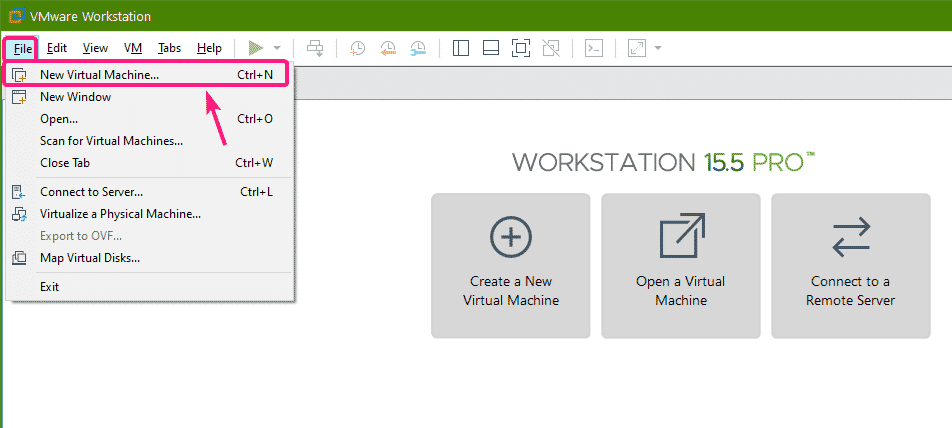
Once the Ubuntu ISO file is downloaded, open VMware Workstation and click on File > New Virtual Machine…
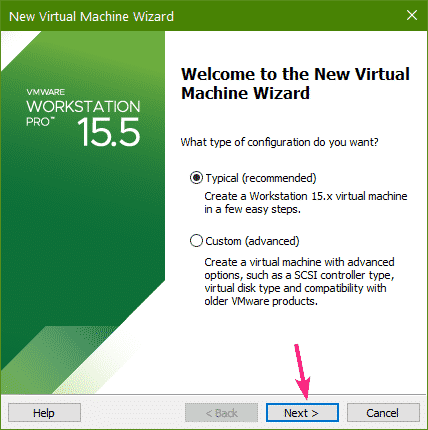
New Virtual Machine Wizard window should be displayed. Now, select Typical (recommended) and click on Next.
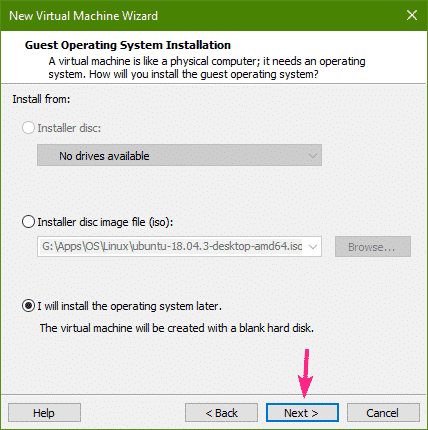
Now, select I will install the operating system later and click on Next.
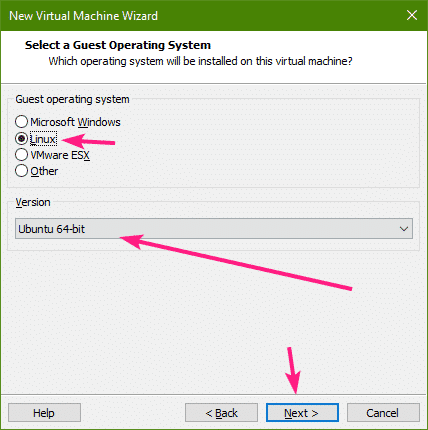
Now, you have to select the operating system that you will be installing on the virtual machine.
Select Linux from the Guest operating system section and Ubuntu 64-bit from the Version section.
Once you’re done, click on Next.
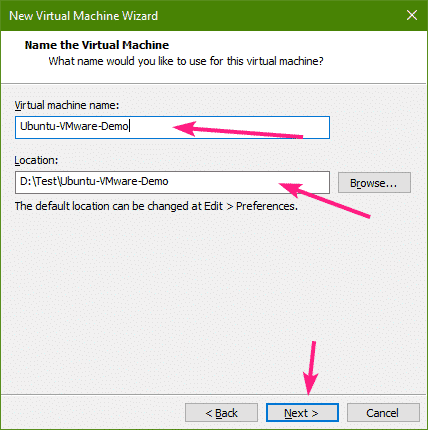
Now, type in a name for the virtual machine.
You may also type in a path or select a directory where the virtual machine data will be saved.
Once you’re done, click on Next.
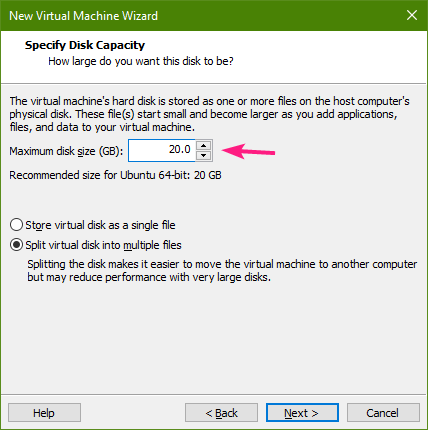
Now, type in the size of the virtual hard disk in GB (gigabyte). I will give the virtual machine a 20GB virtual hard disk.
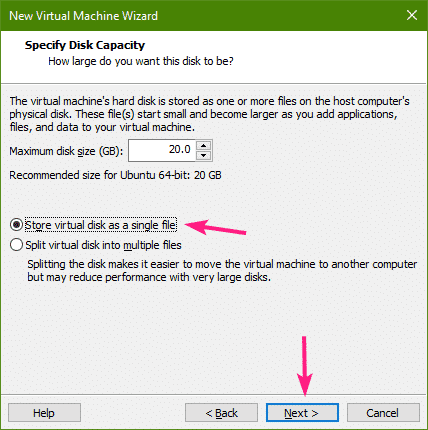
Now, for better performance, select Store virtual disk as a single file and click on Next.
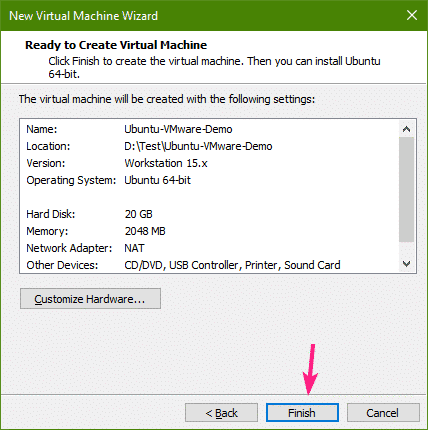
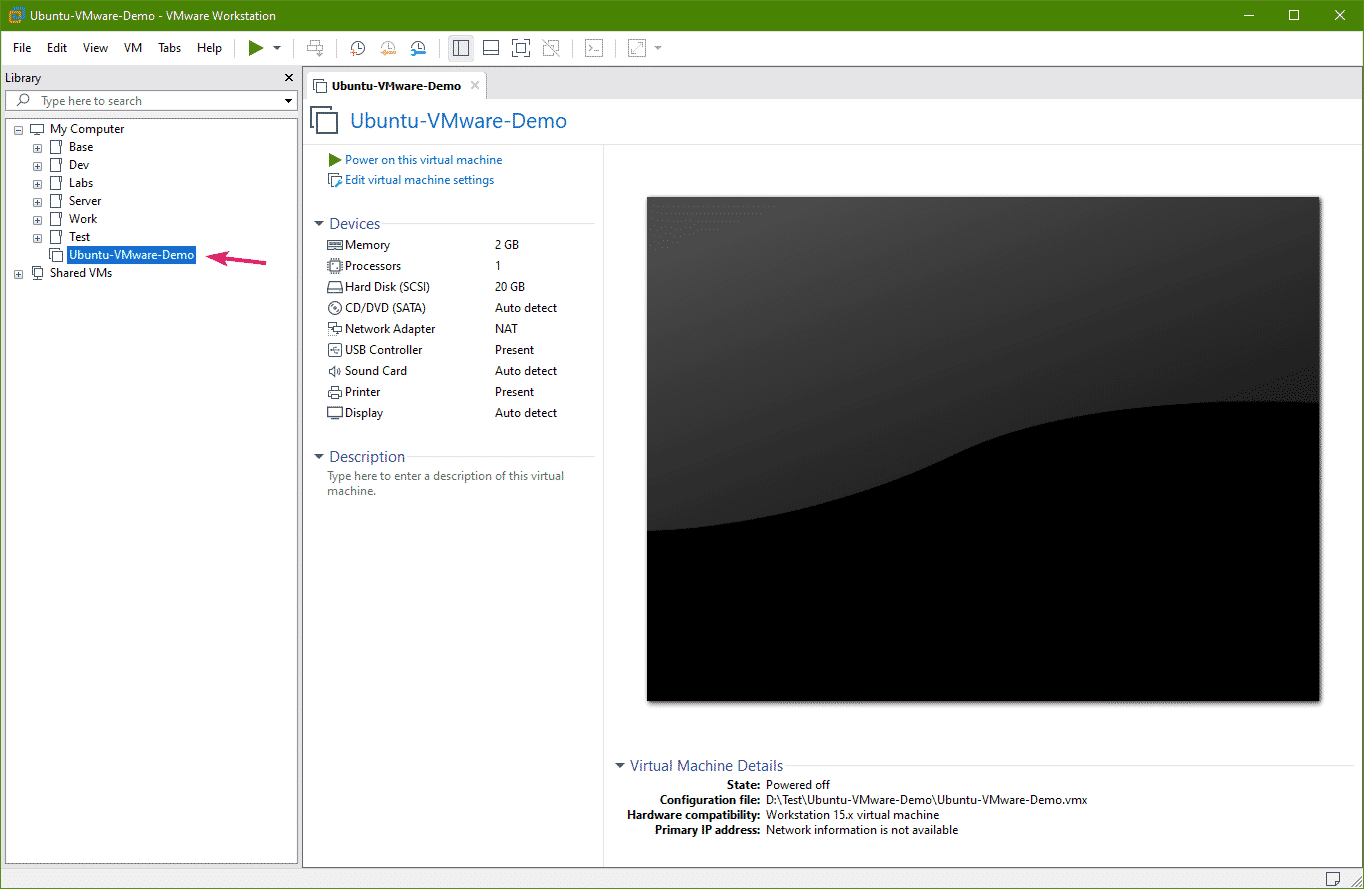
A new virtual machine should be created. Now, click on the newly created virtual machine from the library panel to open it.
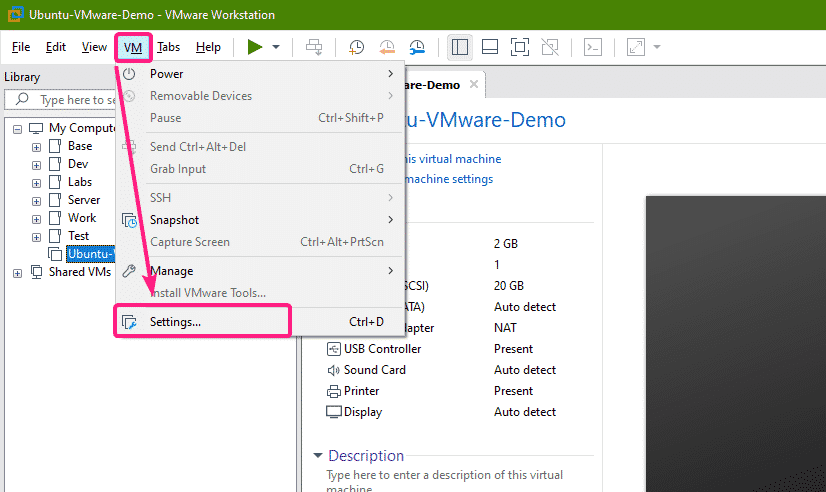
Now, go to VM > Settings.
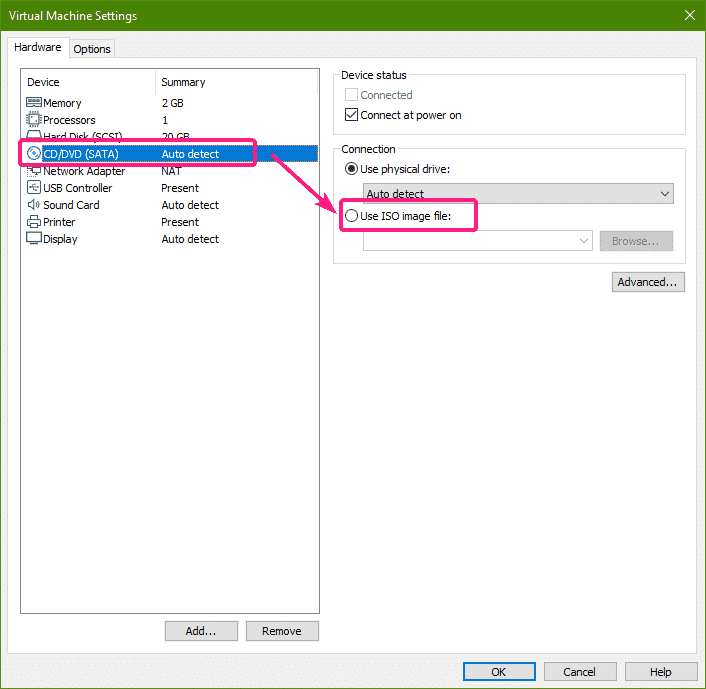
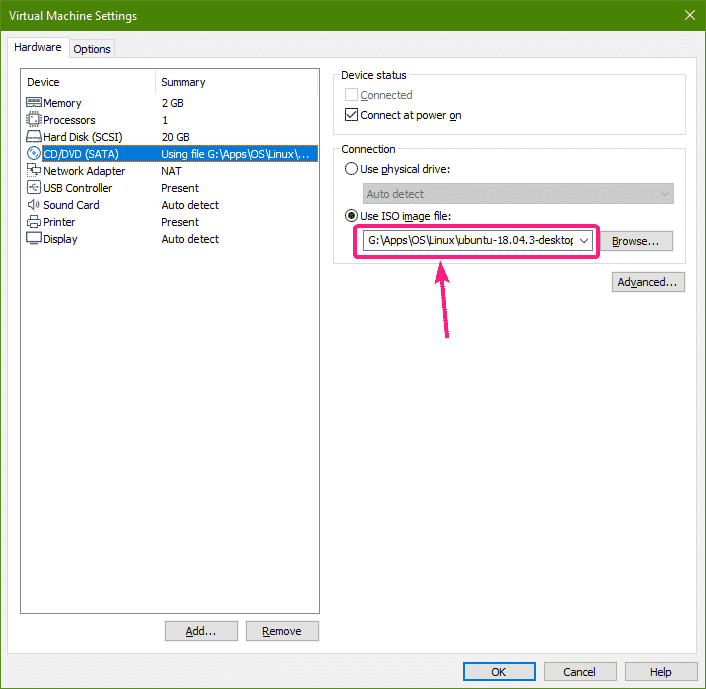
Now, go to CD/DVD settings and select Use ISO image file.
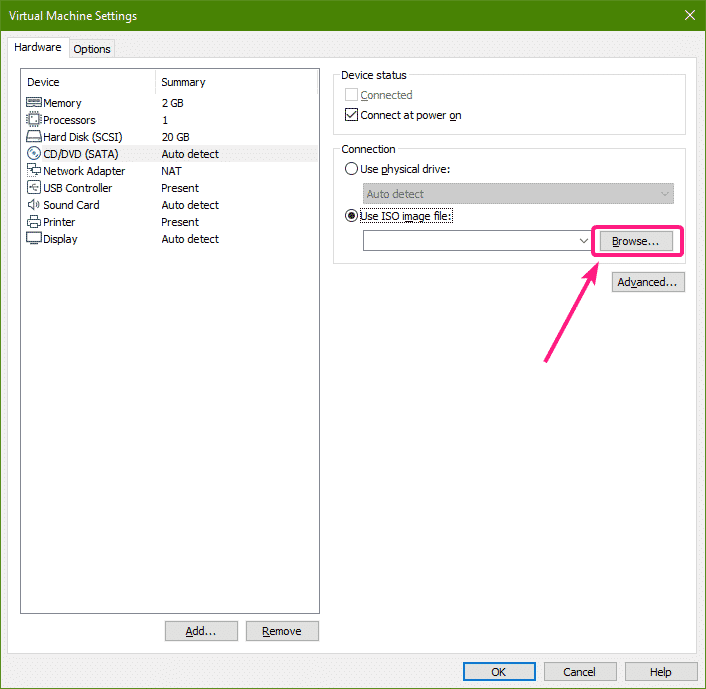
Now, click on Browse.
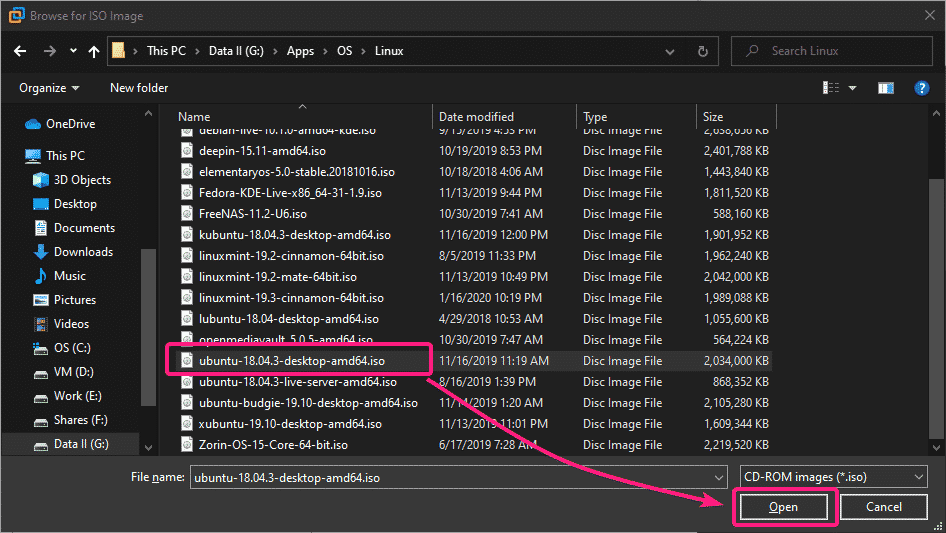
A file picker should be opened. Now, select the Ubuntu ISO file that you’ve downloaded and click on Open.
The Ubuntu ISO file should be selected.
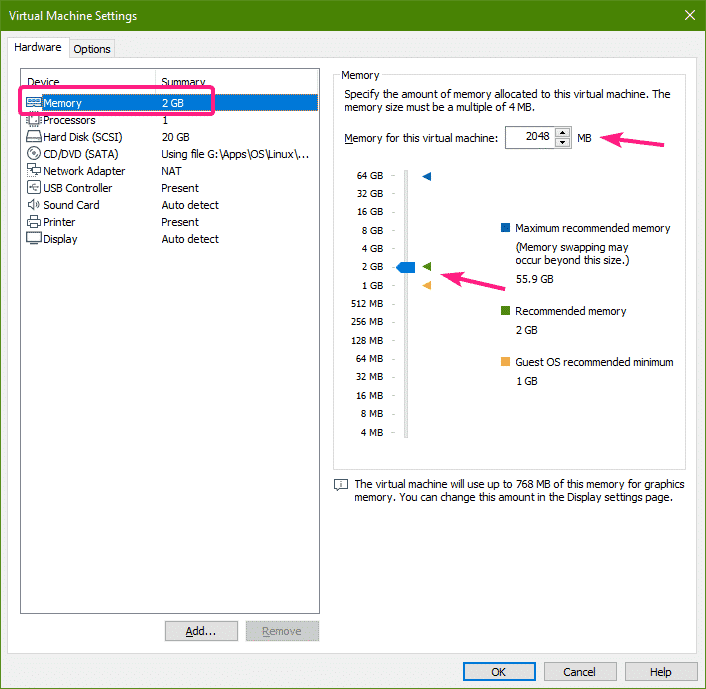
Now, go to the Memory settings. Here, 2 GB of memory (RAM) is selected by default. If you want to change the memory, you can either type in the amount of memory (in MB/megabyte) you want for this virtual machine in the Memory for this virtual machine section. Or, you can click and drag the slider up and down to increase or decrease the memory for the virtual machine respectively.
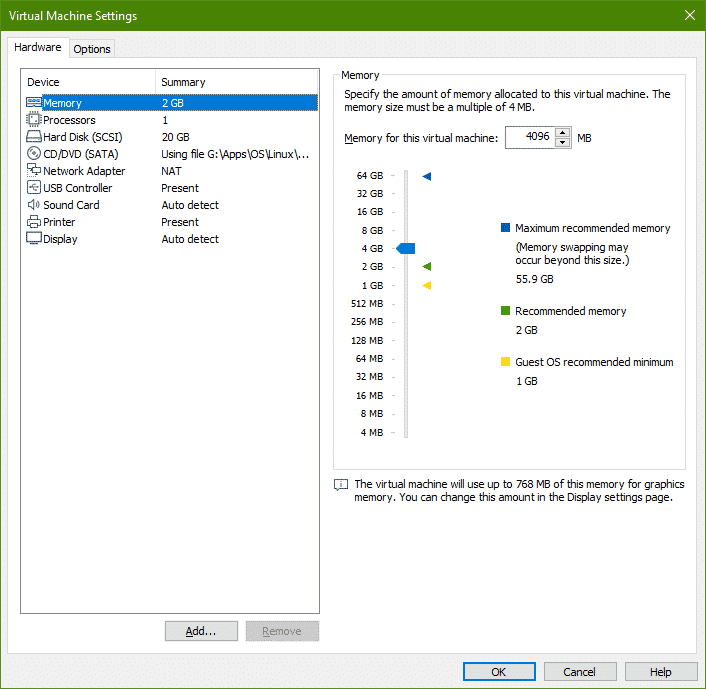
I will set 4 GB or 4096 MB of memory for this virtual machine in this article.
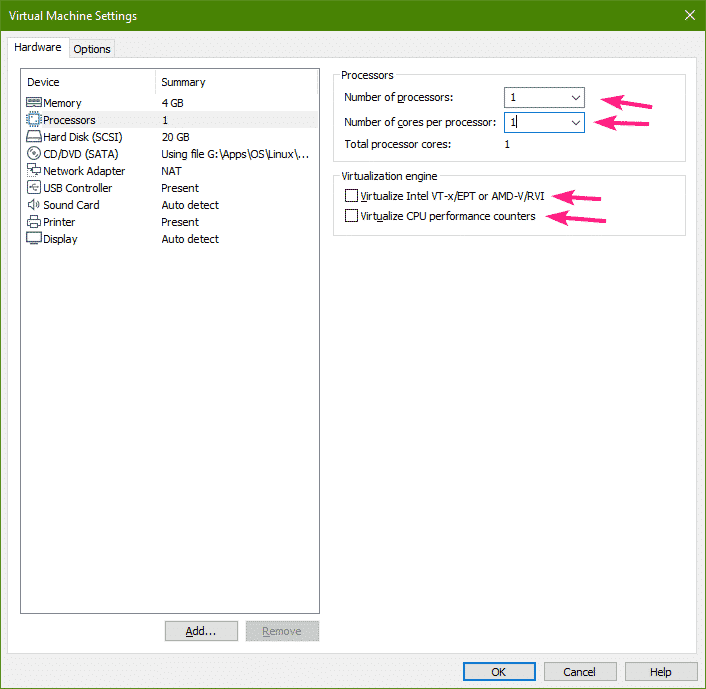
From the Processors settings, you can change the number of virtual processors, and the number of cores to assign to each virtual processor for this virtual machine.
Usually, the Number of processors is set to 1 and Number of cores per processor can be 1 or more depending on your need.
If you want to enable nested virtualization (virtualization inside virtual machines), then check the Virtualize Intel VT-x/EPT or AMD-v/RVI checkbox.
If you want to use performance tuning softwares in the virtual machine, check the Virtualize CPU performance counters checkbox. For this to work, you must have a compatible processor installed on your host computer.
Once you’re done, click on OK.
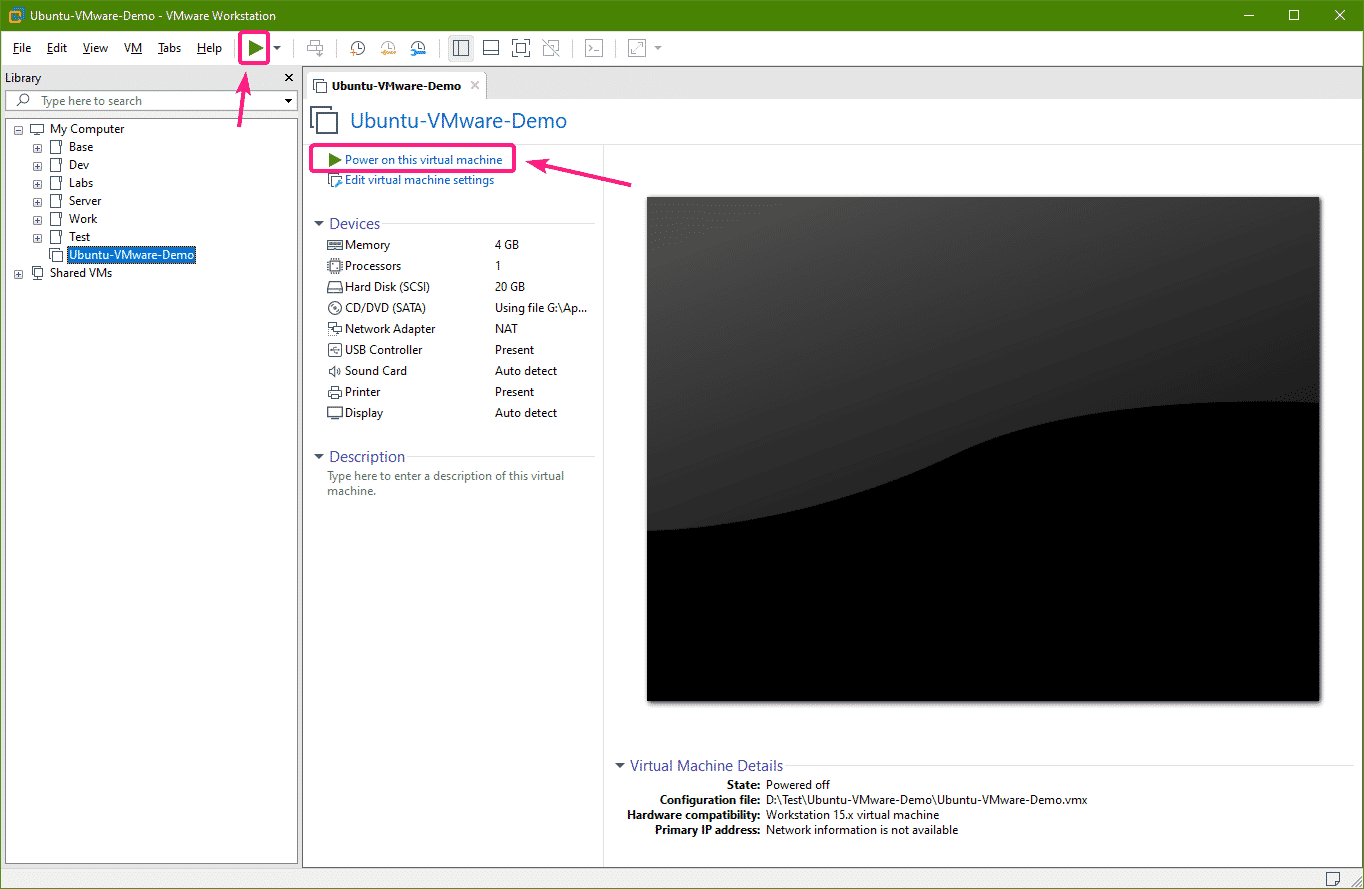
Now, click on the button or click on Power on this virtual machine to start the virtual machine.
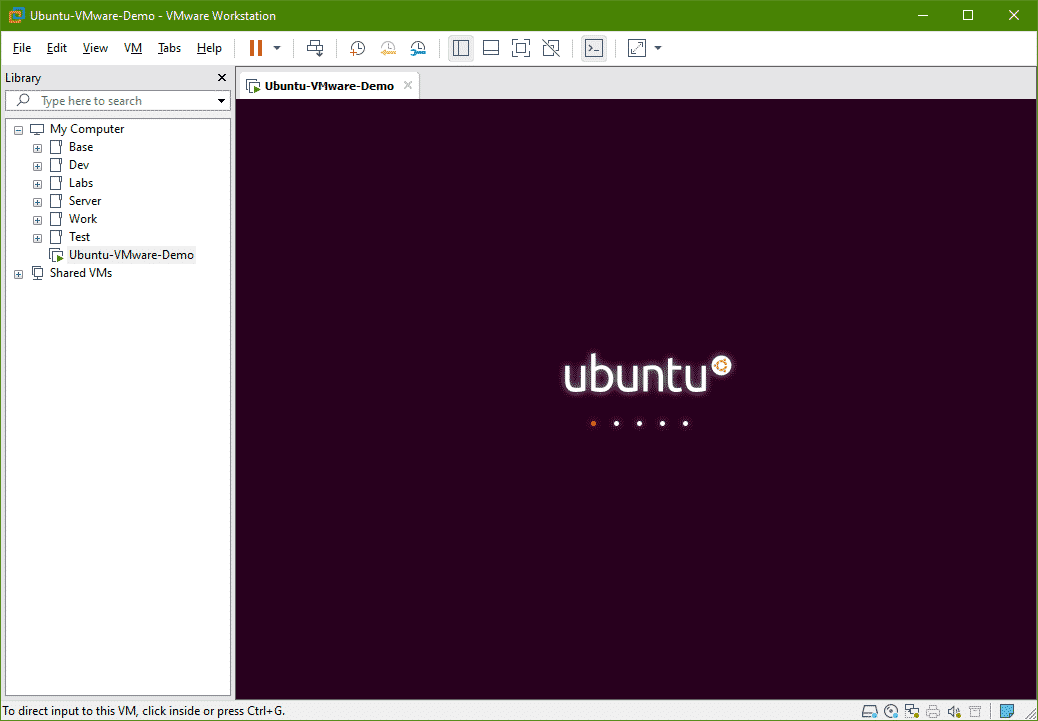
The virtual machine should start. As you can see, Ubuntu is starting from the ISO file.
At this point, Ubuntu installer should start. Now, you can install Ubuntu on the virtual machine as usual.
Installing Ubuntu on the Virtual Machine:
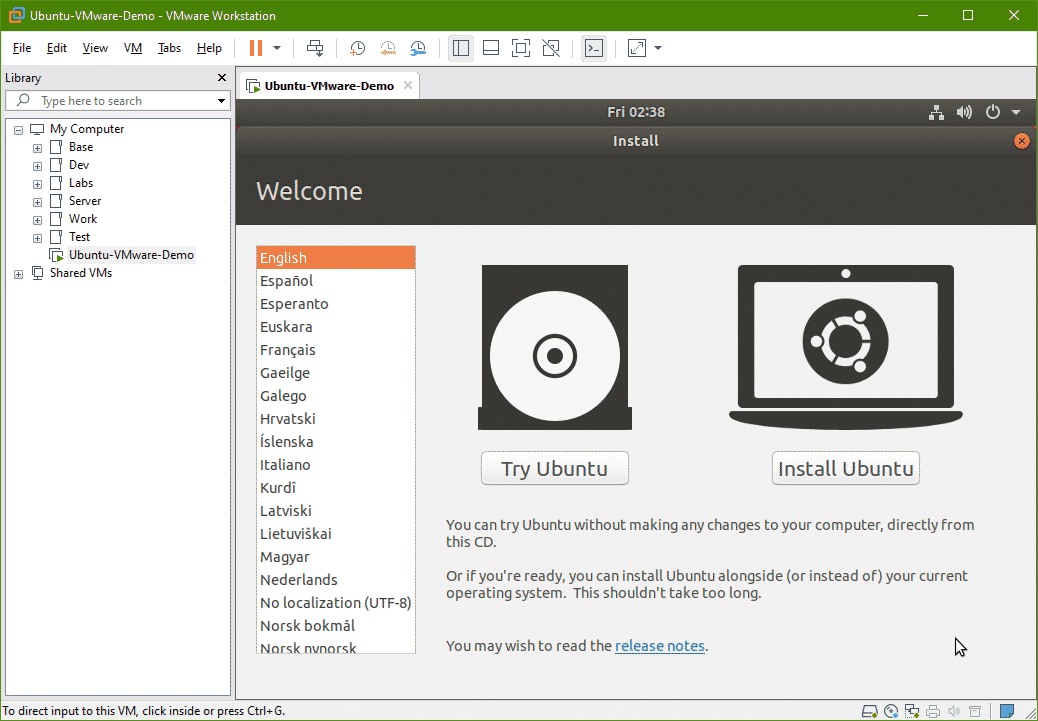
To install Ubuntu, click on Install Ubuntu.
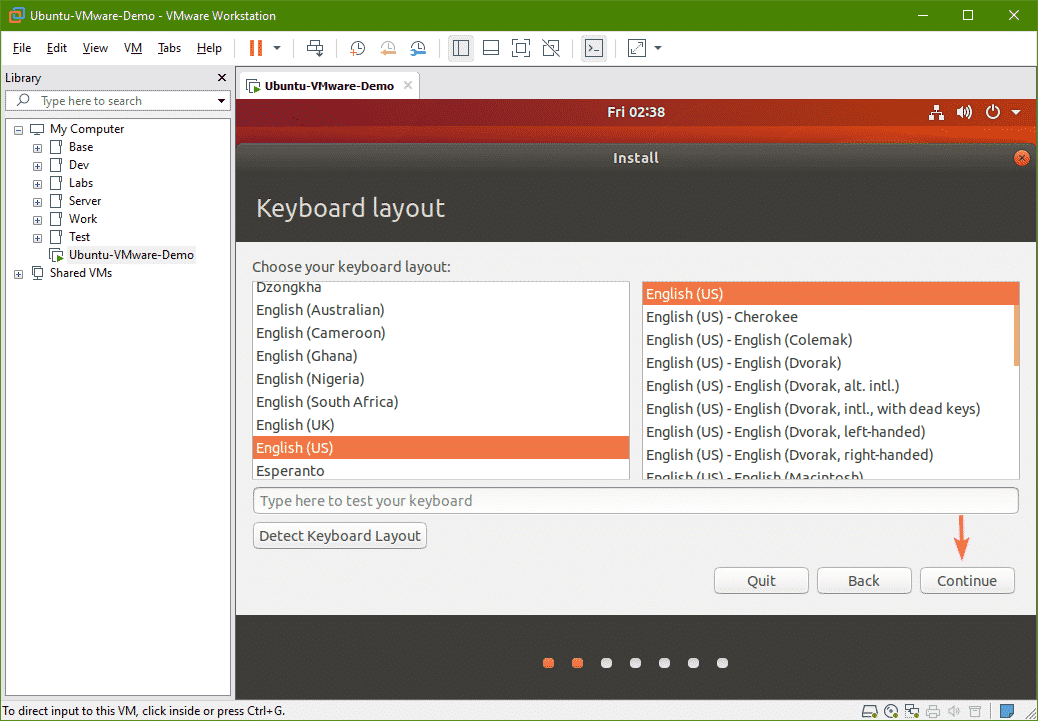
Now, select your keyboard layout and click on Continue.
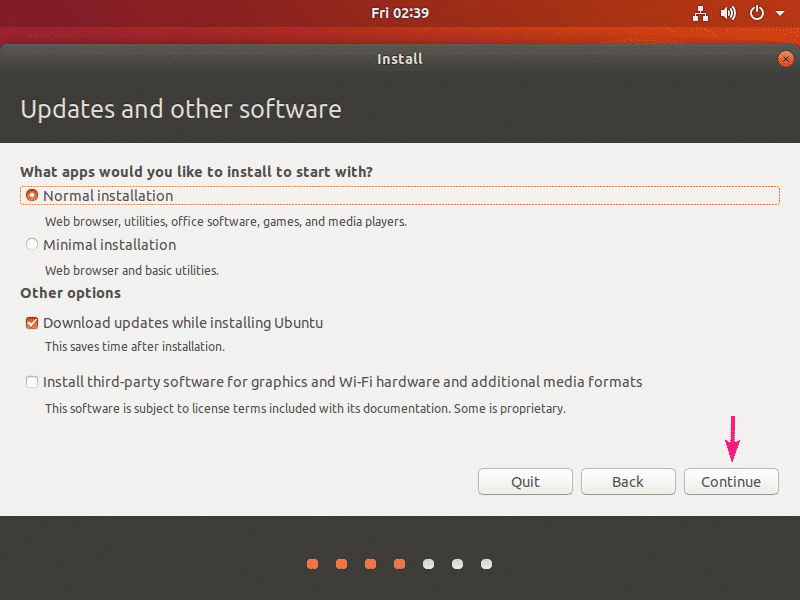
Click on Continue.
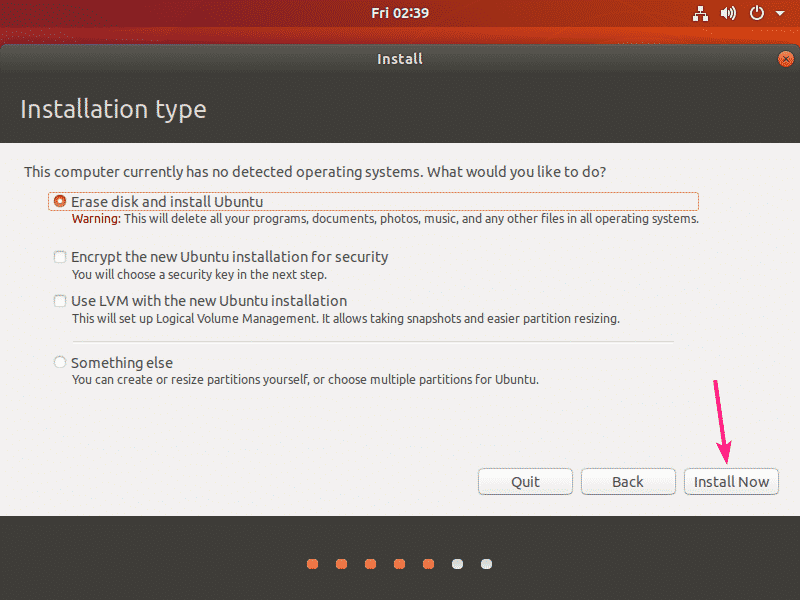
As this is a virtual machine, I won’t be doing any manual partitioning. I will just select Erase disk and install Ubuntu which will erase the entire virtual hard disk, create all the required partitions automatically and install Ubuntu.
If you need to, you can do manual partitioning as well.
Once you’re done, click on Install Now.
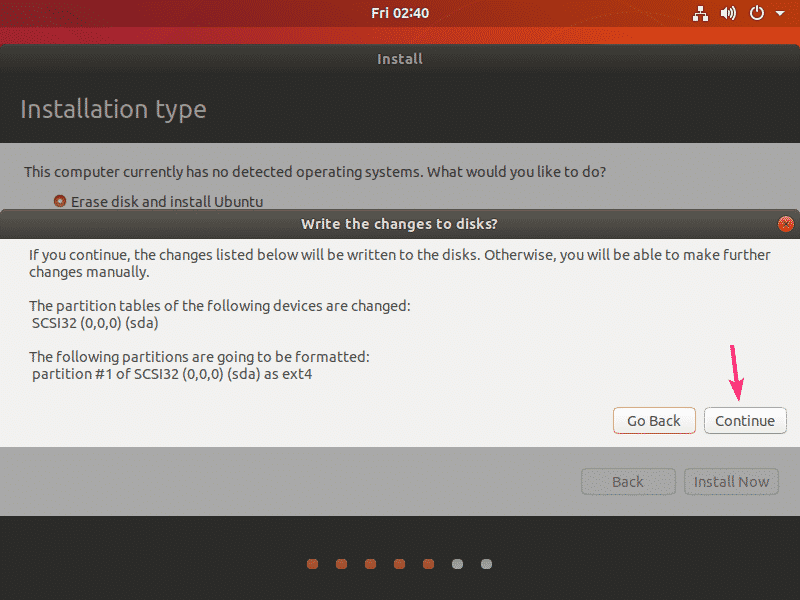
Click on Continue.
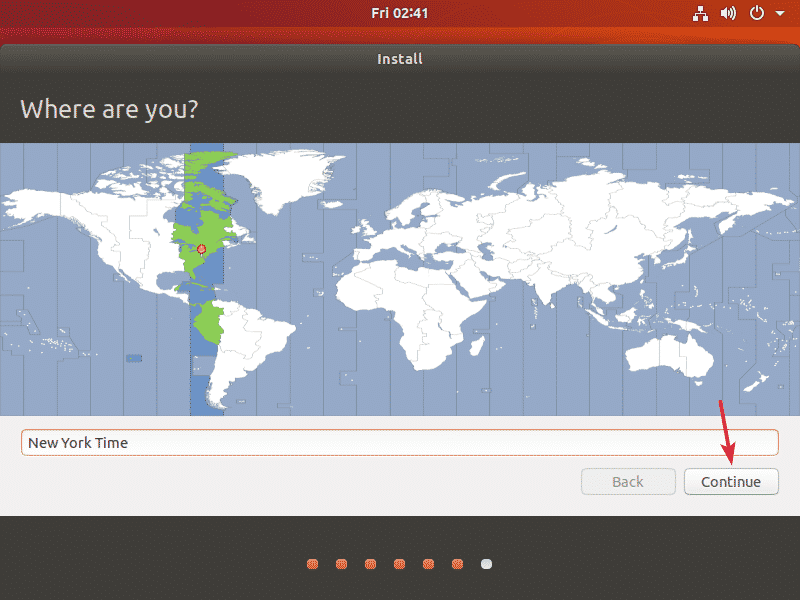
Select your time zone and click on Continue.
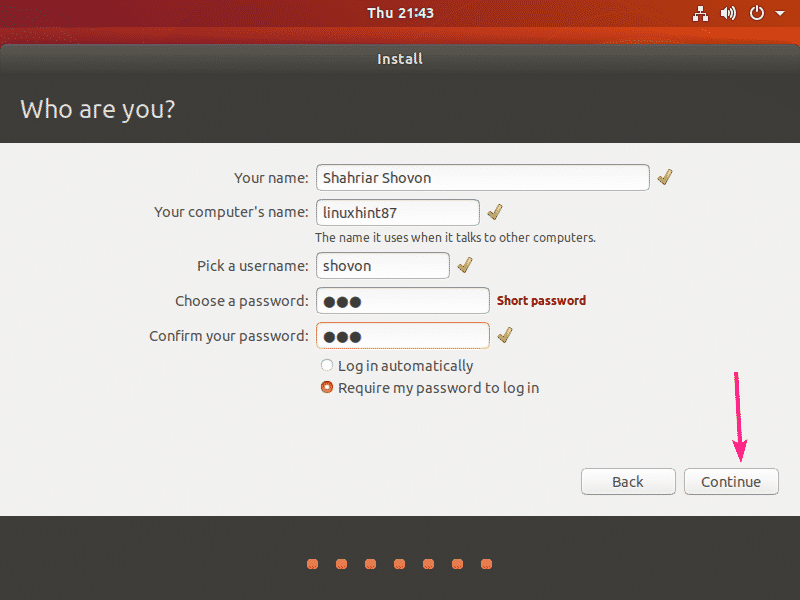
Now, type in your personal information and click on Continue.
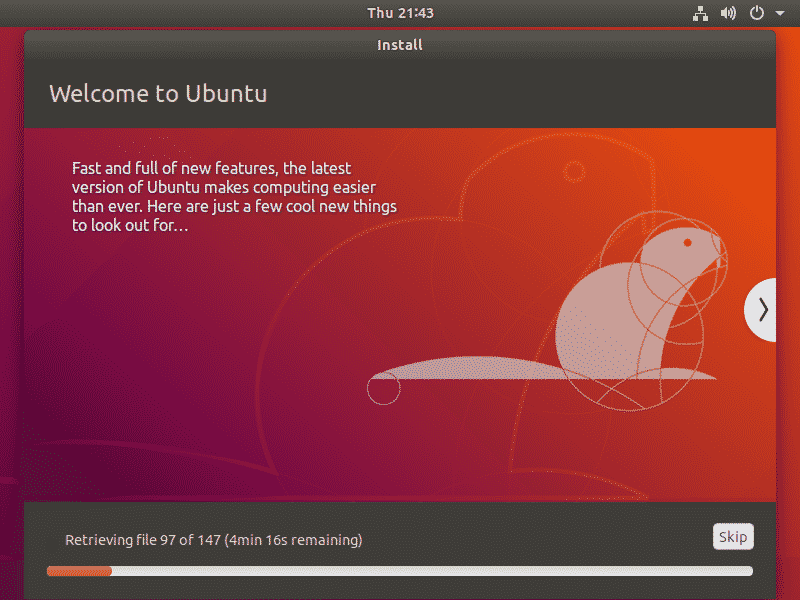
Ubuntu installer should start installing Ubuntu. It may take a while to complete.
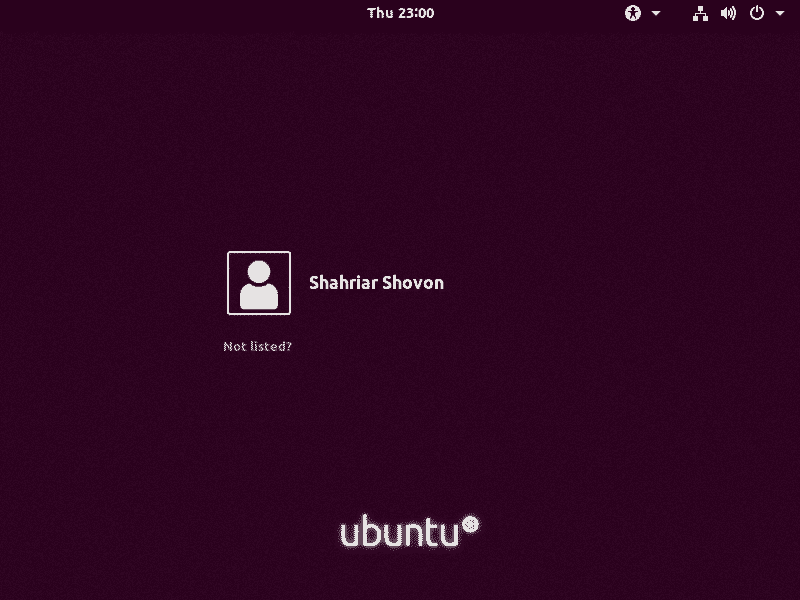
At this point, Ubuntu should be installed on the virtual machine. Click on Restart Now.
Your virtual machine should restart into the Ubuntu login screen. Login to Ubuntu with your password as usual.
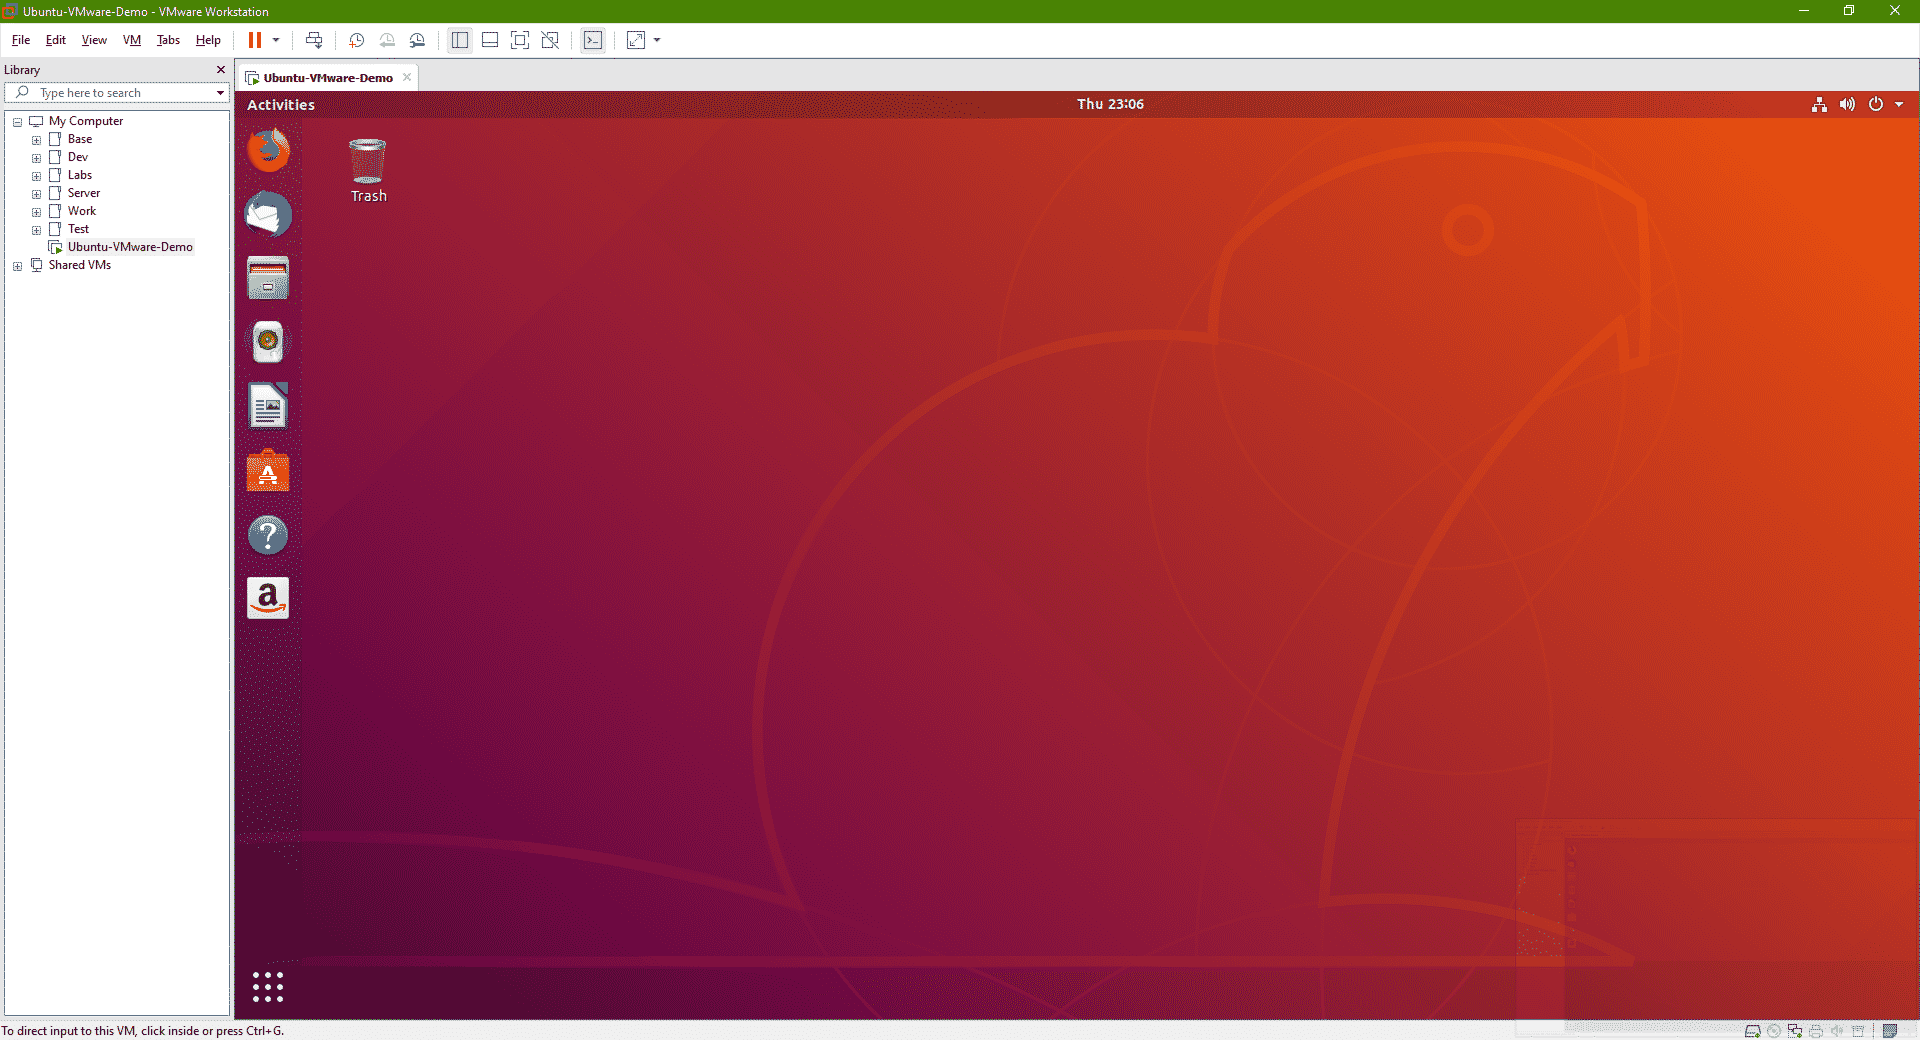
Ubuntu should be running smoothly on the virtual machine.
Installing Open VM Tools on Ubuntu VMware Virtual Machine:
Now, you should install Open VM Tools on the Ubuntu VM for improved performance and features (such as clipboard sharing, auto guest resizing, better graphics support etc.).
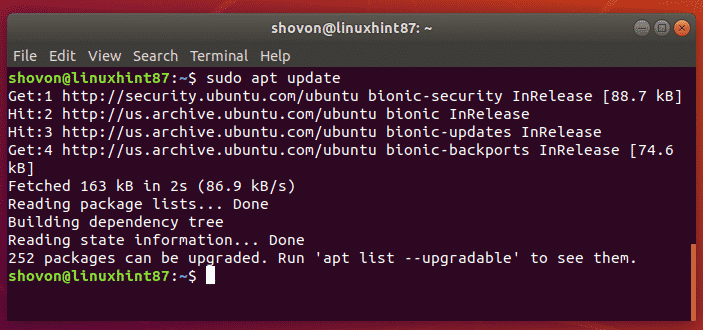
First, open a Terminal and update the APT package repository cache with the following command:
APT package repository cache should be updated.
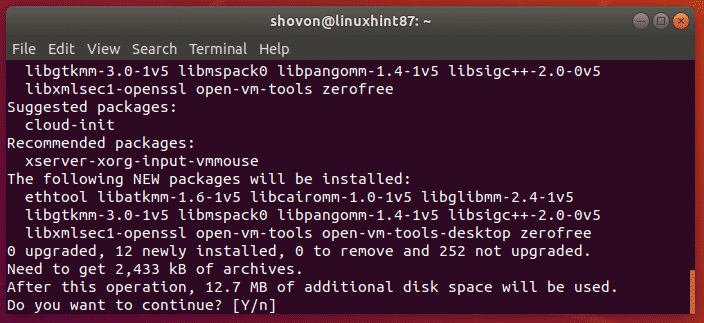
Now, install Open VM Tools on the Desktop version of Ubuntu with the following command:
$ sudo apt install open-vm-tools-desktop
NOTE: If you’ve installed Ubuntu server version, then install Open VM Tools with the following command:
$ sudo apt install open-vm-tools
Now, press Y and then press to confirm the installation.
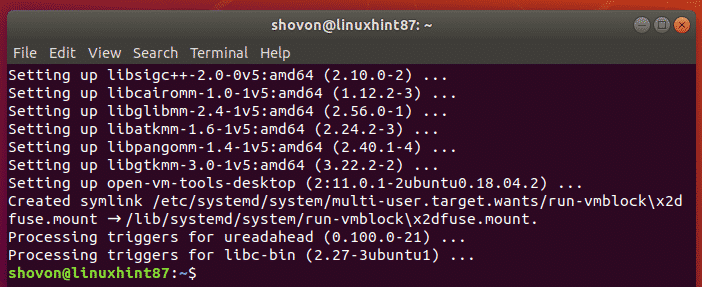
Open VM Tools should be installed.
Now enjoy Ubuntu. Don’t be afraid to try out new things. As it’s a virtual machine, any damage you do to this Ubuntu virtual machine will not affect your main operating system (installed on the host computer).
About the author
Shahriar Shovon
Freelancer & Linux System Administrator. Also loves Web API development with Node.js and JavaScript. I was born in Bangladesh. I am currently studying Electronics and Communication Engineering at Khulna University of Engineering & Technology (KUET), one of the demanding public engineering universities of Bangladesh.


