")
There may be times when, while working on the Linux command line, you might want to display/convert content in a file in/to a form other than its original form, like decimal or octal. Gladly, there’s an inbuilt command line tool that you can use in situations like these.
The od (octal dump) command in Linux is a versatile utility used to display the contents of files in various formats, such as octal, hexadecimal, decimal, and ASCII. This command is handy for viewing binary data or files that contain non-printable characters, allowing users to inspect and debug the raw data. The od command is mainly used by developers and system administrators who need to analyze low-level data structures, perform forensic analysis, or debug software.
In this tutorial, we will discuss this tool’s basics using easy-to-understand examples. All examples discussed here have been tested on Ubuntu 24.04 LTS.
Linux od command
The OD command is used to convert input into Octal format. Following is its syntax:
od [OPTION]... [FILE]...
And here’s what the man page says about it:
Write an unambiguous representation, octal bytes by default, of FILE to standard output. With more
than one FILE argument, concatenate them in the listed order to form the input. With no FILE, or
when FILE is -, read standard input.
Following are some Q&A-styled examples that will give you a better idea of how the od command works:
Q1. How to use the od command?
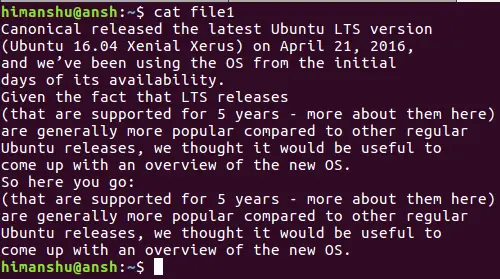
Suppose here’s the file you want to convert:
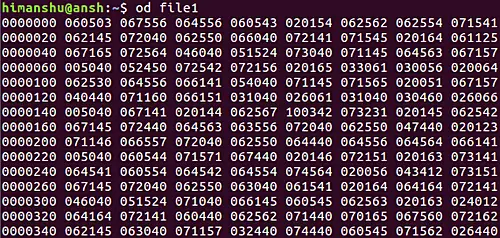
And here’s what happens when you run the od command on it:
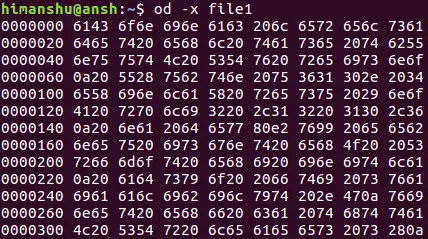
So by default, the od command converts the file into octal format. However, you can also force the tool to convert into other formats. For example, use -x to convert to hexadecimal:
Similarly, there are options to display the input in character, floating, and integer formats.
Q2. How to make od skip bytes?
If you want to skip some initial bytes, you can do that by passing the number to the -j command line option.
od -j [num] [filename]
For example:
od -j 10 file1
Q3. How to limit output bytes per line?
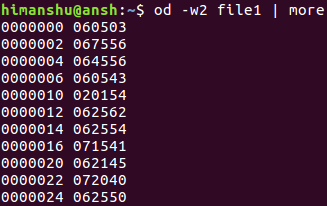
By default, the od command produces 32 bytes per output line. However, you can customize this number using the -w option.
od -w[num] [filename]
For example:
od -w2 file1
Q4. How to make od output duplicates?
Suppose the file you want to convert contains duplicate lines. For example:
Then by default, od produces * in output for duplicates.
However, if you want, you can change this behavior, something which you can do by using the -v command line option.
od -c -w1 -v file1
Q5. How to display byte offsets?
Byte offsets can be displayed using the -A command line option. You need to specify the format in which you want to see the offset – x for hexadecimal, o for octal, and d for decimal.
od -A[format] [filename]
For example:
od -Ad -c file1
Q6. How to limit od’s output to set number of bytes?
To limit the overall output to a set number of bytes, use the -N option.
od -N[num] [filename]
For example:
od -N50 file1
So you can see the overall output got curtailed.
Conclusion
The OD command offers a lot of features in the form of command line options. We’ve discussed some major ones here. Once you are done practicing these, head to the tool’s man page to learn more about it.

")
