 Volume to an EC2 Instance on AWS")
Elastic Block Storage (EBS) is a high-performance block storage service. It is designed for use with Elastic Cloud Compute i.e. EC2 for transactions and intensive workload. Relational and non-relational databases, enterprise applications, containerized applications, big data analytics engines, file systems, and media workflows are widely deployed on Amazon EBS. We can change types of EBS Volume, increase volume size without disrupting our applications. Amazon EBS volumes are easy to create, use, encrypt, and protect. Amazon EBS architecture offers reliability for mission-critical applications. Each volume is designed to protect against failures by replicating data on it within the Availability Zones. Amazon EBS enables us to increase storage without any disruption to our critical workloads. EBS is built to be secure for data compliance. Newly created EBS volumes can be encrypted by default with a single setting in our account.
To know more about EBS click here and to know about its pricing click here.
Pre-requisites
- AWS Account (Create if you don’t have one).
- Basic understanding of EC2 instance. Click here to learn about it.
What we will do
- Login to AWS
- Create and attach an EBS volume to an EC2 instance.
- Mount the attached volume on the Linux System
Login to AWS
Click here to go to AWS Login Page
When you hit the above link, you will see a web page as follows where you are required to login using your login details.
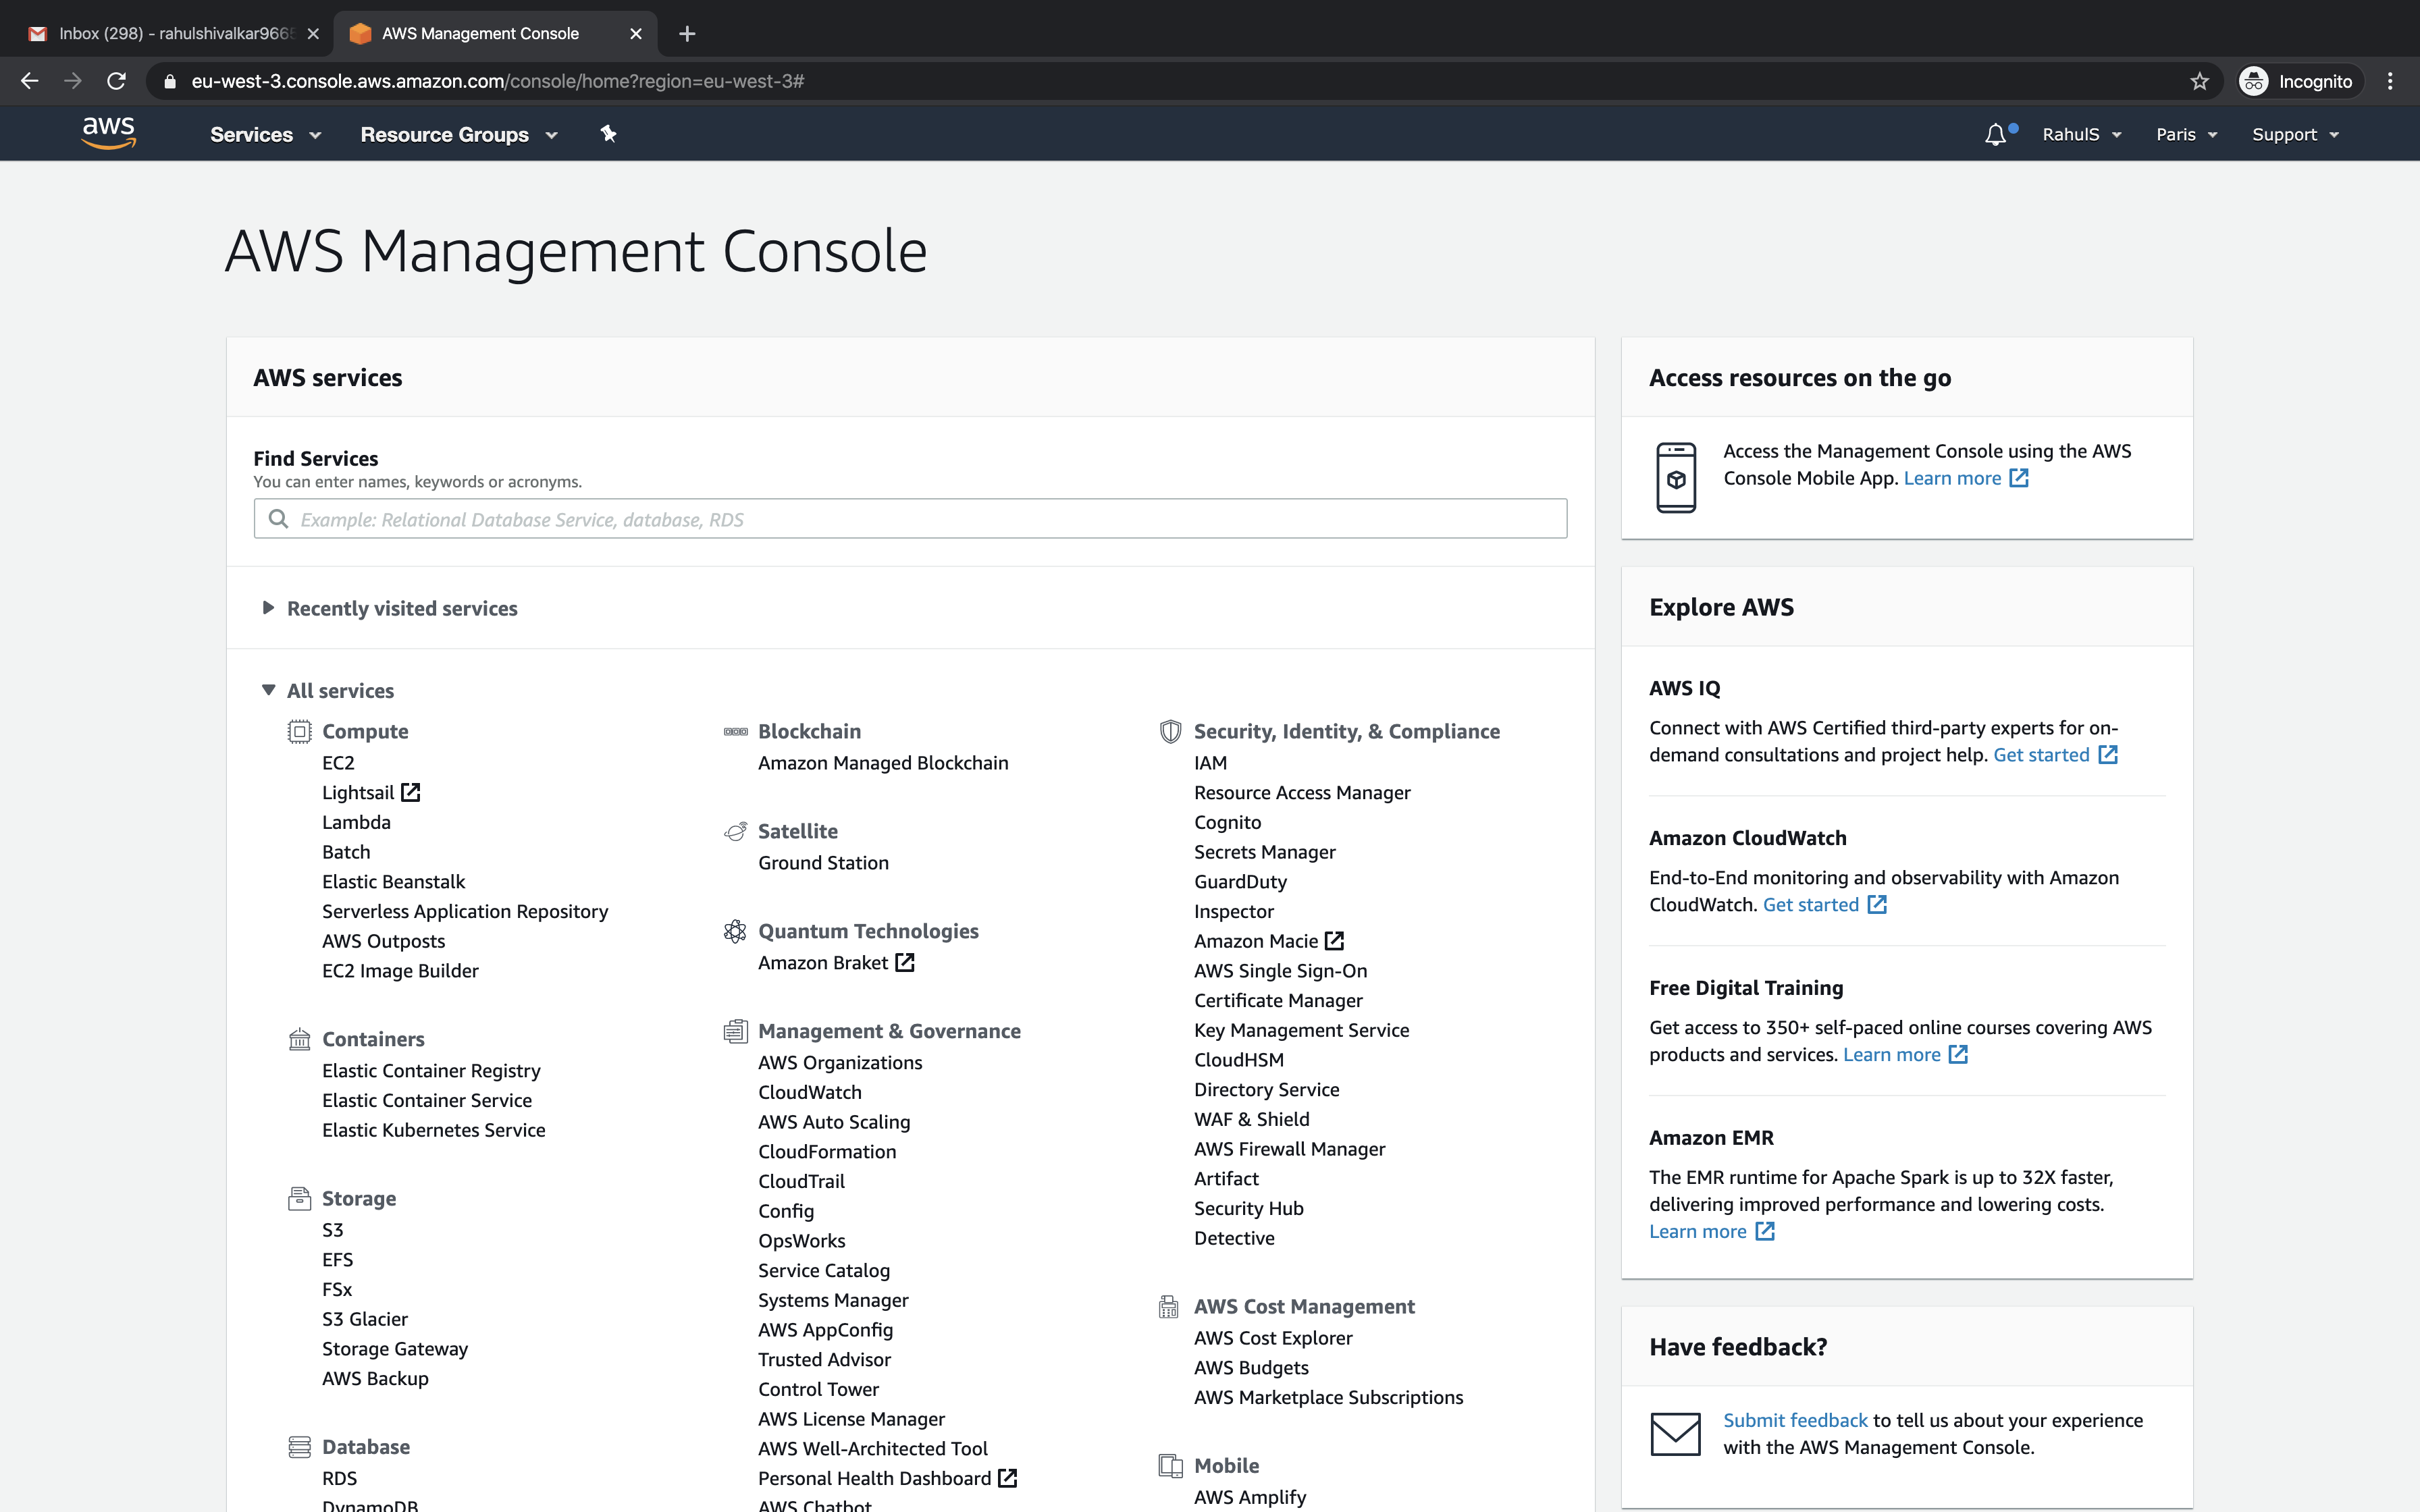
Once you login into AWS successfully, you will see the main console with all the services listed as follows.
Create and attach an EBS volume to an EC2 instance.
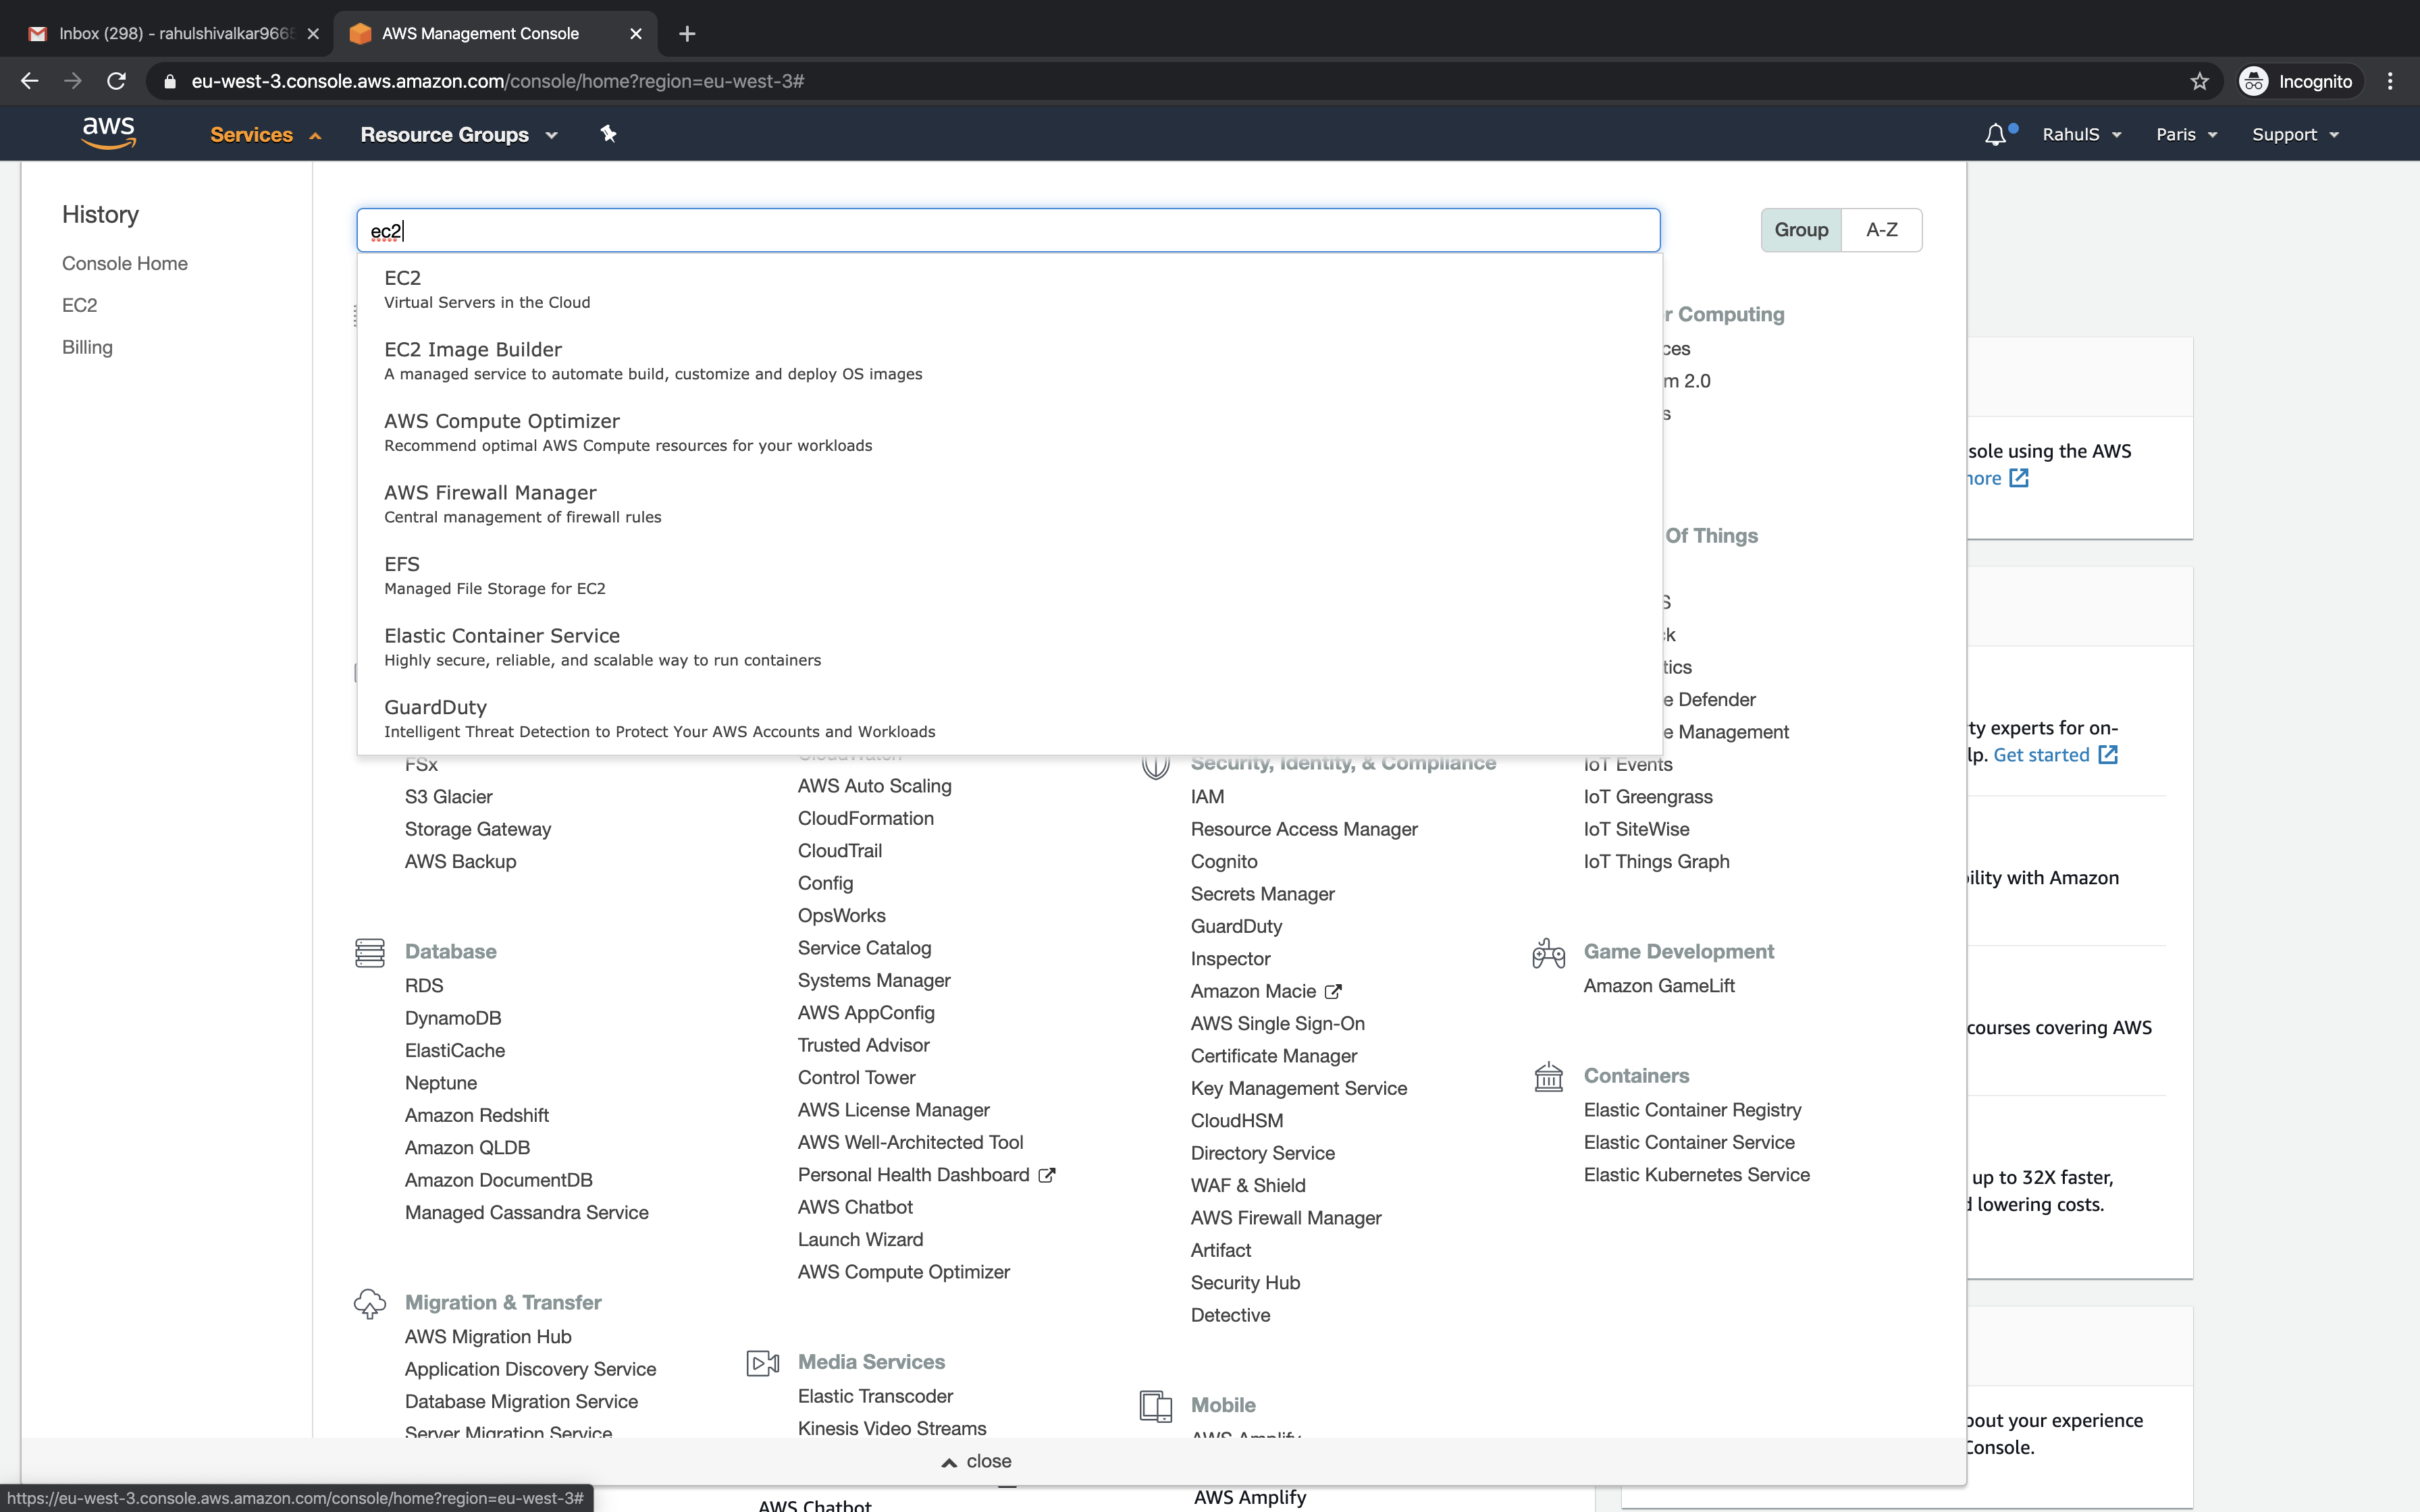
Once you login to AWS, click on services at the top of the screen and search for EC2. Click on the result to go to the main dashboard of EC2 service.
This is the main dashboard of EC2 service. Scroll down and in the left panel click on Volume under Elastic Block Store.
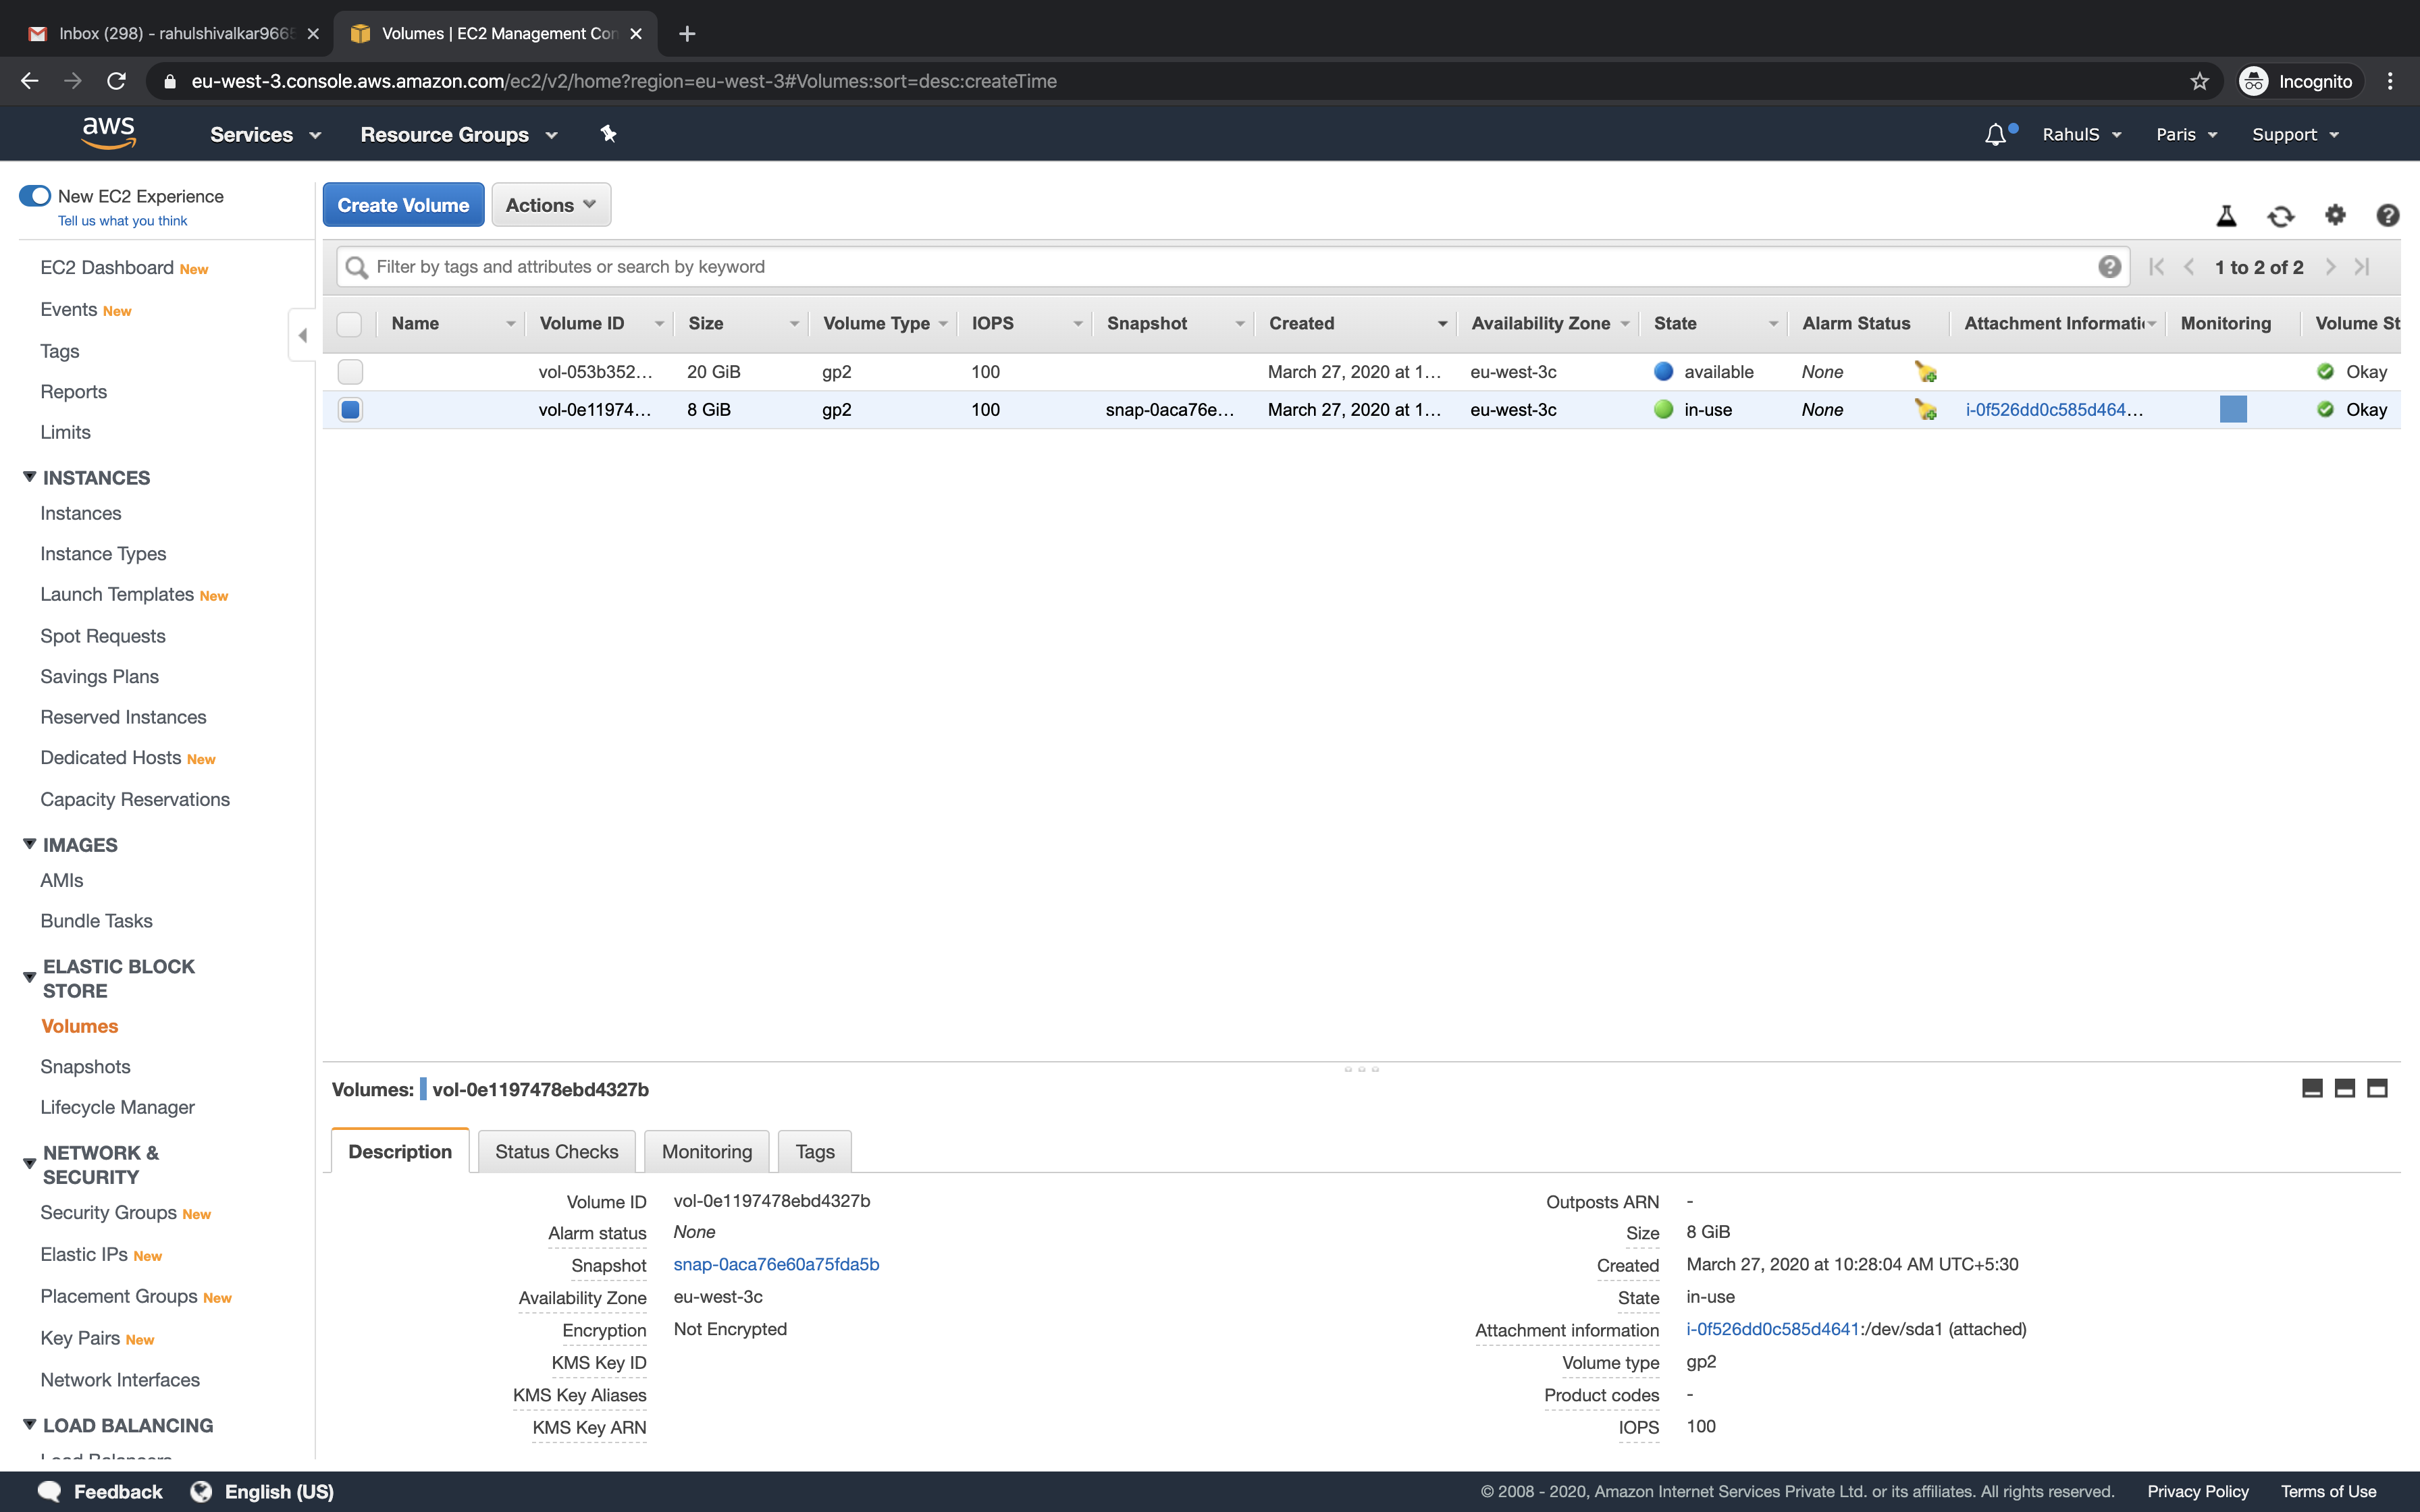
You will see the following screen. Here you may or may not see any existing volumes. As I already have an EC2 instance in my account the following listed EBS volume is attached to that existing EC2 instance. To create a new EBS volume click on “Create Volume“.
Choose the type of volume that you want to create and specify the disk space that needs to be allocated to the volume. Select the Availability Zone. This should be the same as that of an EC2 instance to which this volume will be attached.
You can skip other fields for now and proceed with “Create Volume”
The creation will take some time and once the volume has been created you can see its status as “Available“. Once the status of the volume changes to available it can be attached to the desired EC2 instance.
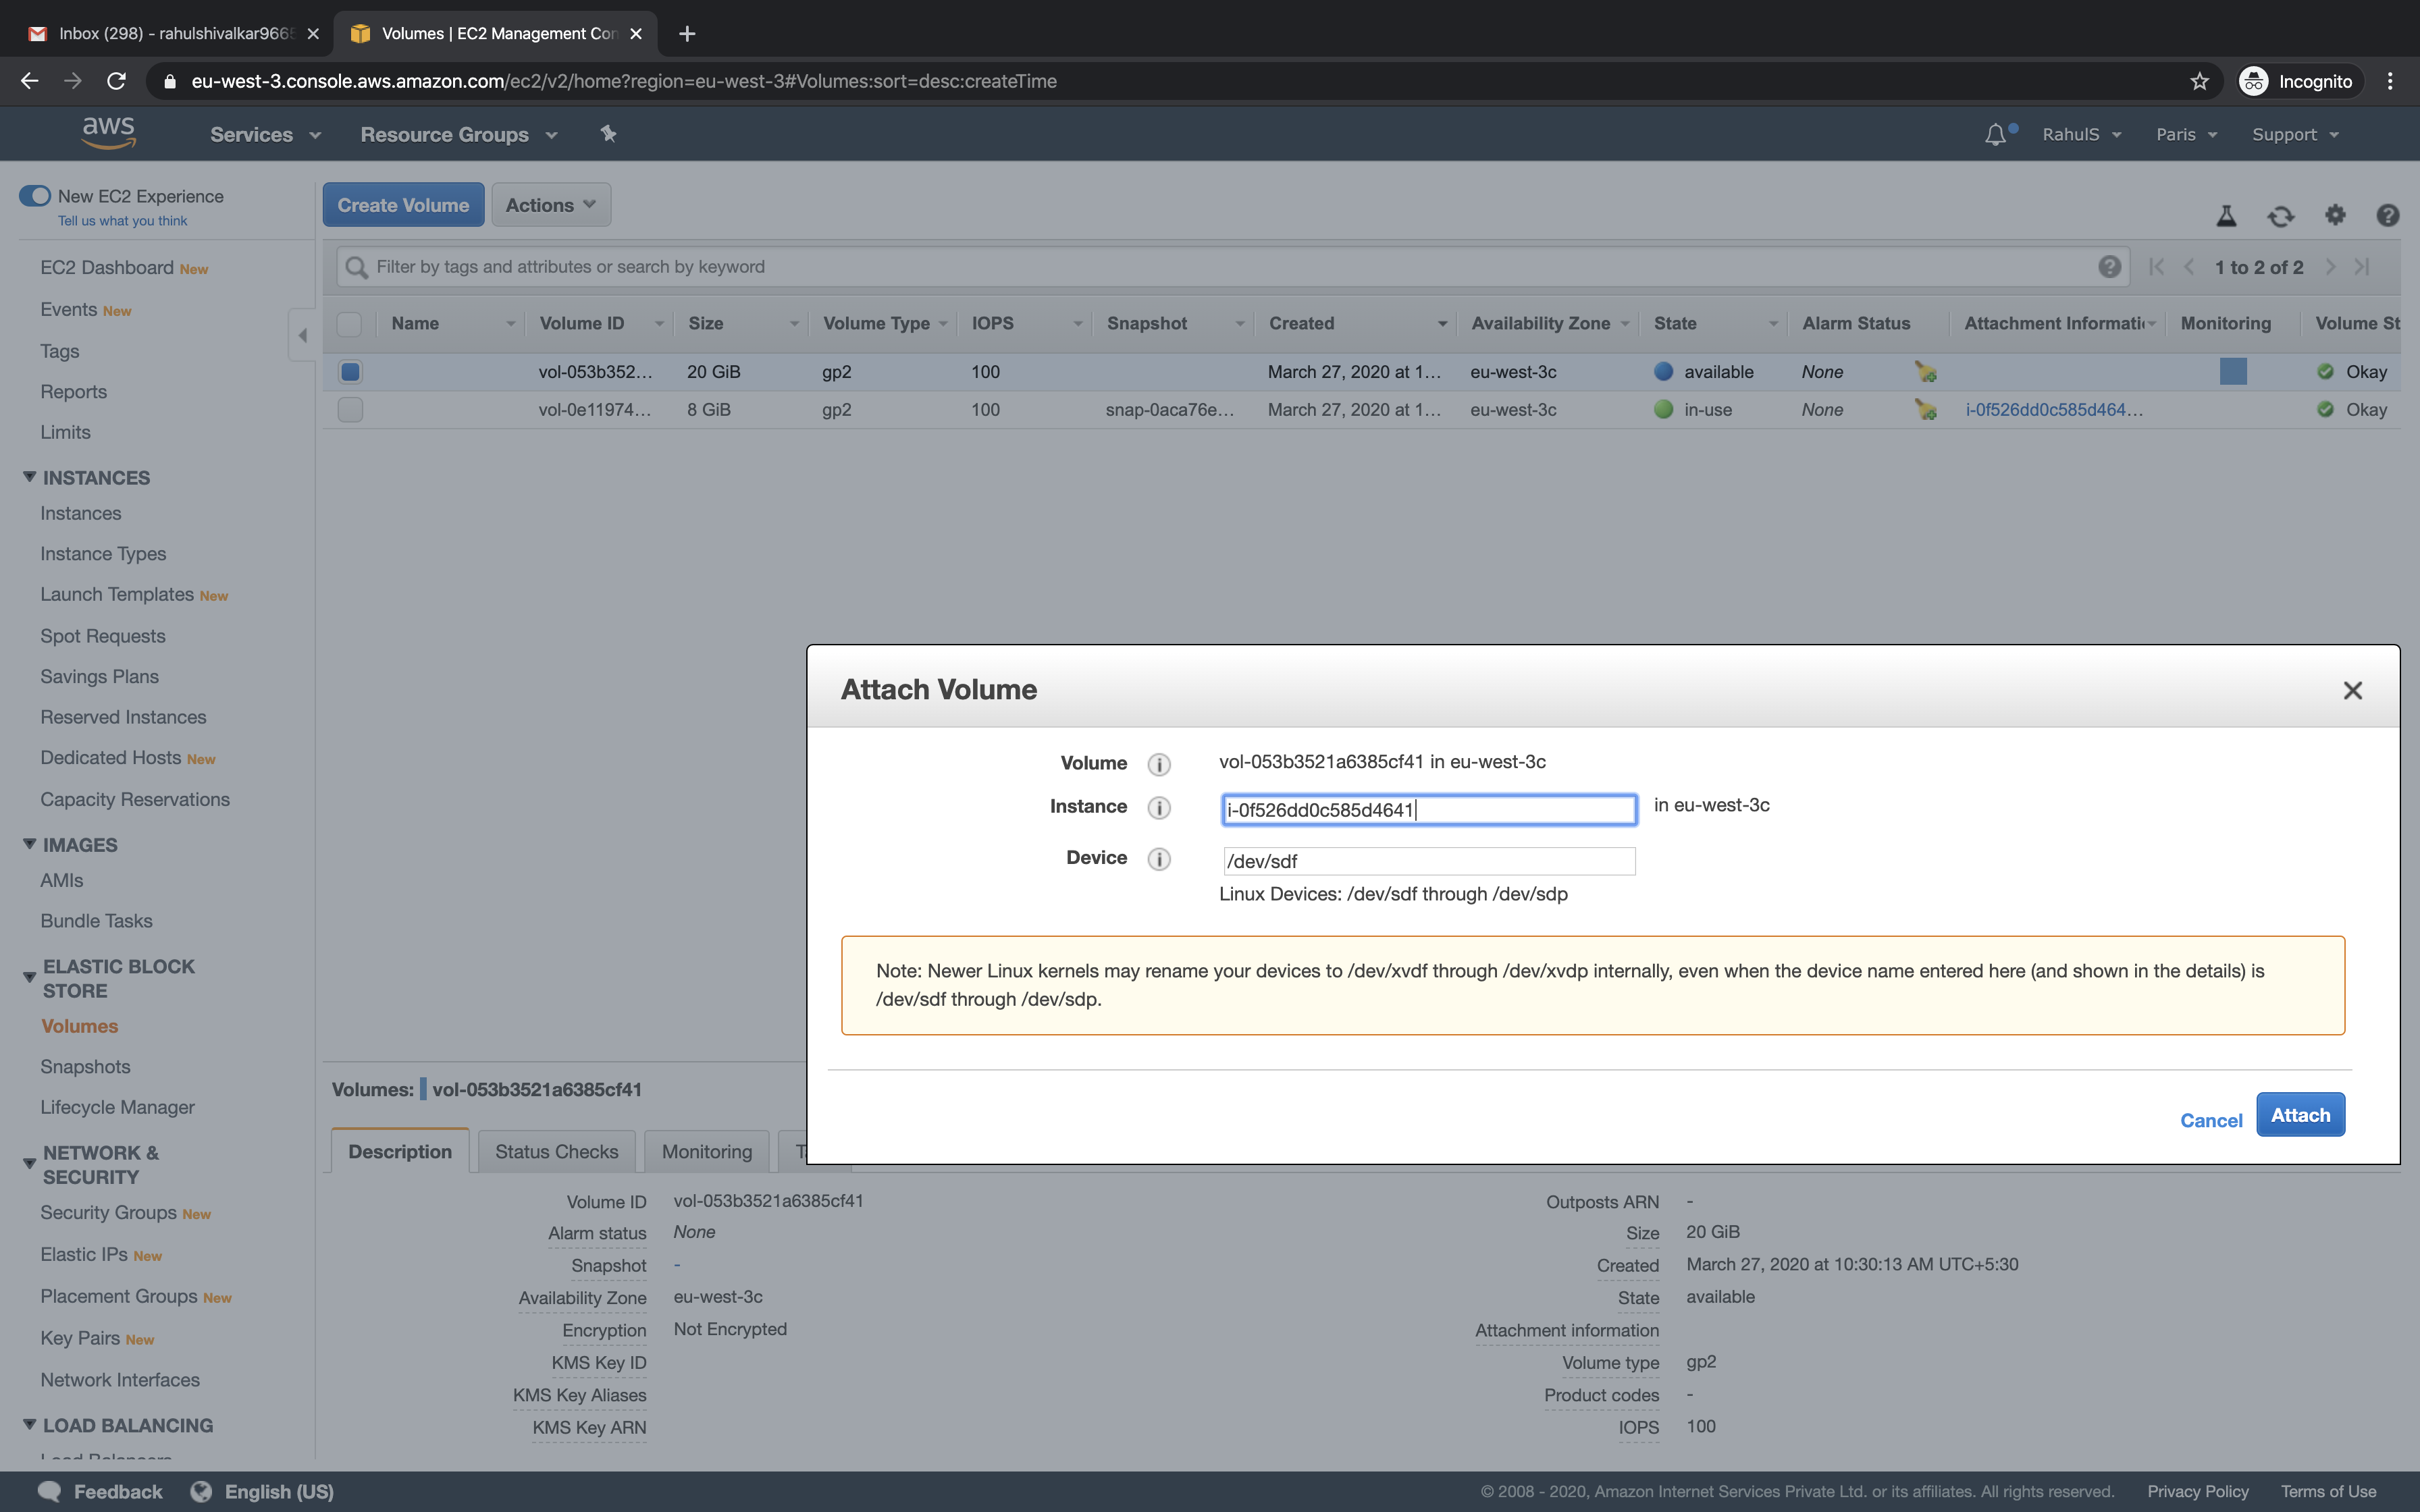
To attach this EBS volume to an EC2 instance, click on Actions –> Attach Volume.
In the following screen specify the Instance ID of the EC2 instance to which this EBS volume needs to be attached. Make sure that your instance is also in the same availability zone in which you have created the volume. Click on “Attach” to proceed.
Mount the attached volume on the Linux System
After attaching the volume to an EC2 instance, we need to format it with the file system of our valid choice.
To format and mount the volume on the Linux system, first connect to the system. Click here to see the steps to create and connect to the Linux EC2 instance.
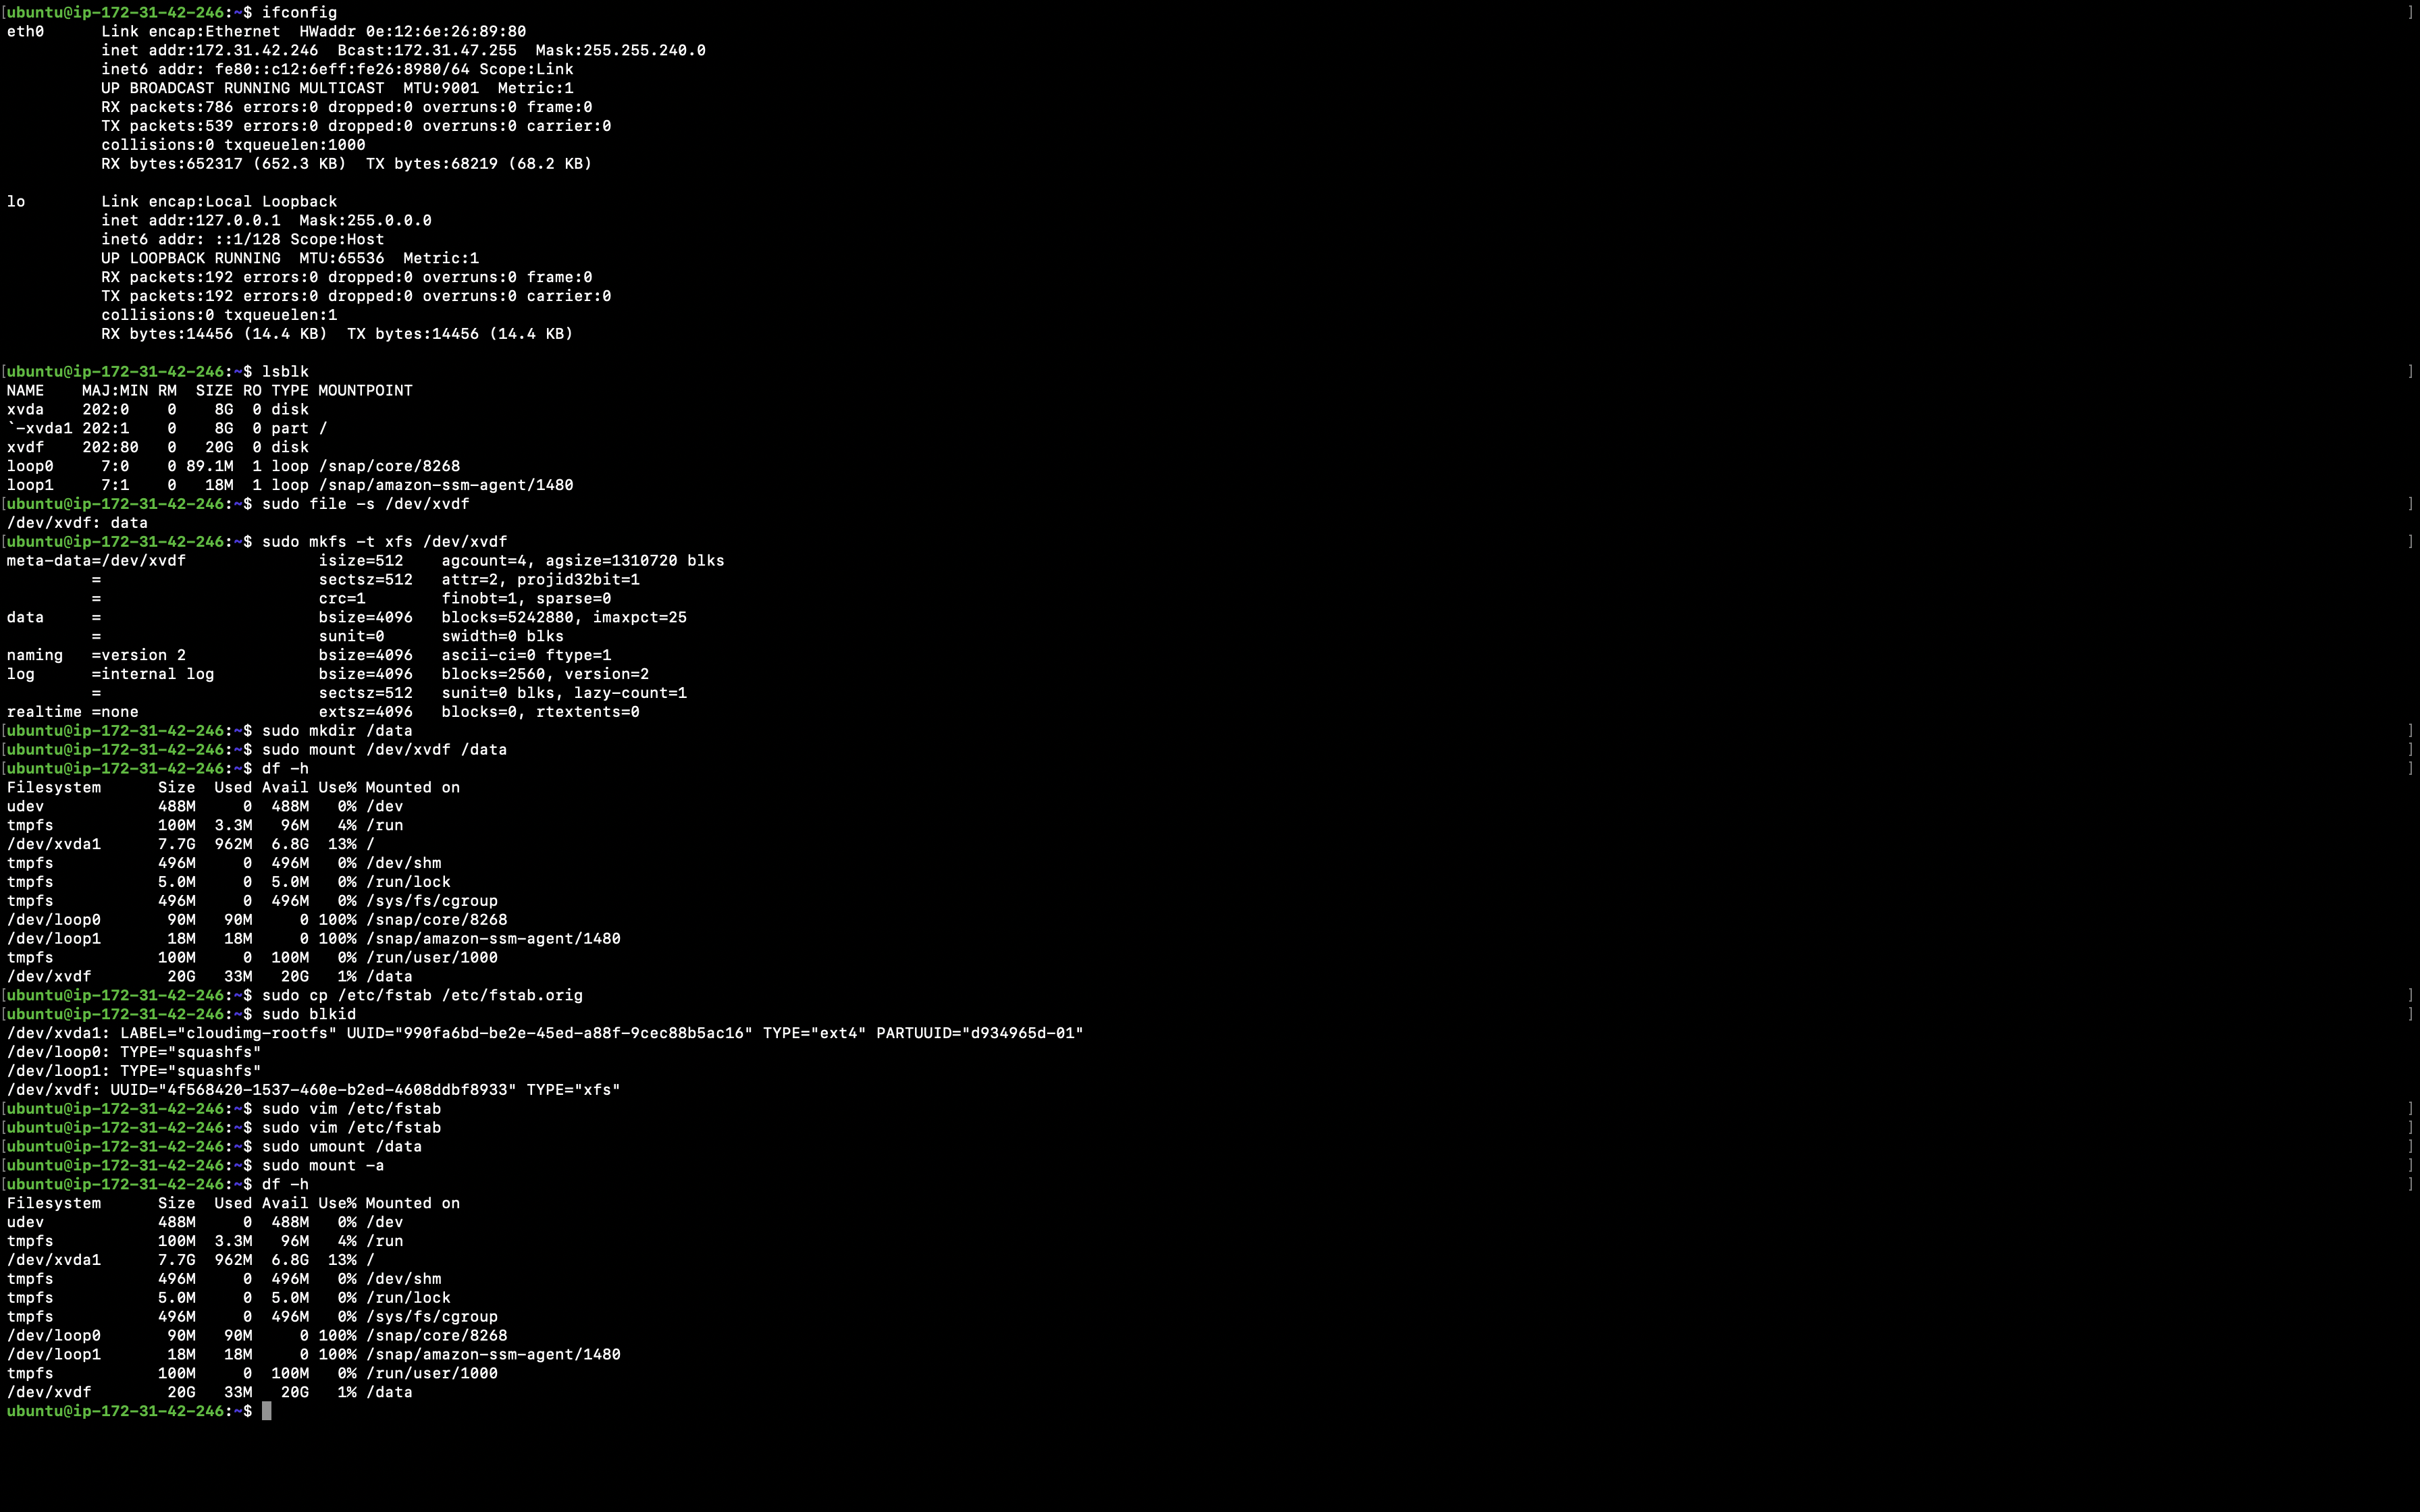
Once you are connected to the instance, use the lsblk command to view your available disk devices and their mount points.
lsblk
Use the file -s command to get information about the device, such as its file system type. If the output shows simply ‘data’, there is no file system on the device and we can create a mount else if the device has a file system, the command shows information about the file system type.
sudo file -s /dev/xvdf
If you have an empty volume, use the mkfs -t command to create a file system on the volume.
sudo mkfs -t xfs /dev/xvdf
Use the mkdir command to create a mount point directory for the volume.
sudo mkdir /data
Use the following command to mount the volume at the directory we created in the above step.
sudo mount /dev/xvdf /data
The mount point is not automatically preserved on system reboot. To automatically mount this EBS volume on system reboot, we need to make an entry of the device in /etc/fstab.
Before we make any changed in/etc/fstab, let’s create a backup of it first.
sudo cp /etc/fstab /etc/fstab.orig
Use the blkid command to find the UUID of the device. Keep this UUID with you, it will be needed in the next steps.
sudo blkid
Open the /etc/fstab file.
sudo vim /etc/fstab
Add the following entry to /etc/fstab to mount the device at the specified mount point.
UUID=CHANGE_THIS_WITH_UIID_OF_THE_DEVICE_WE_FORMATED /data xfs defaults,nofail 0 2
To verify that your entry works, run the following commands to unmount the device and then mount all file systems in /etc/fstab.
sudo umount /data
sudo mount -a
You can to refer the following screenshot to see all the above steps we performed.
Conclusion
In this article we saw the steps to create an EBS volume and attach it to one of our EC2 instances. We also saw the steps to format the volume and mount it on directory in the Linux system and preserve the mount on system reboot.


