Nmap is a very popular free and open-source network security tool and port scanner. It has been designed to perform security scans and discover hosts on a network by sending different packets to them and then analyzing their responses. In today’s tutorial, I will show you how to install and use Nmap on a Linux Mint 20 system.
Installing Nmap On Linux Mint 20
For installing Nmap on your Linux Mint 20 system, you have to go through the steps described below:
Step # 1: Update your Linux Mint 20 System
Before installing Nmap on your Linux Mint 20 system, you need to update it with the following command:
$ sudo apt-get update
![]()
The update process will take a few seconds to complete. You might also need to provide the password of your root user account before proceeding with the update.
Step # 2: Install Nmap on Linux Mint 20
Now, you can install Nmap on your Linux Mint 20 system by executing the following command:
$ sudo apt-get install nmap
![]()
In our case, we already had Nmap installed on our Linux Mint 20 system. That is why running the above command did not make any difference. However, if Nmap will not be installed on your system in advance, then executing this command will surely install it.

Step # 3: Verify the Installation of Nmap
You can verify the installation of Nmap on your Linux Mint 20 system by checking its version with the command shown below:
$ nmap --version
![]()
We have installed the latest version i.e. 7.80 of Nmap on our Linux Mint 20 system by performing the above-mentioned procedure as shown in the following image:

Step # 4: Check out the Man Pages of Nmap on your Linux Mint 20 System (Optional)
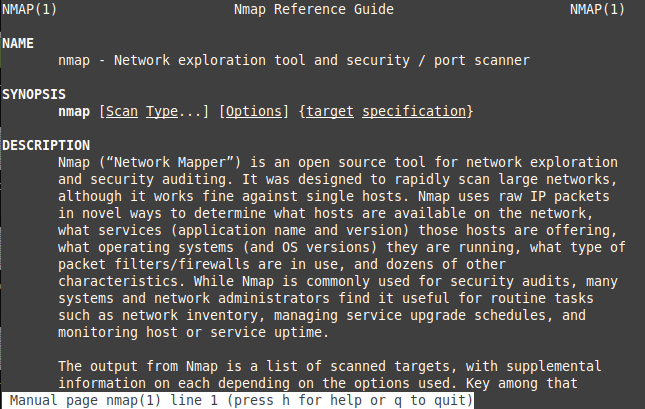
Optionally, before getting started with Nmap on Linux Mint 20, you can view its man pages with the command shown below:
$ man nmap
![]()
The man pages of Nmap are shown in the following image:

Step # 5: Check out the Help Pages of Nmap on your Linux Mint 20 System (Optional)
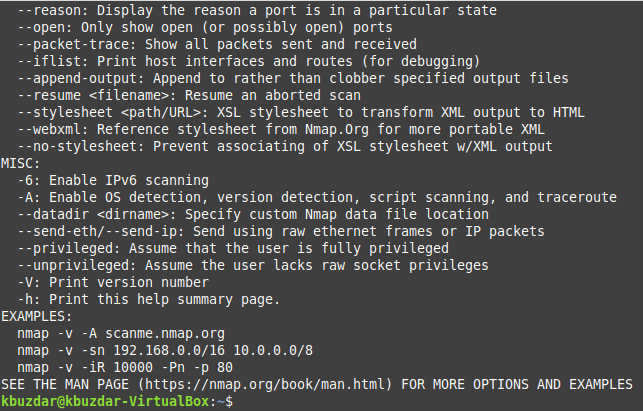
Additionally, you can even view the help pages of Nmap by executing the command shown below:
$ nmap --help
![]()
The help pages of Nmap are shown in the following image:

Using Nmap
Here some examples of how to use Nmap to scan a system remotely. Replace IP 192.168.0.100 in the examples below with the hostname or IP address of the system that you like to scan.
Check for open ports
sudo nmap -sS 192.198.0.100
Let Nmap guess the operating system of the target
sudo nmap -O --osscan-guess 192.168.0.100
Check which services are run on the target
sudo nmap -sV 192.168.0.100
Removing Nmap from Linux Mint 20
At any point in time, if you feel like removing Nmap from your Linux Mint 20 system, then you can run the two commands shown below one after the other:
$ sudo apt-get purge nmap
$ sudo apt-get autoremove
Conclusion
By going through the procedure described in this article, one can easily install Nmap on a Linux Mint 20 system. You can also free up your system’s space any time by uninstalling this tool from your system by the removal method shared with you in this article.


