
Apache and Nginx are free, open-source, and among the most popular web servers worldwide. They are often used to host PHP-based applications. Nginx is known for its lightweight structure and speed, while Apache is known for its performance. Both are designed to handle different workloads. Nginx is well equipped to handle static content, while Apache can handle dynamic content. We can use both web servers on a single system to benefit from both.
This article will show you how to install Nginx as a reverse proxy for Apache on Ubuntu 22.04.
Prerequisites
- A server running Ubuntu 22.04.
- A valid domain name pointed with your server IP.
- A root password is configured on the server.
Install Apache Webserver
The Apache webserver package is included in the Ubuntu 22.04 default repository by default. You can install it by running the following command:
apt-get install apache2 -y
Once the Apache package is installed, start the Apache service and enable it to start at system reboot:
systemctl start apache2
systemctl enable apache2
Change Apache Default Port
By default, the Apache web server listens on port 80. In this post, we will use Nginx as a reverse proxy for Apache. So you will need to change the Apache default port to 8080. You can change it by editing the following file:
nano /etc/apache2/ports.conf
Find the following line:
Listen 80
And, replaced it with the following line:
Listen 127.0.0.1:8080
Save and close the file when you are finished. Next, you will also need to edit the Apache default virtual host configuration file and change the default port.
You can edit it with the following command:
nano /etc/apache2/sites-available/000-default.conf
Find the following line:
And, replaced it with the following line:
Save and close the file then restart the Apache service to apply the changes.
systemctl restart apache2
You can now check the status of the Apache using the following command:
systemctl status apache2
You will get the following output:
? apache2.service - The Apache HTTP Server
     Loaded: loaded (/lib/systemd/system/apache2.service; enabled; vendor preset: enabled)
     Active: active (running) since Thu 2022-05-05 12:02:11 UTC; 7s ago
       Docs: https://httpd.apache.org/docs/2.4/
    Process: 25295 ExecStart=/usr/sbin/apachectl start (code=exited, status=0/SUCCESS)
   Main PID: 25299 (apache2)
      Tasks: 6 (limit: 4630)
     Memory: 20.5M
        CPU: 126ms
     CGroup: /system.slice/apache2.service
             ??25299 /usr/sbin/apache2 -k start
             ??25300 /usr/sbin/apache2 -k start
             ??25301 /usr/sbin/apache2 -k start
             ??25302 /usr/sbin/apache2 -k start
             ??25303 /usr/sbin/apache2 -k start
             ??25304 /usr/sbin/apache2 -k start

May 05 12:02:11 ubuntu2204 systemd[1]: Starting The Apache HTTP Server...
At this point, Apache is started and listens on port 8080. You can check it with the following command:
ss -antpl | grep apache2
You will get the following output:
LISTEN 0 511 127.0.0.1:8080 0.0.0.0:* users:(("apache2",pid=25304,fd=3),("apache2",pid=25303,fd=3),("apache2",pid=25302,fd=3),("apache2",pid=25301,fd=3),("apache2",pid=25300,fd=3),("apache2",pid=25299,fd=3))
Install Nginx Webserver
You can install the Nginx package by running the following command:
apt-get install nginx -y
Once Nginx package is installed, start the Nginx service and enable it to start at system reboot:
systemctl start nginx
systemctl enable nginx
Configure Nginx as a Reverse Proxy for Apache
Now, you will need to configure Nginx as a reverse proxy to forward all requests coming on port 80 to the Apache webserver port 8080.
To do so, create an Nginx virtual host configuration file:
nano /etc/nginx/conf.d/proxy.conf
Add the following lines:
server {
   listen 80;

   root /var/www/html/;
   index index.html index.htm;

   server_name proxy.example.com;

   location  {

   proxy_set_header X-Real-IP $remote_addr;
   proxy_set_header X-Forwarded-For $remote_addr;
   proxy_set_header Host $host;
   proxy_pass http://127.0.0.1:8080;
}

}
Save and close the file when you are finished. Then, verify the Nginx for any syntax error with the following command:
nginx -t
You will get the following output:
nginx: the configuration file /etc/nginx/nginx.conf syntax is ok
nginx: configuration file /etc/nginx/nginx.conf test is successful
Next, restart the Nginx service to apply the changes:
systemctl restart nginx
You can also check the Nginx status with the following command:
systemctl status nginx
You will get the following output:
? nginx.service - A high performance web server and a reverse proxy server
     Loaded: loaded (/lib/systemd/system/nginx.service; enabled; vendor preset: enabled)
     Active: active (running) since Thu 2022-05-05 12:03:09 UTC; 5s ago
       Docs: man:nginx(8)
    Process: 25313 ExecStartPre=/usr/sbin/nginx -t -q -g daemon on; master_process on; (code=exited, status=0/SUCCESS)
    Process: 25314 ExecStart=/usr/sbin/nginx -g daemon on; master_process on; (code=exited, status=0/SUCCESS)
   Main PID: 25315 (nginx)
      Tasks: 3 (limit: 4630)
     Memory: 3.3M
        CPU: 49ms
     CGroup: /system.slice/nginx.service
             ??25315 "nginx: master process /usr/sbin/nginx -g daemon on; master_process on;"
             ??25316 "nginx: worker process" "" "" "" "" "" "" "" "" "" "" "" "" "" "" "" "" "" "" "" "" "" "" "" "" "" "" ""
             ??25317 "nginx: worker process" "" "" "" "" "" "" "" "" "" "" "" "" "" "" "" "" "" "" "" "" "" "" "" "" "" "" ""

May 05 12:03:09 ubuntu2204 systemd[1]: Starting A high performance web server and a reverse proxy server...
May 05 12:03:09 ubuntu2204 systemd[1]: Started A high performance web server and a reverse proxy server.
Verify Reverse Proxy
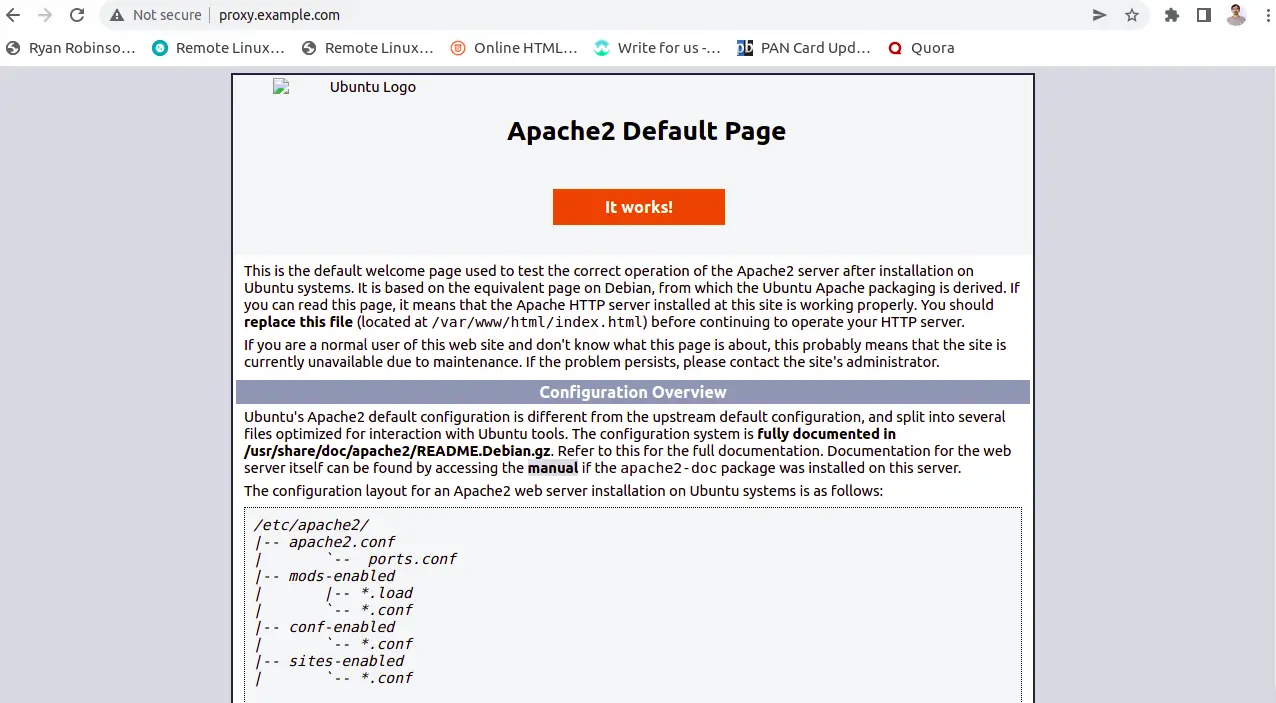
At this point, the Nginx is installed and configured as a reverse proxy for the Apache webserver. You can now test it using the URL http://proxy.example.com. If everything is fine, you will get the Apache test page on the following screen:
Conclusion
This guide explained how to install and configure Nginx as a reverse proxy for the Apache webserver. You can now use this setup to host any application on the internet. Feel free to ask me if you have any questions.


