ERPNext is a free and open source ERP system written in Python and JavaScript using a Frappe framework. It is designed for small and medium-sized businesses and offers all the features of an ERP system. It helps you manage business processes such as finance, sales, human resources, production, purchasing, services, helpdesk and more. It offers a simple and user-friendly web interface and a set of tools to help you run your business and collaborate with your customers and employees.
In this post, we’ll explain how to install ERPNext on Debian 11.
Requirements
- A server running Debian 11.
- A valid domain name pointing to the IP of your server.
- A root password is set up on your server.
First steps
First you need to update your system packages to the latest version. You can update all packages by running the following command:
apt-get update -y
Once all packages are updated, run the following command to install Python and other required dependencies:
apt-get install libffi-dev git curl python3-pip python3-dev python3-testresources libssl-dev wkhtmltopdf gcc g make sudo -y
Next, you also need to install Node.js and Redis on your system. First, add the Node source code repository with the following command:
curl -sL https://deb.nodesource.com/setup_14.x | bash -
Next, install Node.js, Yarn, and Redis on your server. You can install them with the following command:
apt-get install nodejs redis-server -y
Once the installation is complete, check the Node.js installation with the following command:
node --version
You will get the following output:
v16.13.1
Next, install Yarn with the following command:
npm install -g yarn
Once you are done with that, you can proceed to the next step.
Install MariaDB Server
ERPNext uses MariaDB as its database backend. Therefore you need to install it on your server. Run the following command to install it on your system.
apt-get install mariadb-server mariadb-client -y
Once the MariaDB server is installed, secure the MariaDB installation with the following command:
mysql_secure_installation
Answer all the questions as shown below to set the MariaDB root password and secure the installation:
Enter current password for root (enter for none):
Set root password? [Y/n] Y
New password:
Re-enter new password:
Remove anonymous users? [Y/n] Y
Disallow root login remotely? [Y/n] Y
Remove test database and access to it? [Y/n] Y
Reload privilege tables now? [Y/n] Y
Next, edit the MariaDB configuration file and make some changes:
nano /etc/mysql/mariadb.conf.d/50-server.cnf
Add or change the following lines in the [mysqld] section.
innodb-file-format=barracuda
innodb-file-per-table=1
innodb-large-prefix=1
character-set-client-handshake = FALSE
character-set-server = utf8mb4
collation-server = utf8mb4_unipre_ci
Then add the following lines to the end of the file:
[mysql]
default-character-set = utf8mb4
Save and close the file and restart the MariaDB service to apply the changes:
systemctl start mariadb
Install and configure ERPNext
First, create a custom user for ERPNext using the following command:
useradd -m -s /bin/bash erpnext
Next, set the password and add the ERPNext user to the sudo group with the following command:
passwd erpnext
usermod -aG sudo erpnext
Next, log in as the ERPNext user and edit the .bashrc file:
su - erpnext
nano ~/.bashrc
Add the path variable needed to install ERPNext:
PATH=$PATH:~/.local/bin/
Save and close the file and activate the path with the following command:
source ~/.bashrc
Next, create a directory named bench inside the /opt directory and set the owner to ERPNext:
sudo mkdir /opt/bench
sudo chown -R erpnext:erpnext /opt/bench
Then navigate to the bench directory and download the bench repository with the following command:
cd /opt/bench
git clone https://github.com/frappe/bench bench-repo
Next, install the required Python dependencies for the bench repository:
pip3 install -e bench-repo
You will get the following output:
Collecting filelock=3.2
  Downloading filelock-3.4.2-py3-none-any.whl (9.9 kB)
Building wheels for collected packages: python-crontab
  Building wheel for python-crontab (setup.py) ... done
  Created wheel for python-crontab: filename=python_crontab-2.4.2-py3-none-any.whl size=25449 sha256=a1d91e0bcf8cb1bd5d84fa7abda34918bd2b18622a1b80607aa683b1f74a70a9
  Stored in directory: /home/erpnext/.cache/pip/wheels/af/c2/33/9d15ed718238b026dda40448d9b3a840f3df5446c3a655150d
Successfully built python-crontab
Installing collected packages: smmap, smmap2, python-dateutil, platformdirs, MarkupSafe, gitdb2, filelock, distlib, virtualenv, semantic-version, python-crontab, Jinja2, honcho, GitPython, Click, frappe-bench
  Running setup.py develop for frappe-bench
Successfully installed Click-8.0.3 GitPython-2.1.15 Jinja2-2.11.3 MarkupSafe-2.0.1 distlib-0.3.4 filelock-3.4.2 frappe-bench gitdb2-2.0.6 honcho-1.1.0 platformdirs-2.4.1 python-crontab-2.4.2 python-dateutil-2.8.2 semantic-version-2.8.5 smmap-5.0.0 smmap2-3.0.1 virtualenv-20.13.0
Next, initialize ERPNext with the following command:
bench init erpnext
Then navigate to the ERPNext directory and create a new ERPNext site:
cd erpnext
bench new-site erpnext.exampledomain.com
You will be prompted for your MariaDB root password and define your administrator password:
MySQL root password:

Installing frappe...
Updating DocTypes for frappe        : [========================================] 100%
Updating country info               : [========================================] 100%
Set Administrator password:
Re-enter Administrator password:
*** Scheduler is disabled ***
Current Site set to erpnext.exampledomain.com
Next, install the ERPNext module using the following command:
bench get-app erpnext https://github.com/frappe/erpnext.git
bench --site erpnext.exampledomain.com install-app erpnext
Finally, start the Bench service by running the following command:
bench start
If everything is ok, you will get the following output:
10:05:09 web.1            |  * Running on http://0.0.0.0:8000/ (Press CTRL C to quit)
10:05:09 web.1            |  * Restarting with stat
10:05:09 watch.1          | yarn run v1.22.17
10:05:09 watch.1          | $ node esbuild --watch --live-reload
10:05:10 web.1            |  * Debugger is active!
10:05:10 web.1            |  * Debugger PIN: 229-428-021
10:05:10 watch.1          | clean: postcss.plugin was deprecated. Migration guide:
10:05:10 watch.1          | https://evilmartians.com/chronicles/postcss-8-plugin-migration
Press CTRL C to exit the Bench process and proceed to the next step.
Configuring Nginx and Supervisor for ERPNext
It is recommended to configure ERPNext to run as a daemon and listen on port 80. To do this, you need to configure Nginx and Supervisor for ERPNext.
First, log in as an ERPNext user and then install Nginx and Supervisor using the following command:
su - erpnext
cd /opt/bench/erpnext
sudo apt-get -y install supervisor nginx
Next, install the Frappe Bench add-on using the following command:
sudo pip3 install frappe-bench
Next, run the following command to configure ERPNext with Nginx and Supervisor:
sudo /home/erpnext/.local/bin/bench setup production erpnext
You’ll get the following output:
PLAY RECAP ***********************************************************************************************************************************
localhost                  : ok=8    changed=4    unreachable=0    failed=0    skipped=1    rescued=0    ignored=0

Setting Up supervisor...
/etc/supervisor/supervisord.conf will be updated with the following values:

Updated supervisord.conf: 'chmod' changed from '0700                       ; sockef file mode (default 0700)' to '0760'
Updated supervisord.conf: 'chown' changed from '' to 'erpnext:erpnext'
Do you want to continue? [y/N]: y
$ sudo systemctl reload supervisor
Setting Up NGINX...
Port configuration list:

Site erpnext.exampledomain.com assigned port: 80
Setting Up symlinks and reloading services...
$ sudo /usr/sbin/nginx -t
nginx: the configuration file /etc/nginx/nginx.conf syntax is ok
nginx: configuration file /etc/nginx/nginx.conf test is successful
$ sudo systemctl reload nginx
Finally, restart the Supervisor service with the following command:
sudo systemctl restart supervisor
You can also check the status of the Nginx service with the following command:
sudo systemctl status nginx
You will get the following output:
? nginx.service - A high performance web server and a reverse proxy server
     Loaded: loaded (/lib/systemd/system/nginx.service; enabled; vendor preset: enabled)
     Active: active (running) since Fri 2022-01-07 10:05:36 UTC; 3min 6s ago
       Docs: man:nginx(8)
    Process: 21431 ExecReload=/usr/sbin/nginx -g daemon on; master_process on; -s reload (code=exited, status=0/SUCCESS)
   Main PID: 20151 (nginx)
      Tasks: 3 (limit: 4679)
     Memory: 7.1M
        CPU: 82ms
     CGroup: /system.slice/nginx.service
             ??20151 nginx: master process /usr/sbin/nginx -g daemon on; master_process on;
             ??21432 nginx: worker process
             ??21433 nginx: worker process

Jan 07 10:05:36 debian11 systemd[1]: Starting A high performance web server and a reverse proxy server...
Jan 07 10:05:36 debian11 systemd[1]: Started A high performance web server and a reverse proxy server.
Jan 07 10:08:20 debian11 systemd[1]: Reloading A high performance web server and a reverse proxy server.
Jan 07 10:08:21 debian11 systemd[1]: Reloaded A high performance web server and a reverse proxy server.
Access ERPNext Web UI
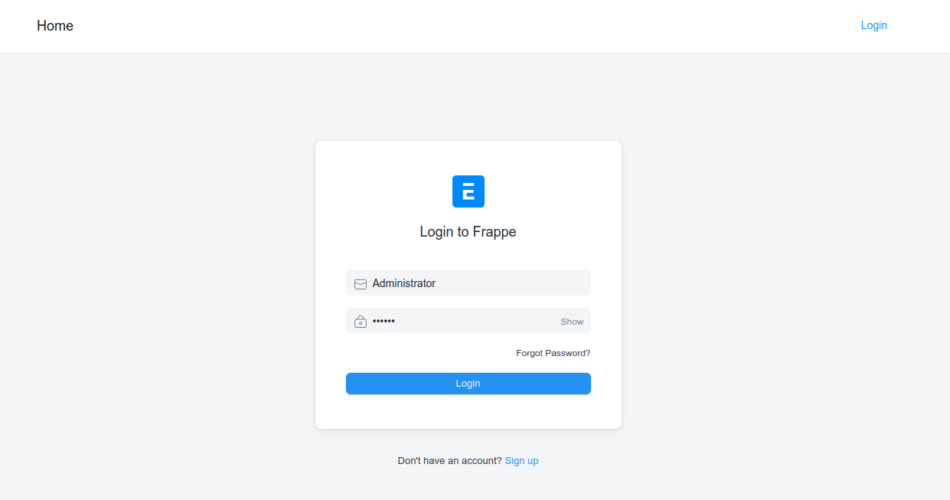
Now open your web browser and access the ERPNext Web UI using the URL http://erpnext.exampledomain.com/login#login. You will be redirected to the ERPNext login page:
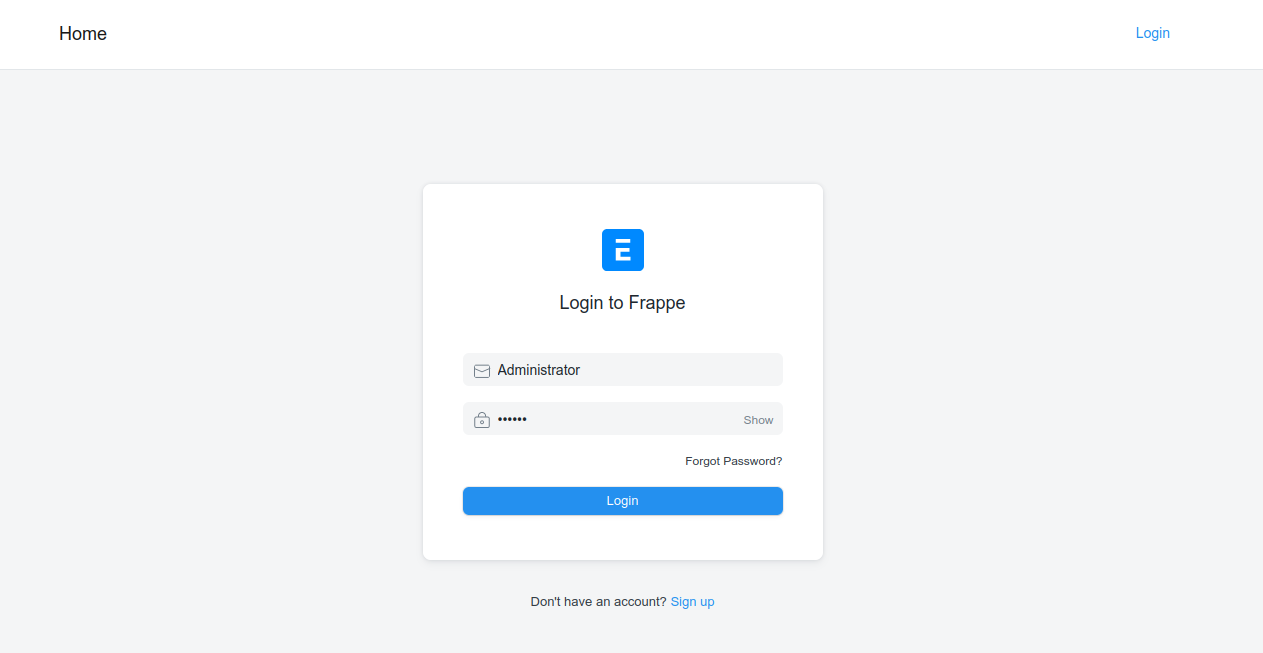
Enter the Administrator username and password you set during installation, then click the Log In button. You should see the following page:
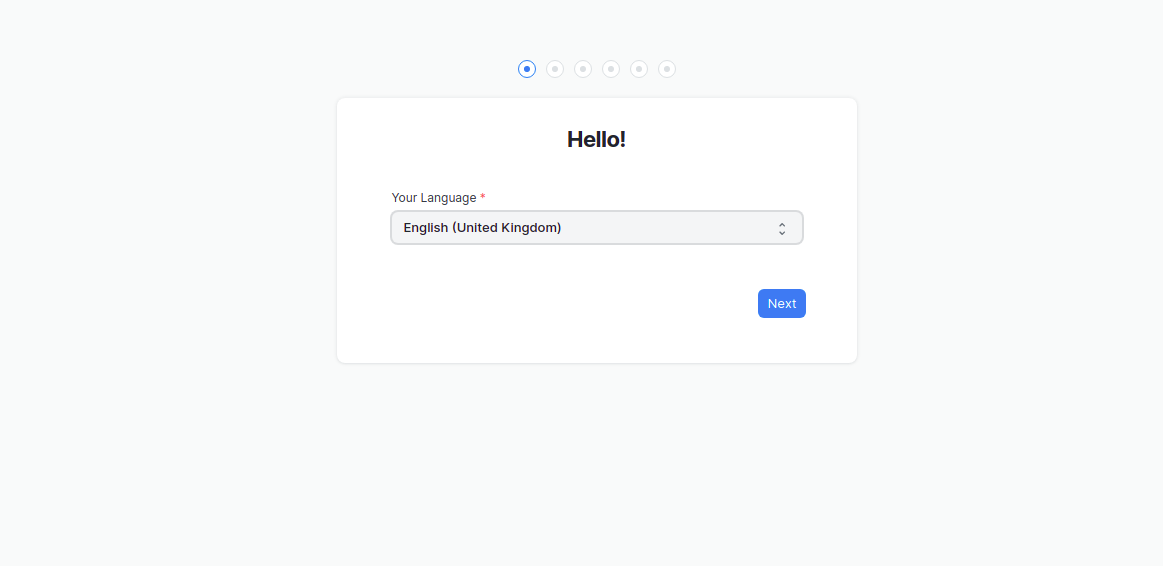
Select your language and click the Next button. You should see the following page:
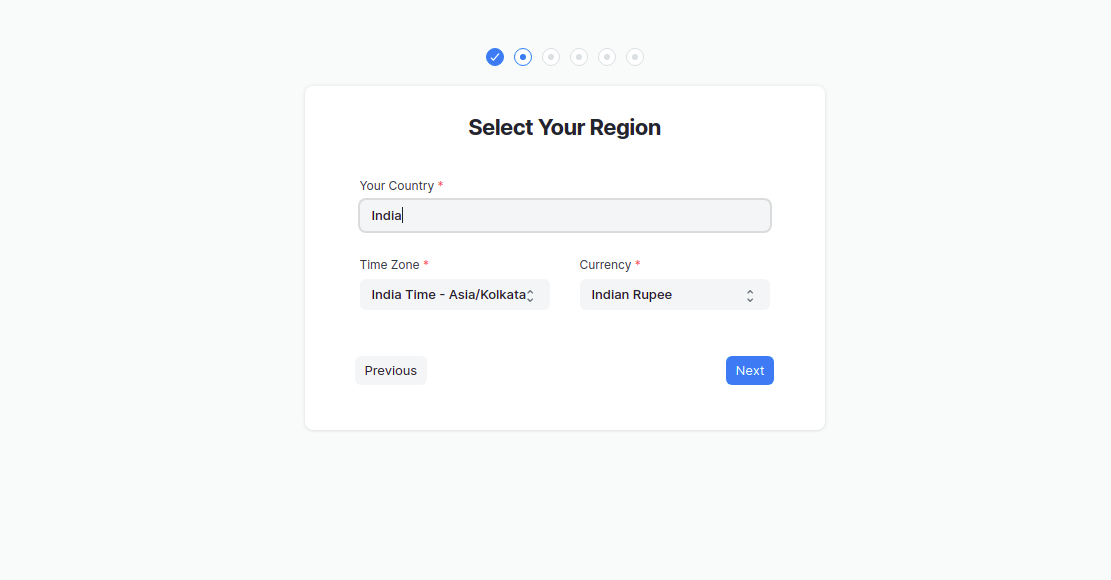
Select your region and click the Next button. You should see the following page:
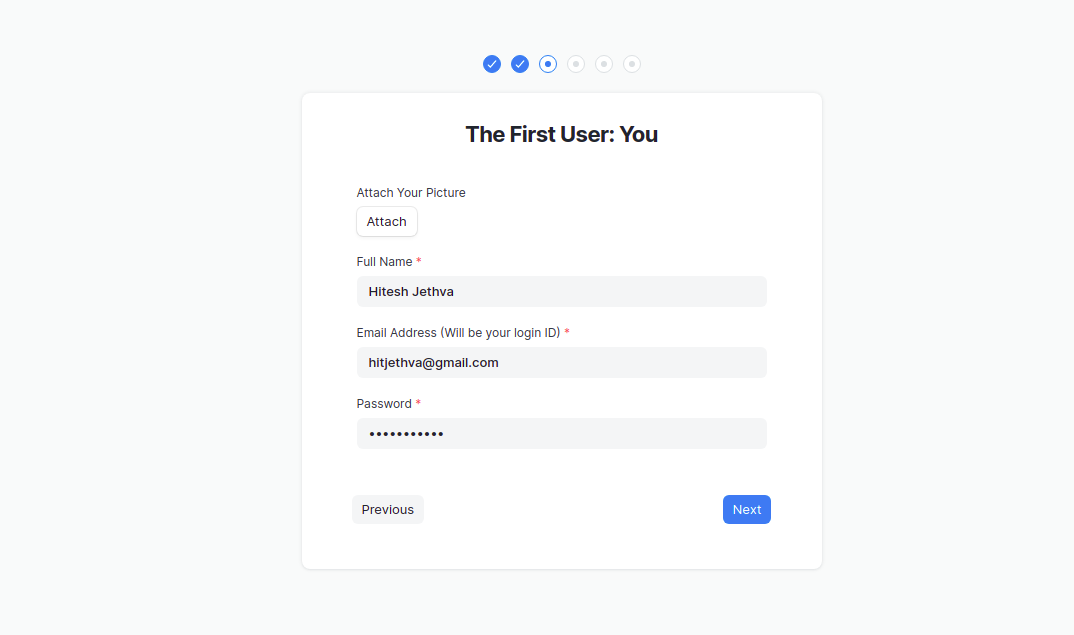
Enter your name, email address and password and click the Next button. You should see the following page:
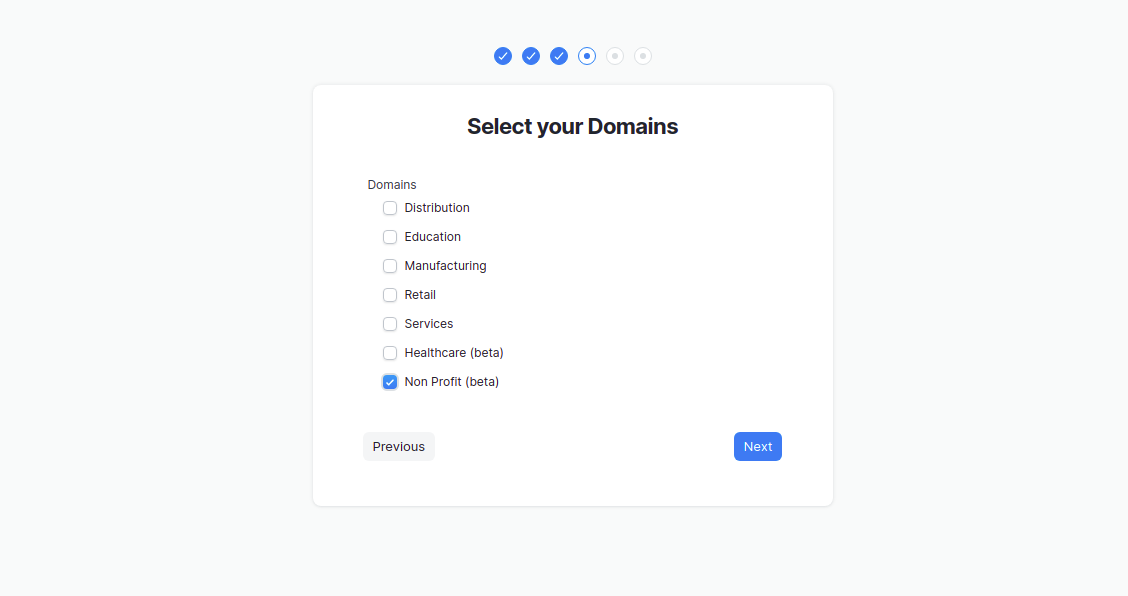
Select your domain and click the Next button. You should see the following page:

Enter the name of your company and click the ” Next” button. You should see the following page:

Enter your company information and click the Next button. You should see the following page:
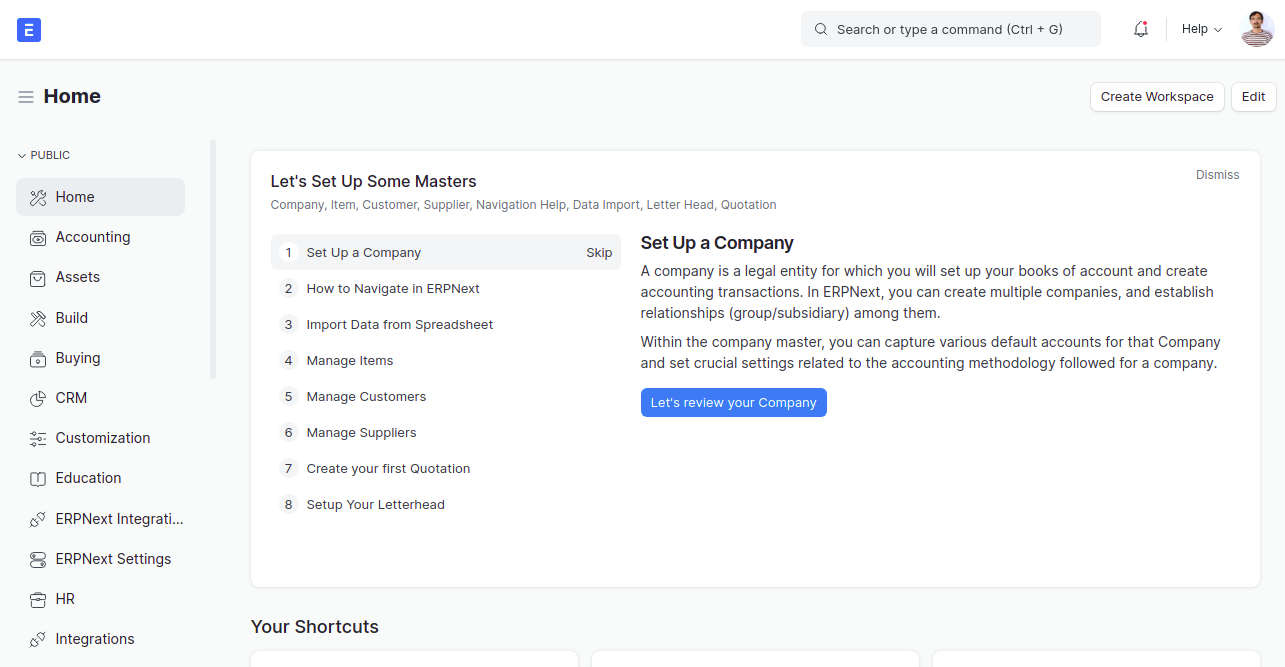
Click the Skip button. On the following page you should see the ERPNext dashboard:
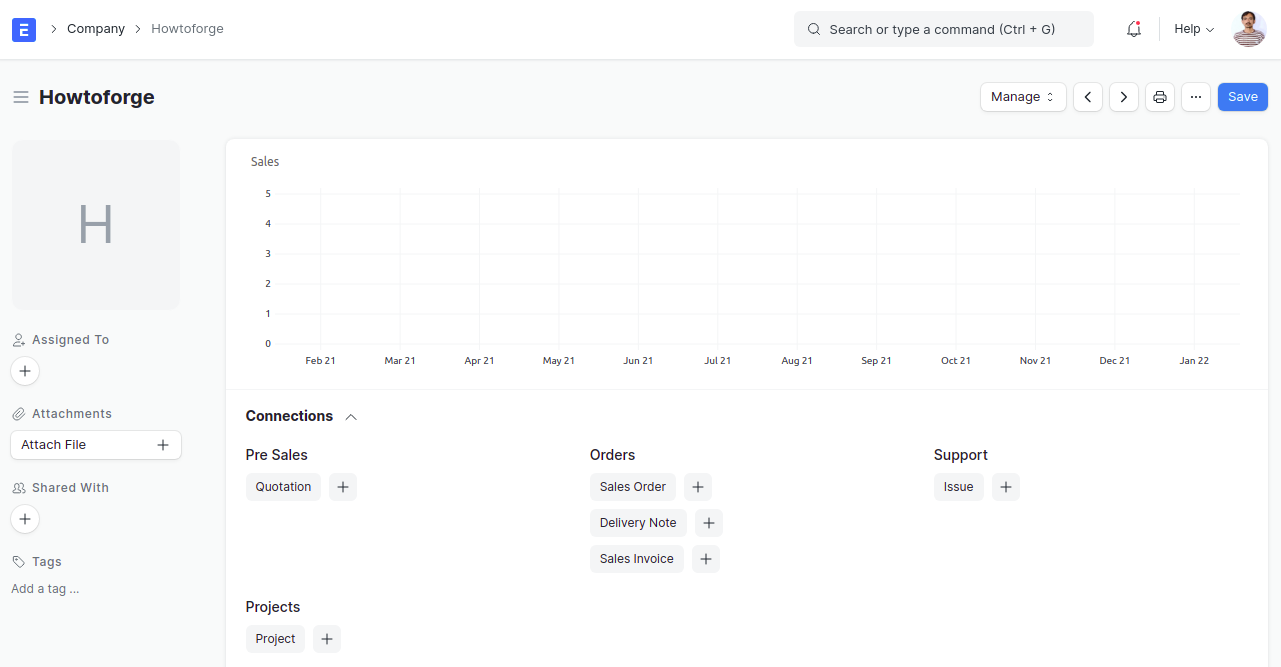
Conclusion
Congratulations! You have successfully installed ERPNext with Nginx on Debian 11. You can now host ERPNext in your organization and start managing business processes.
