
Jellyfin is a free, open-source media server software, enabling users to host and manage personal media libraries, stream content across devices, and provide access to others. It’s an alternative to proprietary media servers, offering extensive customization and privacy control. It is an alternative to proprietary media file servers like Emby and Plex.
In this guide, we’ll show you how to install the Jellyfin media server on Ubuntu 22.04. You will install Jellyfin with Apache as a reverse proxy and secure Jellyfin with SSL/TLS certificates from Letsencrypt.
Prerequisites
Before you begin, ensure you have the following:
- An Ubuntu 22.04 server.
- A non-root user with sudo privileges.
- A domain name pointed to a server IP address.
Adding Jellyfin Repository
To get started, run the command below to install dependencies such as software-properties-common, apt-transport-https, ca-certificates, gnupg, and curl to your Ubuntu system.
sudo apt install software-properties-common apt-transport-https ca-certificates gnupg curl -y
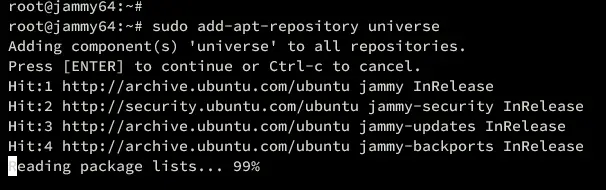
Then, run the following command to enable the ‘universe’ repository on your Ubuntu machine.
sudo add-apt-repository universe
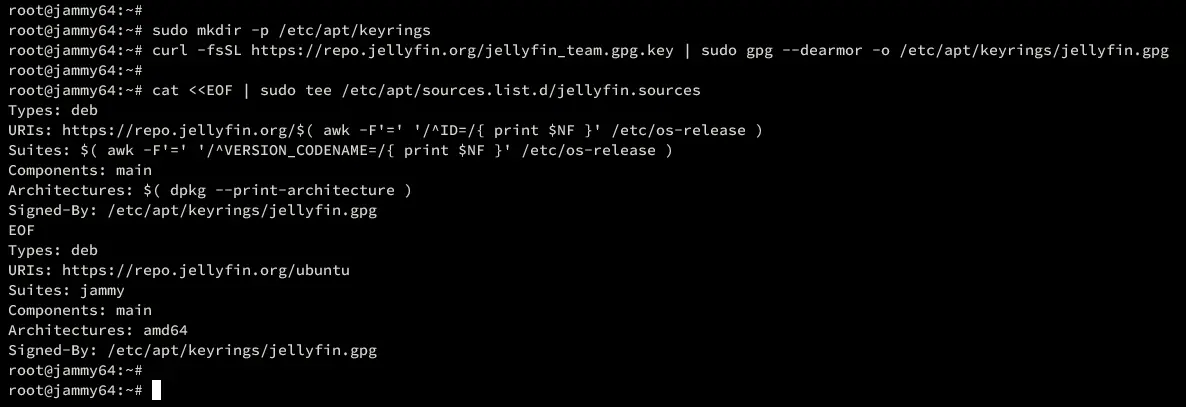
Now run the command below to create a new directory /etc/apt/keyrings and download the GPG key for the Jellyfin repository into it.
sudo mkdir -p /etc/apt/keyrings
curl -fsSL https://repo.jellyfin.org/jellyfin_team.gpg.key | sudo gpg --dearmor -o /etc/apt/keyrings/jellyfin.gpg
Next, run the following command to add the Jellyfin repository to your Ubuntu machine.
cat <<EOF | sudo tee /etc/apt/sources.list.d/jellyfin.sources
Types: deb
URIs: https://repo.jellyfin.org/$( awk -F'=' '/^ID=/{ print $NF }' /etc/os-release )
Suites: $( awk -F'=' '/^VERSION_CODENAME=/{ print $NF }' /etc/os-release )
Components: main
Architectures: $( dpkg --print-architecture )
Signed-By: /etc/apt/keyrings/jellyfin.gpg
EOF
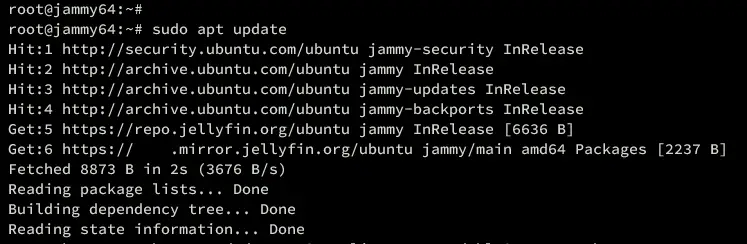
Lastly, update and refresh the package index on your Ubuntu system using the following command. This will retrieve new package information, including from the Jellyfin repository.
sudo apt update
Installing Jellyfin Server
After adding the Jellyfin repository, you can now start Jellyfin installation on your Ubuntu server.
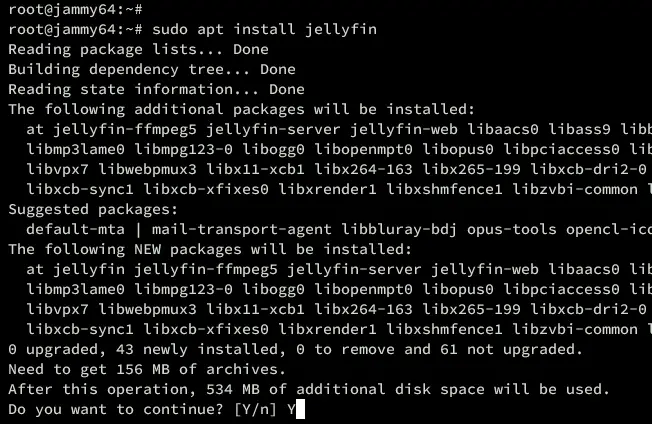
Execute the following apt command to install the jellyfin package. When prompted, input Y to confirm and proceed.
sudo apt install jellyfin
Once the installation is finished, run the command below to verify the jellyfin service and ensure that the service is running and enabled.
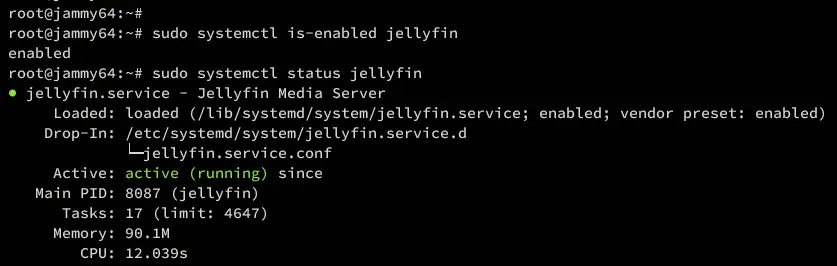
sudo systemctl is-enabled jellyfin
sudo systemctl status jellyfin
In the following output, you can see that Jellyfin is running and enabled.
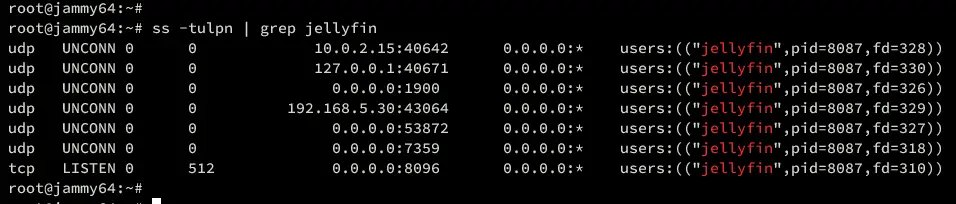
You can also verify ports for Jelly using the ss command below.
ss -tulpn | grep jellyfin
You can see different ports 8096/tcp for HTTP traffic, 8920/tcp for HTTPS traffic, 1900/udp, and 7359/udp for service auto-discovery.
Generating SSL/TLS Certificates
In this guide, you secure Jeallyfin installation with SSL/TLS certificates and Apache reverse proxy. And now, you will be generating SSl/TLS certificates via Certbot and letsencrypt.
PS: You can also use a Self-Signed certificate if you’re in the local environment. But for external deployment, ensure your domain name is prepared and pointed to your Ubuntu IP address.
Run the following command to install Certbot to your Ubuntu system. Input Y and press ENTER to proceed.
sudo apt install certbot
Now run the command below to create a new directory /var/www/html.
mkdir -p /var/www/html
Lastly, run the certbot command below to generate SSL/TLS certificates for your Jellyfin domain name. Be sure to change the email address and domain name with your details.
sudo certbot certonly --agree-tos --email [email protected] --no-eff-email --webroot -w /var/www/html -d media.hwdomain.io
After all process is finished, your SSL/TLS certificates will be available in the /etc/letsencrypt/live/domain.com directory.
Configuring Apache as a Reverse Proxy
In this section, you will install and configure the Apache web server as a reverse proxy for the Jellyfin. Let’s get started.
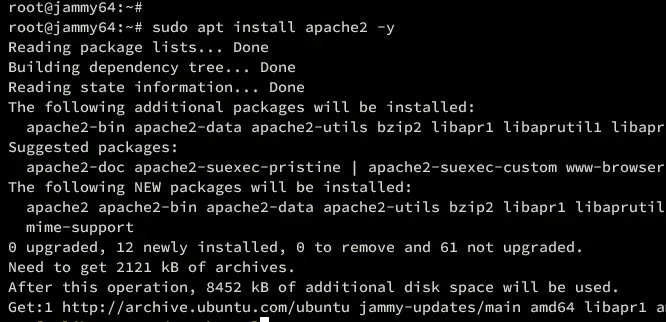
First, run the following command to install the Apache webserver to your system.
sudo apt install apache2 -y
Once the installation is finished, run the a2enmod command below to enable the required Apache modules on your installation.
sudo a2enmod proxy proxy_http ssl proxy_wstunnel remoteip http2 headers
Now run the following nano editor command to create a new Apache virtual host file /etc/apache2/sites-available/jellyfin.conf.
sudo nano /etc/apache2/sites-available/jellyfin.conf
Insert the following configuration to set up a reverse proxy for Jeallyfin. And be sure to change the domain name and path of SSL certificates with your details.
ServerName media.hwdomain.io# Comment to prevent HTTP to HTTPS redirect
Redirect permanent / https://media.hwdomain.io/ErrorLog /var/log/apache2/media.hwdomain.io-error.log
CustomLog /var/log/apache2/media.hwdomain.io-access.log combined# If you are not using an SSL certificate, replace the 'redirect'
# line above with all lines below starting with 'Proxy'
ServerName media.hwdomain.io
# This folder exists just for certbot(You may have to create it, chown and chmod it to give apache permission to read it)
DocumentRoot /var/www/html/jellyfin/public_htmlProxyPreserveHost On
# Letsencrypt's certbot will place a file in this folder when updating/verifying certs
# This line will tell Apache to not to use the proxy for this folder.
ProxyPass "https://www.howtoforge.com/.well-known/" "!"# Tell Jellyfin to forward that requests came from TLS connections
RequestHeader set X-Forwarded-Proto "https"
RequestHeader set X-Forwarded-Port "443"ProxyPass "https://www.howtoforge.com/socket" "ws://192.168.5.30:8096/socket"
ProxyPassReverse "https://www.howtoforge.com/socket" "ws://192.168.5.30:8096/socket"ProxyPass "https://www.howtoforge.com/" "http://192.168.5.30:8096/"
ProxyPassReverse "https://www.howtoforge.com/" "http://192.168.5.30:8096/"SSLEngine on
SSLCertificateFile /etc/letsencrypt/live/media.hwdomain.io/fullchain.pem
SSLCertificateKeyFile /etc/letsencrypt/live/media.hwdomain.io/privkey.pem
Protocols h2 http/1.1# Enable only strong encryption ciphers and prefer versions with Forward Secrecy
SSLCipherSuite HIGH:RC4-SHA:AES128-SHA:!aNULL:!MD5
SSLHonorCipherOrder on# Disable insecure SSL and TLS versions
SSLProtocol all -SSLv2 -SSLv3 -TLSv1 -TLSv1.1ErrorLog /var/log/apache2/media.hwdomain.io-error.log
CustomLog /var/log/apache2/media.hwdomain.io-access.log combined
Save and close the file when you’re done.
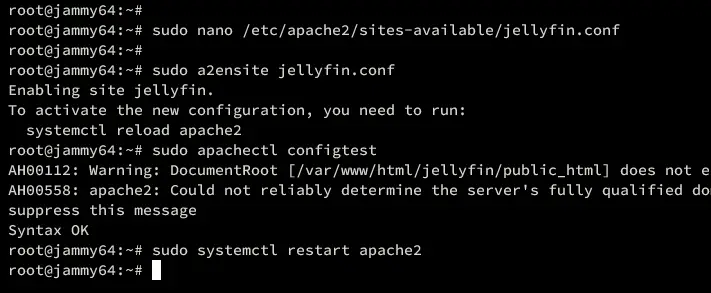
Next, run the command below to enable the virtual host file jellyfin.conf. Then, verify your Apache configuration to ensure that you’ve proper syntax.
sudo a2ensite jellyfin.conf
sudo apachectl configtest
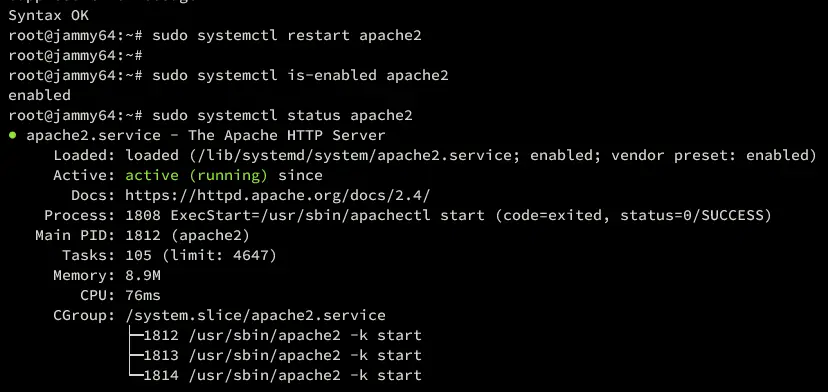
If everything goes well, you should see an output such as ‘Syntax OK‘.
Now run the systemctl command to restart the Apache service and apply your changes.
sudo systemctl restart apache2
Once restarted, verify the Apache service to ensure that the service is running and enabled.
sudo systemctl is-enabled apache2
sudo systemctl status apache2
If everything goes well, you should see that Apache is enabled and running on your Ubuntu machine.
Configuring UFW
With the Jellyfin installed, let’s configure UFW to secure your installation.
First, run the command below to open ports for SSH, HTTP, and HTTPS.
sudo ufw allow OpenSSH
sudo ufw allow 'Apache Full'
Now open ports 1900/udp and 7359/udp for auto-discover using the following command.
sudo ufw allow 1900/udp
sudo ufw allow 7359/udp
Next, run the command below to start and enable UFW. Type Y to confirm.
sudo ufw enable
Lastly, verify the list of ports and services on UFW using the command below.
sudo ufw status
You will see the OpenSSH and ‘Apache Full’ profiles are enabled, and ports 1900/udp and 7359/udp are also added to UFW.
At this point, every dependencies are configured. You can now access your Jellyfin installation from your web browser.
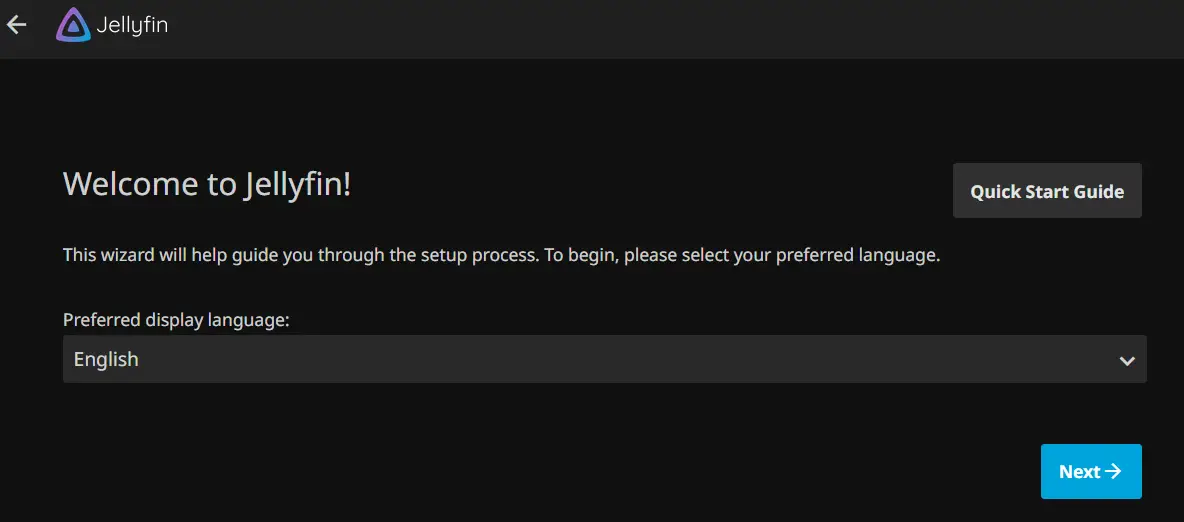
Visit the domain name of your Jellyfin Server (i.e: https://media.hwdomain.io/) using your web browser. You will see the welcome message from Jellyfin.
Click Next to continue.
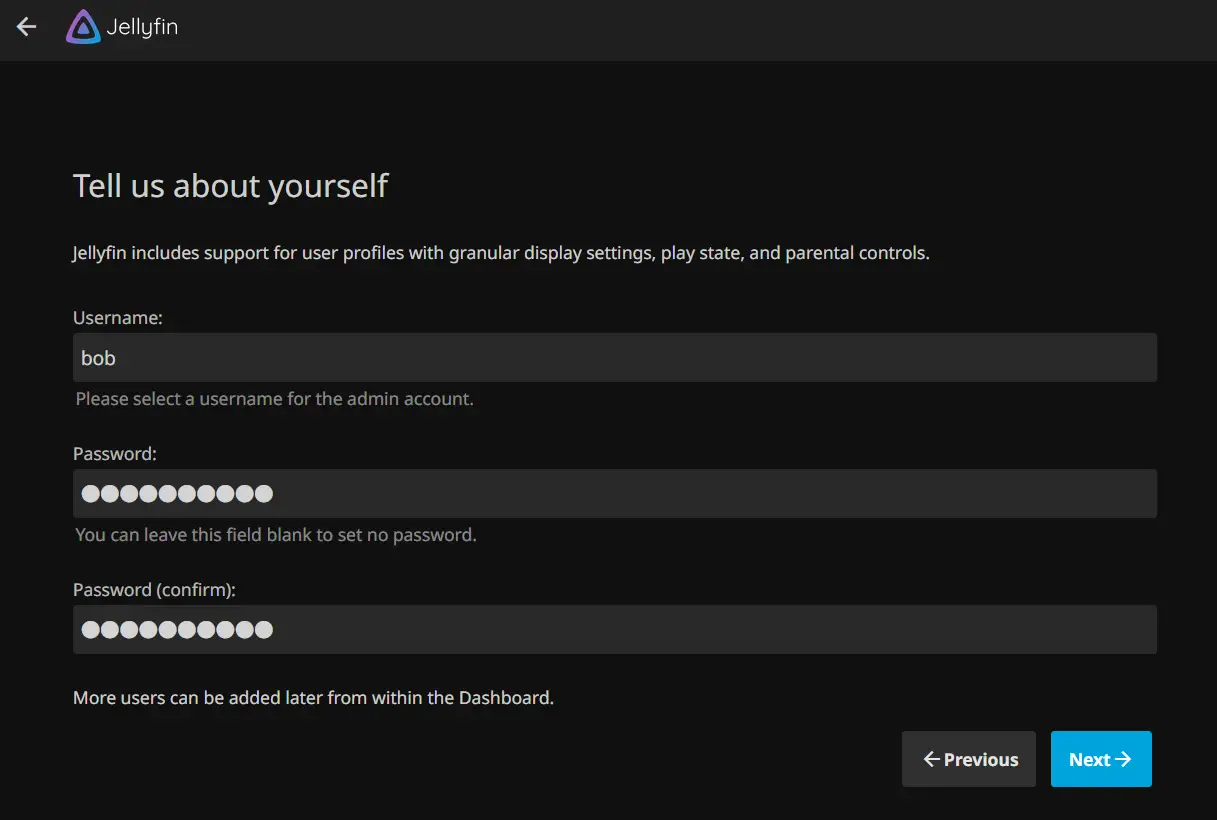
Now create your first user on Jellyfin, then click Next.
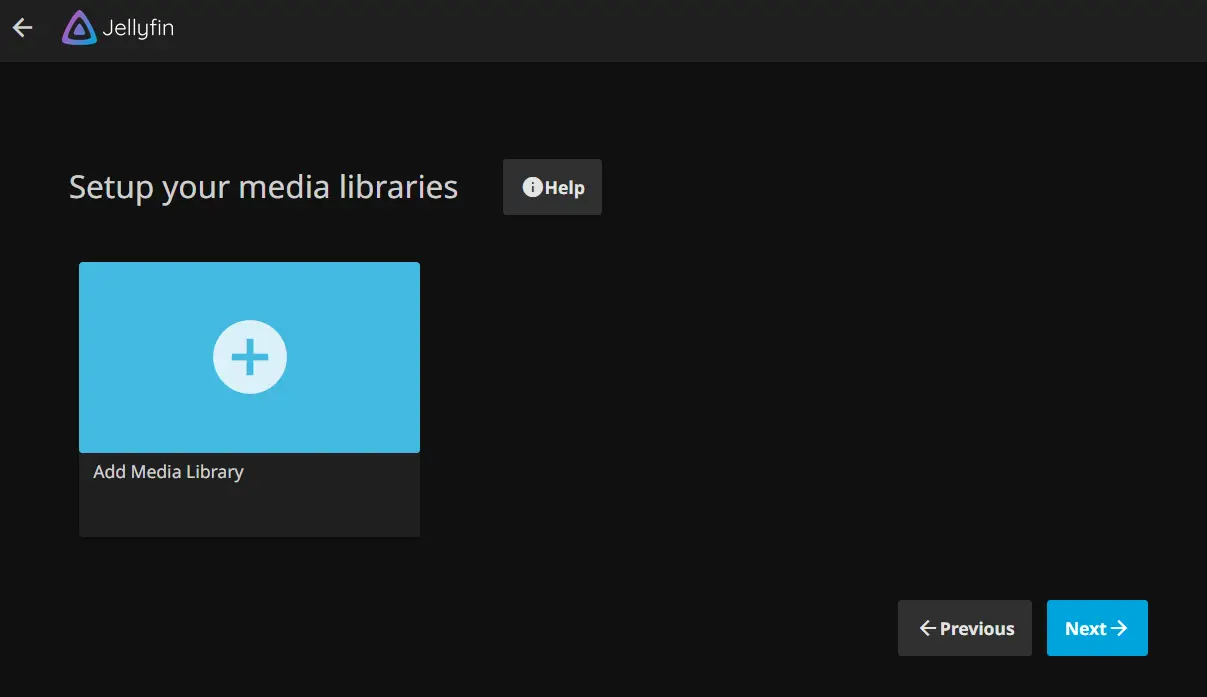
Now you will be asked to set up a Media Library for Jellyfin, click Next to skip it. You can configure it later after the configuration is complete.
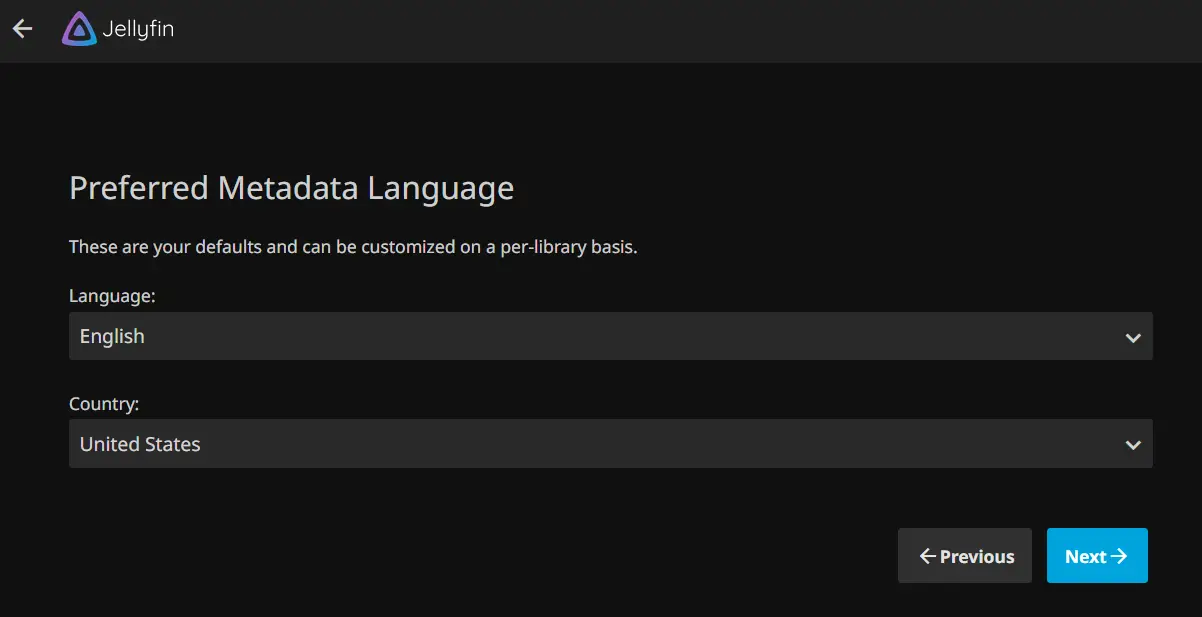
Select your preferred Metadata Language and click Next again.
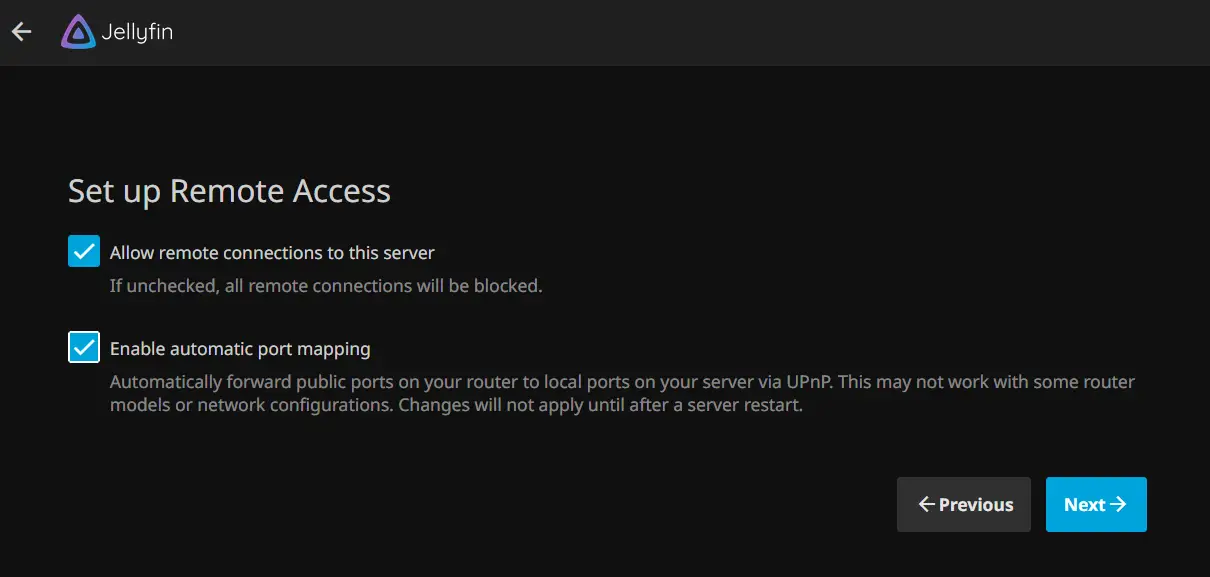
For the Remote Access section, check the box on both Allow remote connection and Automatic port mapping. Then, click Next to confirm.
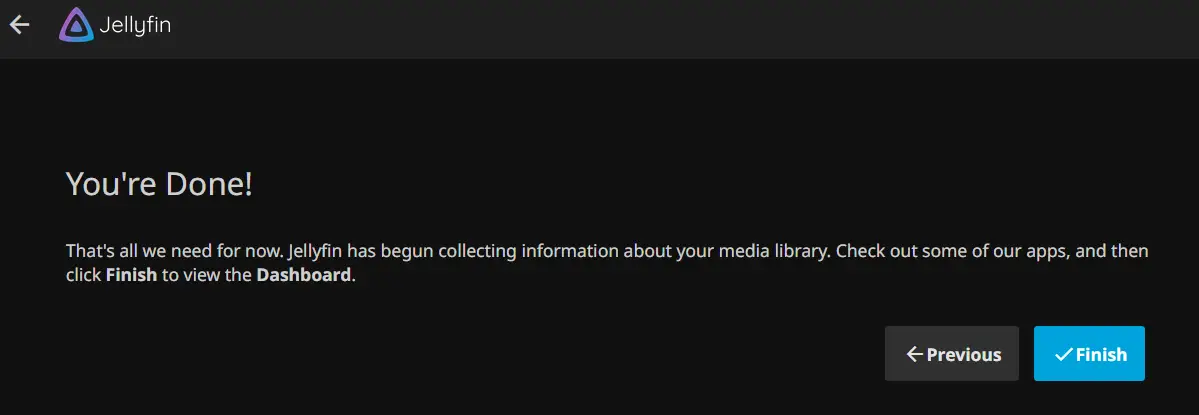
Lastly, click Finish to complete the Jellyfin installation.
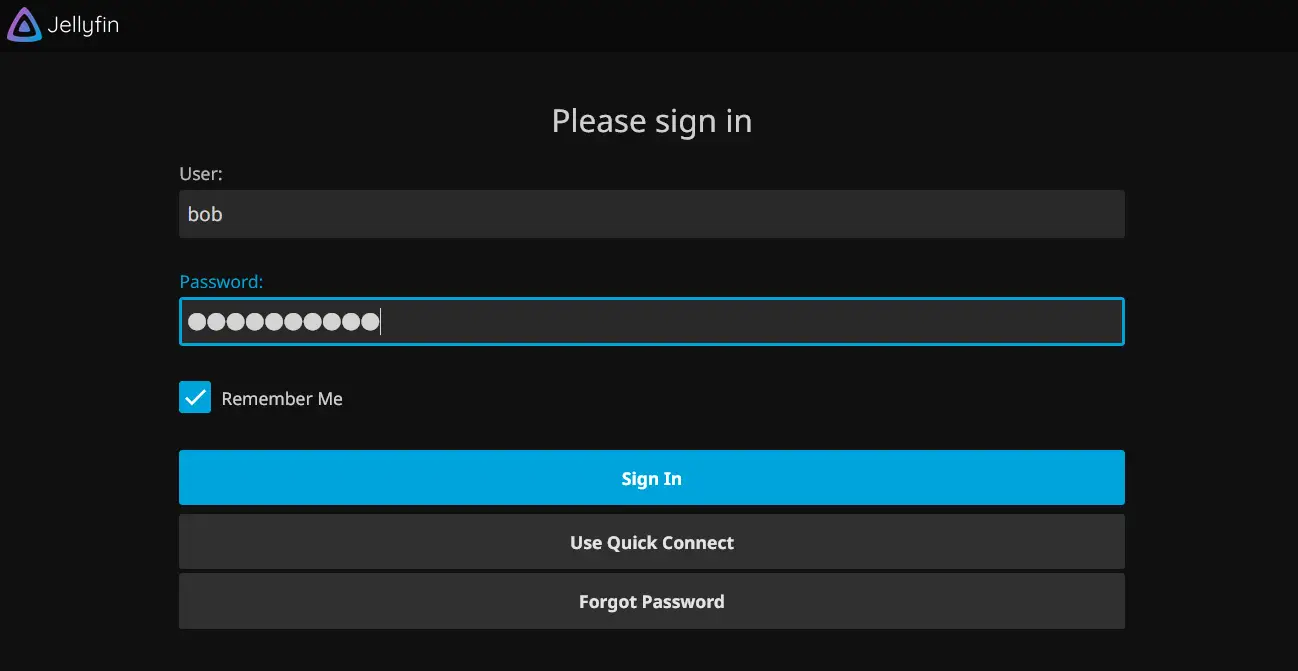
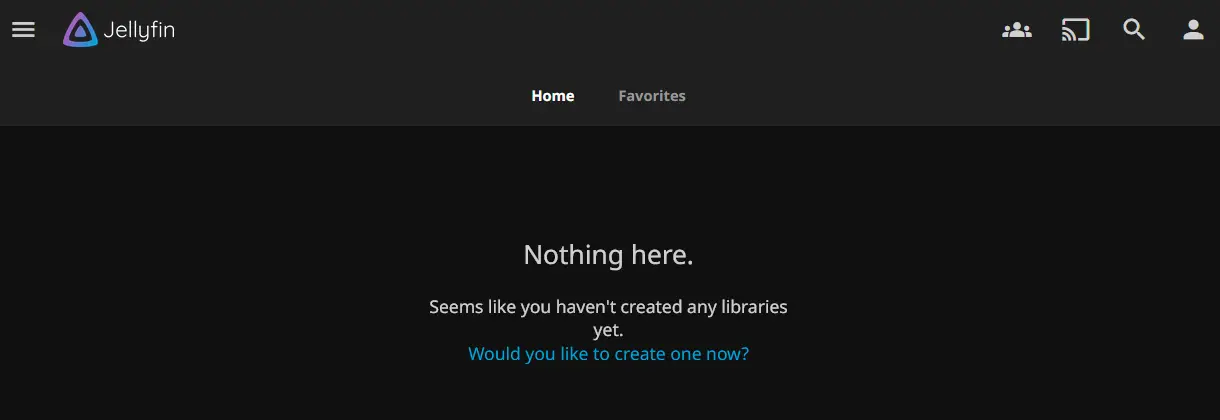
And you will be redirected to the Jellyfin login page. Input your username and password, then click Sign In.
Now you will see the Jellyfin dashboard like the following:
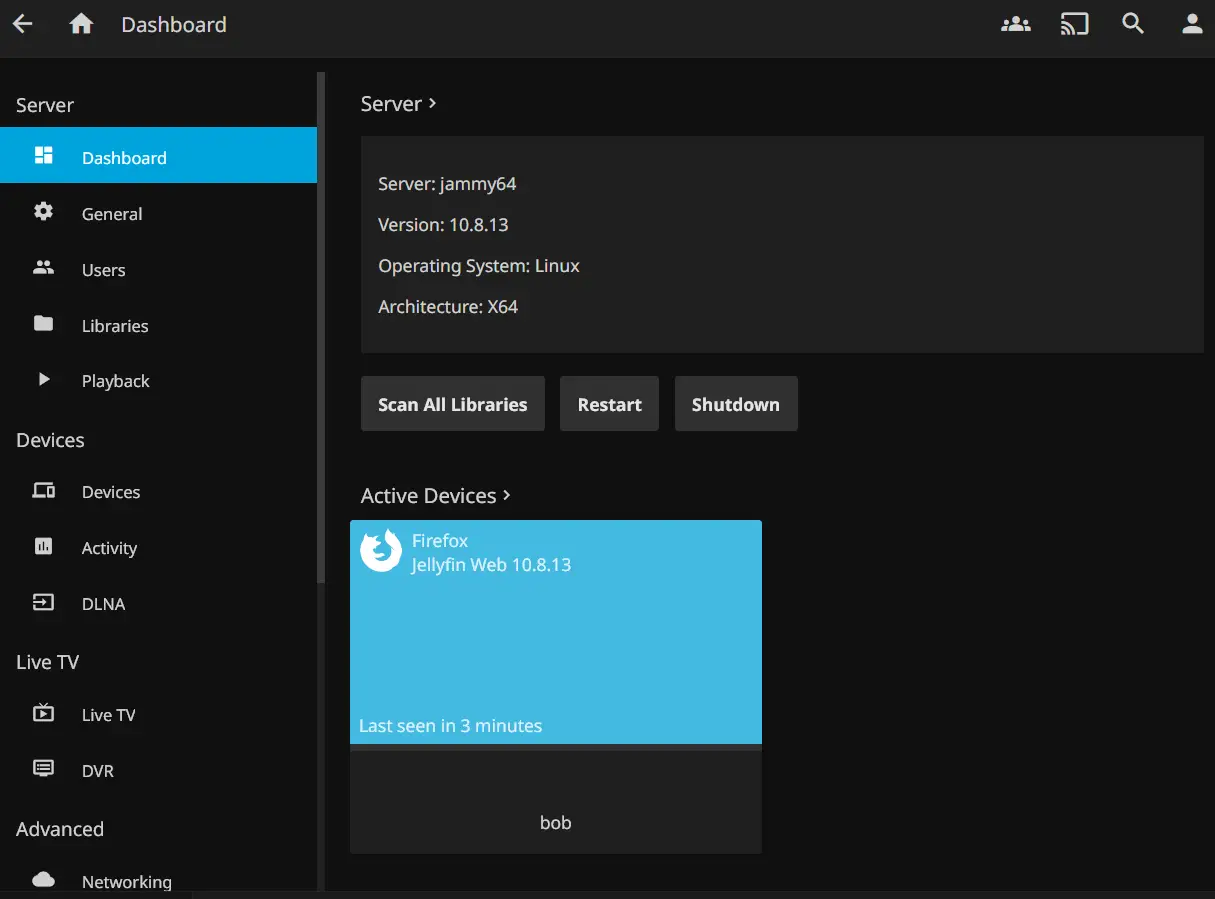
If you click on the Administration menu, you will see detailed information about your Jellyfin server. In this example, you can see Jellyfin xxx is installed on the Ubuntu system.
Conclusion
Congratulations! You have now successfully installed the Jellyfin Media Server on Ubuntu 22.04 server. You’ve also secured Jellyfin with Apache as a Reverse Proxy and SSl/TLS from Letsencrypt. From now on, you can add media files library and store your library collection on Jellyfin.


