
Jenkins is a free and open-source automation server that helps developers to build, test, and deploy their software. It is based on Java and provides over 1700 plugins that help to automate the repetitive tasks involved in the software development process. It supports multiple operating systems such as Windows, Mac OS X and Linux, and can easily be distributed across multiple machines.
In this tutorial, we will show you how to install Jenkins with Apache as a reverse proxy on Ubuntu 20.04.
Prerequisites
- A server running Ubuntu 20.04.
- A root password is configured the server.
Getting Started
Before starting, it is a good idea to update your system with the latest version. You can update your system with the following command:
apt-get update -y
apt-get upgrade -y
After updating the system, restart it to implement the changes.
Install Java
Jenkins is based on Java, so Java must be installed in your system. If not installed, you can install it by running the following command:
apt-get install openjdk-11-jdk gnupg2 -y
Once installed, check the installed version of Java with the following command:
java -version
You should get the following output:
openjdk version "11.0.8" 2020-07-14
OpenJDK Runtime Environment (build 11.0.8 10-post-Ubuntu-0ubuntu120.04)
OpenJDK 64-Bit Server VM (build 11.0.8 10-post-Ubuntu-0ubuntu120.04, mixed mode, sharing)
Once you are finished, you can proceed to the next step.
Install Jenkins
By default, the latest version of Jenkins is not available in the Ubuntu 20.04 default repository. So you will need to add the Jenkins repository to your system.
First, download and add the GPG key with the following command:
wget -q -O - https://pkg.jenkins.io/debian/jenkins.io.key | apt-key add -
Next, add the Jenkins repository to the APT with the following command:
sh -c 'echo deb http://pkg.jenkins.io/debian-stable binary/ > /etc/apt/sources.list.d/jenkins.list'
Next, update the repository and install the latest version of Jenkins with the following command:
apt-get update -y
apt-get install jenkins -y
After the successful installation, check the status of the Jenkins with the following command:
systemctl status jenkins
You should see the following output:
? jenkins.service - LSB: Start Jenkins at boot time
     Loaded: loaded (/etc/init.d/jenkins; generated)
     Active: active (exited) since Sun 2020-08-09 12:50:35 UTC; 44s ago
       Docs: man:systemd-sysv-generator(8)
      Tasks: 0 (limit: 2353)
     Memory: 0B
     CGroup: /system.slice/jenkins.service

Aug 09 12:50:34 ubuntu2004 systemd[1]: Starting LSB: Start Jenkins at boot time...
Aug 09 12:50:34 ubuntu2004 jenkins[6134]: Correct java version found
Aug 09 12:50:34 ubuntu2004 jenkins[6134]:  * Starting Jenkins Automation Server jenkins
Aug 09 12:50:34 ubuntu2004 su[6180]: (to jenkins) root on none
Aug 09 12:50:34 ubuntu2004 su[6180]: pam_unix(su-l:session): session opened for user jenkins by (uid=0)
Aug 09 12:50:34 ubuntu2004 su[6180]: pam_unix(su-l:session): session closed for user jenkins
Aug 09 12:50:35 ubuntu2004 jenkins[6134]:    ...done.
Aug 09 12:50:35 ubuntu2004 systemd[1]: Started LSB: Start Jenkins at boot time.
At this point Jenkins is running and listening on port 8080. You can check it with the following command:
netstat -plntu | grep 8080
You should see the following output:
tcp6 0 0 :::8080 :::* LISTEN 6192/java
Once you are done, you can proceed to the next step.
Configure Apache as a Reverse Proxy
Next, you will need to install and configure Apache as a reverse proxy for Jenkins. So you can access the Jenkins through the port 80.
First, install the Apache webserver with the following command:
apt-get install apache2 -y
After installing the Apache web server, enable the required modules with the following command:
a2enmod proxy
a2enmod proxy_http
Next, create an Apache virtual host configuration file for Jenkins with the following command:
nano /etc/apache2/sites-available/jenkins.conf
Add the following lines:
    ServerName        jenkins.example.com
    ProxyRequests     Off
    ProxyPreserveHost On
    AllowEncodedSlashes NoDecode


      Order deny,allow
      Allow from all


    ProxyPass         /  http://localhost:8080/ nocanon
    ProxyPassReverse  /  http://localhost:8080/
    ProxyPassReverse  /  http://jenkins.hakase-labs.io/
Save and close the file when you are finished. Then, enable the Apache virtual host configuration file with the following command:
a2ensite jenkins
Next, restart the Apache and Jenkins service to apply the changes:
systemctl reload apache2
systemctl restart jenkins
You can now check the status of the Apache service with the following command:
systemctl status apache2
You should get the following output:
? apache2.service - The Apache HTTP Server
   Loaded: loaded (/lib/systemd/system/apache2.service; enabled; vendor preset: enabled)
  Drop-In: /lib/systemd/system/apache2.service.d
           ??apache2-systemd.conf
   Active: active (running) since Sun 2020-08-10 12:41:30 UTC; 22min ago
  Process: 15407 ExecReload=/usr/sbin/apachectl graceful (code=exited, status=0/SUCCESS)
 Main PID: 14417 (apache2)
    Tasks: 11 (limit: 1114)
   CGroup: /system.slice/apache2.service
           ??14417 /usr/sbin/apache2 -k start
           ??15412 /usr/sbin/apache2 -k start
           ??15413 /usr/sbin/apache2 -k start
           ??15414 /usr/sbin/apache2 -k start
           ??15416 /usr/sbin/apache2 -k start
           ??15417 /usr/sbin/apache2 -k start
           ??15418 /usr/sbin/apache2 -k start
           ??15419 /usr/sbin/apache2 -k start
           ??15420 /usr/sbin/apache2 -k start
           ??15422 /usr/sbin/apache2 -k start
           ??15429 /usr/sbin/apache2 -k start

Aug 10 12:41:29 ubuntu20.04 systemd[1]: Starting The Apache HTTP Server...
At this point, Apache web server is configured to serve Jenkins. You can now proceed to the next step.
Note: if you connect to Jenkins over the internet, then it#s recommended to secure the connections with SSL/TLS. To enable SSL via Let’s Encrypt using certbot for the Jenkins web interface, have a look here:
https://www.howtoforge.com/how-to-manage-lets-encrypt-ssl-tls-certificates-with-certbot/
Access Jenkins Web Interface
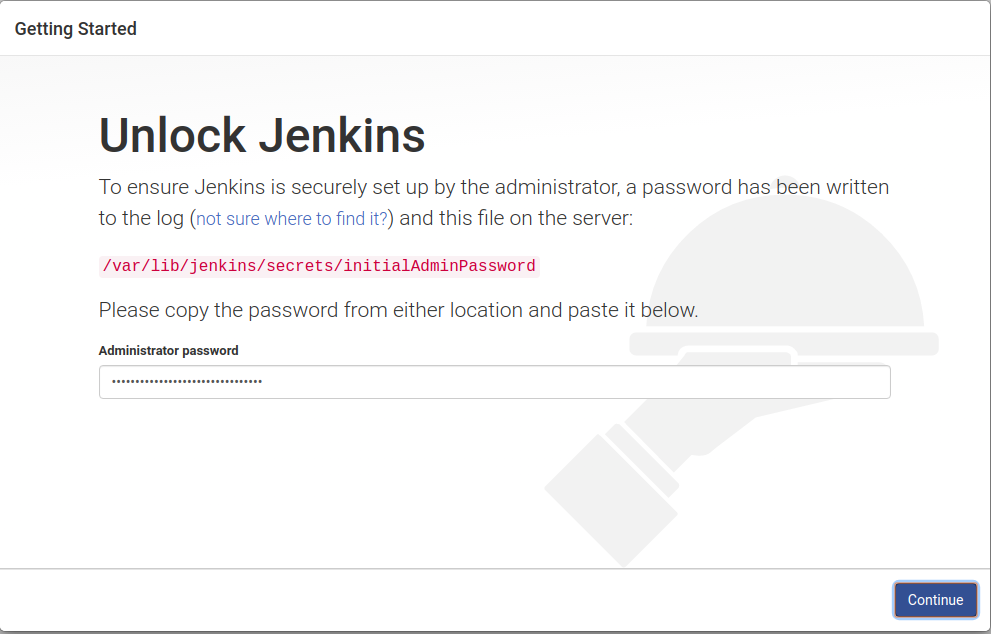
Now, open your web browser and type the URL http://jenkins.example.com. You will be asked to enter the initial admin password as shown below:
You can see Jenkins initial admin password with the following command:
cat /var/lib/jenkins/secrets/initialAdminPassword
You should see Jenkins password in the following output:
78d6b10330434b27a09590fc781c9e6d
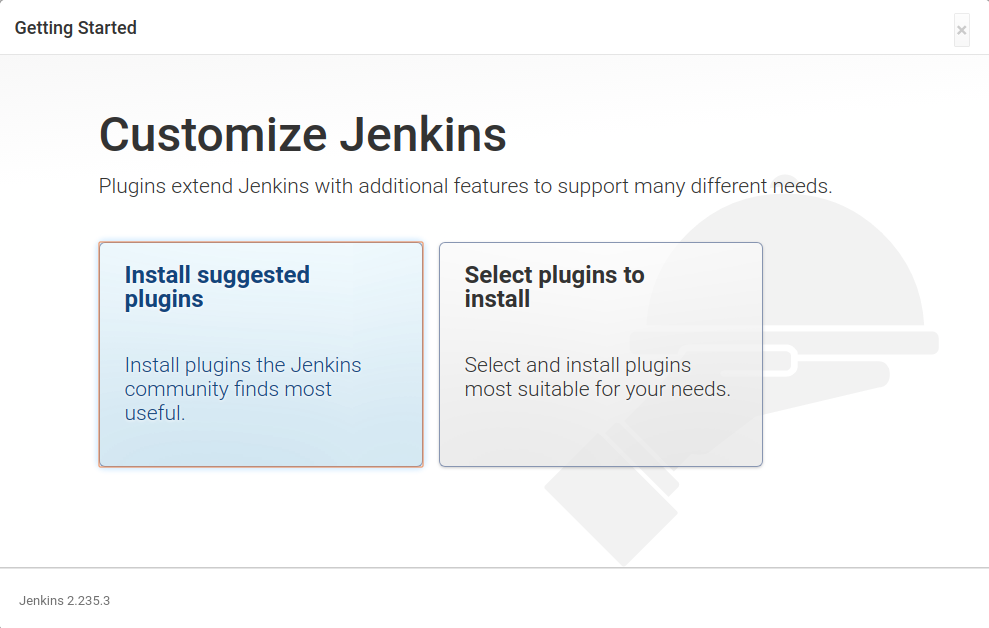
Type the password from the above output in the login screen and click on the Continue button. You will be redirected to the Jenkins customization screen:
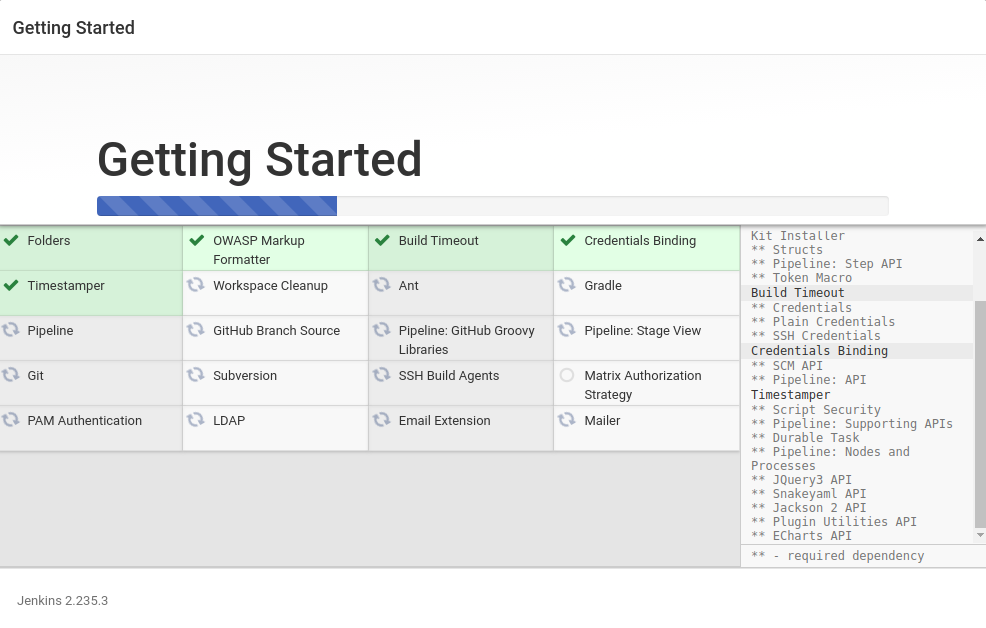
Select your desired option and click on it. You should see the Jenkins plugins installations in progress screen:
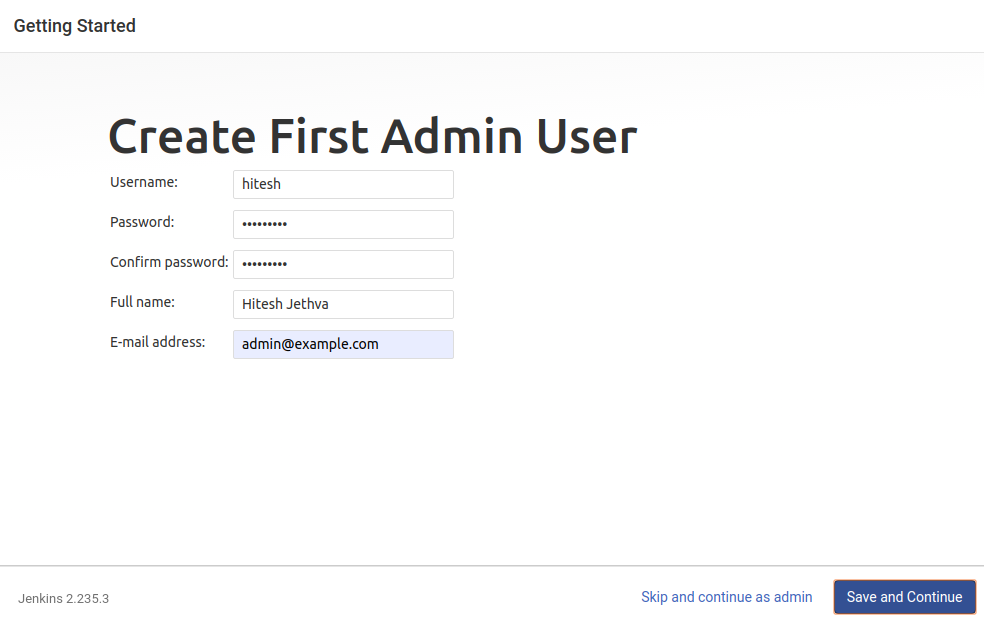
Once all the plugins are installed successfully, You should see the following screen:
Provide your admin username, password, email and click on the Save and Continue button. You should see the following screen:
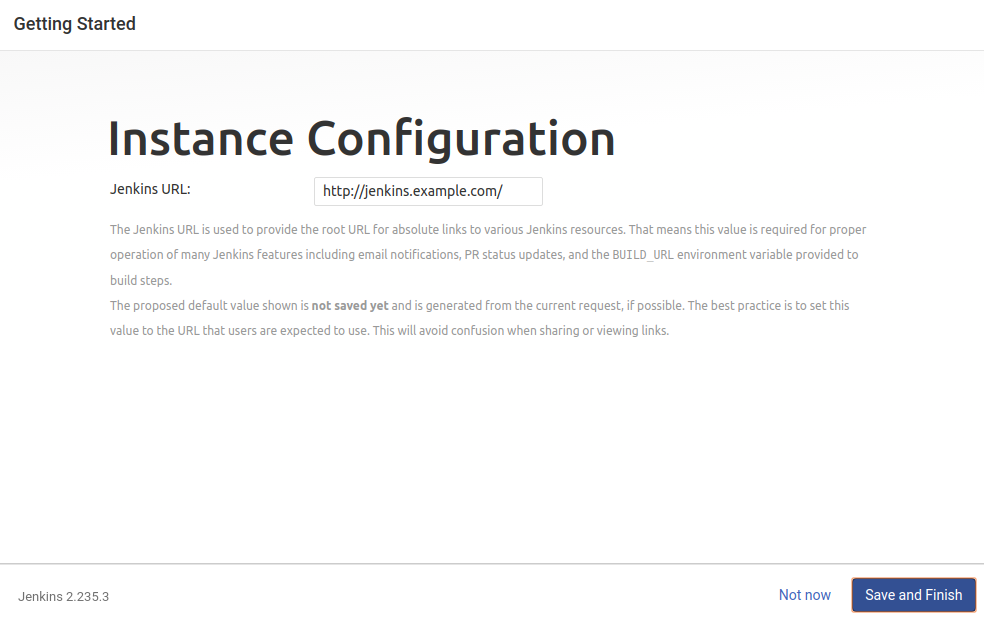
Type your Jenkins URL and click on the Save and Finish button. You should see the following screen:
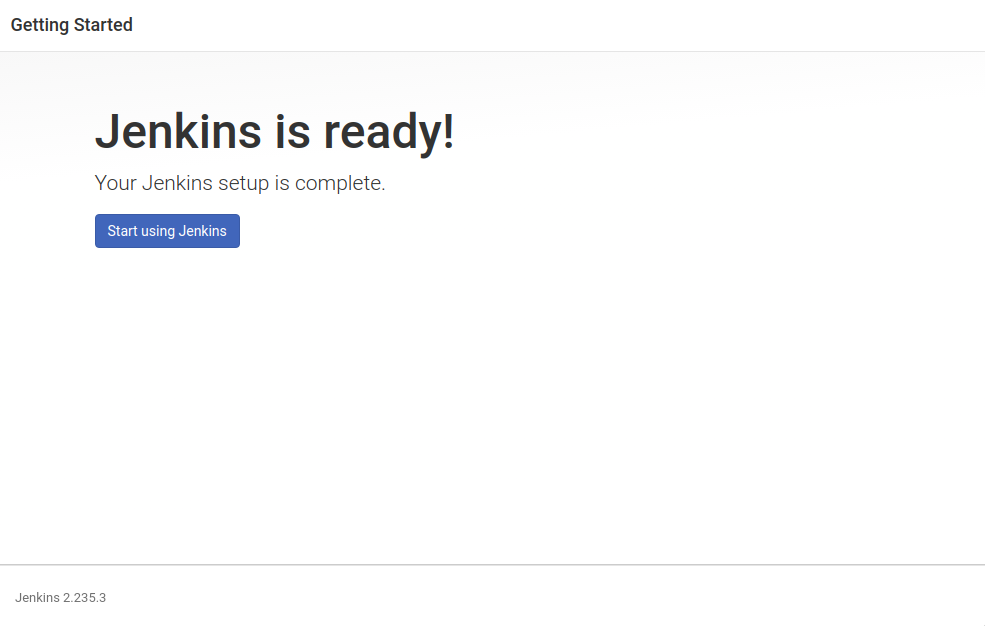
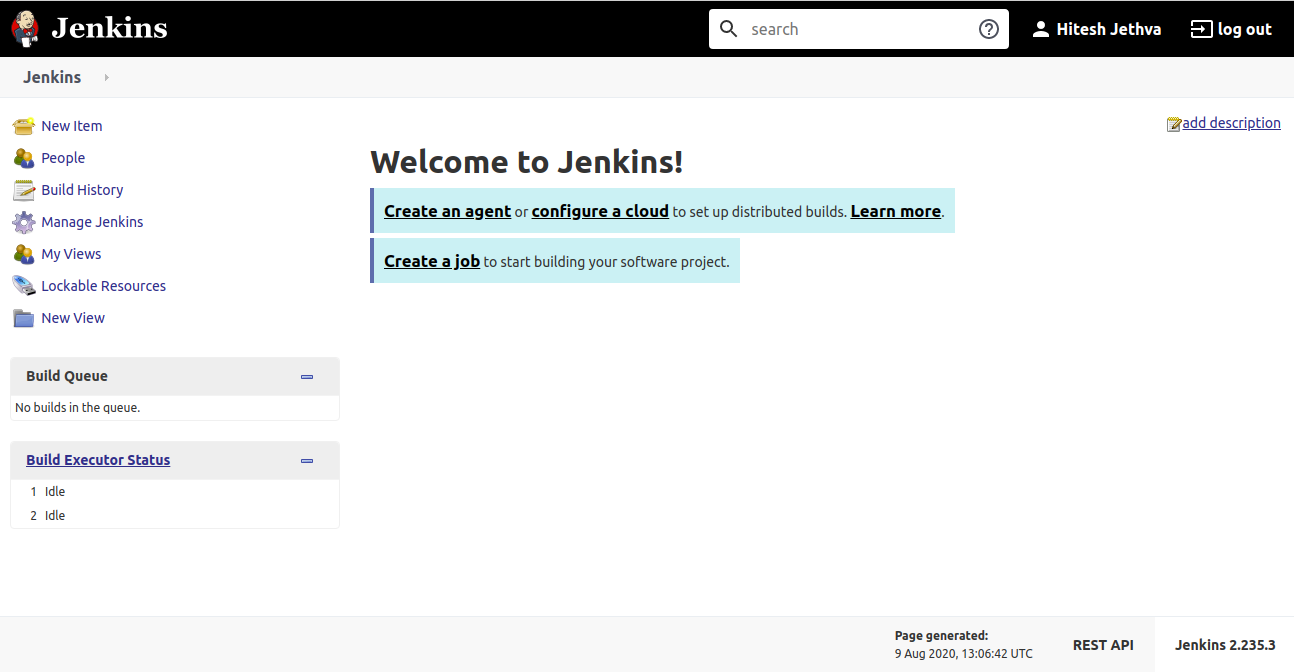
Click on the “Start using Jenkins” button. You should see the Jenkins dashboard in the following screen:
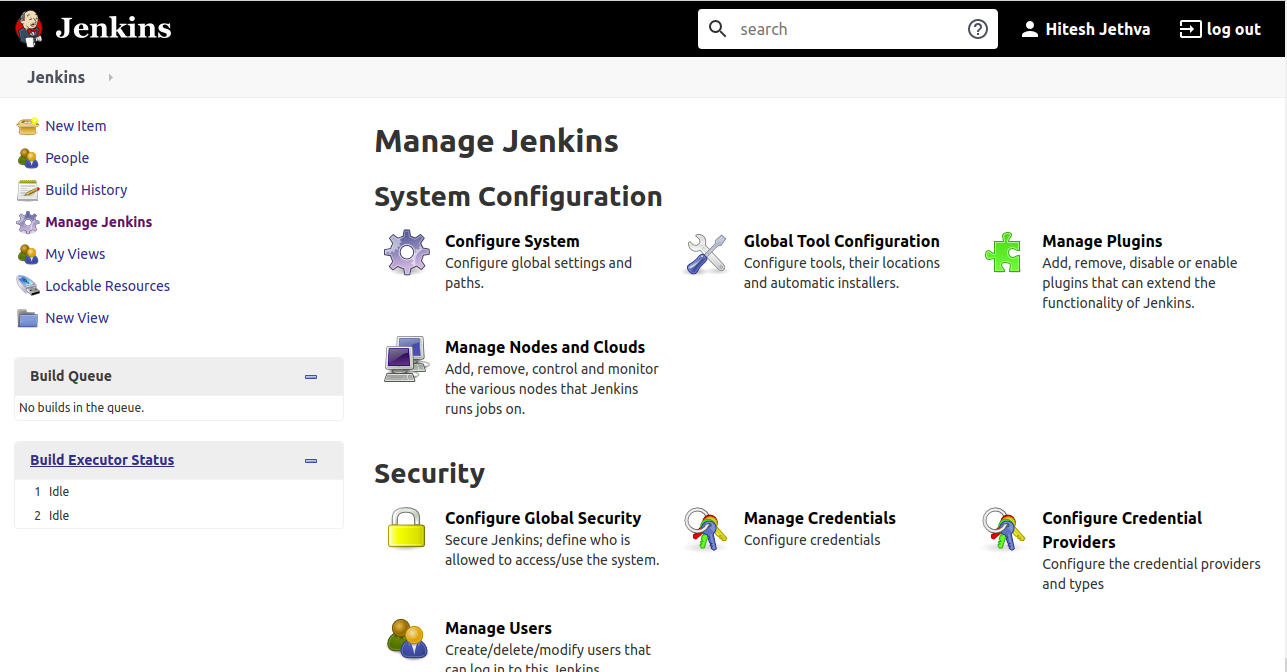
Next, you will need to configure the standard security settings for Jenkins.
In the left pane, click on the Manage Jenkins => Configure Global Security. You should see the following screen:
Now, select Matrix-based Security, add your user, grant full privileges and click on the Save button.
Test Jenkins
At this point, Jenkins is installed and configured. it’s time to create a sample job and test the Jenkins functionality.
On the Jenkins dashboard, click on the Create New Job button. You should see the following screen:
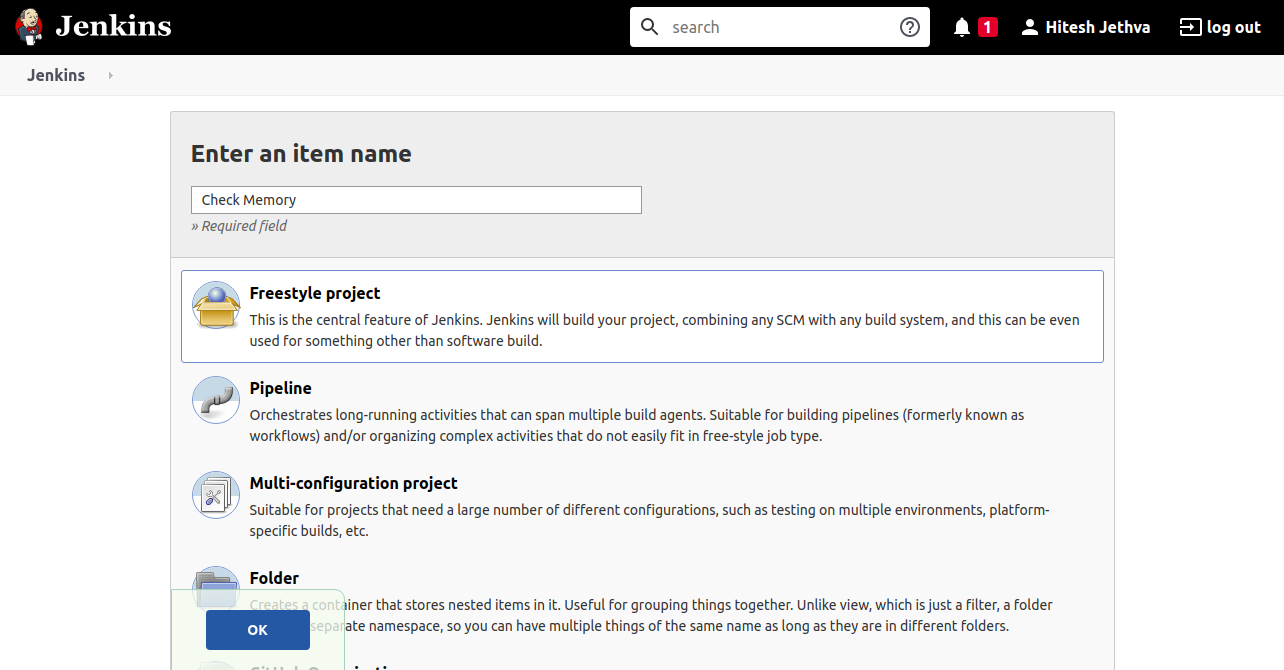
Provide your job name, select Freestyle project and click on the OK button. You should see the following screen:
Now, click on the Build tab. On the “Add build step“, select the option “Execute shell” and type”free -m” in the command box. Then, click on the Save button. You should see the following screen:
Now, click on the “Build Now” button in the left pane to execute the Job. Once the job has been executed, you should see the console output from the job executed by Jenkins in the following screen:
Conclusion
Congratulations! you have successfully installed Jenkins with Apache on Ubuntu 20.04 server. You can now use Jenkins in the development environment to speed up the development process. Feel free to ask me if you have any questions.


