
Joomla is flexible and open-source content management for building websites and online publications. Powered by PHP, it can be used for multiple scenarios, such as forums, photo galleries, e-commerce, and other web-based applications.
Follow our tutorial to install Joomla CMS on the AlmaLinux 9 server with the LAMP Stack (Apache/Httpd, MariaDB, and PHP).
Prerequisites
Before you begin, make sure you have these on your environment:
- A AlmaLinux 9 server.
- A non-root user with administrator privileges.
- A SELinux with status permissive.
- A domain name pointed to the server IP address.
Install LAMP Stack Dependencies
Joomla is a content management system written in PHP with MySQL/MariaDB database. So before you install Joomla, you will install dependencies for it. In this example, you will install Joomla with the LAMP Stack (Apache/Httpd, MySQL/MariaDB, and PHP) on your AlmaLinux 9 server.
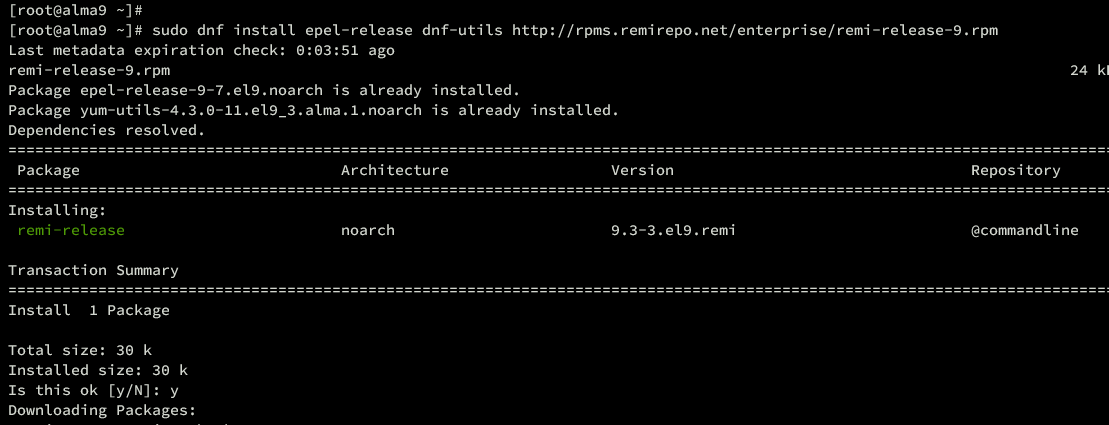
To get started, execute the following command to add the EPEL and Remi repository to your AlmaLinux server. The EPEL repository is required for installing some additional dependencies, and the Remi repository for PHP packages.
sudo dnf install epel-release dnf-utils http://rpms.remirepo.net/enterprise/remi-release-9.rpm
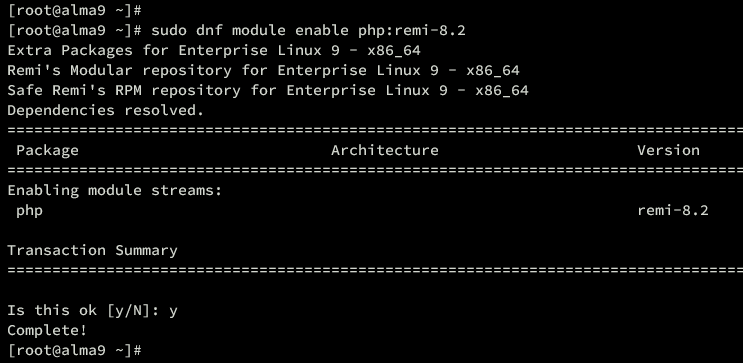
Now execute the command below to reset the PHP repository module and enable the Remi PHP module. Type y to confirm and proceed.
sudo dnf module reset php
sudo dnf module enable php:remi-8.2
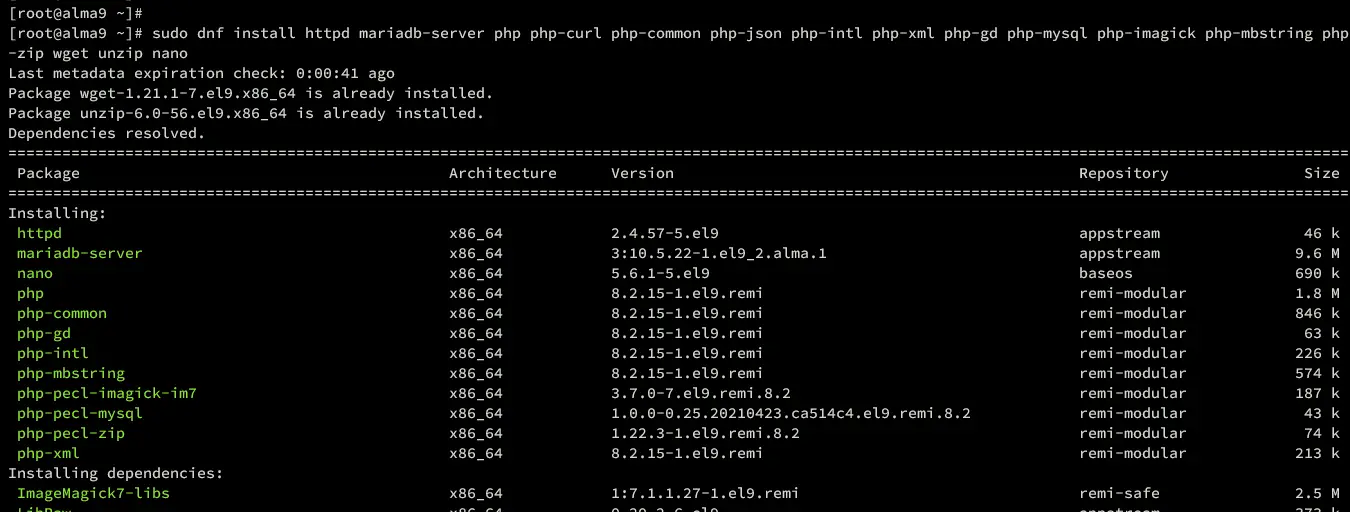
After the repository is added, install LAMP Stack and additional dependencies by executing the command below.
sudo dnf install httpd mariadb-server php php-curl php-common php-json php-intl php-xml php-gd php-mysql php-imagick php-mbstring php-zip wget unzip nano
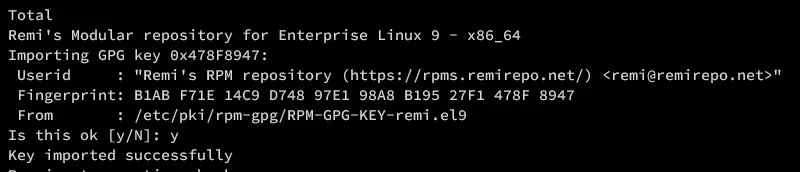
When prompted, input y to proceed to the installation. Also, input y to accept the GPG key if asked.
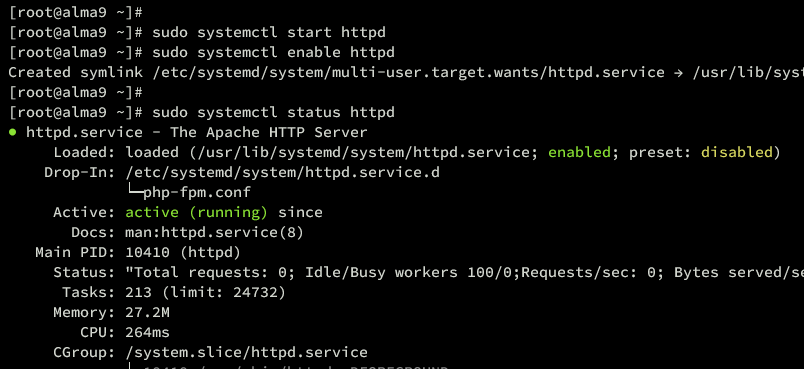
With the installation finished, start and enable the httpd service with the following command.
sudo systemctl start httpd
sudo systemctl enable httpd
Then verify the httpd to ensure that the service is running.
sudo systemctl status httpd
Below you can see the httpd service running.
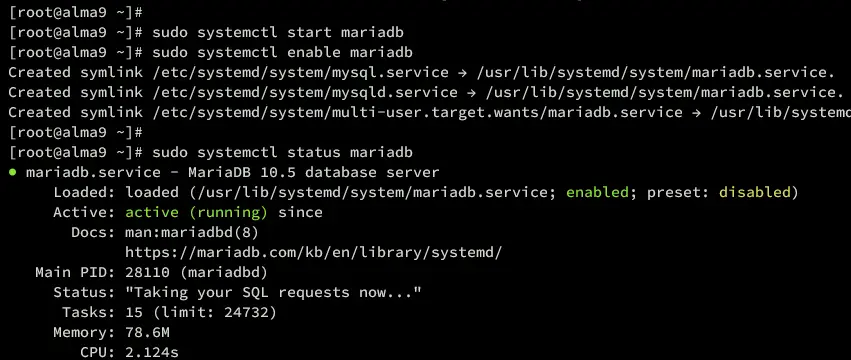
For the mariadb service, execute the command below to start and enable it.
sudo systemctl start mariadb
sudo systemctl enable mariadb
Then verify the mariadb service with the command below. You will see the mariadb is running.
sudo systemctl status mariadb
Lastly, execute the following command to verify the PHP version and the list of enabled extensions.
php -v
php -m
You will see PHP 8.2 are installed like the following:
Setting Up PHP
Now that you have installed LAMP Stack on your AlmaLinux server, the next step is to configure your PHP installation for Joomla. You will modify the default PHP configuration php.ini and make some changes to it.
Execute the nano command below to open the default PHP configuration /etc/php.ini.
sudo nano /etc/php.ini
Change the default configuration with the following and be sure to adjust the memory_limit option with your current available memory/RAM.
memory_limit=512M
upload_max_filesize=64M
post_max_size=64M
max_execution_time=60output_buffering = Off
Save the file and exit the editor when finished.
Now restart the httpd service to apply your modification using the following command.
sudo systemctl restart httpd
Setting Up MariaDB Server
After you have configured PHP, you will set up the MariaDB server by securing the installation via the mariadb-secure-installation utility and then creating a new database and user for Joomla.
Execute the mariadb-secure-installation command to secure your MariaDB server installation.
sudo mariadb-secure-installation
When asked to apply a new configuration, input y to confirm or n to reject it. Below are some of the MariaDB server configurations you will be asked for:
- The default MariaDB installation comes without a password, press ENTER when prompted for the password.
- Now input Y to set up the MariaDB root password. Then, type the new password for MariaDB and repeat the password.
- Input Y to remove the anonymous user from your MariaDB installation.
- Input Y again when prompted to disable the remote login for the MariaDB root user.
- Input Y to remove the default database test from your MariaDB.
- Lastly, input Y to reload table privileges and apply new changes.
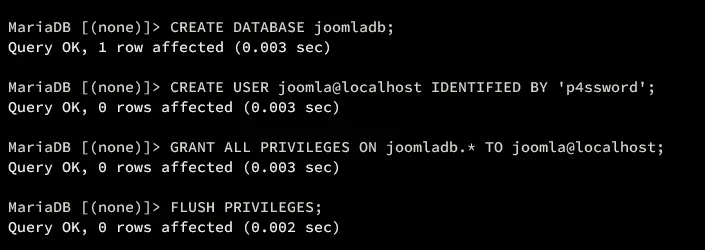
With the MariaDB server configured, you need to create a new database and user for Joomla.
Execute the mariadb command below to log in to the MariaDB. Input your MariaDB root password when prompted to log in.
sudo mariadb -u root -p
Now execute the following MariaDB queries to create a new database joomladb, a new user joomla with password p4ssword, then grant privileges for user joomla to the joomladb database.
CREATE DATABASE joomladb;
CREATE USER joomla@localhost IDENTIFIED BY 'p4ssword';
GRANT ALL PRIVILEGES ON joomladb.* TO joomla@localhost;
FLUSH PRIVILEGES;
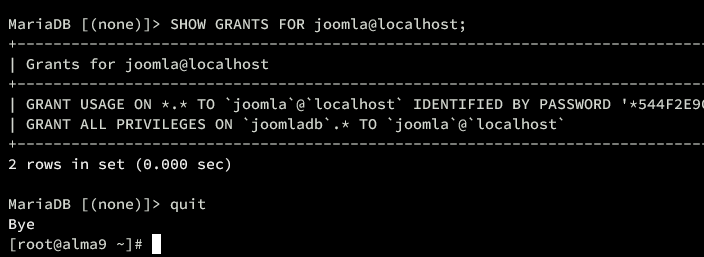
Next, verify the list privileges for user joomla with the MariaDB query below. You will see the joomla user with privileges to access the database joomladb.
SHOW GRANTS FOR joomla@localhost;
Lastly, type quit to exit from the MariaDB server.
Setting Up Firewalld
By default, the firewalld is running on AlmaLinux server. So now you will need to open both HTTP and HTTPS ports to firewalld.
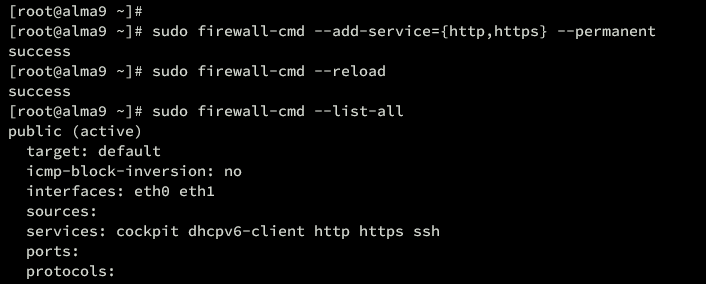
Execute the firewall-cmd command below to open both HTTP and HTTPS services on firewalld. Then, reload firewalld to apply the modification.
sudo firewall-cmd --add-service={http,https} --permanent
sudo firewall-cmd --reload
Now verify the list-enabled rules on firewalld by executing the command below.
sudo firewall-cmd --list-all
You will see below both HTTP and HTTPS services added to firewalld.
Downloading Joomla
Now you have the LAMP Stack installed and configured, the next step is to download the Joomla source code, set up the document root directory for Joomla, and then set up the proper ownership for the Joomla source code.
Move your working directory /var/www and download the Joomla source code using the wget command below. Be sure to check the Joomla download page and grab the link for the latest version.
cd /var/www/
wget https://downloads.joomla.org/cms/joomla5/5-0-2/Joomla_5-0-2-Stable-Full_Package.zip
Once downloaded, execute the unzip command below to extract the Joomla source code to the joomla directory. So your document root for Joomla will be located at /var/www/joomla directory.
unzip Joomla_5-0-2-Stable-Full_Package.zip -d joomla
Lastly, execute the following chmod command to change the ownership of the /var/www/joomla directory to the apache user and group. This will ensure the httpd web server can access the Joomla source code.
sudo chown -R apache:apache /var/www/joomla
Setting Up Httpd Virtual Host
With the Joomla source code downloaded, in the next stage, you will create a new httpd virtual host file for Joomla. So before going further, ensure that you have prepared your domain name for your Joomla installation.
Create a new virtual host configuration /etc/httpd/conf.d/joomla.conf using the following nano editor command.
sudo nano /etc/httpd/conf.d/joomla.conf
Insert the configuration below and be sure to change the domain name with your Joomla domain. Also, be sure to change the path for both access and error logs for your Joomla.
ServerAdmin [email protected]
ServerName hwdomain.io
DocumentRoot /var/www/joomla
Options FollowSymlinks
AllowOverride All
Require all grantedErrorLog /var/log/httpd/hwdomain.io_error.log
CustomLog /var/log/httpd/hwdomain.io_access.log combined
When you’re done, save the file and exit the editor.
Now execute the apachectl command below to verify your httpd configuration. When you have proper syntax, you should get an output Syntax OK.
sudo apachectl configtest
Lastly, restart the httpd service to apply your virtual host configuration with the command below.
sudo systemctl restart httpd
Secure with Certbot and Letsencrypt
At this point, you have everything configured and ready to start the Joomla installation. But before that, you will secure Joomla using SSL/TLS certificates from Letsencrypt. If you have a domain name for your Joomla installation, follow this. And if you don’t, you can skip this section.
First, install the Certbot and Certbot Apache plugin with the following command.
sudo dnf install certbot python3-certbot-apache -y
Now execute the certbot command below to generate SSL/TLS certificates for your Joomla installation. Be sure to change the details of the domain name and email address with your information.
sudo certbot --apache --agree-tos --redirect --hsts --staple-ocsp --email [email protected] -d hwdomain.io
When the process is complete, your SSL/TLS certificates will be available in the /etc/letsencrypt/live/domain.com directory. Also, your Joomla installation is automatically configured with HTTPS.
Installing Joomla
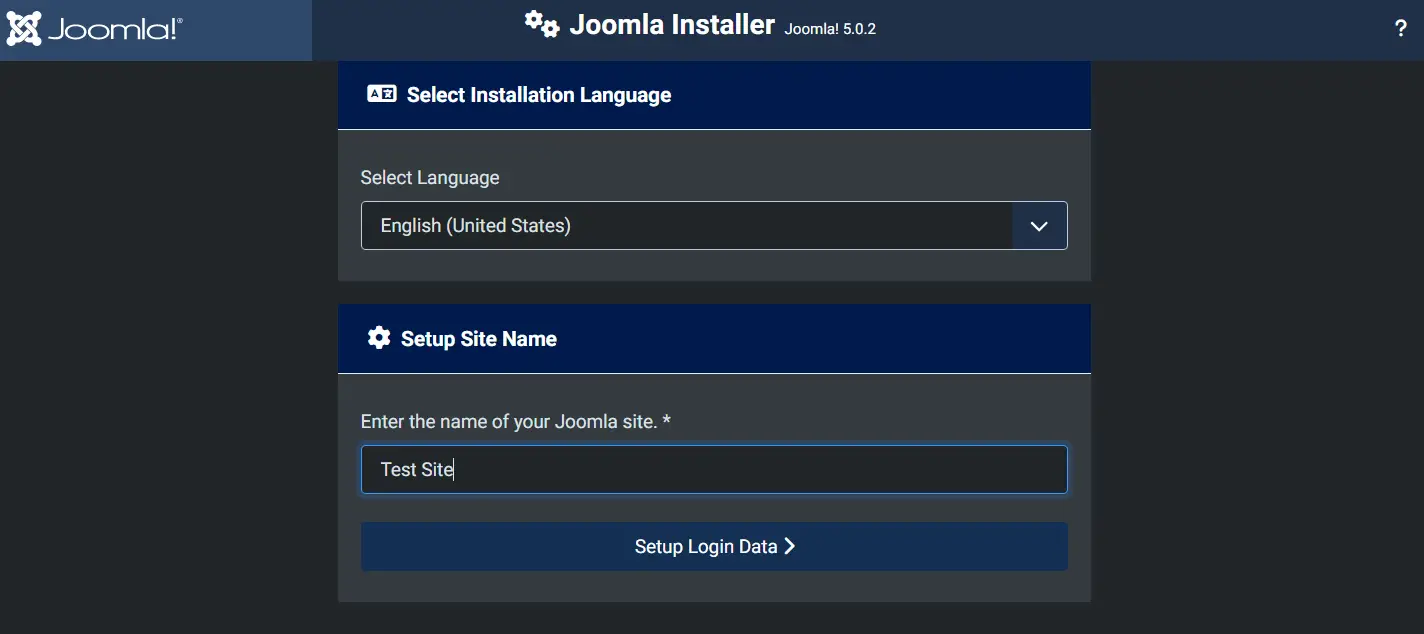
Launch your web browser and visit the domain name of your Joomla installation, such as http://hwdomain.io/. If the installation is successful, you will see the Joomla installation page.
Select the default language to English and input your basic site name. Then click Setup Login Data to continue.
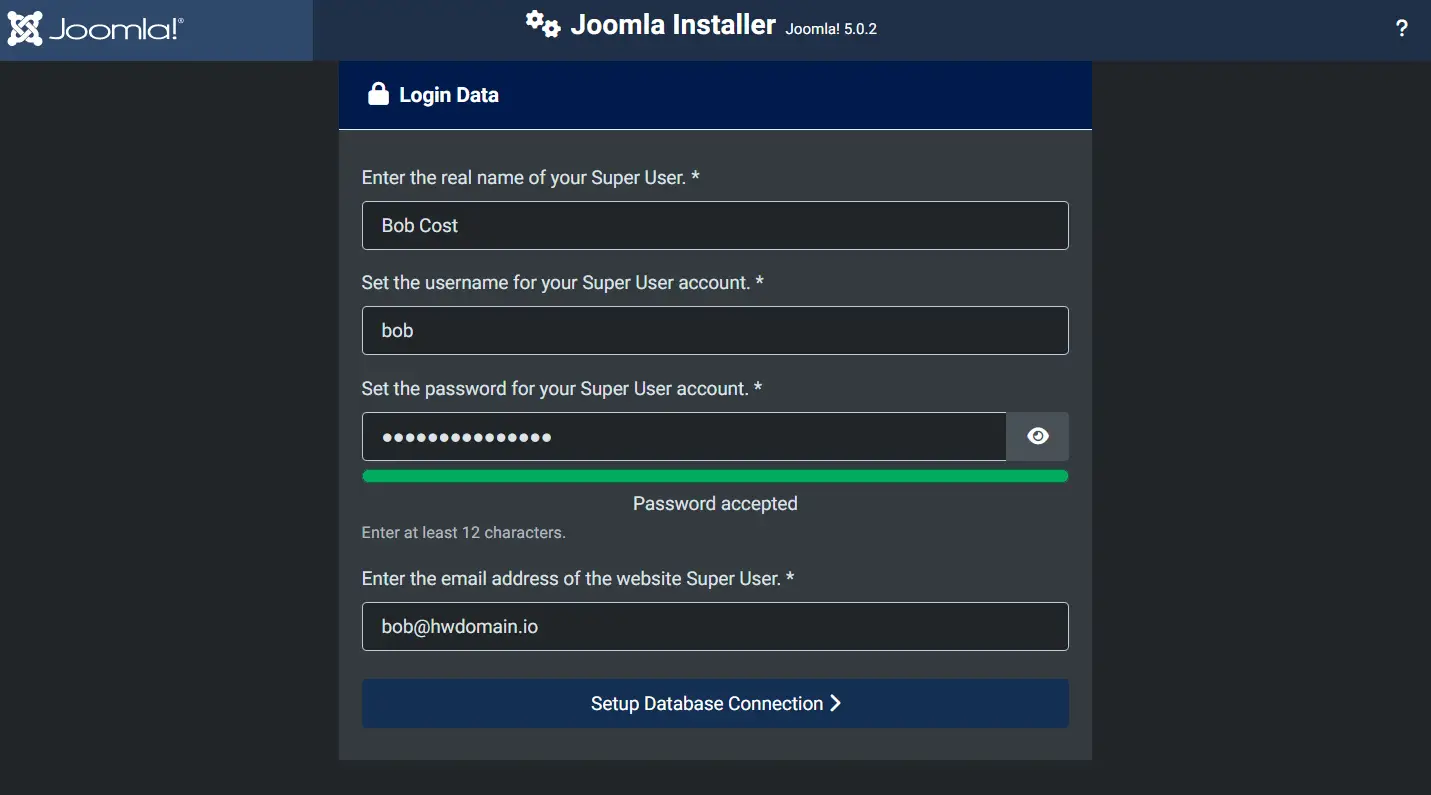
Now input the email address, username, and password for Joomla and click Setup Database Connection.
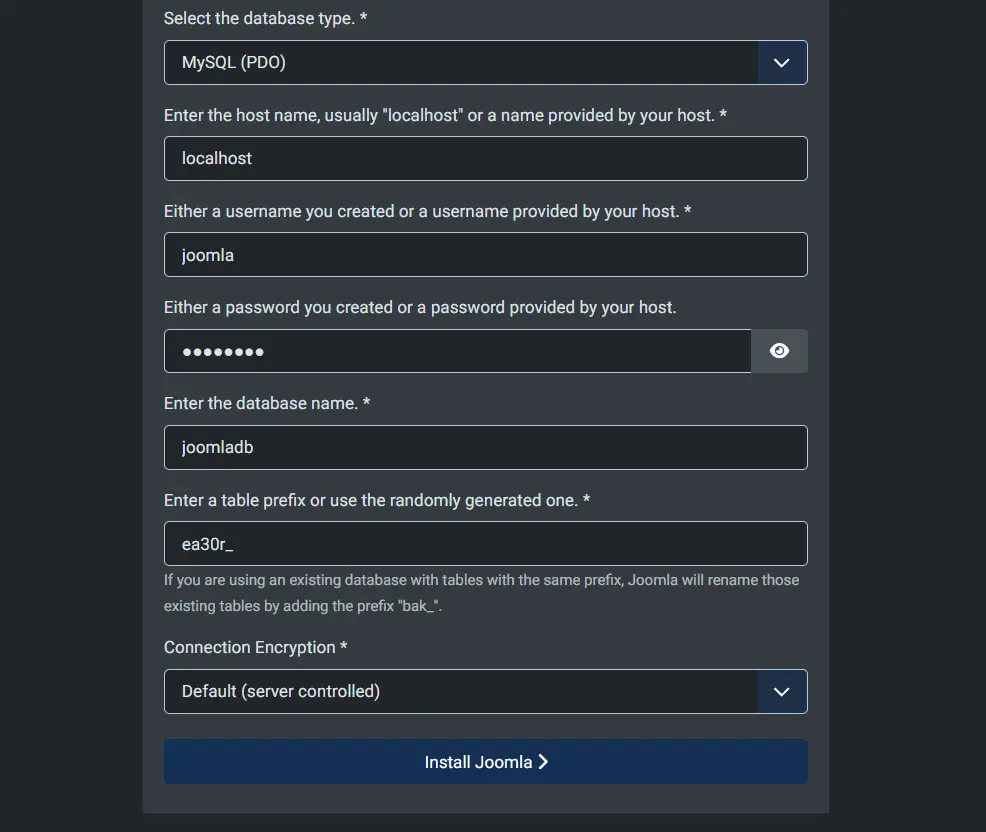
Input details of your MariaDB database credentials and click Install Joomla to proceed with the installation.
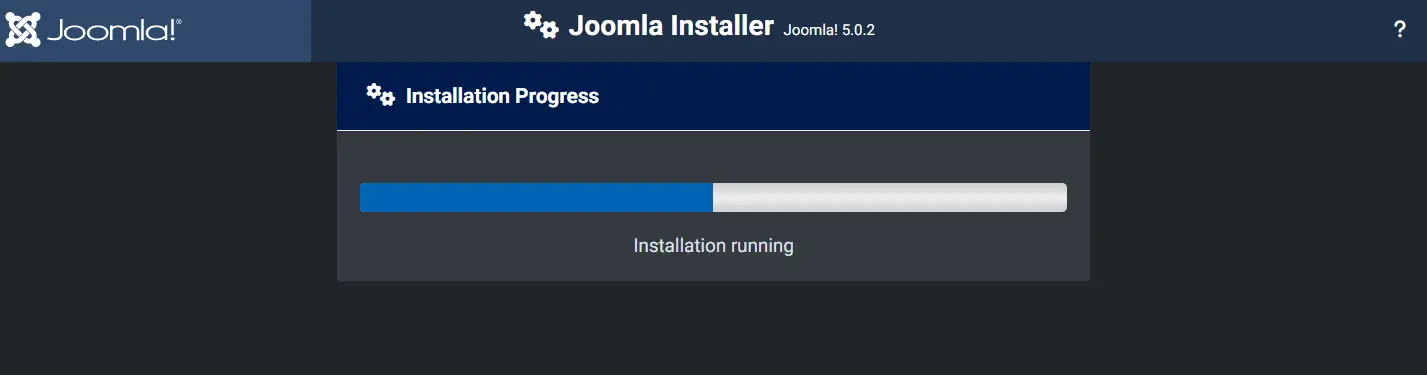
During the Joomla installation, you will see the following:
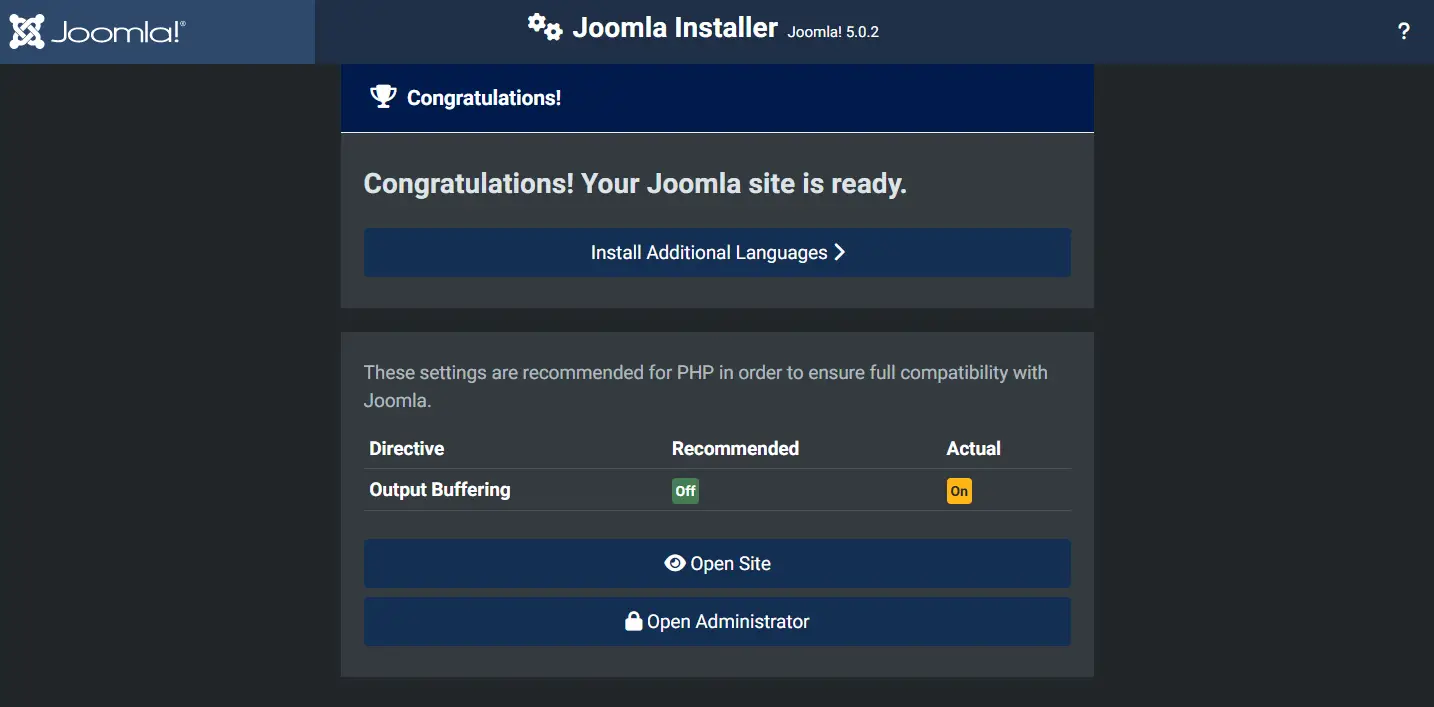
Once the Joomla installation is complete, you will get a message ‘Congratulations! Your Joomla site is ready‘.
From there, you can click both two links:
- Open Site to access the home page of your Joomla site.
- Open Administrator to open the admin login for Joomla, which is located at http://hwdomain.io/administrator.
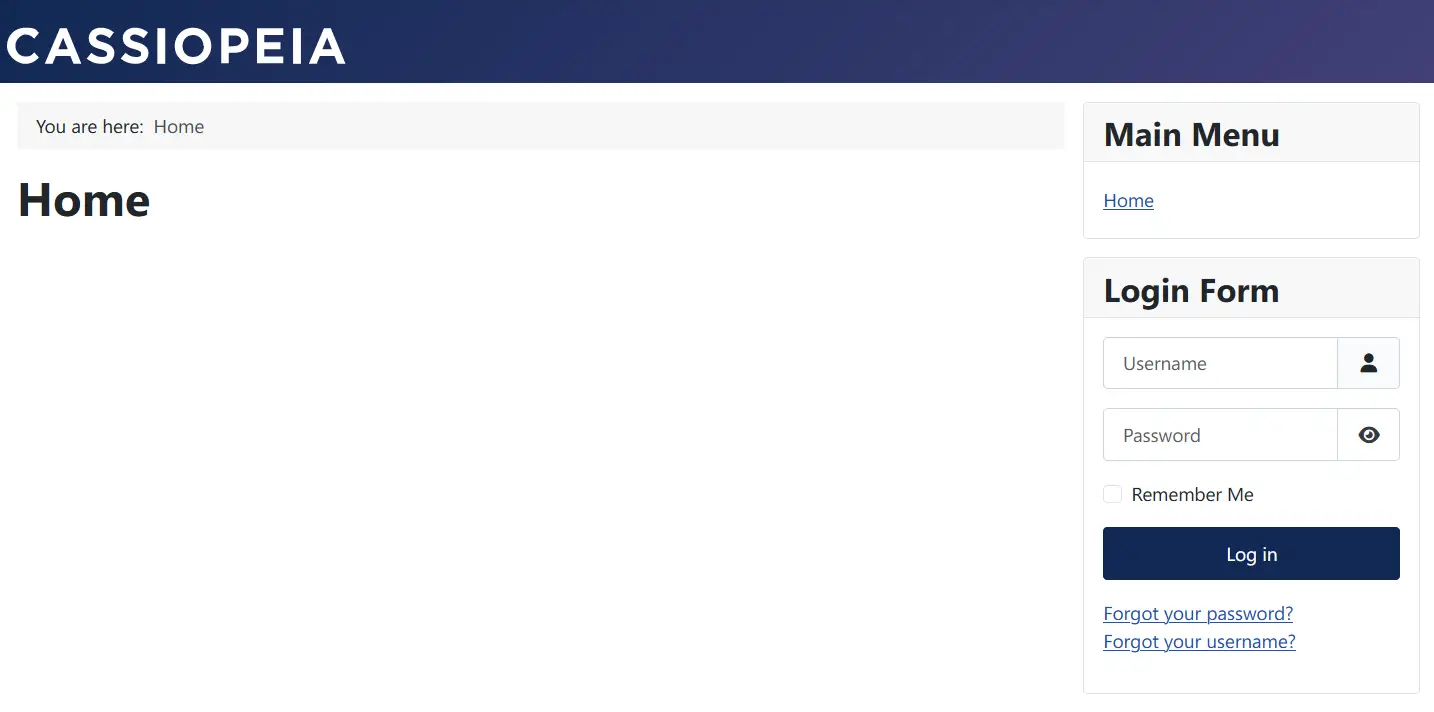
Below you can see the default home page for Joomla.
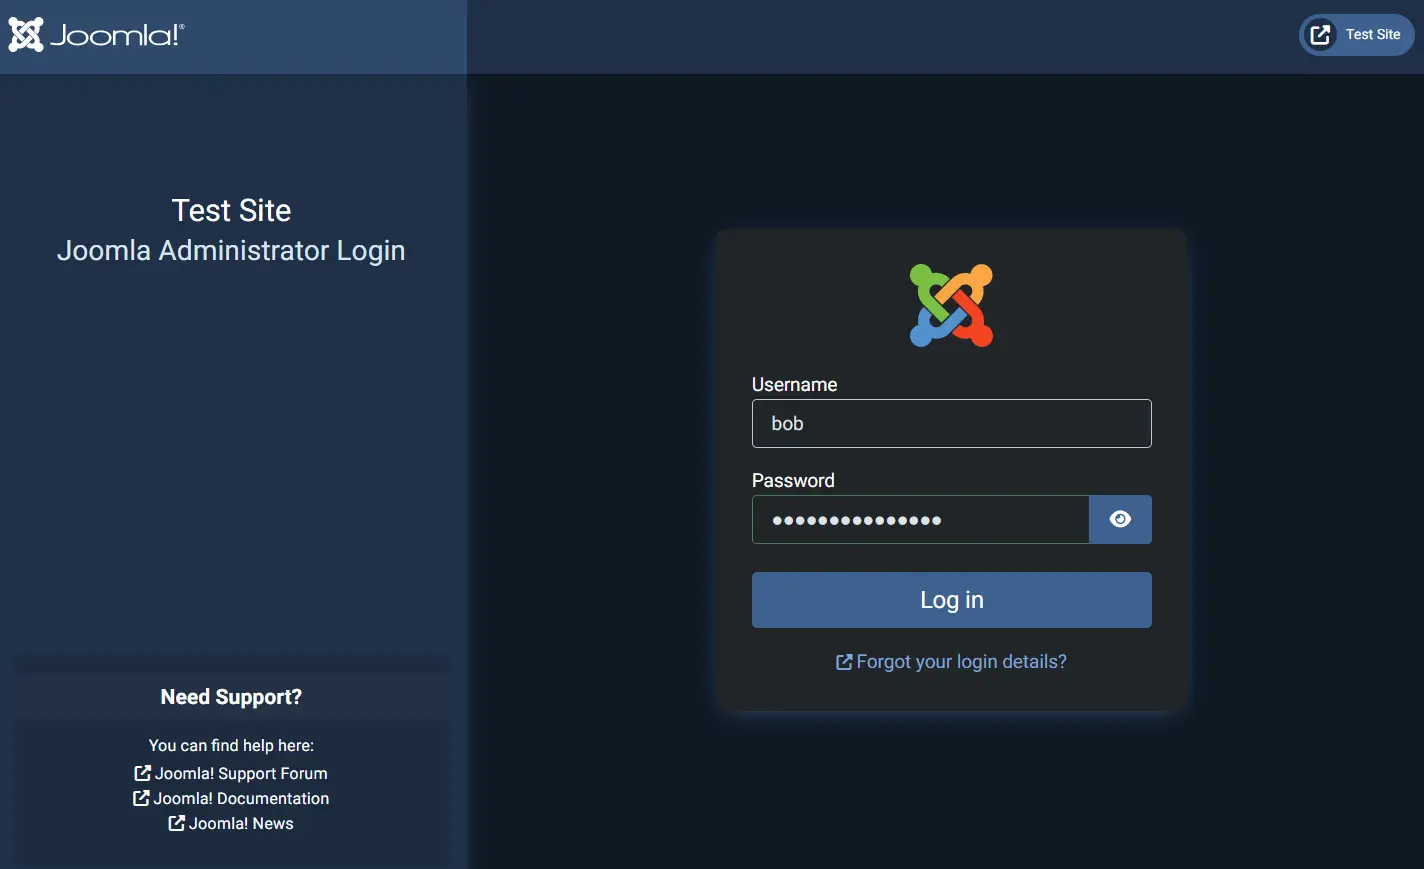
Below is the login page of the Joomla administrator. Input your username and password, then click Login.
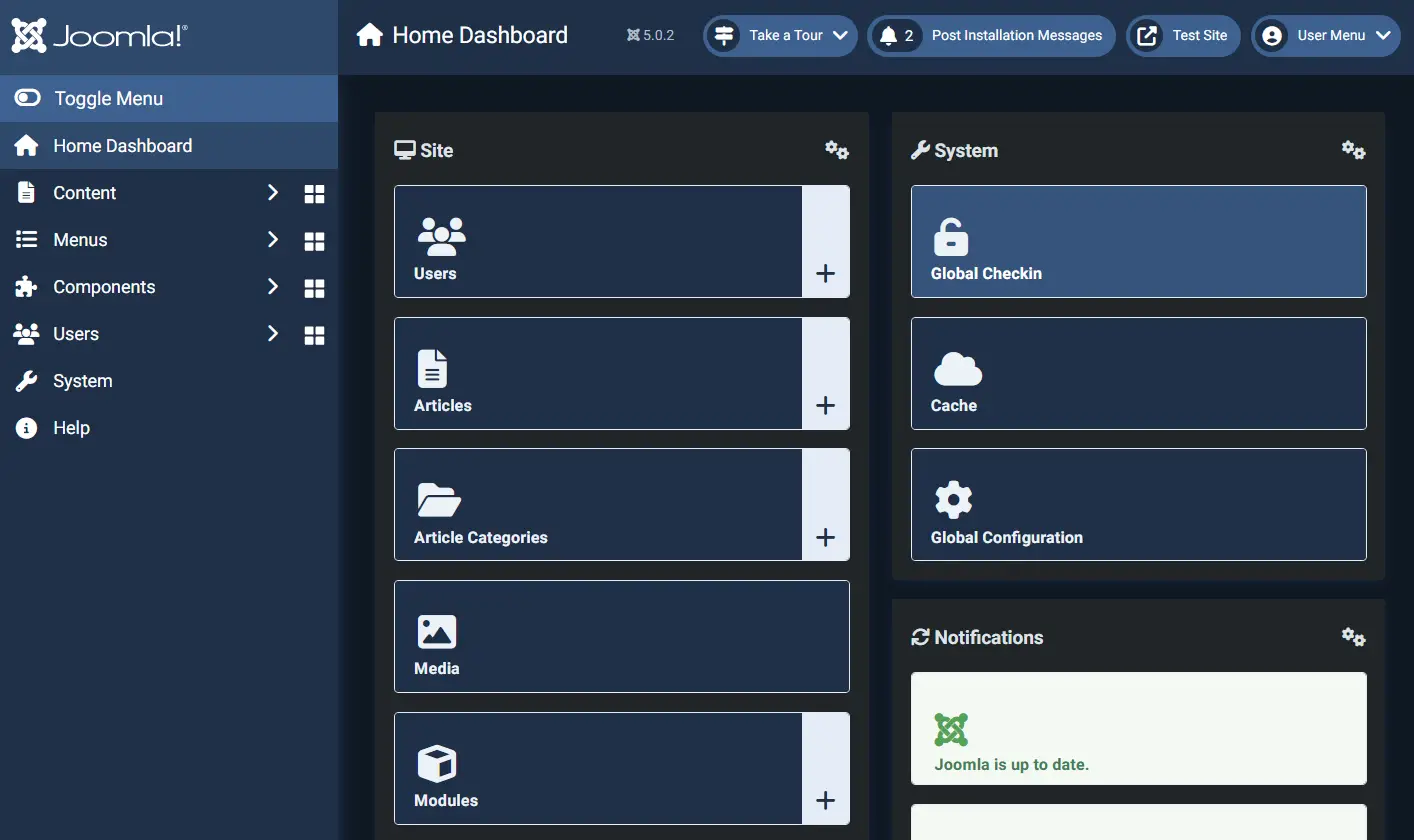
If you have correct admin user and password, you will get the Joomla administrator dashboard like the following:
With this, your Joomla installation on the AlmaLinux 9 server is finished.
Conclusion
Congratulations! You have completed the installation of the Joomla open-source content management system on the AlmaLinux 9 server. You have installed Joomla with the LAMP Stack (Apache/Httpd, MariaDB, and PHP), secured Joomla with SSL/TLS certificates from Letsencrypt, and configured firewalld to open both HTTP and HTTPS ports.


