
MSSQL Server or Microsoft SQL Server is an RDBMS (Relational Database Management System) developed by Microsoft. As a database server, it is used to store data for your applications. The SQL Server is ideal for multiple purposes of applications, you can use MS SQL Server as the database for your desktop applications, use it for your web applications, or any small server applications.
In this guide, we’ll show you how to install Microsoft SQL Server 2022 Edition on Debian 12 server. You will also learn how to install MS SQL Tools for interacting with MS SQL Server. In addition to that, you will learn some basic queries of MS SQL Server.
Prerequisites
To complete this guide, ensure you have the following:
- A Debian 12 server.
- A non-root user with sudo privileges.
Adding Microsoft SQL Repository
In this guide, we’ll be using the name MS SQL Server as a reference to the Microsoft SQL Server.
Before installing MS SQL Server, you must add the MS SQL Server repository to your Debian machine. And in this example, you will add the MS SQL Server 2022 repository to your Debian 12 server.
First, update your Debian repository and upgrade all packages using the command.
sudo apt update && sudo apt upgrade
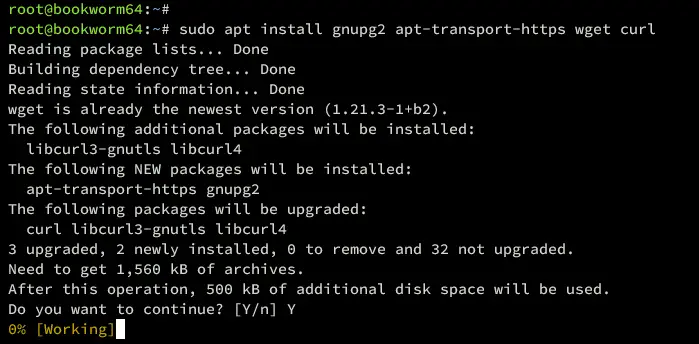
Now install package dependencies using the following command. Type y to confirm the installation.
sudo apt install gnupg2 apt-transport-https wget curl
After package dependencies are installed, add the GPG key for the MS SQL Server repository by running the command below.
wget -q -O- https://packages.microsoft.com/keys/microsoft.asc |
gpg --dearmor | sudo tee /usr/share/keyrings/microsoft.gpg > /dev/null 2>&1
Then, add the MS SQL Server repository with the command below. In this guide, you will install the MS SQL Server 2022.
echo "deb [signed-by=/usr/share/keyrings/microsoft.gpg arch=amd64,armhf,arm64] https://packages.microsoft.com/ubuntu/22.04/mssql-server-2022 jammy main" |
sudo tee /etc/apt/sources.list.d/mssql-server-2022.list
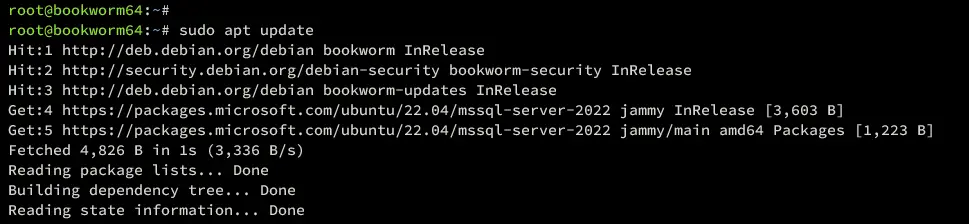
After adding the GPG key and repository of MS SQL Server, use the command below to refresh your Debian repository and retrieve package information for MS SQL Server.
sudo apt update
Installing Microsoft SQL Server
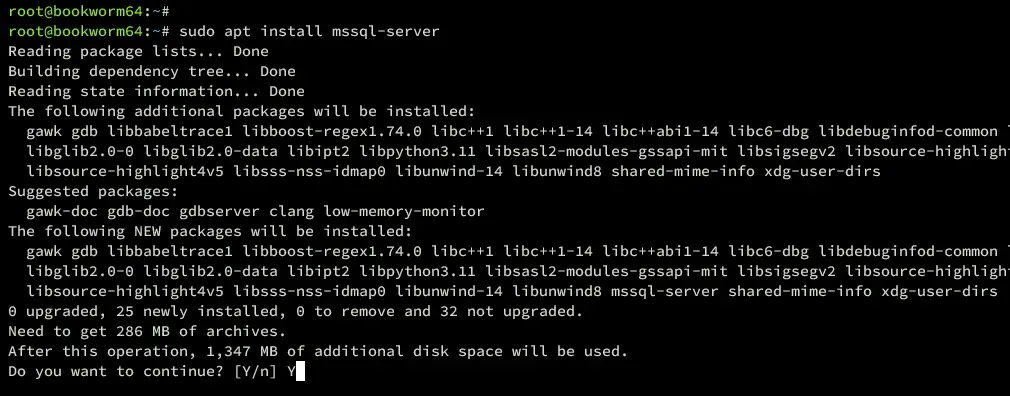
Now that you’ve added the MS SQL Server repository to your Debian system, let’s install it via the APT package manager. In this case, you will be installing MS SQL Server 2022 to your Debian server.
Install the MS SQL Server 2022 using the apt command below. When asked for confirmation, input y and press ENTER to confirm.
sudo apt install mssql-server
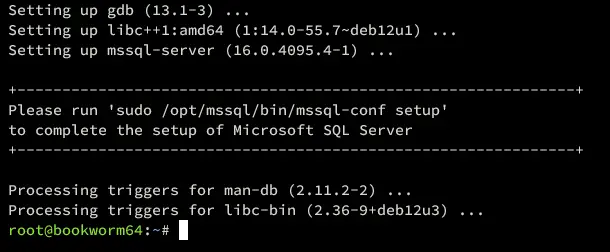
At the end of this process, you will see the instructions to complete the MS SQL Server installation.
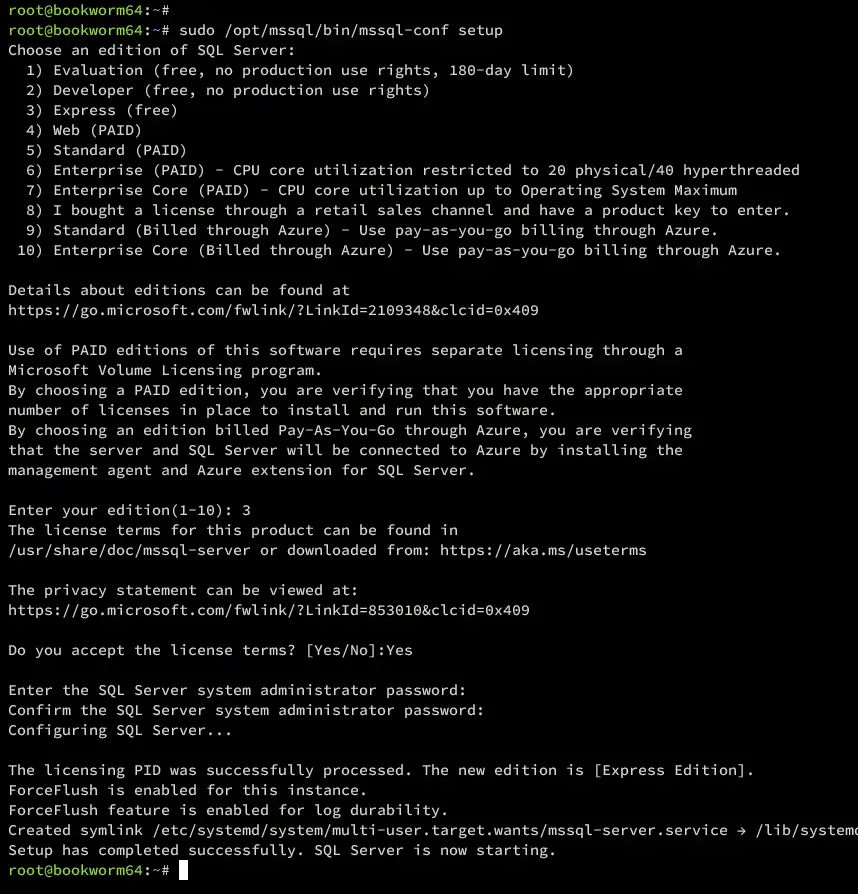
Run the command below to complete the MS SQL Server installation.
sudo /opt/mssql/bin/mssql-conf setup
Now you will be asked the following:
- Select the MS SQL Server edition? Type 3 to select the SQL Server Express.
- When asked for license terms? Type Yes to confirm.
- Now input the administrator password for your MS SQL Server and repeat.
With this, the configuration of MS SQL Server should be completed. It should be running on your Debian server.
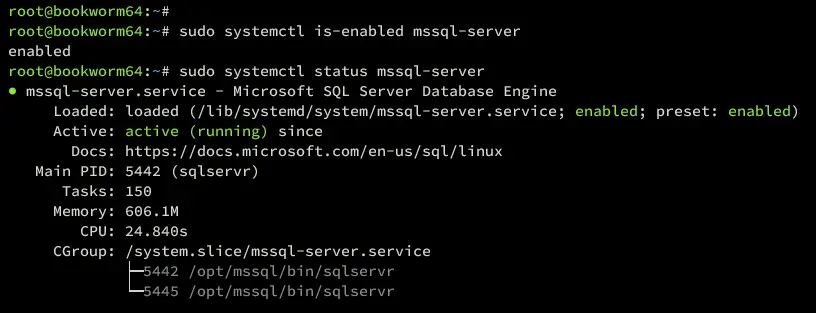
Verify the MS SQL Server service status using the command below. Ensure the MS SQL Server is running and enabled on your system.
sudo systemctl is-enabled mssql-server
sudo systemctl status mssql-server
Setting Up UFW
After the MS SQL Server is running, the next step is to set up UFW and open port 1433/tcp for the MS SQL Server. Be sure to connect
Install UFW (Uncomplicated Firewall) to your Debian machine using the command below. Type y to confirm when asked.
sudo apt install ufw
Once UFW is installed, run the ufw command below to add the OpenSSH profile and port 1433/tcp. And be sure to change the network subnet with your local network IP addresses.
The OpenSSH profile will allow traffic to SSH port 22, while port 1433/tcp is used for MS SQL Server traffic.
sudo ufw allow OpenSSH
sudo ufw allow 1433/tcpor
sudo ufw allow from 192.168.1.0/24 to any port 1433
Now start and enable UFW using the command below. When asked, type y to confirm and start UFW.
sudo ufw enable
If UFW is running, you will see the output ‘Firewall is active and enabled on system startup‘.
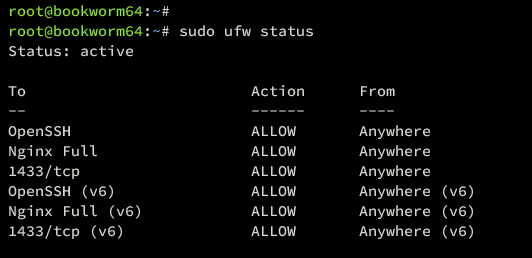
You can now verify the list of open ports and enabled profiles on UFW using the command below.
sudo ufw status
Ensure the OpenSSH profile and port 1433/tcp are added to UFW.
In this section, you will learn how to install MS SQL Tools on your client machine. This covers how to install MS SQL Tools on Linux Debian-based distributions and RedHat-based distributions.
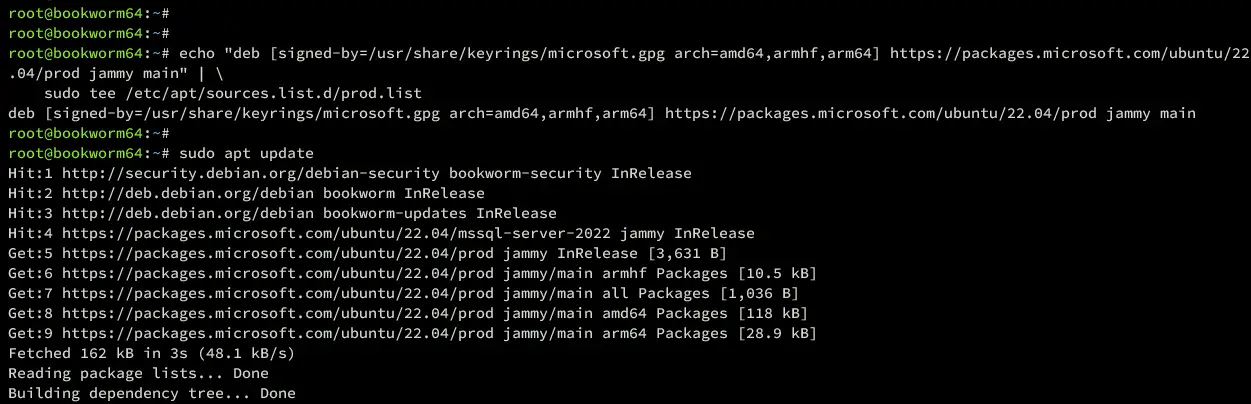
Add the MS SQL Tools repository and refresh your package index in your Debian/Ubuntu client using the command below.
For Debian/Ubuntu client machine:
echo "deb [signed-by=/usr/share/keyrings/microsoft.gpg arch=amd64,armhf,arm64] https://packages.microsoft.com/ubuntu/22.04/prod jammy main" |
sudo tee /etc/apt/sources.list.d/prod.listsudo apt update
For clients’ machine RedHat-based distributions:
sudo curl -o /etc/yum.repos.d/mssql-prod.repo https://packages.microsoft.com/config/rhel/9.0/prod.repo
sudo dnf repolist
Once the repository repository is added, run the command below to install MS SQL Tools on your client machine.
MS SQL Tools for Debian/Ubuntu distributions:
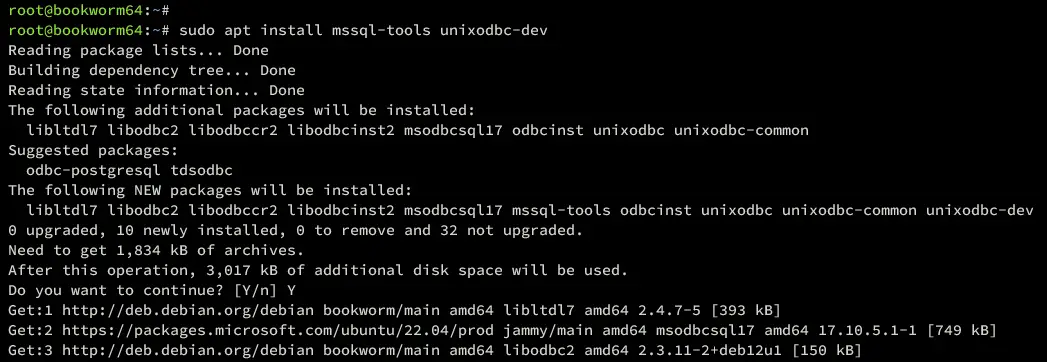
sudo apt install mssql-tools unixodbc-dev
MS SQL Tools for RHEL-based distributions:
sudo dnf install mssql-tools unixODBC-devel
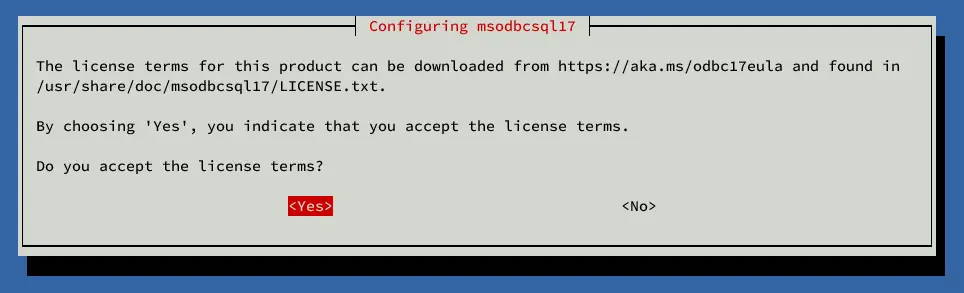
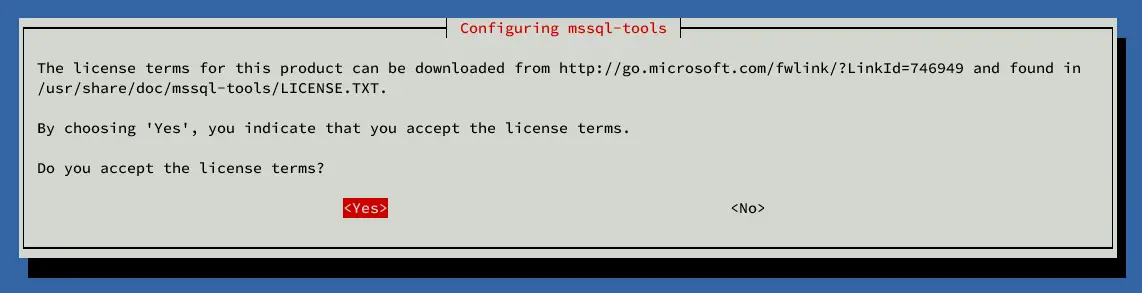
Input YES when asked for license terms of MS SQL Tools packages.
After the installation is complete, the MS SQL Tools should be installed in the /opt/mssql-tools/bin directory. You can check the /opt/mssql-tools/bin directory and you will see two binary files sqlcmd as the MS SQL client and bcp for importing data to the SQL Server.
ls -ah /opt/mssql-tools/bin
Next, add the /opt/mssql-tools/bin directory to the system PATH using the command below.
echo 'export PATH="$PATH:/opt/mssql-tools/bin"' >> /etc/environment
Now load the /etc/environment file and verify PATH using the command below. Ensure the /opt/mssql-tools/bin directory is added to your system PATH.
source /etc/environment
echo $PATH
Lastly, run the following command to locate both binary files sqlcmd and bcp.
which sqlcmd
which bcp
You can now execute both ‘sqlcmd‘ and ‘bcp‘ commands like this:
sqlcmd -?
bcp -?
Connecting to MS SQL Server via sqlcmd
Now that you have installed the MS SQL Tools on your client machine, the next step is to connect to your MS SQL Server.
To connect to your MS SQL Server, run the sqlcmd command below. Input your administrator password when asked.
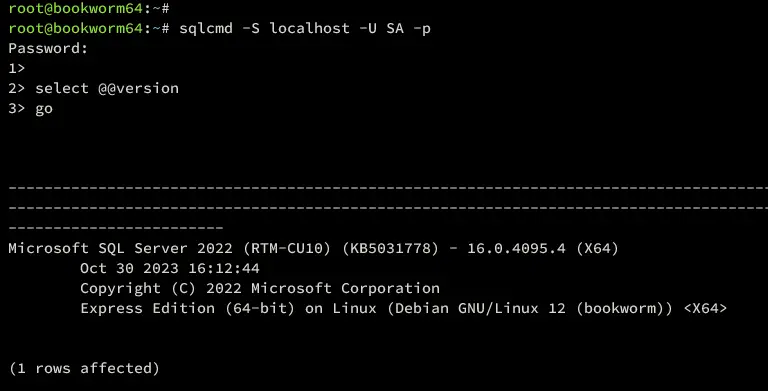
sqlcmd -S localhost -U SA -p
Once connected, run the following query to verify your MS SQL Server version.
select @@version
go
You will see that you’ve installed MS SQL Server 2022.
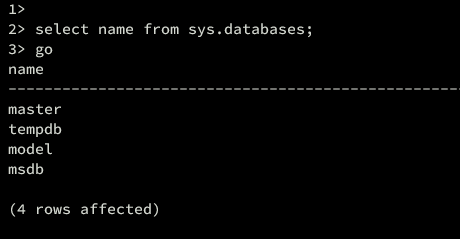
Now verify the list of databases on your MS SQL Server using the query below.
select name from sys.databases;
go
You will see default databases master, tempdb, model, and msdb on the MS SQL Server.
Creating Database and User in MS SQL Server
Once you’ve connected to the MS SQL Server, now you can create a new user and database on the MS SQL Server.
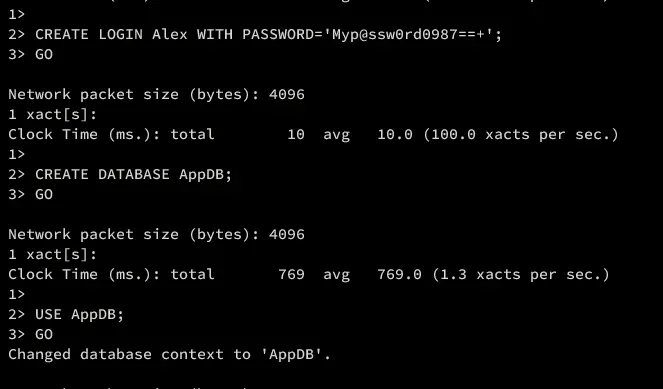
TO create a new login and user on MS SQL Server, execute the following queries. In this example, you will create a new login Alex with the password ‘Myp@ssw0rd0987== ‘.
CREATE LOGIN Alex WITH PASSWORD='Myp@ssw0rd0987== ';
GO
After that create a new database ‘AppDB‘ and switch to it using the following queries.
CREATE DATABASE AppDB;
GO
USE AppDB;
GO
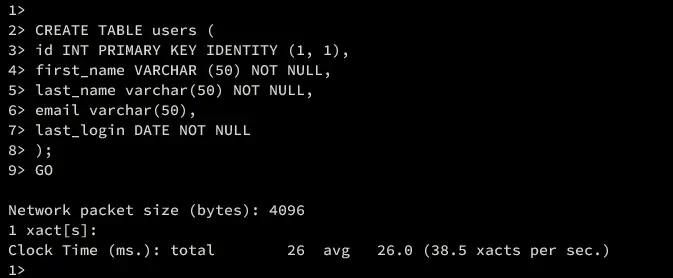
Now run the following queries to create new table users.
CREATE TABLE users (
id INT PRIMARY KEY IDENTITY (1, 1),
first_name VARCHAR (50) NOT NULL,
last_name varchar(50) NOT NULL,
email varchar(50),
last_login DATE NOT NULL
);
GO
Then create a new user ‘Alex‘ for login ‘Alex‘ using the query below.
CREATE USER Alex FOR LOGIN Alex;
GO
Once the user is created, run the query below to grant privileges of table users to user Alex.
GRANT SELECT, INSERT, UPDATE, DELETE ON users TO Alex;
GO
Type quit to exit.
Insert and Retrieve Data in Microsoft SQL Server
With the new database and user created, the next step is to verify your database by connecting to the MS SQL Server using your user, specifically to your database.
Now run the ‘sqlcmd‘ command below to connect to your database using your login user. Input your password when prompted.
sqlcmd -S localhost -U Alex -d AppDB -p
Once logged in, run the following query to insert new data to the table ‘users’.
INSERT INTO users (first_name, last_name, email, last_login) VALUES ('Alex', 'Seed', '[email protected]', '20221201');
GO
Now you can run the SELECT query below to retrieve your data in MS SQL Server.
SELECT * FROM users;
GO
You can now type quit to exit.
Conclusion
Congratulations! You have now completed the installation of Microsoft SQL Server 2022 on the Debian 12 server. You’ve also learned how to install MS SQL Tools on Debian-based and RedHat-based distributions and learned how to connect to MS SQL Server via the ‘sqlcmd’ command.
Furthermore, you have also learned the basic usage of MS SQL queries for creating databases and users, creating tables, and inserting and retrieving data in the MS SQL Server.


