Nagios is free and open-source software for monitoring systems, networks, and infrastructures. It is a powerful monitoring system that allows you to detect and fix problems in your IT infrastructure.
Nagios helps you detect all kinds of network and server problems, provides active monitoring for your entire infrastructure and business processes, and provides an alert service for any problem that occurs in your infrastructure.
This tutorial will show you how to install Nagios on Debian Buster 10. We will manually install Nagios Core 4.4.5 and Nagios Plugins 2.3.2 from source.
Prerequisites
For this guide, we will install Nagios on Debian Buster 10 with 2 GB RAM, 25 free disk space, and 2 CPUs.
What are we going to do?
- Install packages Dependencies
- Compile and install Nagios Core 4.4.5
- Compile and install Nagios Plugins 2.3.2
- Set up Apache web server
- Set up Nagios Core
- Testing
Step 1 – Install package dependencies
First we install the package dependencies for compiling and installing Nagios, including GCC for compilation, Apache and PHP packages for the Nagios frontend.
Install the dependent packages using the apt command below.
sudo apt install build-essential unzip openssl libssl-dev apache2 php libapache2-mod-php php-gd libgd-dev
Once the installation is complete, we can compile and install Nagios.
Step 2 – Install Nagios Core
In this section, we will install Nagios Core 4.4.5 from source code. We will download the source code of Nagios Core, compile it and install it on the Debian 10 system.
Download the Nagios Core source code using the wget command below.
wget https://assets.nagios.com/downloads/nagioscore/releases/nagios-4.4.5.tar.gz
Unzip the Nagios Core source code and change to the appropriate directory.
tar -xf nagios-4.4.5.tar.gz
cd nagios-4.4.5/

Compile the Nagios Core with the following command.
./configure --with-httpd-conf=/etc/apache2/sites-enabled
make all
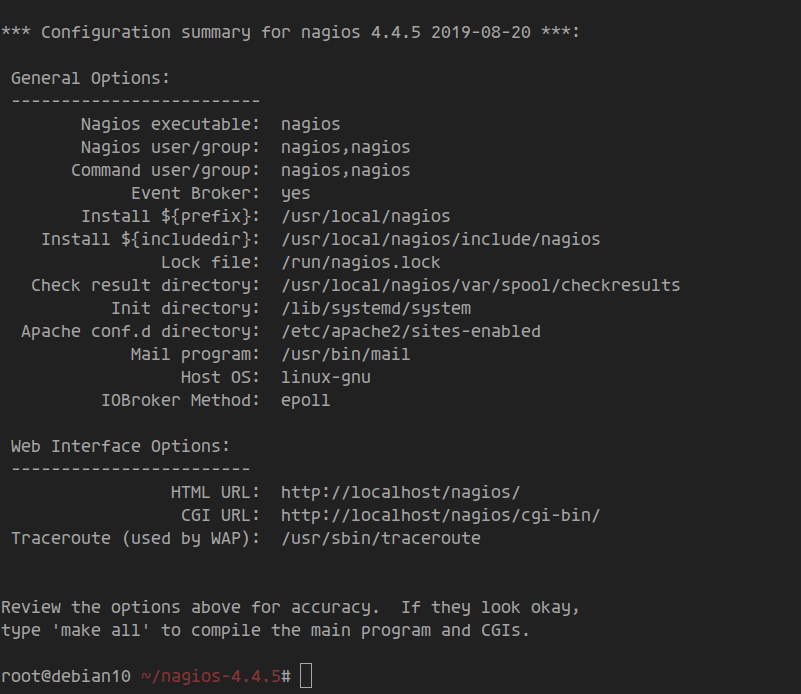
Then create a new Nagios user and a new Nagios group and add the Nagios user to “www-data”.
make install-groups-users
usermod -aG nagios www-data
Install the Nagios binaries, CGIs and HTML files.
make install
Install the Nagios core service file for systemd.
make install-daemoninit
Install and configure the external command mode.
make install-commandmode
Install an example of the Nagios configurations on the system.
make install-config
Now install the Apache web server configurations for the Nagios frontend.
make install-webconf
This completes the installation of Nagios Core. The default installation directory for Nagios Core is located in the “https://vitux.com/usr/local/nagios” directory.
Step 3 – Install Nagios plugins
Nagios Core needs a Nagios plugin to work properly. It allows you to monitor your infrastructure with Nagios, including operating systems, services, databases, logs and more.
By default, the Nagios plugins provide over 50 plugins for monitoring your basic infrastructure.
For this step, we will use the latest version of the Nagios plugin 2.3.2 from the source code.
Download the source code of the Nagios plugins using the wget command below.
wget http://www.nagios-plugins.org/download/nagios-plugins-2.3.2.tar.gz
Unzip the source code of the Nagios plugins and change to the current directory.
tar -xf nagios-plugins-2.3.2.tar.gz
cd nagios-plugins-2.3.2/
Compile Nagios Plugins with the following command.
./configure --with-nagios-user=nagios --with-nagios-group=nagios --with-openssl
make
Then install the Nagios plugins with the following command.
make install
As a result, the Nagios plugins are now installed on Debian 10. The default installation directory is located in the directory “https://vitux.com/usr/local/nagios/libexec”.
Go to the directory “https://vitux.com/usr/local/nagios/libexec” and check all files of the Nagios plugins.
cd /usr/local/nagios/libexec
ls -la
Below you can see the result you will get.

Step 4 – Set up the Apache web server
The default Apache configuration for Nagios is automatically created during the Nagios installation section.
In this step, we need to enable the Apache modules (rwrite and cgi) and secure the Nagios dashboard with a new basic authentication.
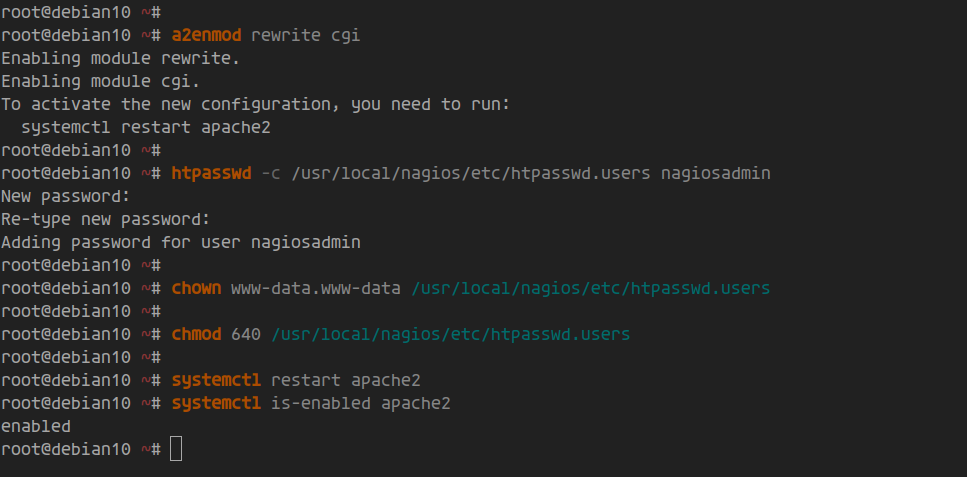
Activate the Apache modules for Nagios using the “a2enmod” command below.
a2enmod rewrite cgi
Next, use the htpasswd command to create a new password authentication for Nagios with the user “nagiosadmin”.
htpasswd -c /usr/local/nagios/etc/htpasswd.users nagiosadmin
Enter your password for the user “nagiosadmin” and you have already created a basic authentication for Nagios.
Now change the owner and authorization of the Nagios basic authentication file.
chown www-data.www-data /usr/local/nagios/etc/htpasswd.users
chmod 640 /usr/local/nagios/etc/htpasswd.users
Then restart the Apache2 service.
systemctl restart apache2
systemctl is-enabled apache2
This completes the Apache2 configuration for Nagios.
Step 5 – Set up Nagios Core
By default, the Nagios core is located in the “https://vitux.com/usr/local/nagios/etc” directory.
Now go to the directory “https://vitux.com/usr/local/nagios/etc” and edit the Nagios configuration “nagios.cfg” with the editor vim.
vim /usr/local/nagios/etc/nagios.cfg
Save the comments in the configuration.
cfg_dir=/usr/local/nagios/etc/servers
Save and close.
Now create a new directory for the server configurations ‘/usr/local/nagios/etc/servers’.
mkdir -p /usr/local/nagios/etc/servers
This will save all Nagios client configurations in the ‘/usr/local/nagios/etc/servers’ directory.
Next, edit the Nagios contact configuration and change the contact email with your own.
Edit the Nagios contact configuration “https://vitux.com/usr/local/nagios/etc/objects/contacts.cfg” with the editor vim.
vim /usr/local/nagios/etc/objects/contacts.cfg
In the configuration “define contact { … }’, change the e-mail address to your own.
define contact {

    ....
    ....
    email   [email protected];
}
Save and close.
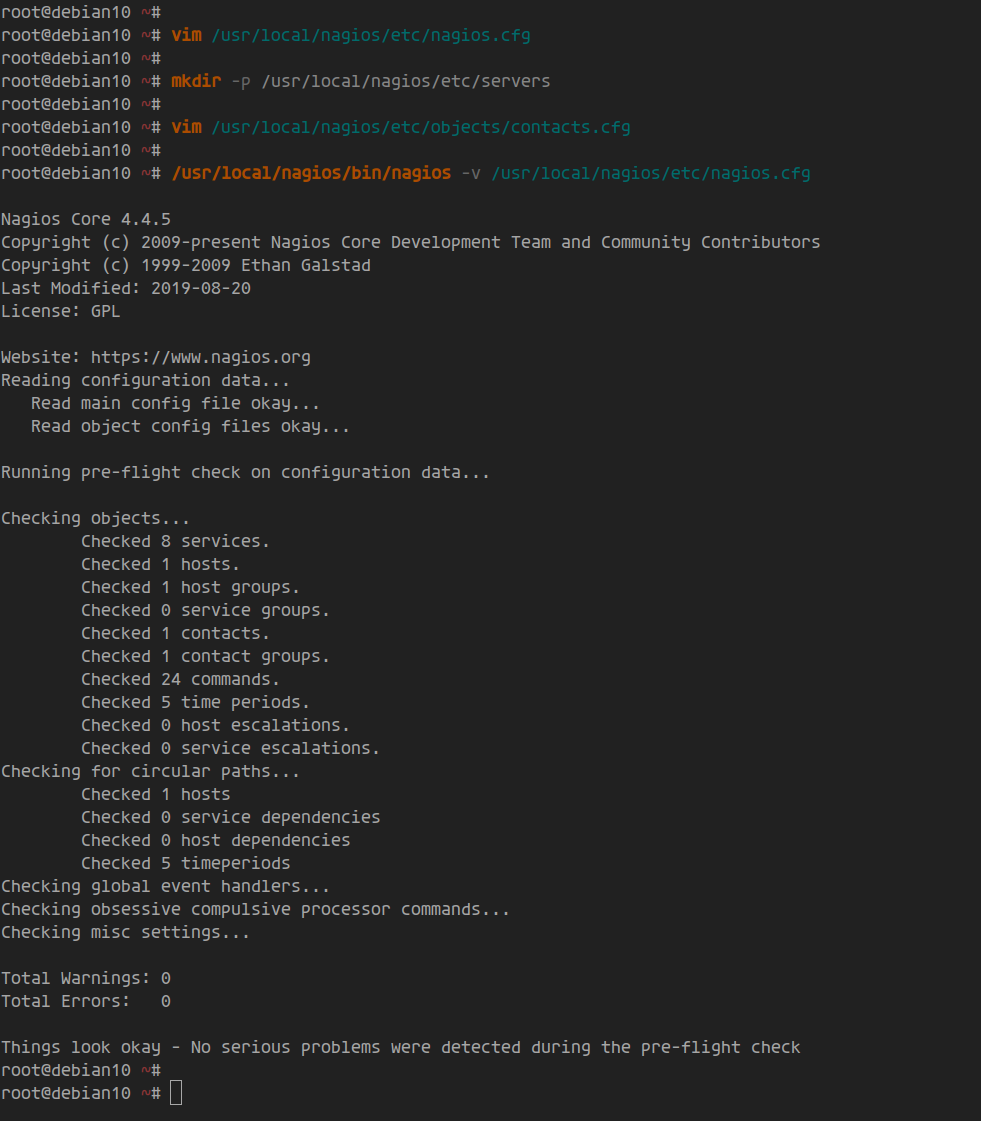
Now check the Nagios configuration and make sure that there are no errors.
/usr/local/nagios/bin/nagios -v /usr/local/nagios/etc/nagios.cfg
Then restart the Nagios service and add it to the system startup.
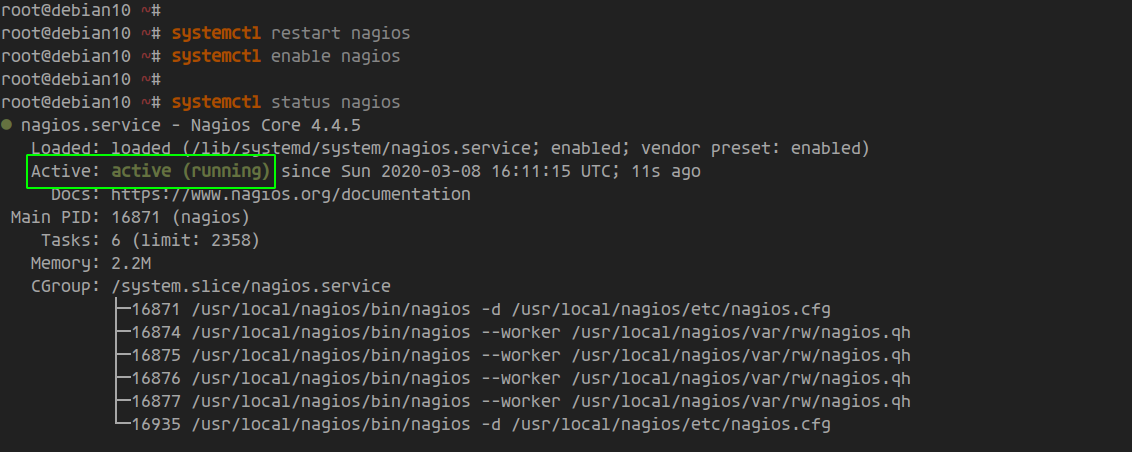
systemctl restart nagios
systemctl enable nagios
If the Nagios service is running, check it with the following command.
systemctl status nagios
Below you can see the result you will get.
Step 6 – Testing
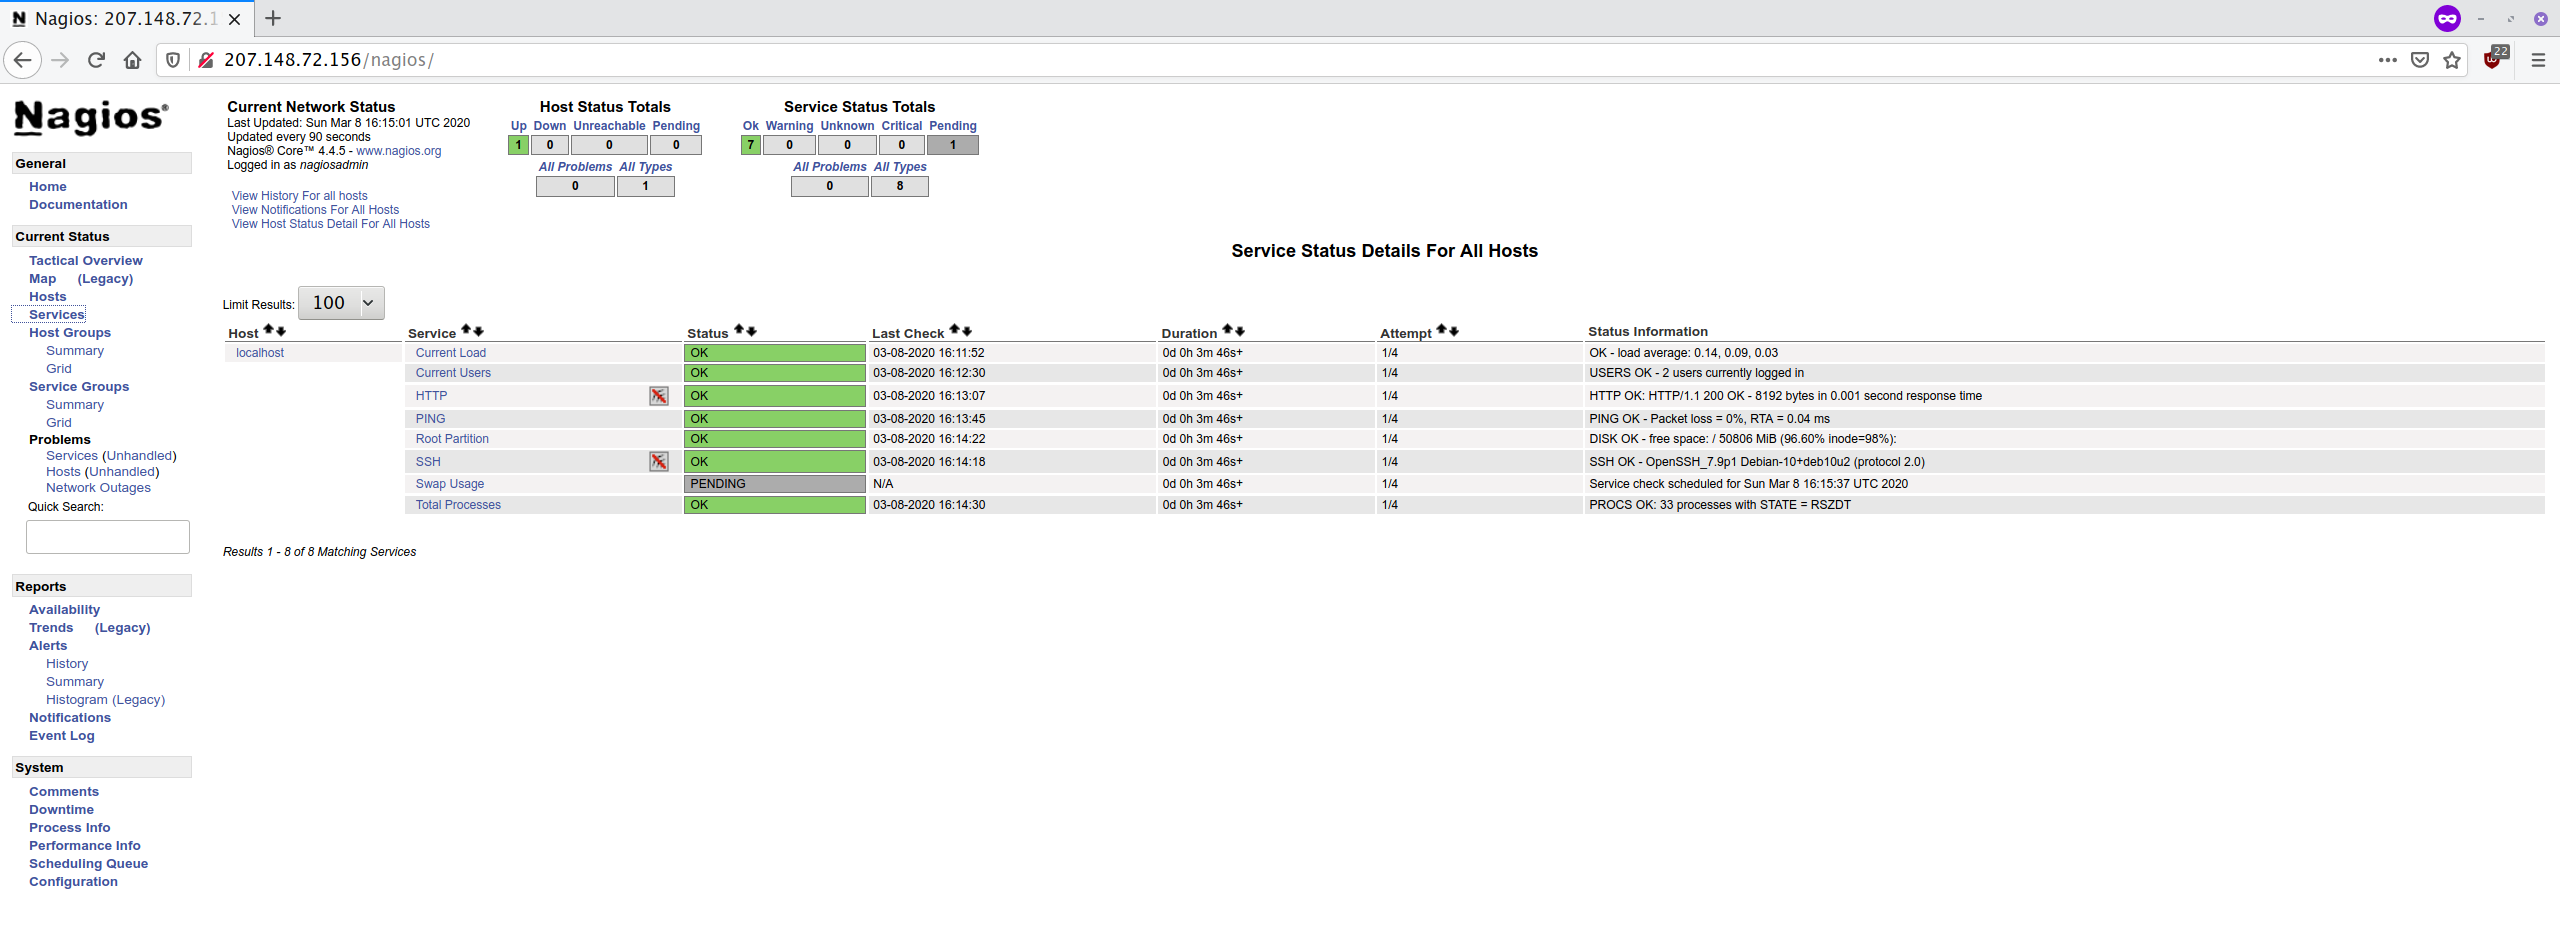
Open your web browser and enter the IP address of the server followed by the path “https://vitux.com/nagios”.
http://10.5.5.25/nagios/
Now you will be asked for the Apache basic authentication for Nagios.

Enter the user “nagiosadmin” and the password with your own and then click on the “Login” button.
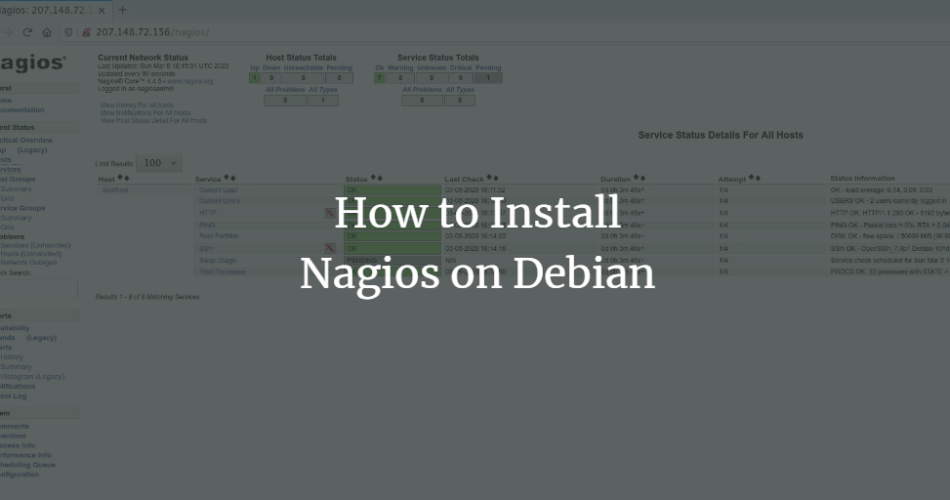
You will now see the Nagios dashboard as shown below.
This completes the Nagios installation on Debian 10.
