
Nextcloud AIO stands for Nextcloud All in One. It is a docker-based installer that makes deploying Nextcloud a breeze. It ships with the following features and applications:
- Nextcloud
- Nextcloud Office – it is based on the Collabora Online Development Edition (CODE) which in turn is based on LibreOffice. You can use it to edit documents in real-time with multiple editors. It supports all the popular office file formats.
- Nextcloud Talk – it is an audio/video and chat communication service. It supports encrypted calls, group calls, screen sharing, WebRTC for cross-platform support, and hosting webinars.
- Imaginary – for high-level image processing and conversion.
- ClamAV – for protection against viruses and malware.
- Borgbackup – provides an in-built backup and restore facility.
- ElasticSearch – for supporting full-text search across documents and files.
Prerequisites
-
A server running Ubuntu 22.04 with a minimum of 1GB of RAM and 1 vCPU. If you want to use ClamAV, you will need an additional 1GB of RAM. You will need an additional 1GB of RAM for ElasticSearch (fulltextsearch), and Nextcloud Talk as well. With all the addons enabled, you will need a minimum of 4GB RAM and 2vCPU.
-
A fully qualified domain name (FQDN) pointing to your server. For our purposes, we will use
nextcloud.example.comas the domain name. -
A non-root user with sudo privileges.
-
The uncomplicated Firewall(UFW) is enabled and running.
-
Make sure everything is updated.
$ sudo apt update && sudo apt upgrade
-
Install basic utility packages. Some of them may already be installed.
$ sudo apt install wget curl nano unzip -y
Step 1 – Configure Firewall
Before installing any packages, the first step is configuring the firewall to allow HTTP and HTTPS connections.
Check the status of the firewall.
$ sudo ufw status
You should see something like the following.
Status: active

To                         Action      From
--                         ------      ----
OpenSSH                    ALLOW       Anywhere
OpenSSH (v6)               ALLOW       Anywhere (v6)
Allow HTTP and HTTPs ports for the actual Nextcloud instance.
$ sudo ufw allow http
$ sudo ufw allow https
Open port 3478 for Nextcloud Talk. You can skip it if you won’t be using it.
$ sudo ufw allow 3478
Open ports 8080, and 8443 for providing HTTP, and HTTPS support for the AIO interface.
$ sudo ufw allow 8080/tcp
$ sudo ufw allow 8443/tcp
Check the status again to confirm.
$ sudo ufw status
Status: active

To                         Action      From
--                         ------      ----
OpenSSH                    ALLOW       Anywhere
80/tcp                     ALLOW       Anywhere
443                        ALLOW       Anywhere
8080/tcp                   ALLOW       Anywhere
8443/tcp                   ALLOW       Anywhere
3478                       ALLOW       Anywhere
OpenSSH (v6)               ALLOW       Anywhere (v6)
80/tcp (v6)                ALLOW       Anywhere (v6)
443 (v6)                   ALLOW       Anywhere (v6)
8080/tcp (v6)              ALLOW       Anywhere (v6)
8443/tcp (v6)              ALLOW       Anywhere (v6)
3478 (v6)                  ALLOW       Anywhere (v6)
Step 2 – Configure Hostname and Timezone
Before proceeding ahead, we need to set the proper hostname for the system.
Open the hostname file for editing.
$ sudo nano /etc/hostname
Change the value to your fully qualified domain name.
nextcloud.example.com
Save the file by pressing Ctrl X and entering Y when prompted.
Open the host file for editing.
$ sudo nano /etc/hosts
Add the following line after the line 127.0.0.1 localhost. Replace any existing lines with the IP 127.0.1.1 ubuntu-master if present with the following.
nextcloud.example.com nextcloud
Save the file by pressing Ctrl X and entering Y when prompted.
Check the current timezone of the server.
$ timedatectl
Local time: Sun 2022-10-09 13:21:01 UTC
           Universal time: Sun 2022-10-09 13:21:01 UTC
                 RTC time: Sun 2022-10-09 13:21:01
                Time zone: Etc/UTC (UTC,  0000)
System clock synchronized: no
              NTP service: n/a
          RTC in local TZ: no
You can view the list of available time zones using the following command.
$ timedatectl list-timezones
...
Africa/Abidjan
Africa/Accra
Africa/Addis_Ababa
Africa/Algiers
Africa/Asmara
Africa/Asmera
Africa/Bamako
Africa/Bangui
...
If it doesn’t match your preference, change it by using the following command.
$ sudo timedatectl set-timezone America/Chicago
Reboot the server.
$ sudo reboot
You can now log in to the server as follows.
$ ssh [email protected]
Step 3 – Install Docker
Add Docker’s official GPG key.
$ curl -fsSL https://download.docker.com/linux/ubuntu/gpg | sudo gpg --dearmor -o /usr/share/keyrings/docker.gpg
Run the following command to add the Docker repository.
$ echo
  "deb [arch=$(dpkg --print-architecture) signed-by=/usr/share/keyrings/docker.gpg] https://download.docker.com/linux/ubuntu
  $(lsb_release -cs) stable" | sudo tee /etc/apt/sources.list.d/docker.list > /dev/null
Update the system to include Docker’s repository.
$ sudo apt update
Install Docker and the Docker compose plugin.
$ sudo apt-get install docker-ce docker-ce-cli containerd.io docker-compose-plugin
This tutorial will be using the Docker Compose v2 plugin instead of the older legacy binary. Therefore, the command for running it has changed from docker-compose to docker composeand this is reflected here.
Docker runs with elevated privileges so you will need to use sudo frequently to run commands. The better option is to add your Linux user account to the docker user group.
$ sudo usermod -aG docker ${USER}
The ${USER} variable picks up the currently logged-in system account. If you are not logged in with the user you want to give privileges to, replace ${USER} with the username.
To apply for the new group membership, log out of the server and back in, or use the following command. You will be prompted for the user’s password.
$ su - ${USER}
Step 4 – Configure Docker Compose File
Create a directory for the Docker compose file.
$ mkdir ~/nextcloud-aio
Switch to the directory.
$ cd ~/nextcloud-aio
Create and open the docker compose file for editing.
$ nano docker-compose.yml
Paste the following code in it.
version: "3.8"

volumes:
  nextcloud_aio_mastercontainer:
    name: nextcloud_aio_mastercontainer # This line is not allowed to be changed

services:
  nextcloud:
    image: nextcloud/all-in-one:latest # Must be changed to 'nextcloud/all-in-one:latest-arm64' when used with an arm64 CPU
    restart: always
    container_name: nextcloud-aio-mastercontainer
    volumes:
      - nextcloud_aio_mastercontainer:/mnt/docker-aio-config # This line is not allowed to be changed
      - /var/run/docker.sock:/var/run/docker.sock:ro
    ports:
      - 80:80
      - 8080:8080
      - 8443:8443
Save the file by pressing Ctrl X and entering Y when prompted.
Step 5 – Run Nextcloud AIO
Create and launch the Docker container.
$ docker compose up -d
Check the status of the container.
$ docker compose ps
You will see the following output.
NAME                            COMMAND                  SERVICE             STATUS              PORTS
nextcloud-aio-mastercontainer   "start.sh /usr/bin/s…"   nextcloud           running (healthy)   0.0.0.0:80->80/tcp, :::80->80/tcp, 0.0.0.0:8080->8080/tcp, :::8080->8080/tcp, 0.0.0.0:8443->8443/tcp, :::8443->8443/tcp
You can also use the command docker ps to get a more detailed status. To check the container logs, use the command docker logs .
Step 6 – Access Nextcloud AIO
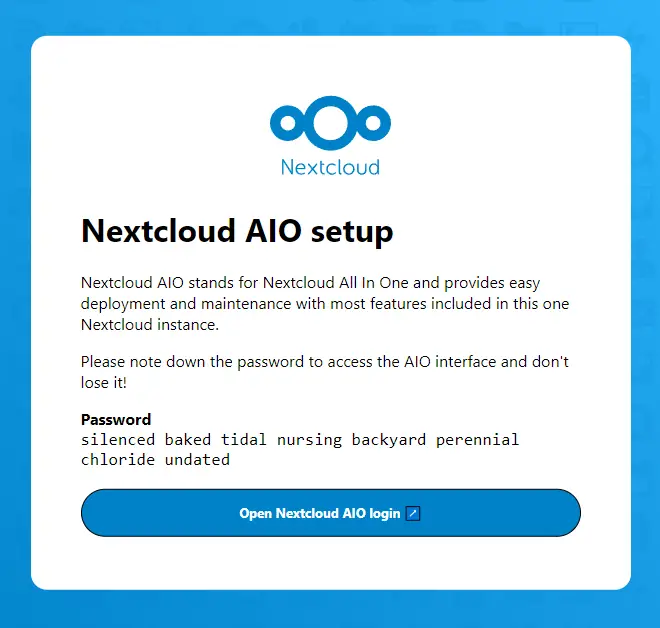
Open the URL https://nextcloud.example.com:8443and you will get the following screen.
Copy the password shown on the screen and click the Open Nextcloud AIO login button.
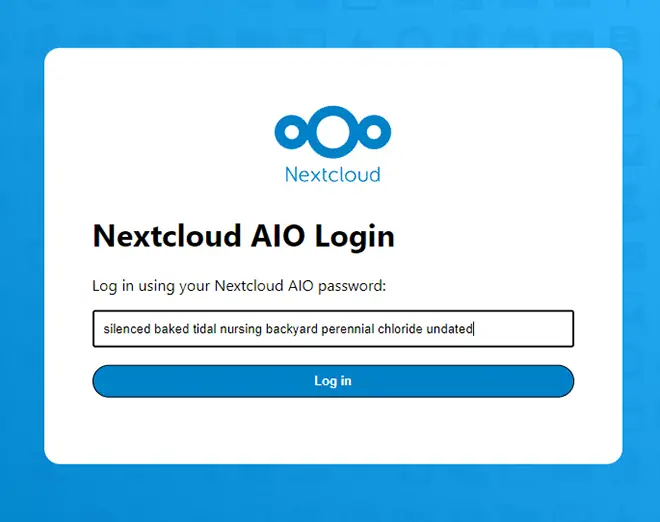
Enter the password and click the Log in button to proceed.
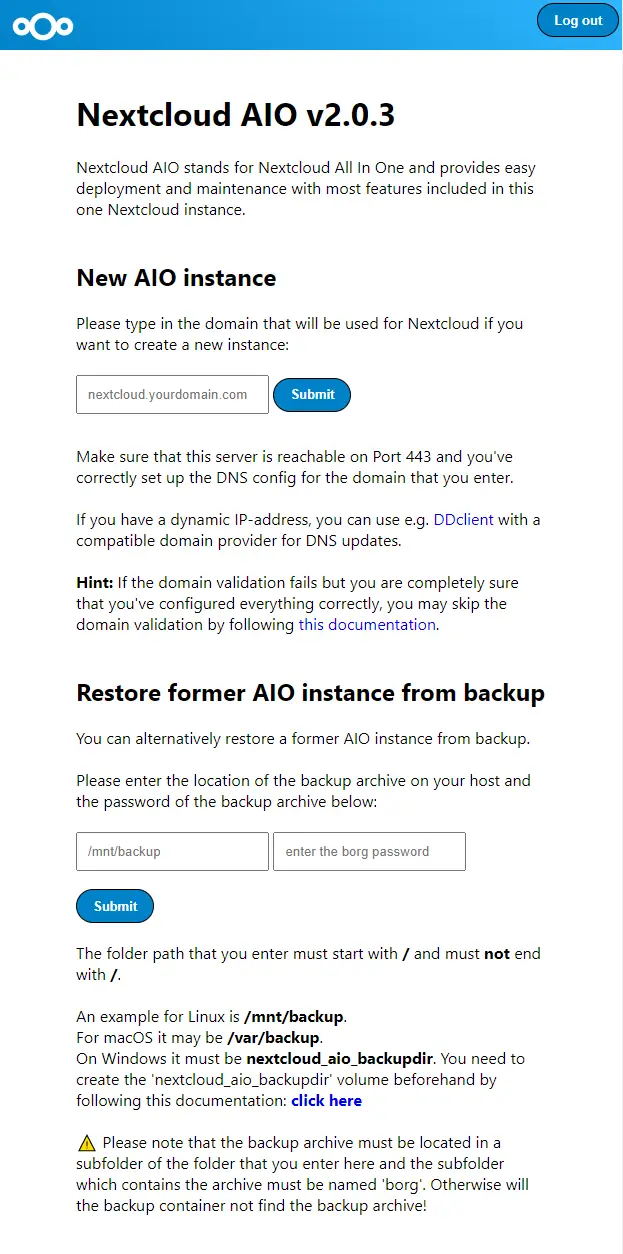
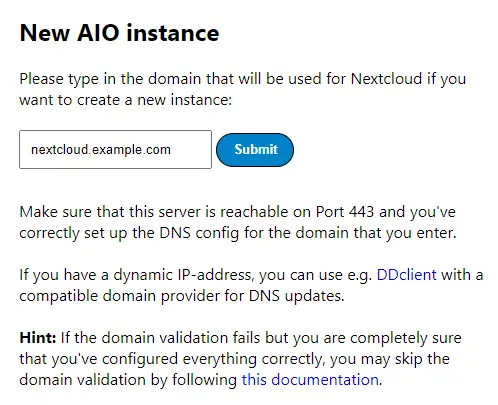
Enter your domain name nextcloud.example.com under the New AIO Instance section and click the Submit button to start installing Nextcloud.
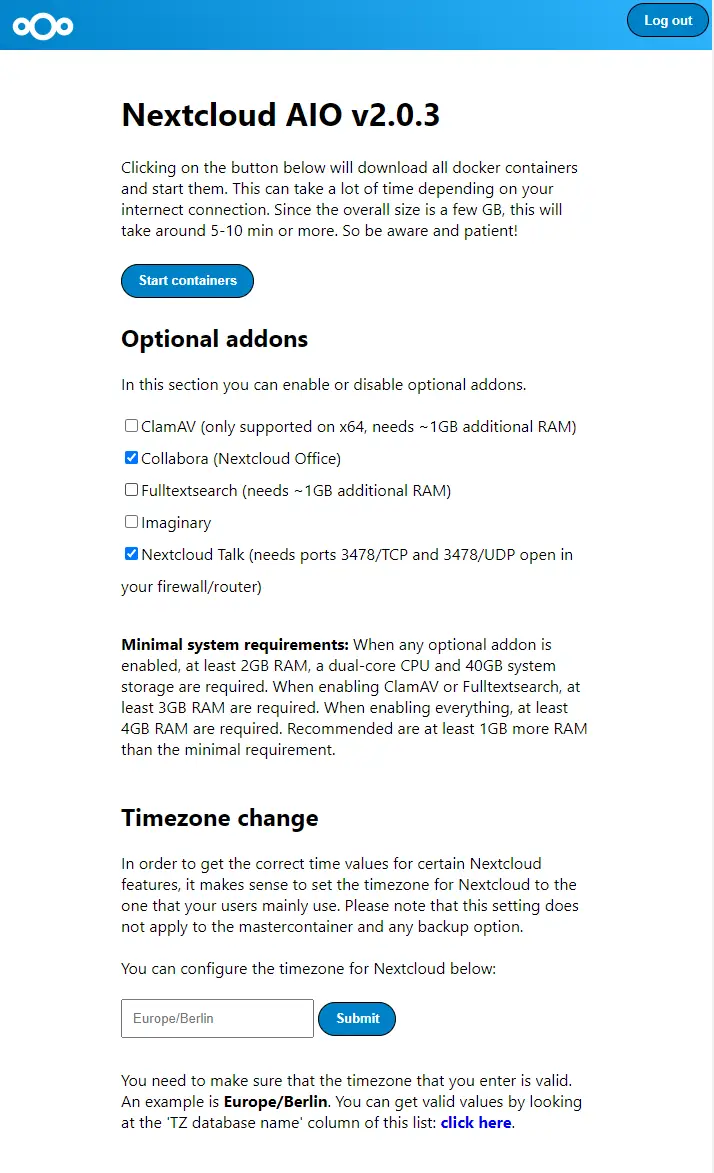
It will take you to the following page.
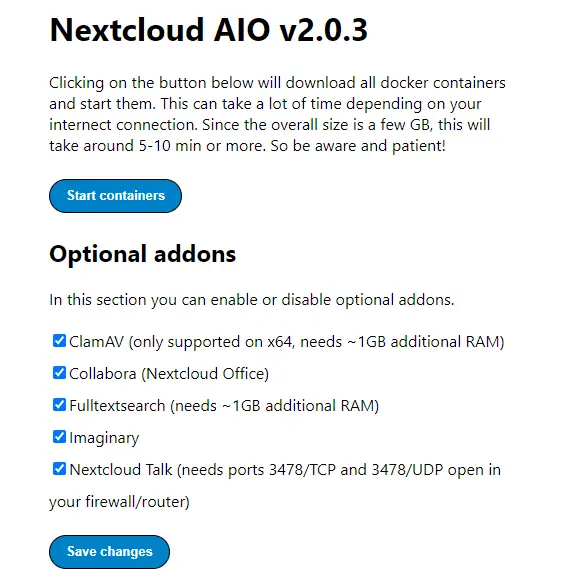
Here you can change the server timezone and launch a new Nextcloud instance. Select the add-ons you want to install and click the Save changes button to save the options.
Click the Start containers to launch the Nextcloud and its addon containers. This process will automatically generate an SSL certificate using Let’s Encrypt for the domain you chose and run the Apache server container to expose the Nextcloud instance to the public.
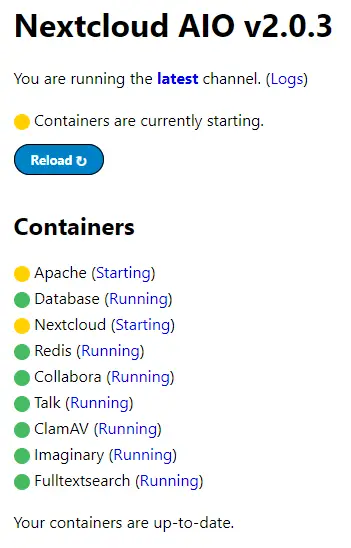
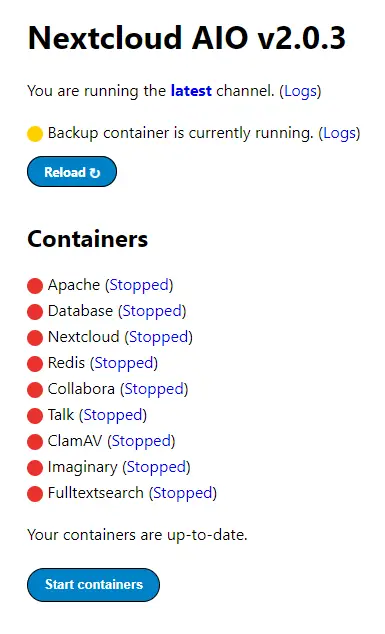
This process can take several minutes depending on the number of addons you are installing. After a while, you can see the progress of the containers on the page.
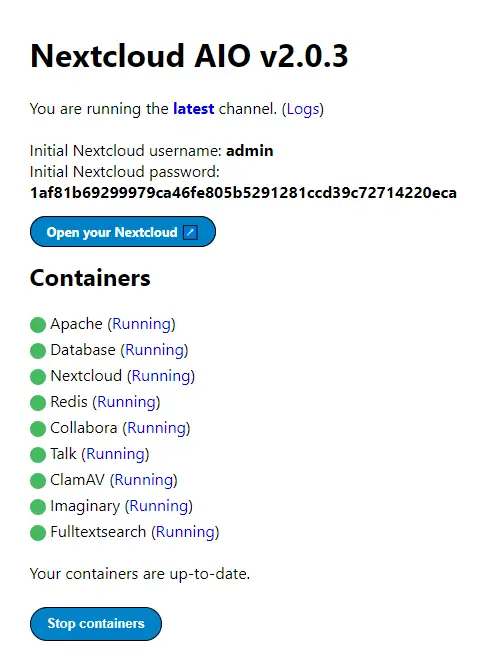
The yellow in front of the containers can mean they are starting or maybe they are unhealthy. Press the Reload button to check again. Once all the containers are started successfully, you will be given the username and password for your Nextcloud instance.
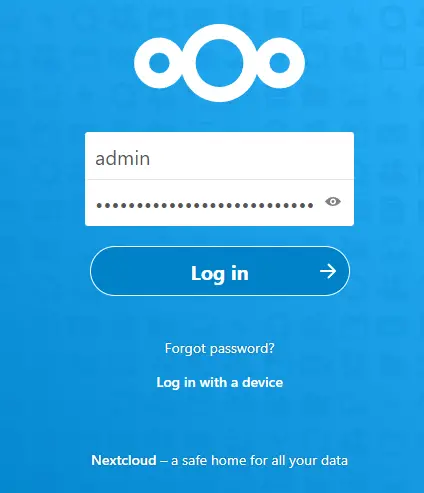
Click the Open your Nextcloud button to launch your Nextcloud installation. You can also directly access it via the URL https://nextcloud.example.com. You will be taken to the following login screen.
Enter your username admin and password you got from the previous page and press Log in to launch the Nextcloud dashboard.
From hereon, you can start using Nextcloud.
Step 7 – Backup and Restore Nextcloud
Before taking a backup, you need to stop the Apache container because it blocks the Nextcloud AIO instance. You will need to do this to perform any operation on the AIO interface. Run the following command to stop the apache container.
$ docker stop nextcloud-aio-apache
Log in to the AIO interface by visiting https://nextcloud.example.com:8443.
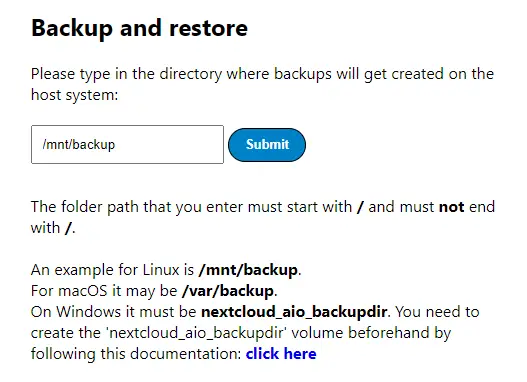
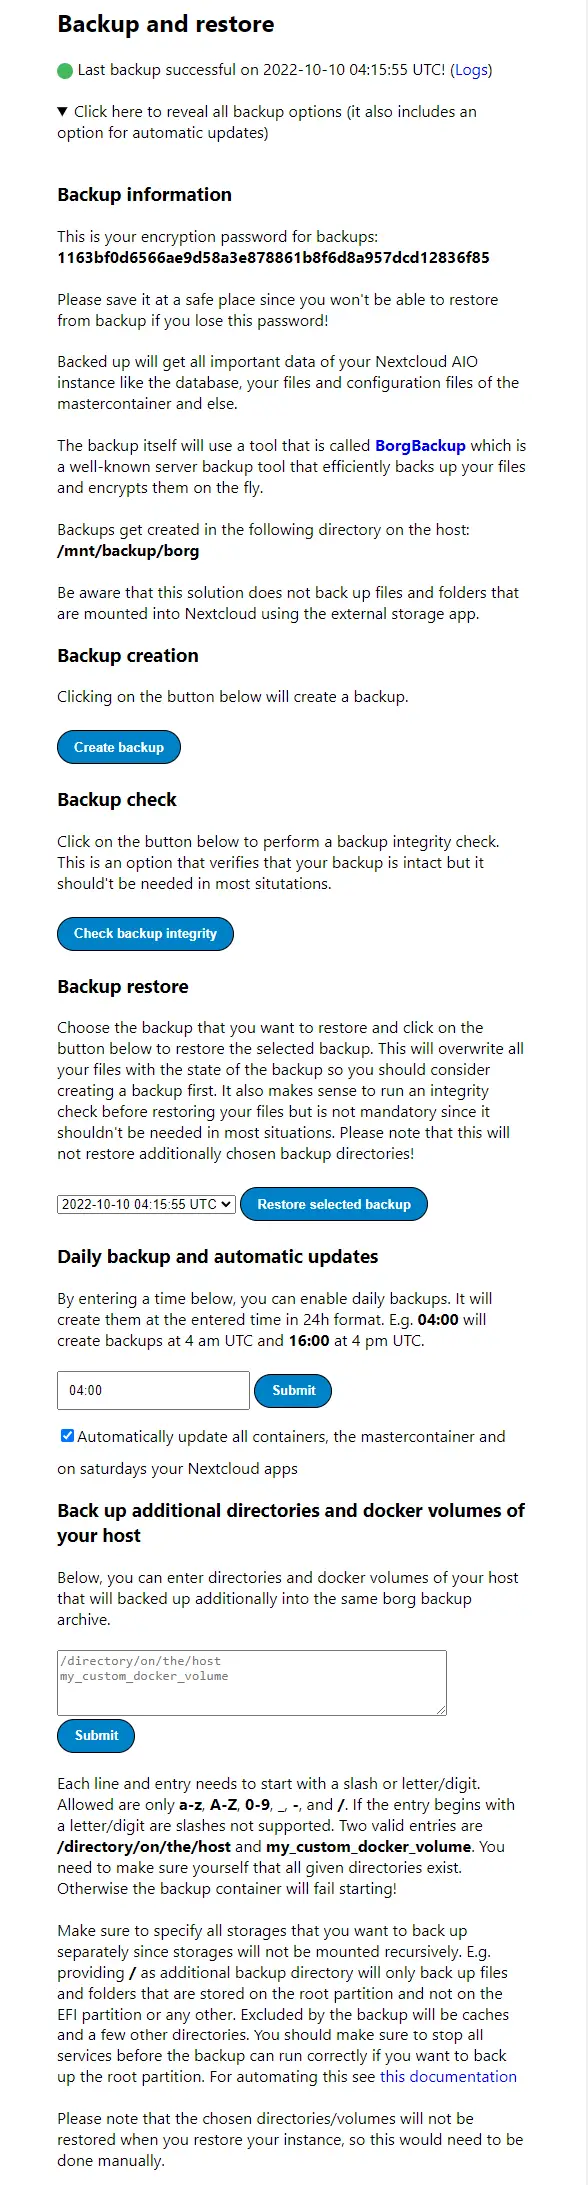
Enter the directory for the backups and click the Submit button to create a backup. You will get the following screen.
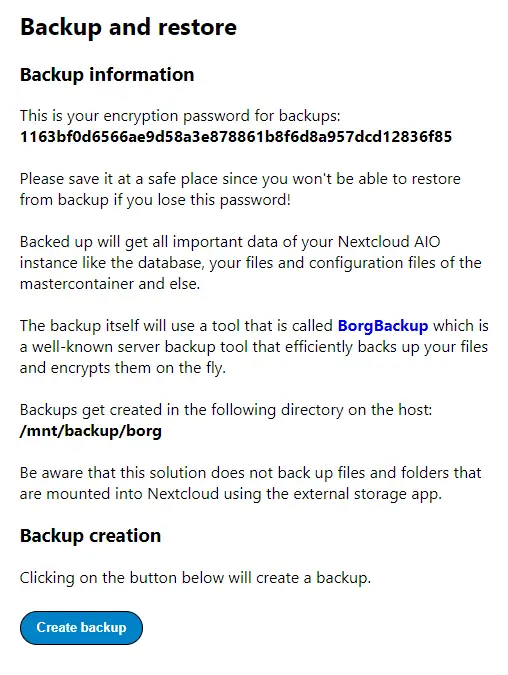
Nextcloud AIO will create an encrypted backup and will give you a password for the same. The same password will be used for all the backups in the folder. The password will be needed to restore the instance. Click the Create backup to start creating the backup. The process will ask for confirmation. Press Yes to start the process. This will stop all the running containers and start the backup container.
Click the Reload button to refresh the page. Click the small arrow to reveal all the backup and restore options.
Here you can restore an existing backup, add additional directories to be backed up and set a time for the cron job to perform scheduled backups and updates.
Restore Nextcloud
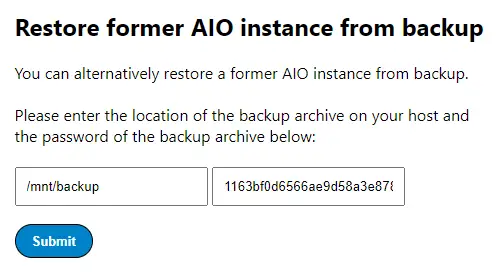
For a new installation, you can back up using the existing backup.
If the backup is stored in the directory /mnt/backup/borg then specify the backup path as /mnt/backup. The actual backup should always be under a subdirectory. Enter the path and the password of your backup.
Click the Submit button to proceed with the restoration.
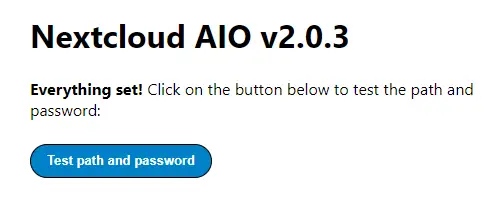
Click the Test path and password button to verify the backup path and password before starting the restoring process.
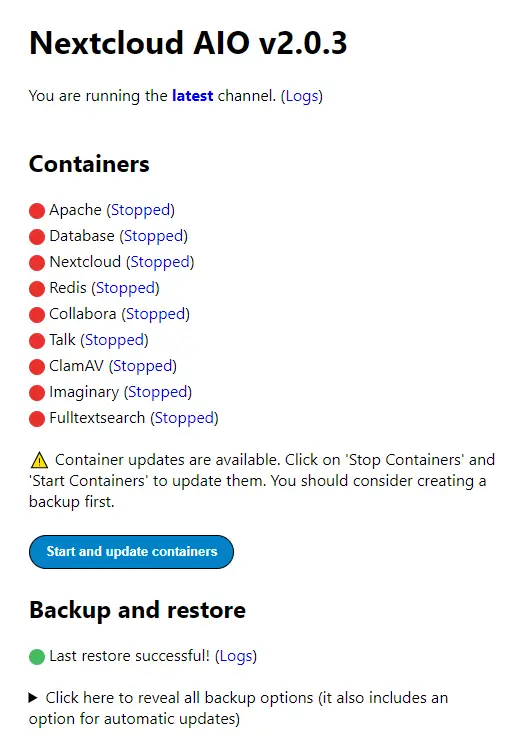
Here you can checkup for the integrity of the backup file. Choose the correct backup from the dropdown menu and click the Restore selected backup file to start the process.
You can see the backup container running on the next page. Wait for some time and click the Reload button to see if the process is complete. You will get the following screen confirming the successful restoration.
Prepare backup for remote uploads
In case you want to sync or upload backups to a remote location, you will have to prepare the backup archive.
Install the BorgBackup tool.
$ sudo apt install borgbackup
Mount the backup archives to the /tmp/borg folder.
$ sudo mkdir -p /tmp/borg && sudo borg mount "https://www.howtoforge.com/mnt/backup/borg" /tmp/borg
You will be prompted for the backup password.
Enter passphrase for key /mnt/backup/borg:
Enter the password to mount the archive. Check the mounted archives in the folder.
$ sudo ls /tmp/borg -al
total 4
drwxr-xr-x  1 root root    0 Oct 10 19:13 .
drwxrwxrwt 13 root root 4096 Oct 10 19:13 ..
drwxr-xr-x  1 root root    0 Oct  9 23:15 20221010_041554-nextcloud-aio
You can now copy or sync the file 20221010_041554-nextcloud-aio to a remote location.
Unmount the archives.
$ sudo umount /tmp/borg
If you want to delete an existing backup archive, you can do so by using the following command.
$ sudo borg delete --stats --progress "https://www.howtoforge.com/mnt/backup/borg::20221010_041554-nextcloud-aio"
Step 8 – Update Nextcloud AIO / Nextcloud
Nextcloud AIO runs a cronjob to check for updates to Nextcloud AIO and all the remaining containers every day.
Update Nextcloud Containers
The Nextcloud AIO interface will show up any updates to any of the containers on the page. To update any of the containers, press the Stop containers button to stop all the containers and then start them again to perform the update.
Make sure to take a backup of the data before starting the containers.
Update Nextcloud AIO Mastercontainer
If the AIO Mastercontainer gets updated, you will get a message on the interface about the update. Click the Update button to perform the update.
Conclusion
This concludes our tutorial on installing Nextcloud AIO on a Ubuntu 22.04 server. If you have any questions, post them in the comments below.


