
Elastic Beanstalk is one of the “computer” services in the Amazon Web Services (AWS) cloud. It allows us to easily manage and deploy applications. We don’t have to understand or learn the services required to run our application. With Elastic Beanstalk, we only need to upload our application and Elastic Beanstalk takes care of the rest. Elastic Beanstalk supports applications developed in Java, .NET, Go, PHP, Python, Node.js and Ruby.
We can interact with Elastic Beanstalk using the AWS Management Console, Command Line Interface.
To use Elastic Beanstalk, all we need to do is build our application, upload its version in the form of a source bundle (e.g., the Java application requires a .war file), and then provide some information about the application. Elastic Beanstalk then automatically launches an environment and creates and configures the AWS resources needed for our code. Elastic Beanstalk even manages the environment itself. We don’t have to worry about high availability, scaling, etc.
There are no additional costs for Elastic Beanstalk. We only pay for the AWS resources that our application will use and need. For pricing details, please refer to the official AWS documentation here.
Before proceeding further, let’s understand a few basic concept of Elastic Beanstalk.
- Application:
It is a logical collection of Elastic Beanstalk components, including environments, versions, and environment configurations. It is similar to a folder. - Application Version:
An application version is a deployable code, such as a Java WAR file. An application version is part of an application. - Environment:
It is a collection of AWS resources running our application version, e.g. EC2 Instances, LoadBalancers, Security Groups, etc - Platform:
It is a combination of an OS, programming language runtime, application server, and Elastic Beanstalk components.
In this article, we will see how to create an Elastic Beanstalk Application with a Sample Code example.
Pre-requisites
- AWS Account (Create if you don’t have one).
What we will do?
- Login to AWS.
- Configure and Create Elastic Beanstalk Application
- Terminate the Application
Login to AWS
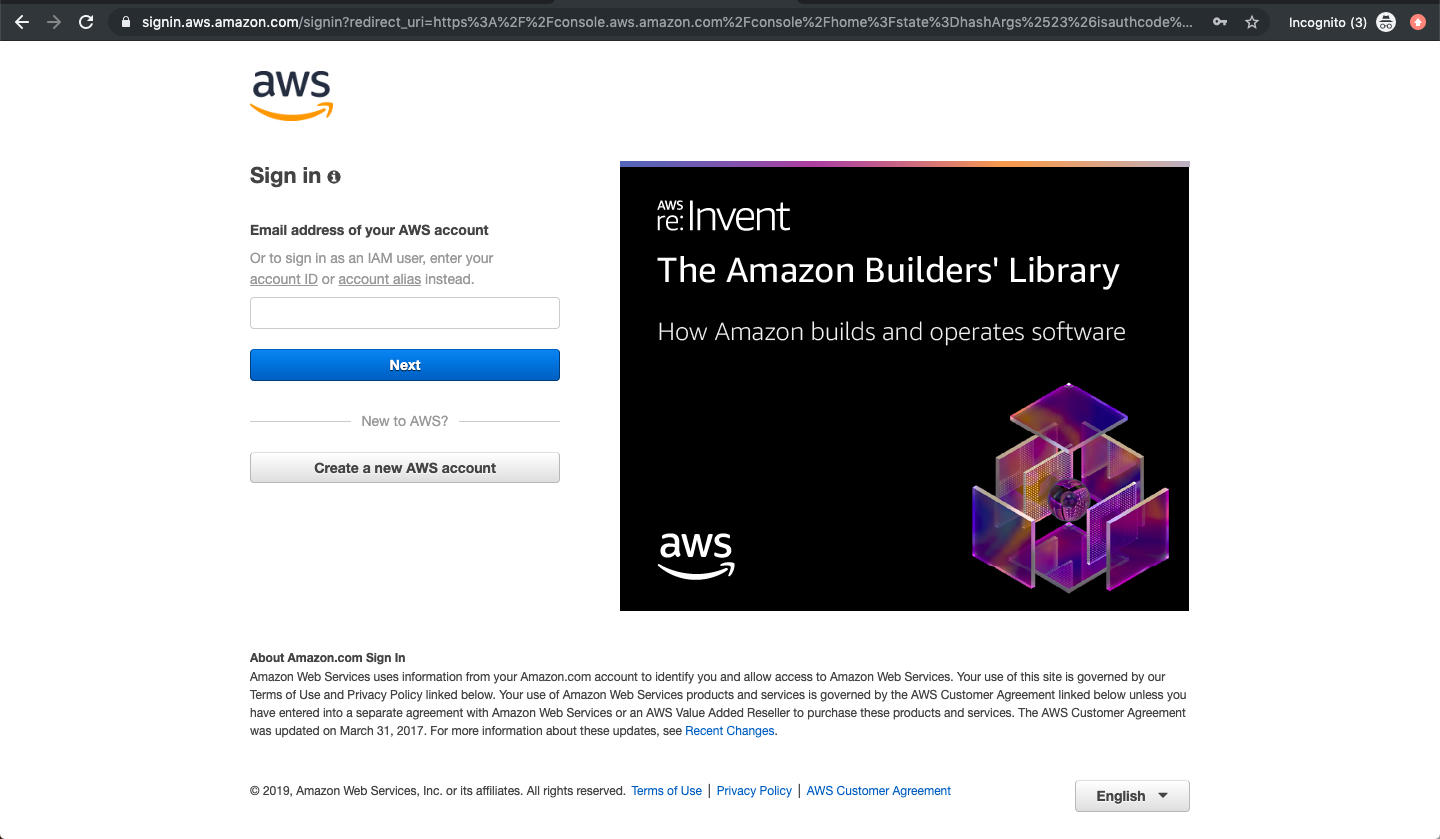
- Click here to go to AWS Login Page.
When we hit the above link, we will see a web page as follows where we are required to log in using our login details.
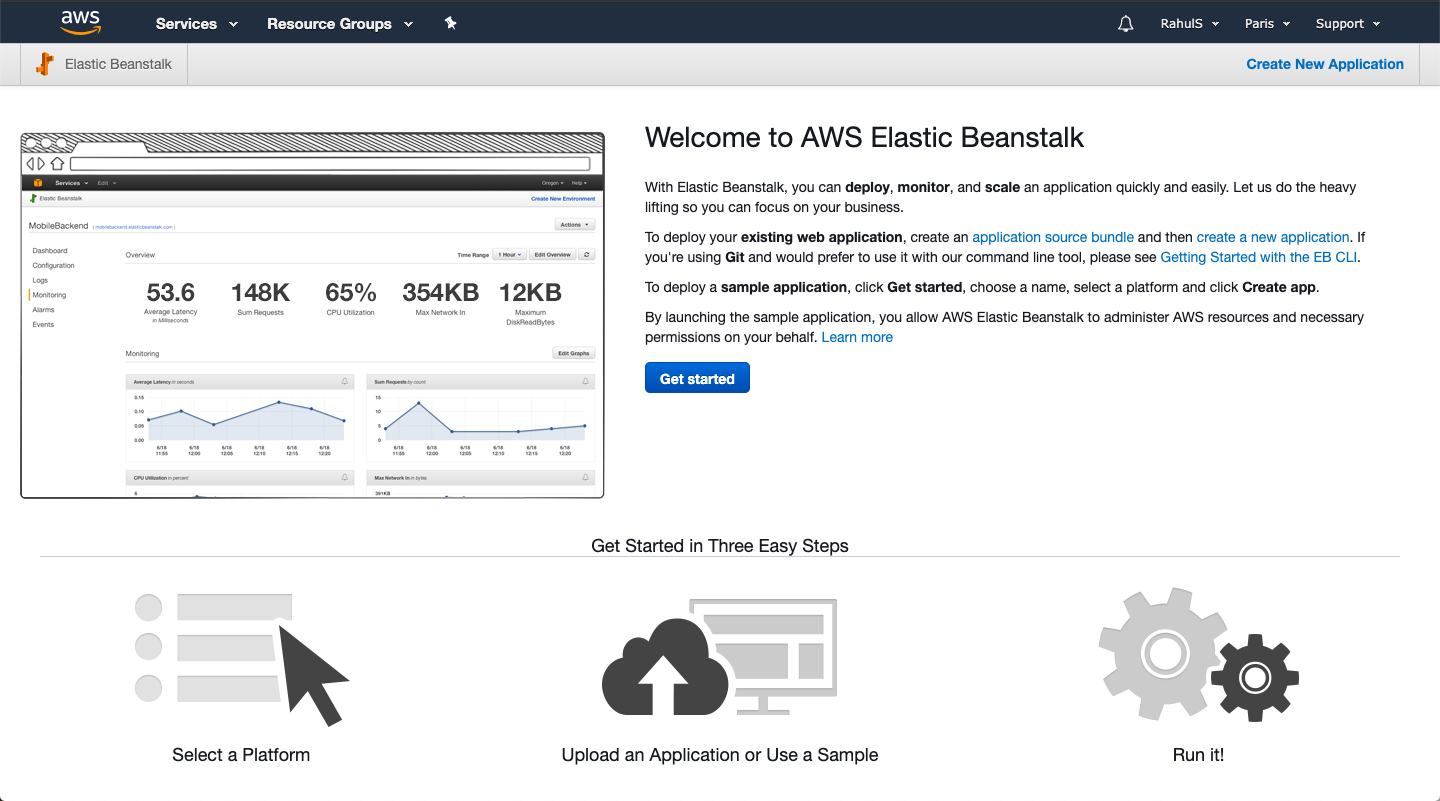
Once we login into AWS successfully, we will see the main console with all the services listed as follows.
Configure and Create an Elastic Beanstalk Application
To create an Elastic Beanstalk application, Click on “Service” on the top left screen and search for “Elastic Beanstalk” in the search box and click on the result.
On this Welcome screen, click on “Get Started” to create our first application.
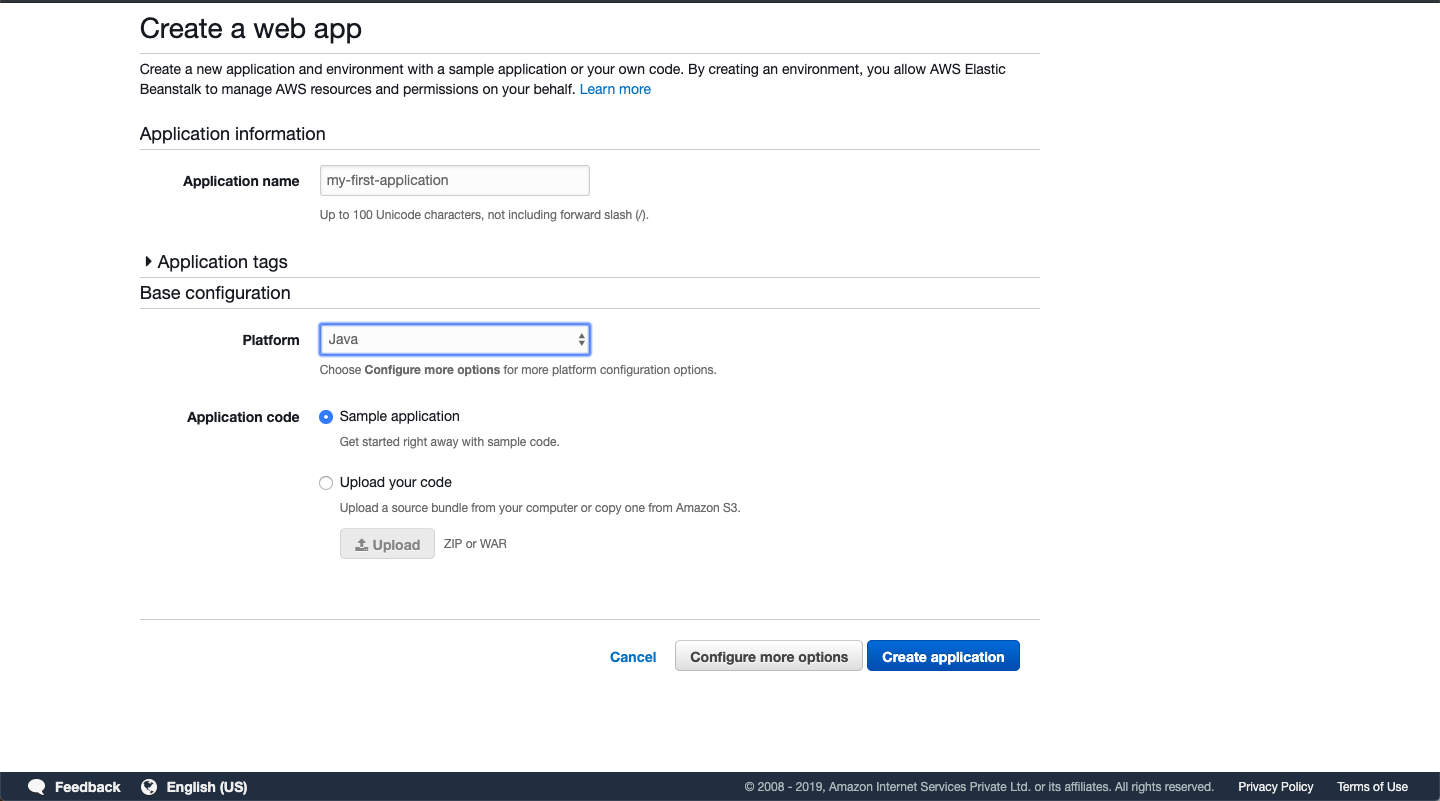
Here, we can give a name to the application, specify the platform of our choice. Here I have specified the Java platform as we are going to proceed with the sample application.
Before we proceed and click on “Create application”, click on “Configure more options” to see the available options.
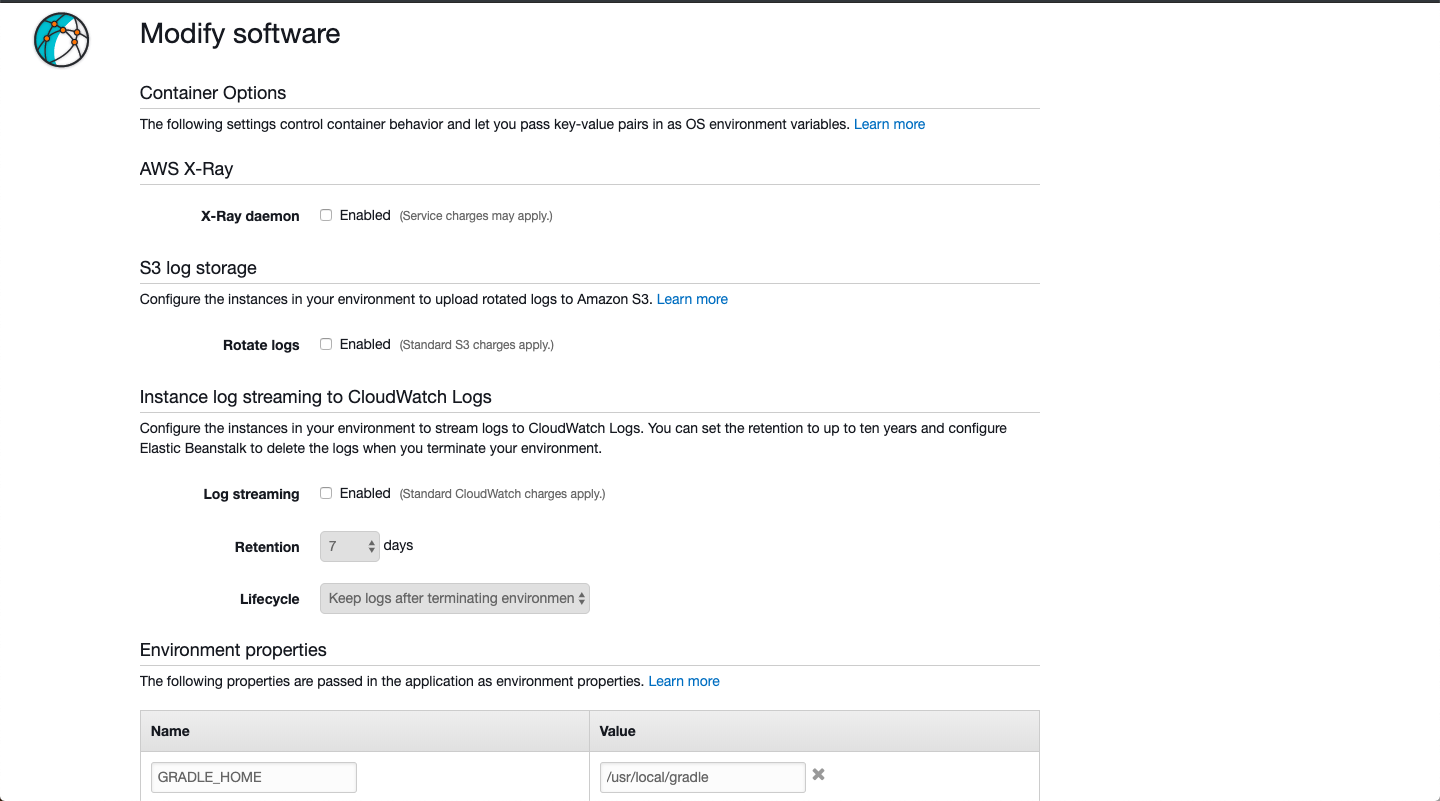
We will see the following screen, where we can see we have a lot of configurations available. Here, I am proceeding with the “Single Instance” as it is eligible for Free Tier, but for production purposes, we should not go with this type.
Under “Software”, we can provide environment variables, enable log streaming, enable rotate logs, etc.
Under “Instance” we can choose the type of root volume type for the EC2 instance we want. The default is “Container” which does not require to specify the size. We can even use the existing security groups or Elastic Beanstalk will create the one required.
Under “Capacity” we can see Min and Max instances is 1 as we have chosen a free tier eligible instance type in the previous step.
In the same way, you can explore different options available and click on “Create Application” on the main page to create our first Elastic Beanstalk Application.Advertisements
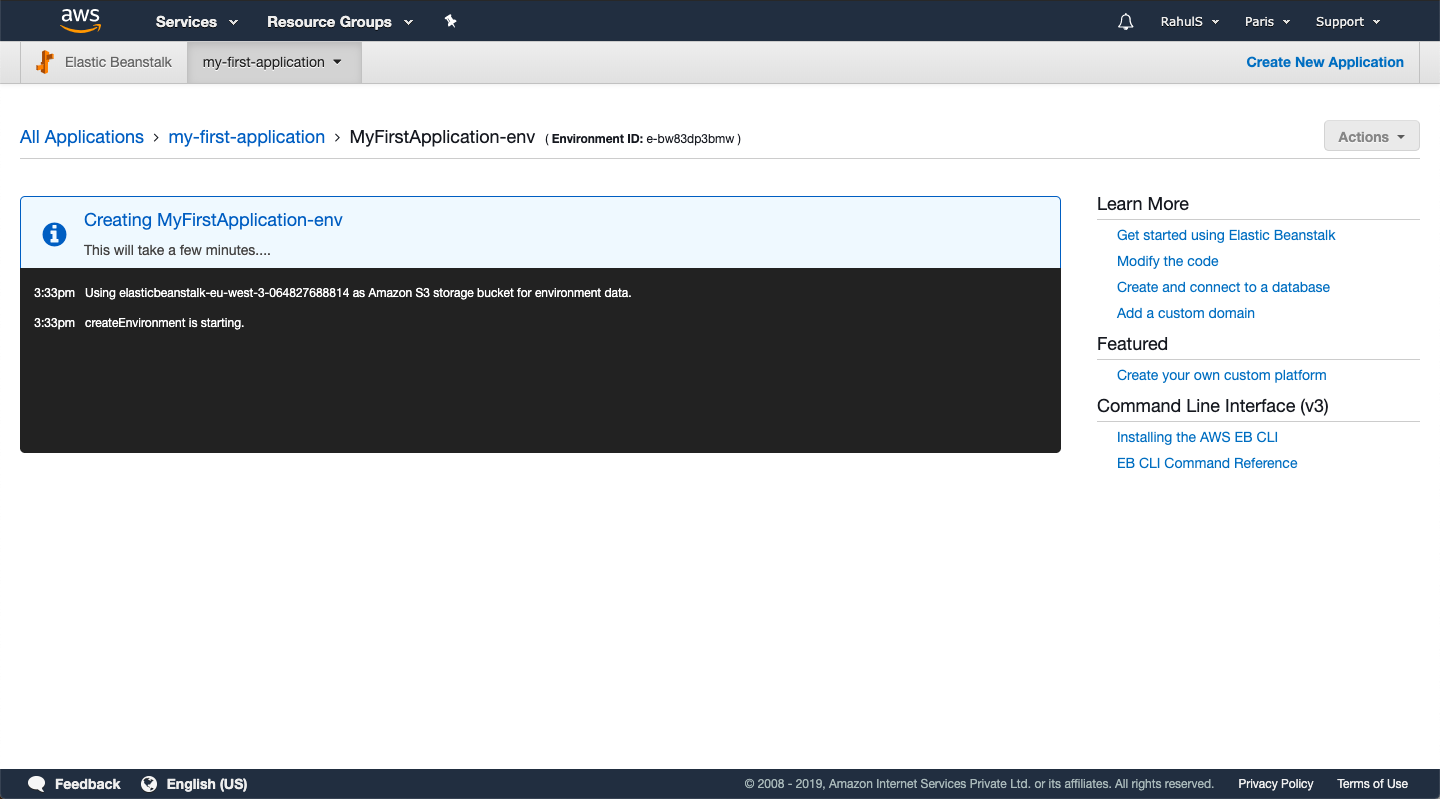
Now, the required resources like EC2 instance, security group, scaling policies, load balancer, etc are being created. This will take some time, wait till then.
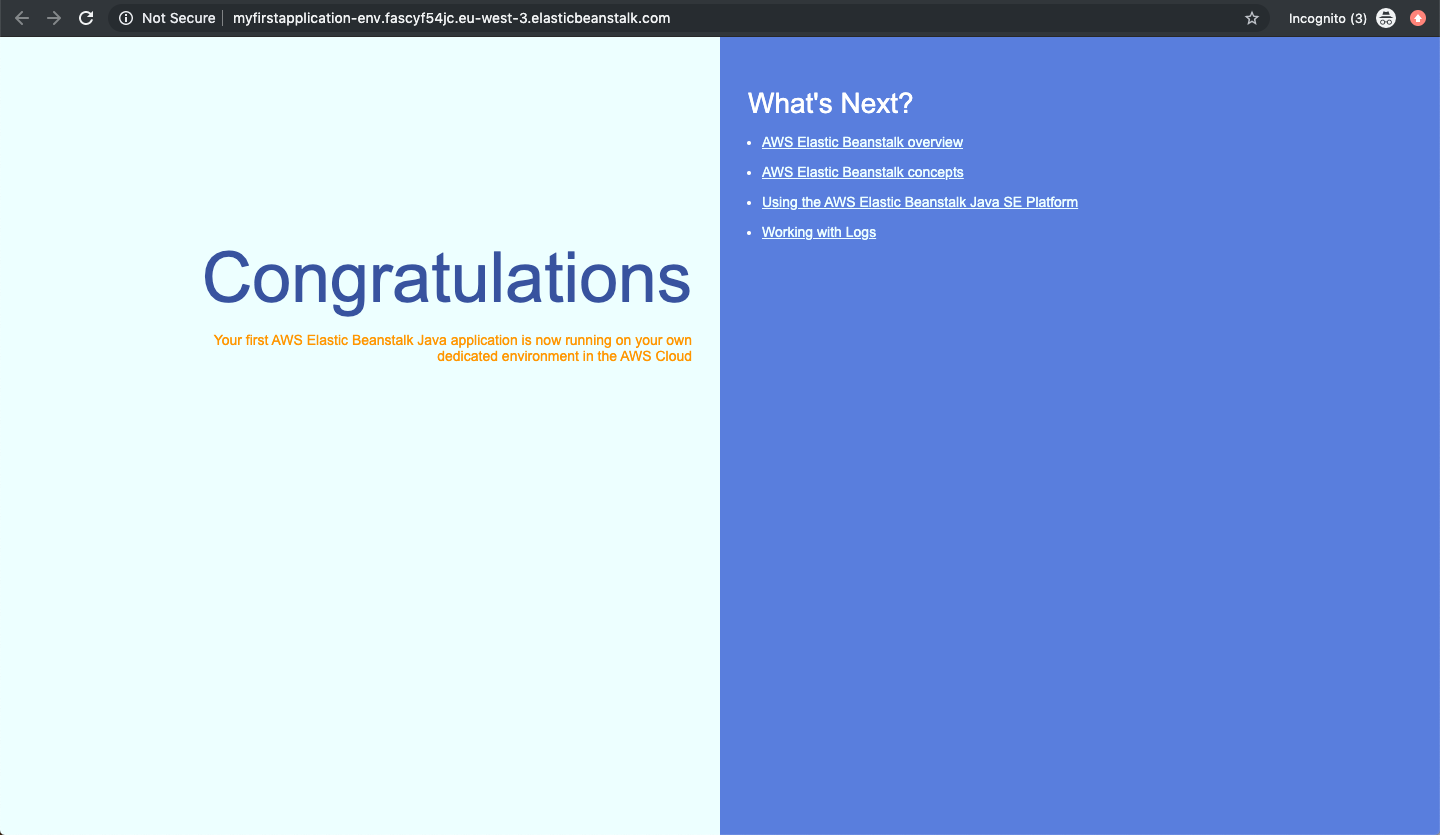
After some time, in the logs, we can see that the application has successfully been deployed and now available to access. To access the application Hit on the URL available for the application.
Once we hit the application, we can see that the sample application is now accessible from the browser.
Delete the Application
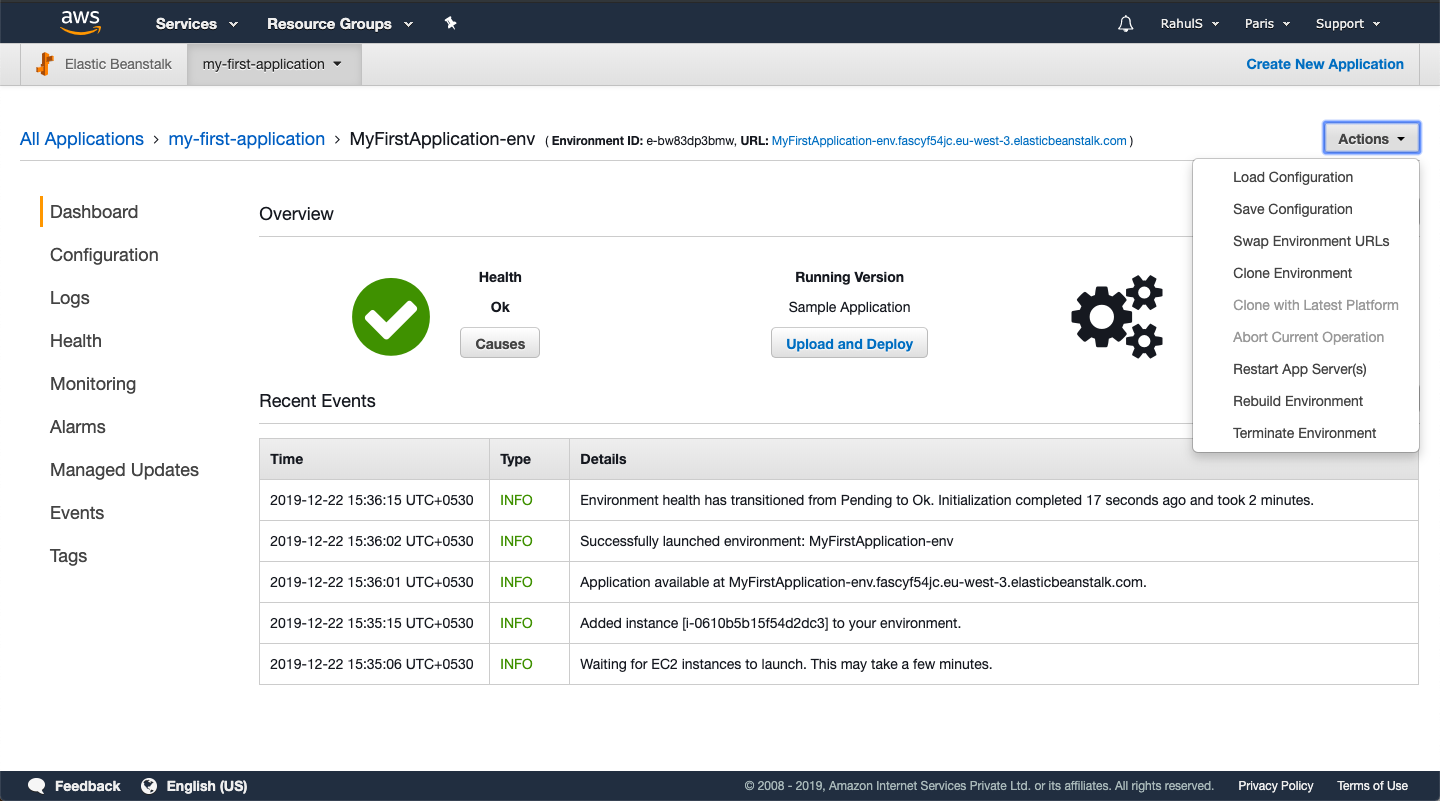
To delete the application if it is no more needed, click on “Actions” -> “Terminate Environment”.
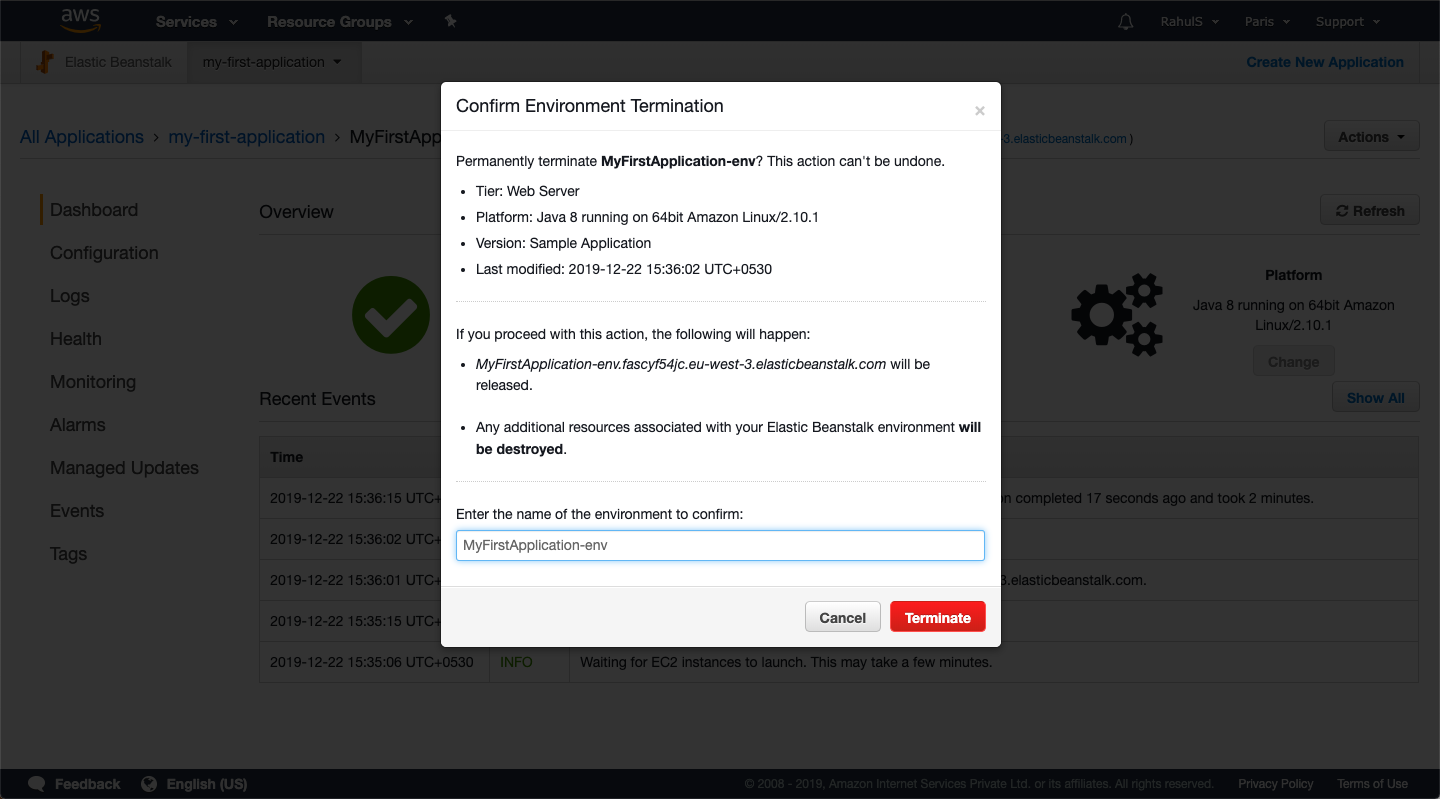
Provide the name of the application in the text box and click on “Terminate”.Advertisements
Conclusion:
In this article, we saw the steps to create a very first Elastic Beanstalk Application with the sample code. We also saw how easily the application can be terminated.


