An Azure Snapshot is a read-only copy of the existing disk in the Microsoft Azure Cloud. We can create a snapshot of the OS or Data disk. This snapshot can be used as a backup. The snapshot can also be used to create a Virtual Machine. To create a Virtual Machine using a snapshot, it is better to shut down the VM before taking its snapshot.
We can create a full snapshot or an incremental snapshot.
- Full Snapshot:
It makes a complete read-only copy of the selected disk.
- Incremental Snapshot:
It saves on storage costs by making a partial copy based on the difference between the last snapshot. This does not make the complete copy of the existing disk each time
In this article, we will create a snapshot of the disk of the existing Virtual Machine.
Pre-requisites
- Azure Account (Create if you don’t have one).
- Azure Virtual Machine
What will we do?
- Login to Azure.
- Create a Snapshot of the existing Virtual Machine
Login to Azure
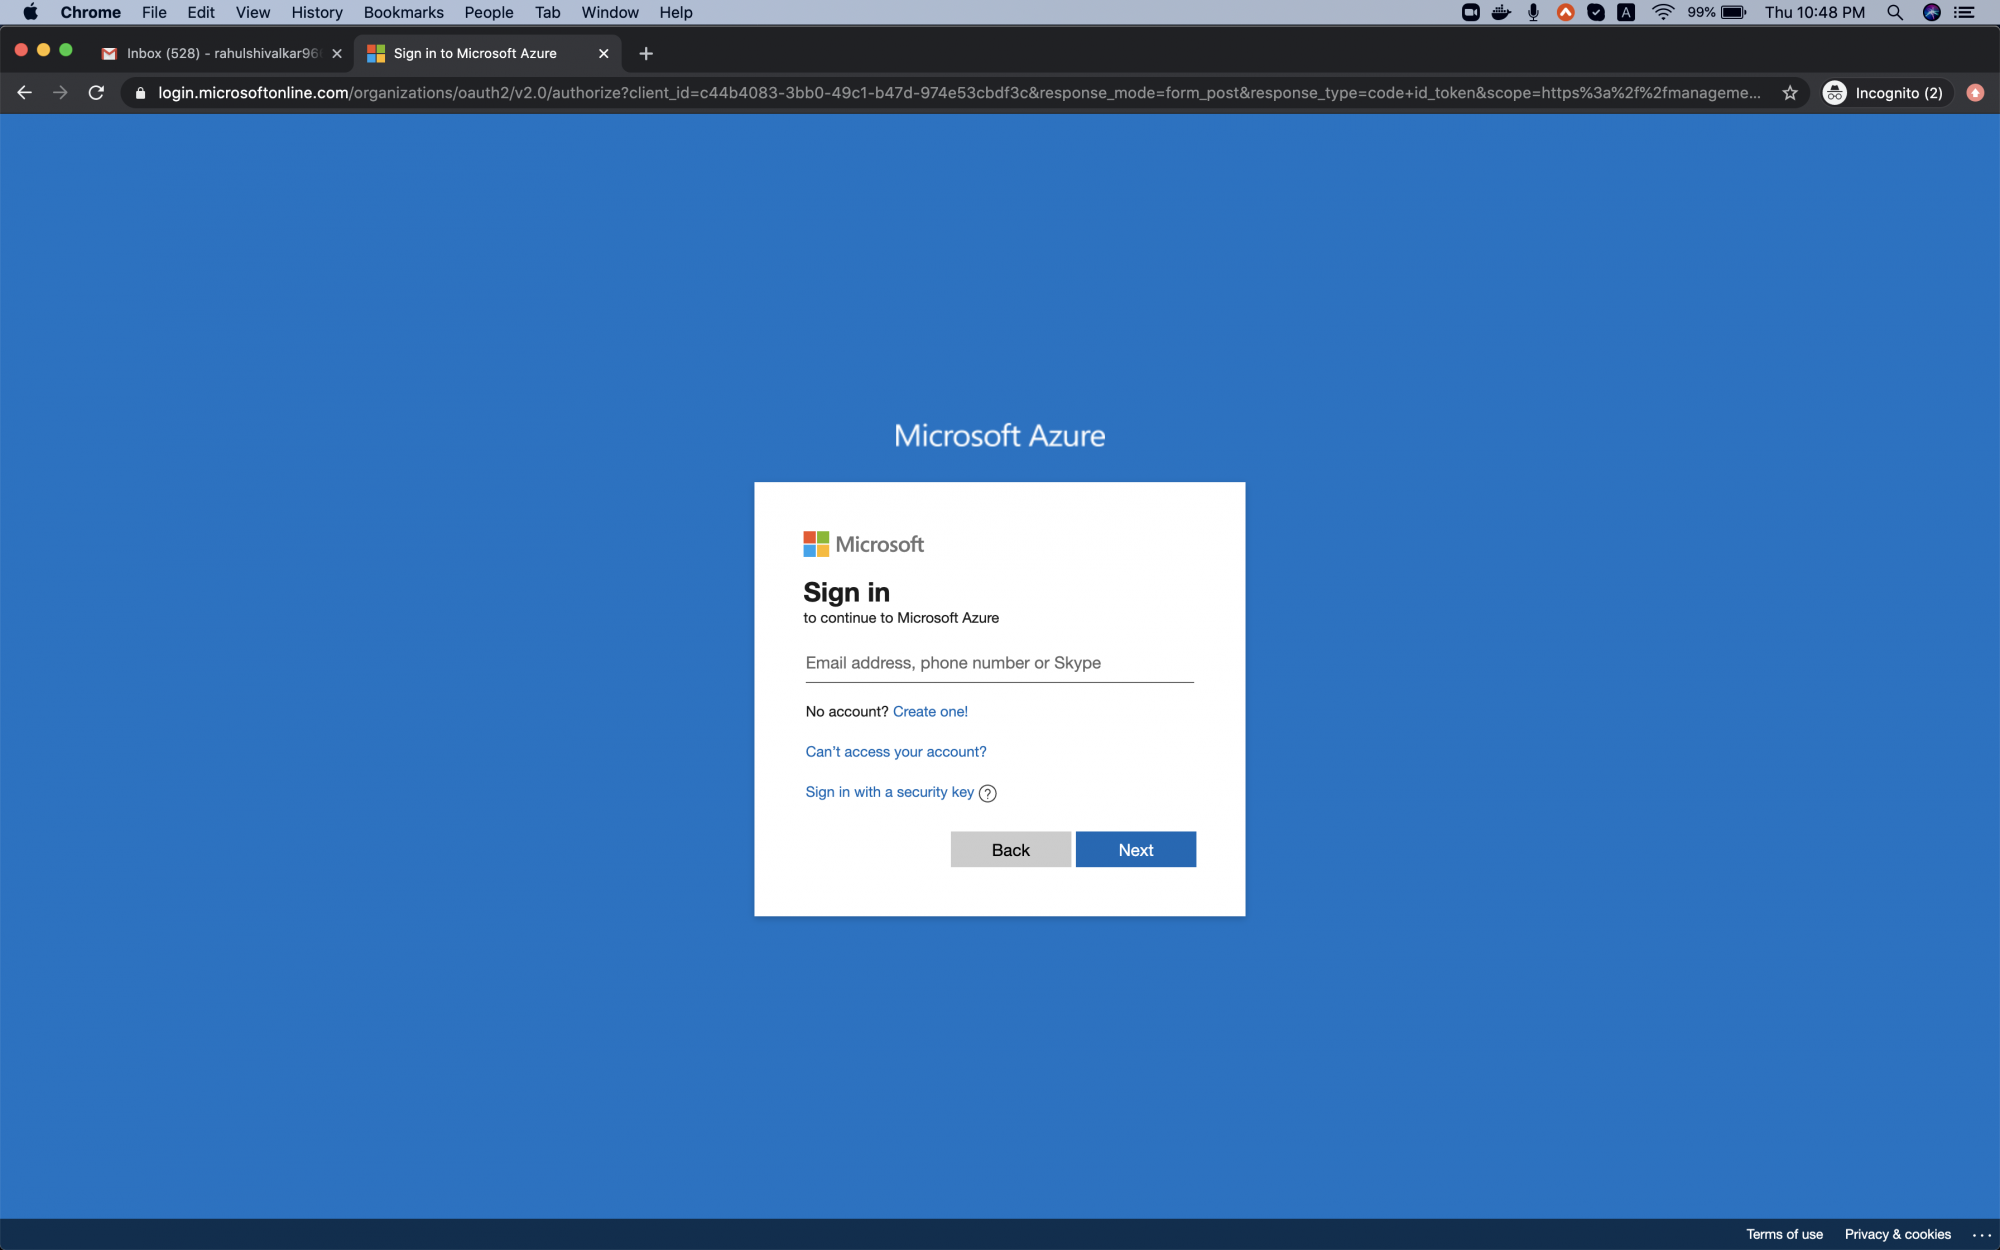
Click here to go Azure portal and click on Sign in.
<img alt="Azure Login" data-ezsrc="https://kirelos.com/wp-content/uploads/2020/06/echo/screenshot_2020-06-04_at_104507_pm.png5ef474098dd71.jpg" ezimgfmt="rs rscb1 src ng ngcb1" height="468" src="data:image/svg xml,” width=”750″>
Use your credentials to log in to the account.
<img alt="Sign-in" data-ezsrc="https://kirelos.com/wp-content/uploads/2020/06/echo/screenshot_2020-06-04_at_104835_pm.png5ef47409dc922.jpg" ezimgfmt="rs rscb1 src ng ngcb1" height="468" src="data:image/svg xml,” width=”750″>
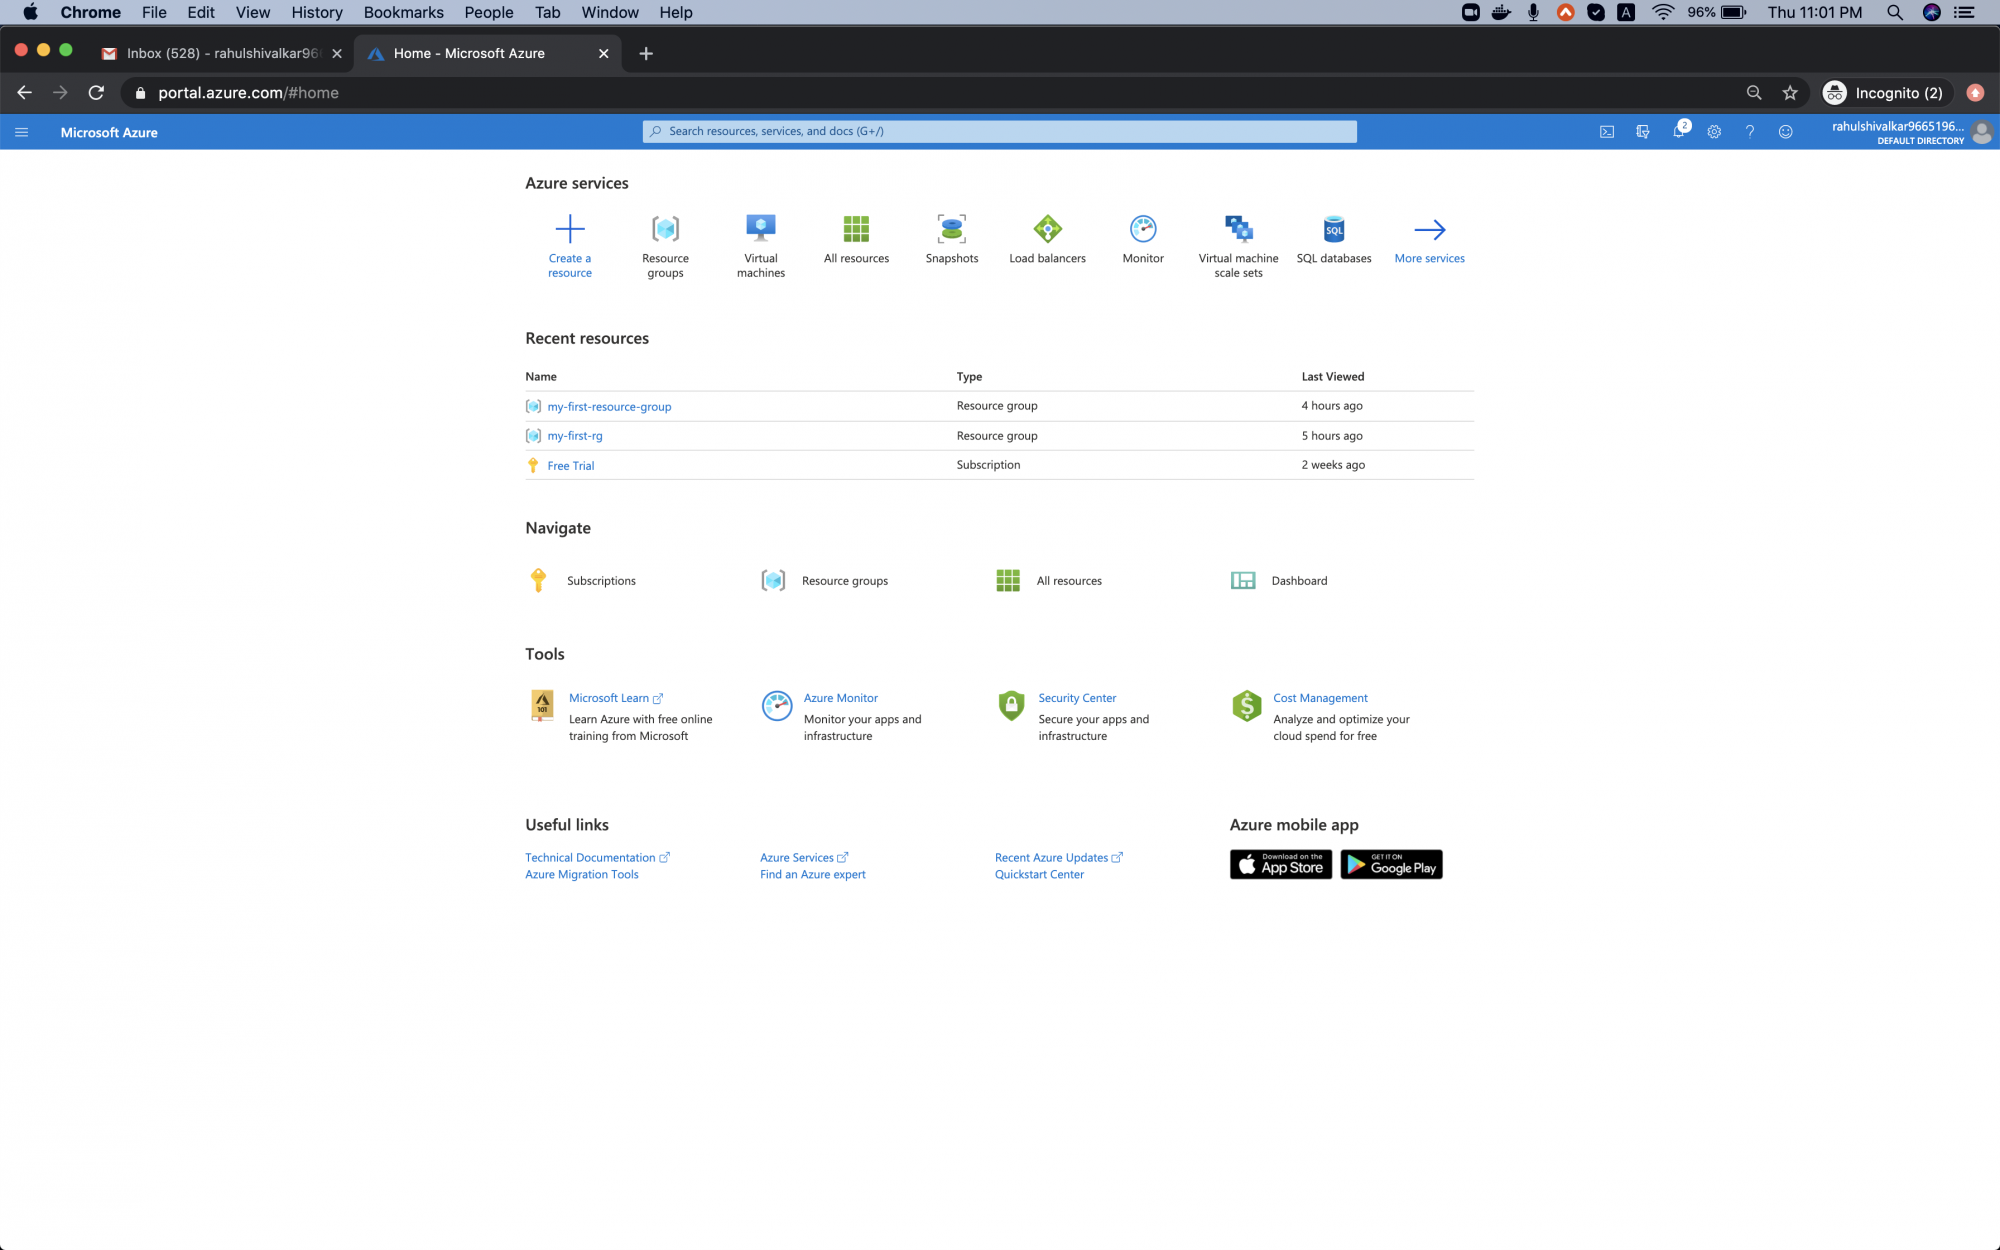
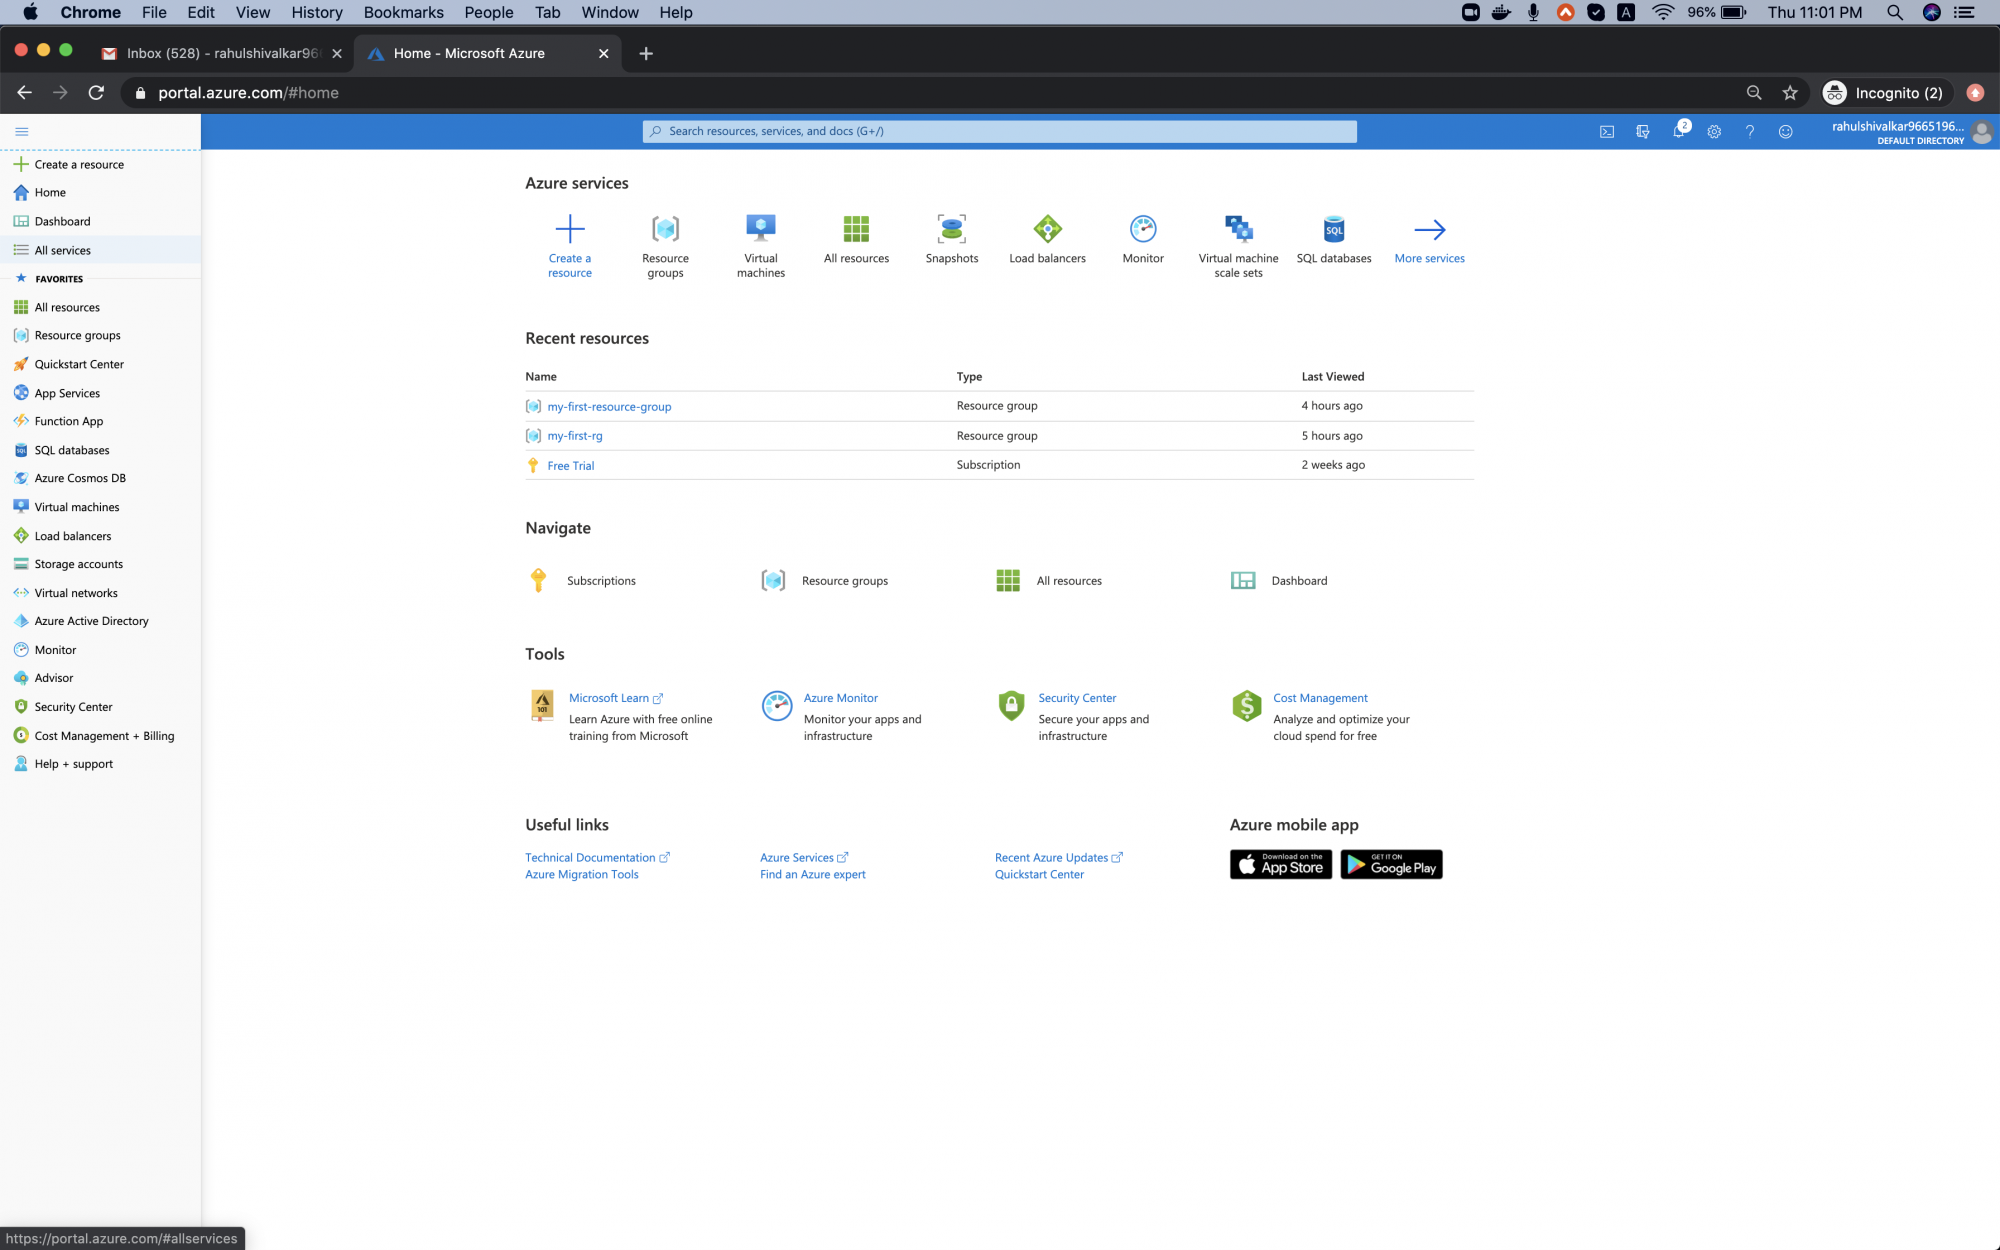
You will see the main page as follows once you successfully login to your account. Click on 3 lines near “Microsoft Azure” in the upper left-hand corner of the Azure portal to show the portal menu.
<img alt="Microsoft Azure Dashboard" data-ezsrc="https://kirelos.com/wp-content/uploads/2020/06/echo/screenshot_2020-06-04_at_110109_pm.png5ef4740a37dc4.jpg" ezimgfmt="rs rscb1 src ng ngcb1" height="468" src="data:image/svg xml,” width=”750″>
Create a snapshot of the existing Virtual Machine
Click on “All services” in the left panel.
<img alt="Create a snapshot of the existing Virtual Machine" data-ezsrc="https://kirelos.com/wp-content/uploads/2020/06/echo/screenshot_2020-06-04_at_110129_pm.png5ef4740a8450e.jpg" ezimgfmt="rs rscb1 src ng ngcb1" height="468" src="data:image/svg xml,” width=”750″>
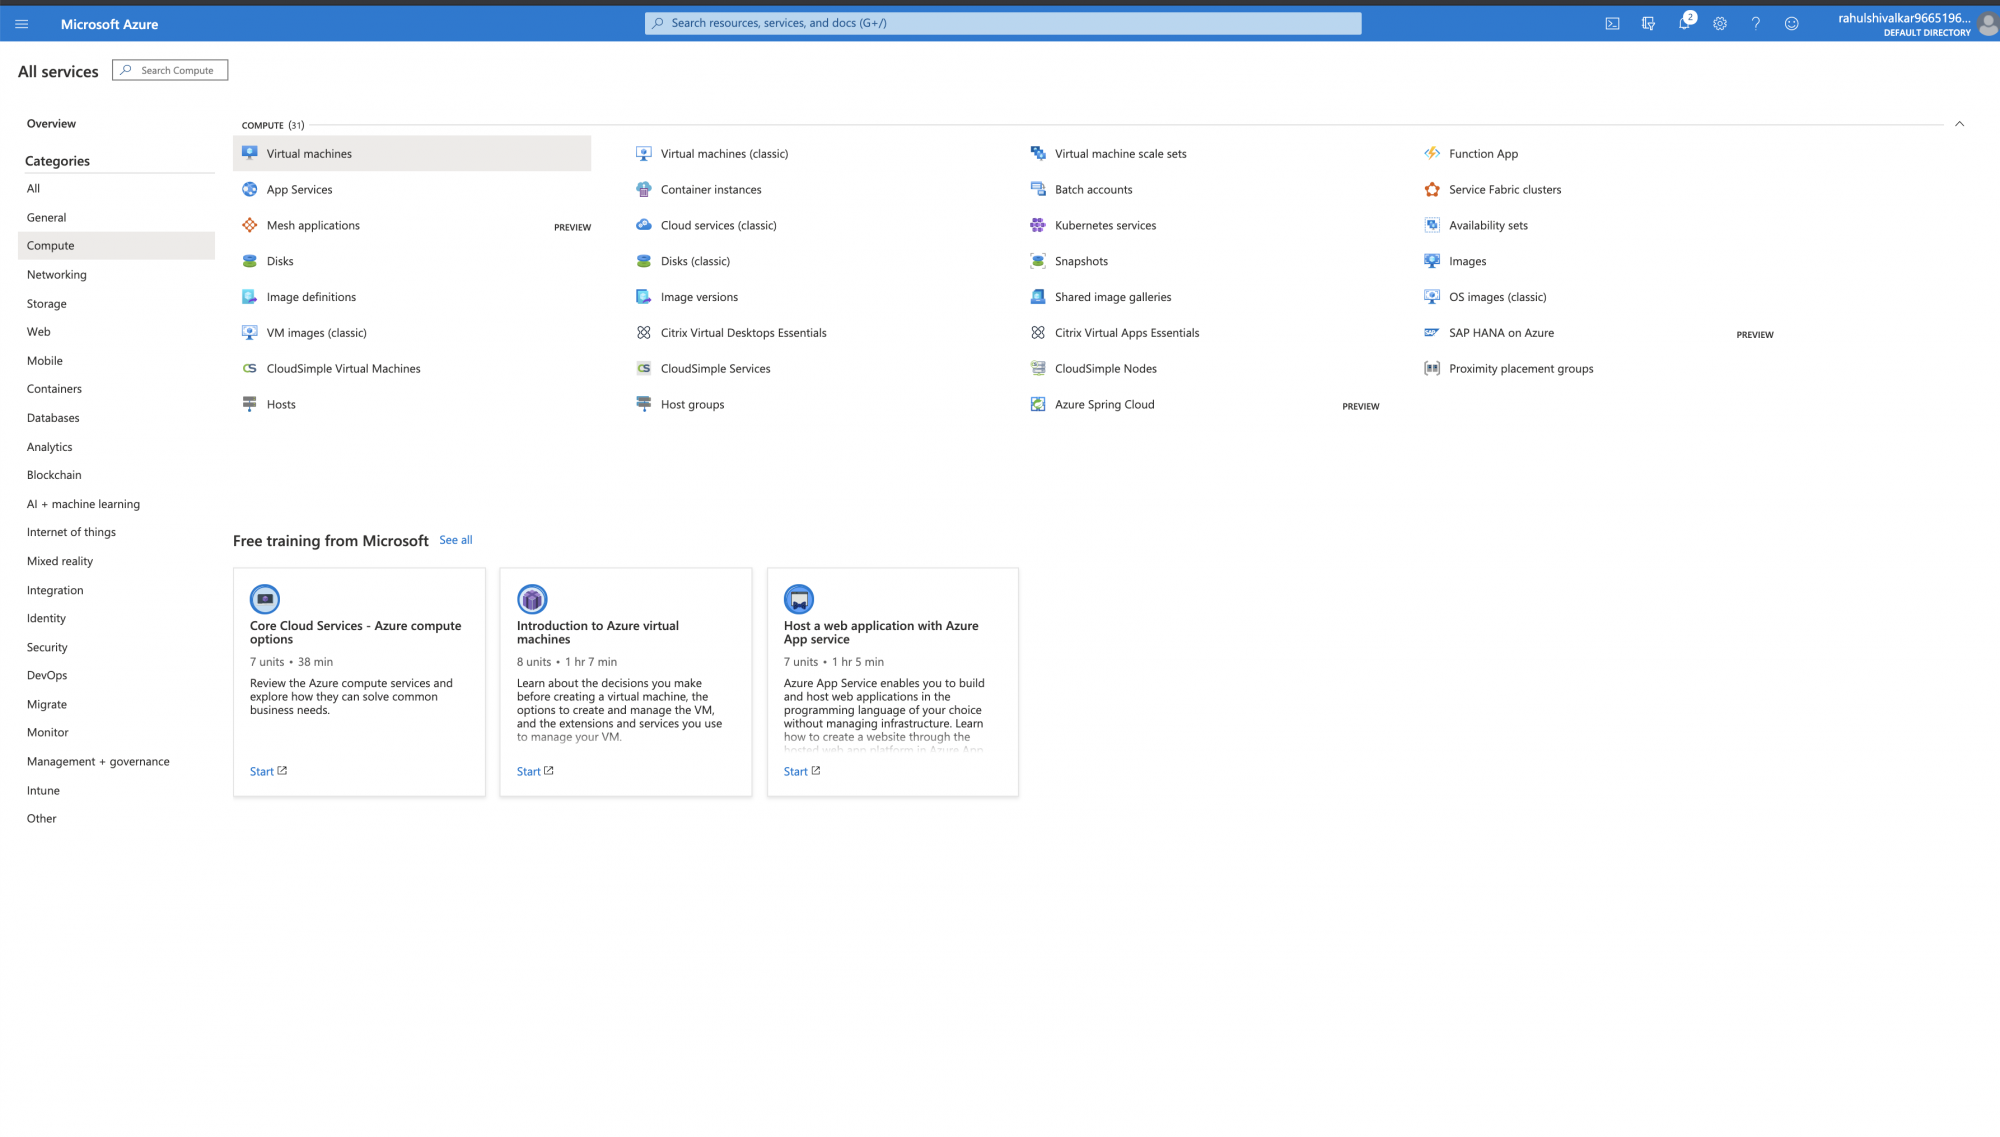
You will see a screen with all the services, click on Compute – > Virtual Machine.
![]() Virtual Machine” data-ezsrc=”https://kirelos.com/wp-content/uploads/2020/06/echo/screenshot_2020-06-07_at_103447_pm.png5ef4740add0ca.jpg” ezimgfmt=”rs rscb1 src ng ngcb1″ height=”426″ src=”data:image/svg xml,” width=”750″>
Virtual Machine” data-ezsrc=”https://kirelos.com/wp-content/uploads/2020/06/echo/screenshot_2020-06-07_at_103447_pm.png5ef4740add0ca.jpg” ezimgfmt=”rs rscb1 src ng ngcb1″ height=”426″ src=”data:image/svg xml,” width=”750″>
You will see the list of existing Virtual Machines. Click on the Virtual Machine.
<img alt="list of existing Virtual Machines" data-ezsrc="https://kirelos.com/wp-content/uploads/2020/06/echo/screenshot_2020-06-07_at_103811_pm.png5ef4740b20e4b.jpg" ezimgfmt="rs rscb1 src ng ngcb1" height="142" src="data:image/svg xml,” width=”750″>
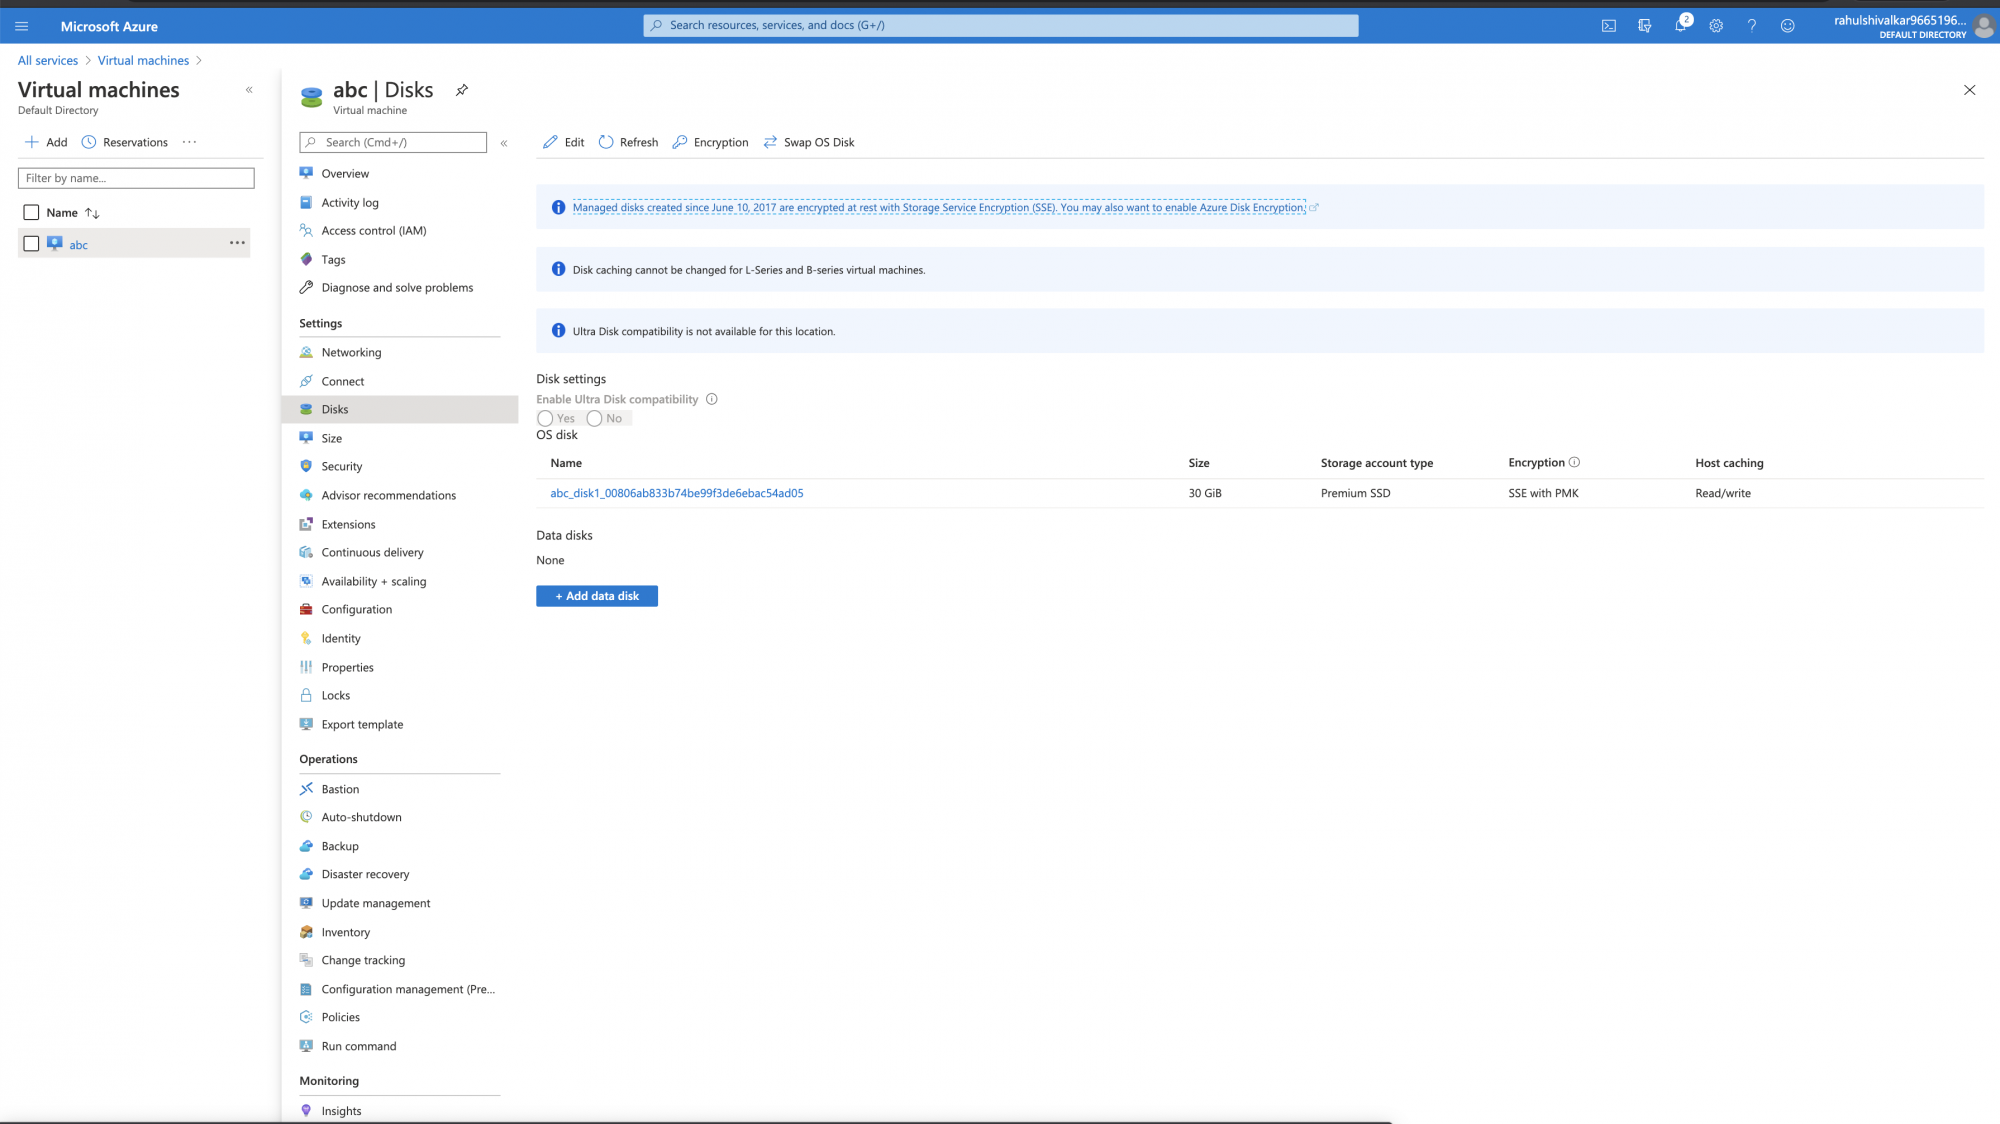
Click on Disk on the left panel and then click on OS Disk.
<img alt="OS Disk" data-ezsrc="https://kirelos.com/wp-content/uploads/2020/06/echo/screenshot_2020-06-07_at_103841_pm.png5ef4740b5c4dd.jpg" ezimgfmt="rs rscb1 src ng ngcb1" height="421" src="data:image/svg xml,” width=”750″>
You will see the screen as follows when you open the Disk.
On this screen click on “Create Snapshot”.
<img alt="Create Snapshot" data-ezsrc="https://kirelos.com/wp-content/uploads/2020/06/echo/screenshot_2020-06-07_at_104016_pm.png5ef4740ba9775.jpg" ezimgfmt="rs rscb1 src ng ngcb1" height="323" src="data:image/svg xml,” width=”750″>
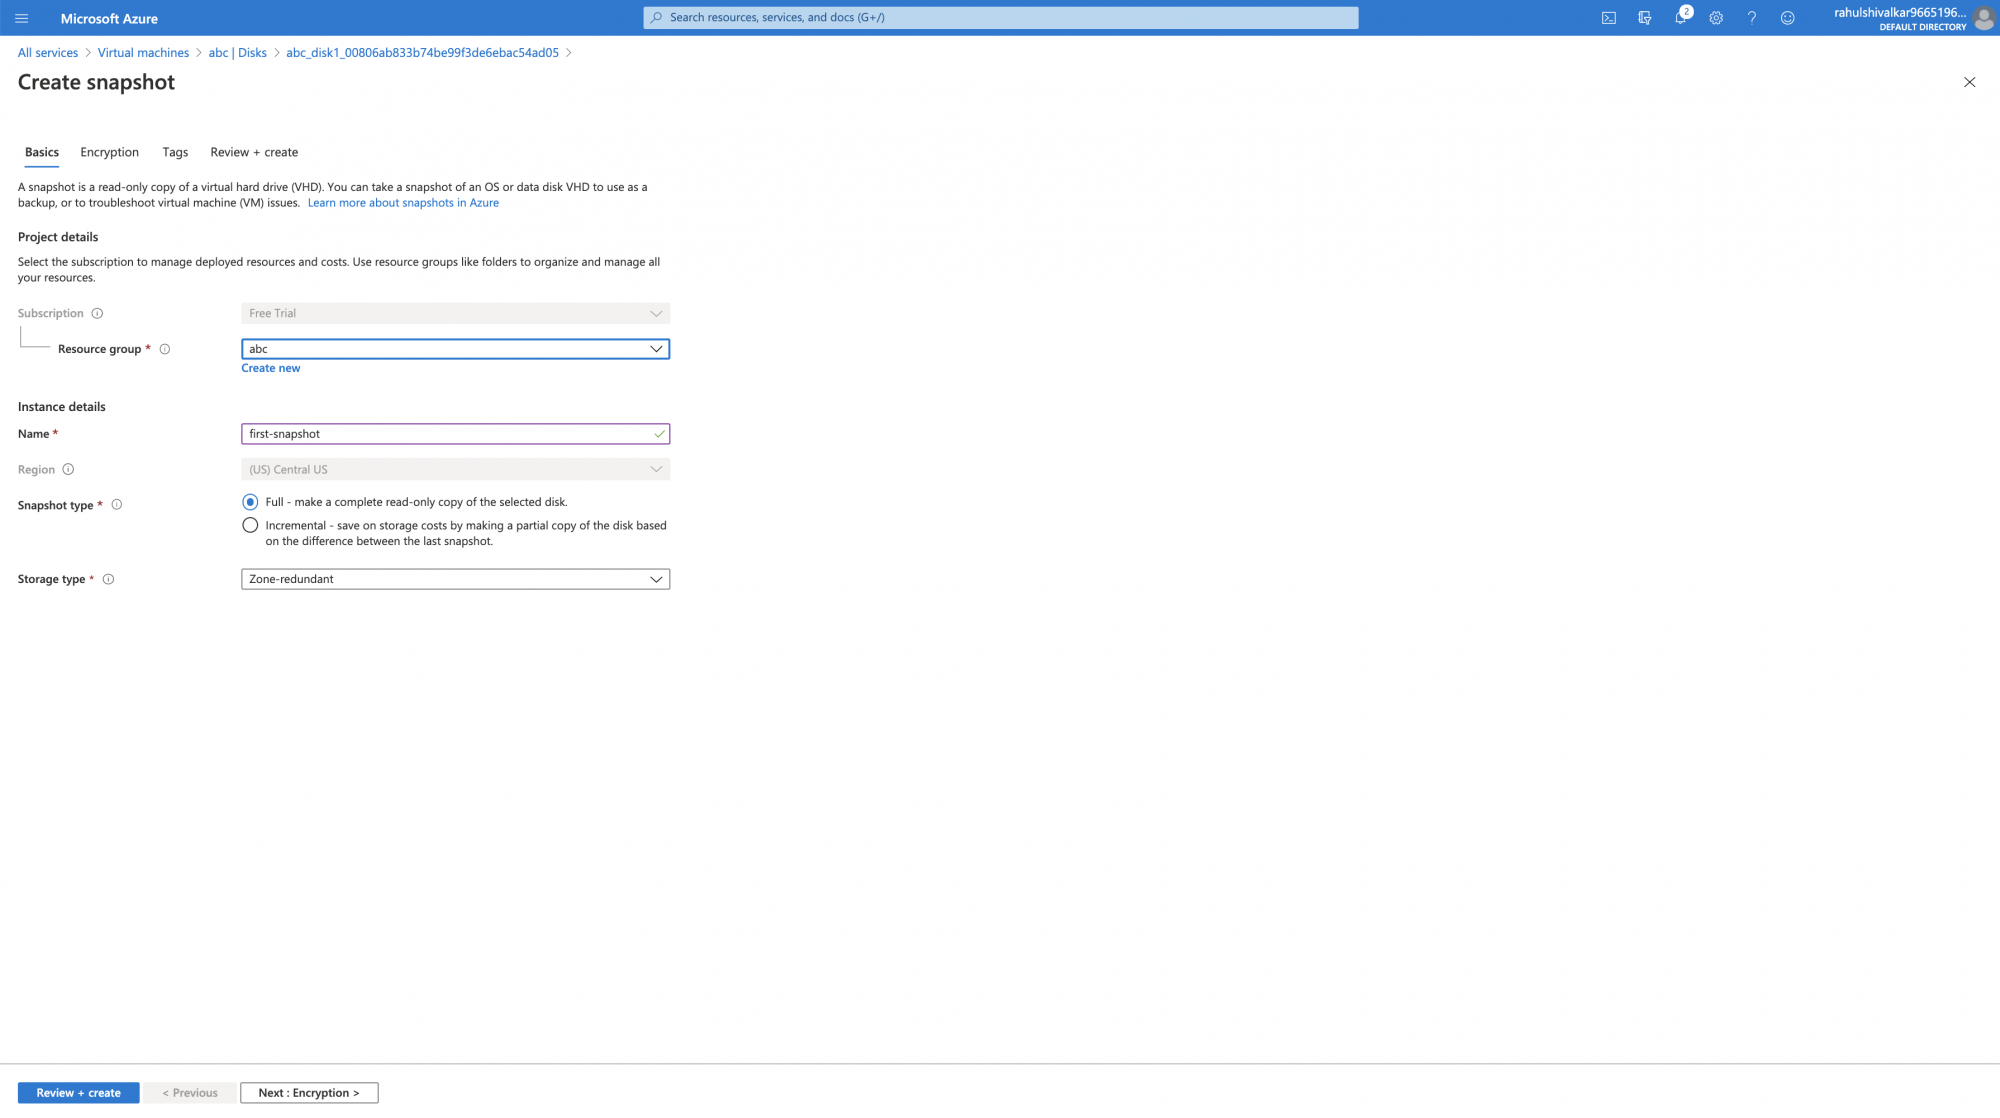
Select the resource group, give a Name to the snapshot and click on “Next: Encryption”.
<img alt="Encryption settings" data-ezsrc="https://kirelos.com/wp-content/uploads/2020/06/echo/screenshot_2020-06-07_at_104302_pm.png5ef4740be6fcd.jpg" ezimgfmt="rs rscb1 src ng ngcb1" height="419" src="data:image/svg xml,” width=”750″>
Proceed with the default configuration which uses Platform managed key to do data encryption. Click on “Next: Tags”
<img alt="Tag snapshot" data-ezsrc="https://kirelos.com/wp-content/uploads/2020/06/echo/screenshot_2020-06-07_at_104356_pm.png5ef4740c22694.jpg" ezimgfmt="rs rscb1 src ng ngcb1" height="102" src="data:image/svg xml,” width=”750″>
Add a tag “environment: test” and click on “Review create”.
<img alt="Review settings and create snapshot" data-ezsrc="https://kirelos.com/wp-content/uploads/2020/06/echo/screenshot_2020-06-07_at_104524_pm.png5ef4740c614ef.jpg" ezimgfmt="rs rscb1 src ng ngcb1" height="148" src="data:image/svg xml,” width=”750″>
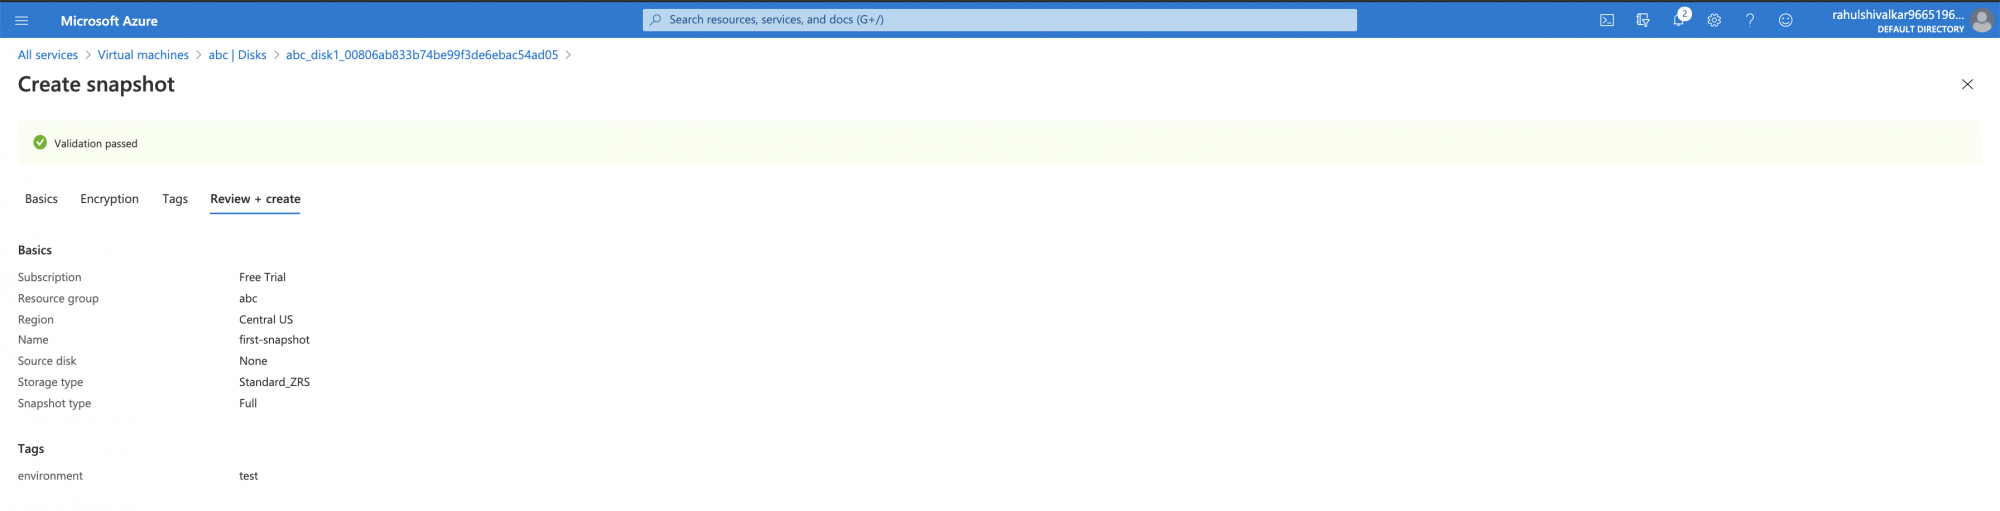
If you get a message “Validation passed”, click on “Create”.
<img alt="Validation passed" data-ezsrc="https://kirelos.com/wp-content/uploads/2020/06/echo/screenshot_2020-06-07_at_104615_pm.png5ef4740c9dc8b.jpg" ezimgfmt="rs rscb1 src ng ngcb1" height="191" src="data:image/svg xml,” width=”750″>
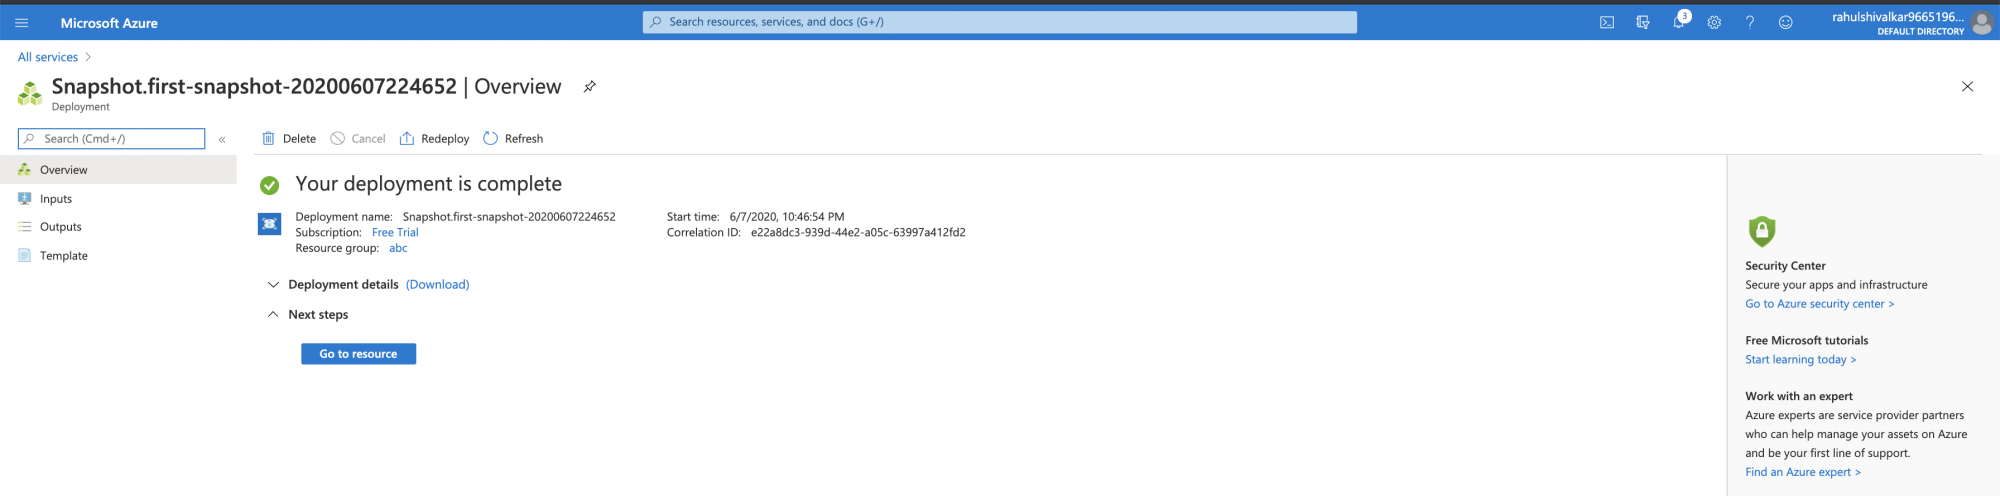
After some time, depending on the size of the disk, you will see a message as “Your deployment is ready”. Click on “Go to resources” to check if the snapshot is there.
<img alt="Deployment is ready" data-ezsrc="https://kirelos.com/wp-content/uploads/2020/06/echo/screenshot_2020-06-07_at_105020_pm.png5ef4740cd86d1.jpg" ezimgfmt="rs rscb1 src ng ngcb1" height="186" src="data:image/svg xml,” width=”750″>
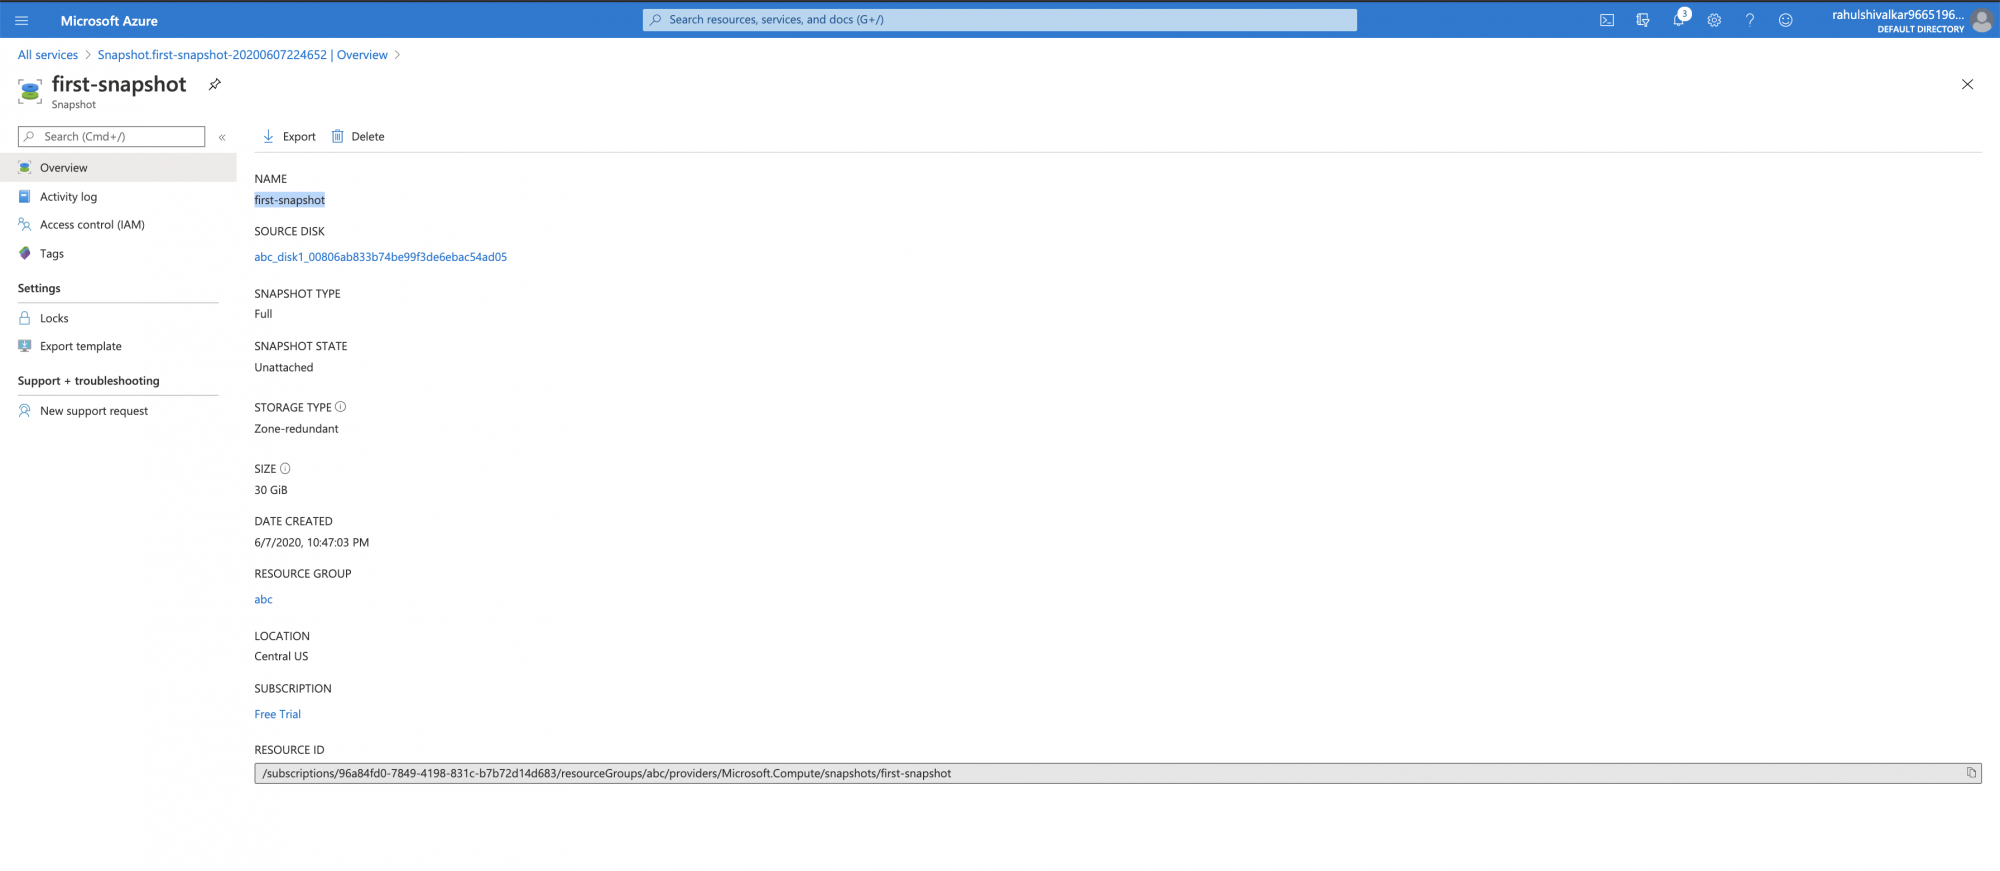
You can see that the snapshot is there with the name we specified.
<img alt="Snapshot details" data-ezsrc="https://kirelos.com/wp-content/uploads/2020/06/echo/screenshot_2020-06-07_at_105114_pm.png5ef4740d242eb.jpg" ezimgfmt="rs rscb1 src ng ngcb1" height="326" src="data:image/svg xml,” width=”750″>
Conclusion
In this article, we saw the steps to create a snapshot of the existing disk which can be used as a backup or to create a Virtual Machine.

 Virtual Machine” data-ezsrc=”https://kirelos.com/wp-content/uploads/2020/06/echo/screenshot_2020-06-07_at_103447_pm.png5ef4740add0ca.jpg” ezimgfmt=”rs rscb1 src ng ngcb1″ height=”426″ src=”data:image/svg xml,” width=”750″>

