An Azure storage account is used to store data objects such as blobs, files, queues, tables, and disks. Data stored in the Storage Account is accessible from anywhere in the world over HTTP or HTTPS and is durable and highly available, it provides a unique namespace for your Azure Storage data. The following are the types of storage accounts.
- General-purpose v2 accounts: Basic storage account type for blobs, files, queues, and tables.
- General-purpose v1 accounts: Legacy account type for blobs, files, queues, and tables.
- BlockBlobStorage accounts: Storage accounts with premium performance characteristics for block blobs.
- FileStorage accounts: Files-only storage accounts with premium performance characteristics.
- BlobStorage accounts: Legacy Blob-only storage accounts.
For Azure Storage Account we need to pay only for what you use, there are no upfront fees. To know about its pricing, click here.
In this article, we will see the steps to create a Storage Account and create a container in it, and upload blobs in that container.
Here the word “blob” in Azure refers to unstructured object data and Azure Blob storage is a service for storing large amounts of unstructured object data.
Pre-requisites
- Azure Account (Create if you don’t have one).
What will we do?
- Login to Azure.
- Create a Storage Account.
Login to Azure
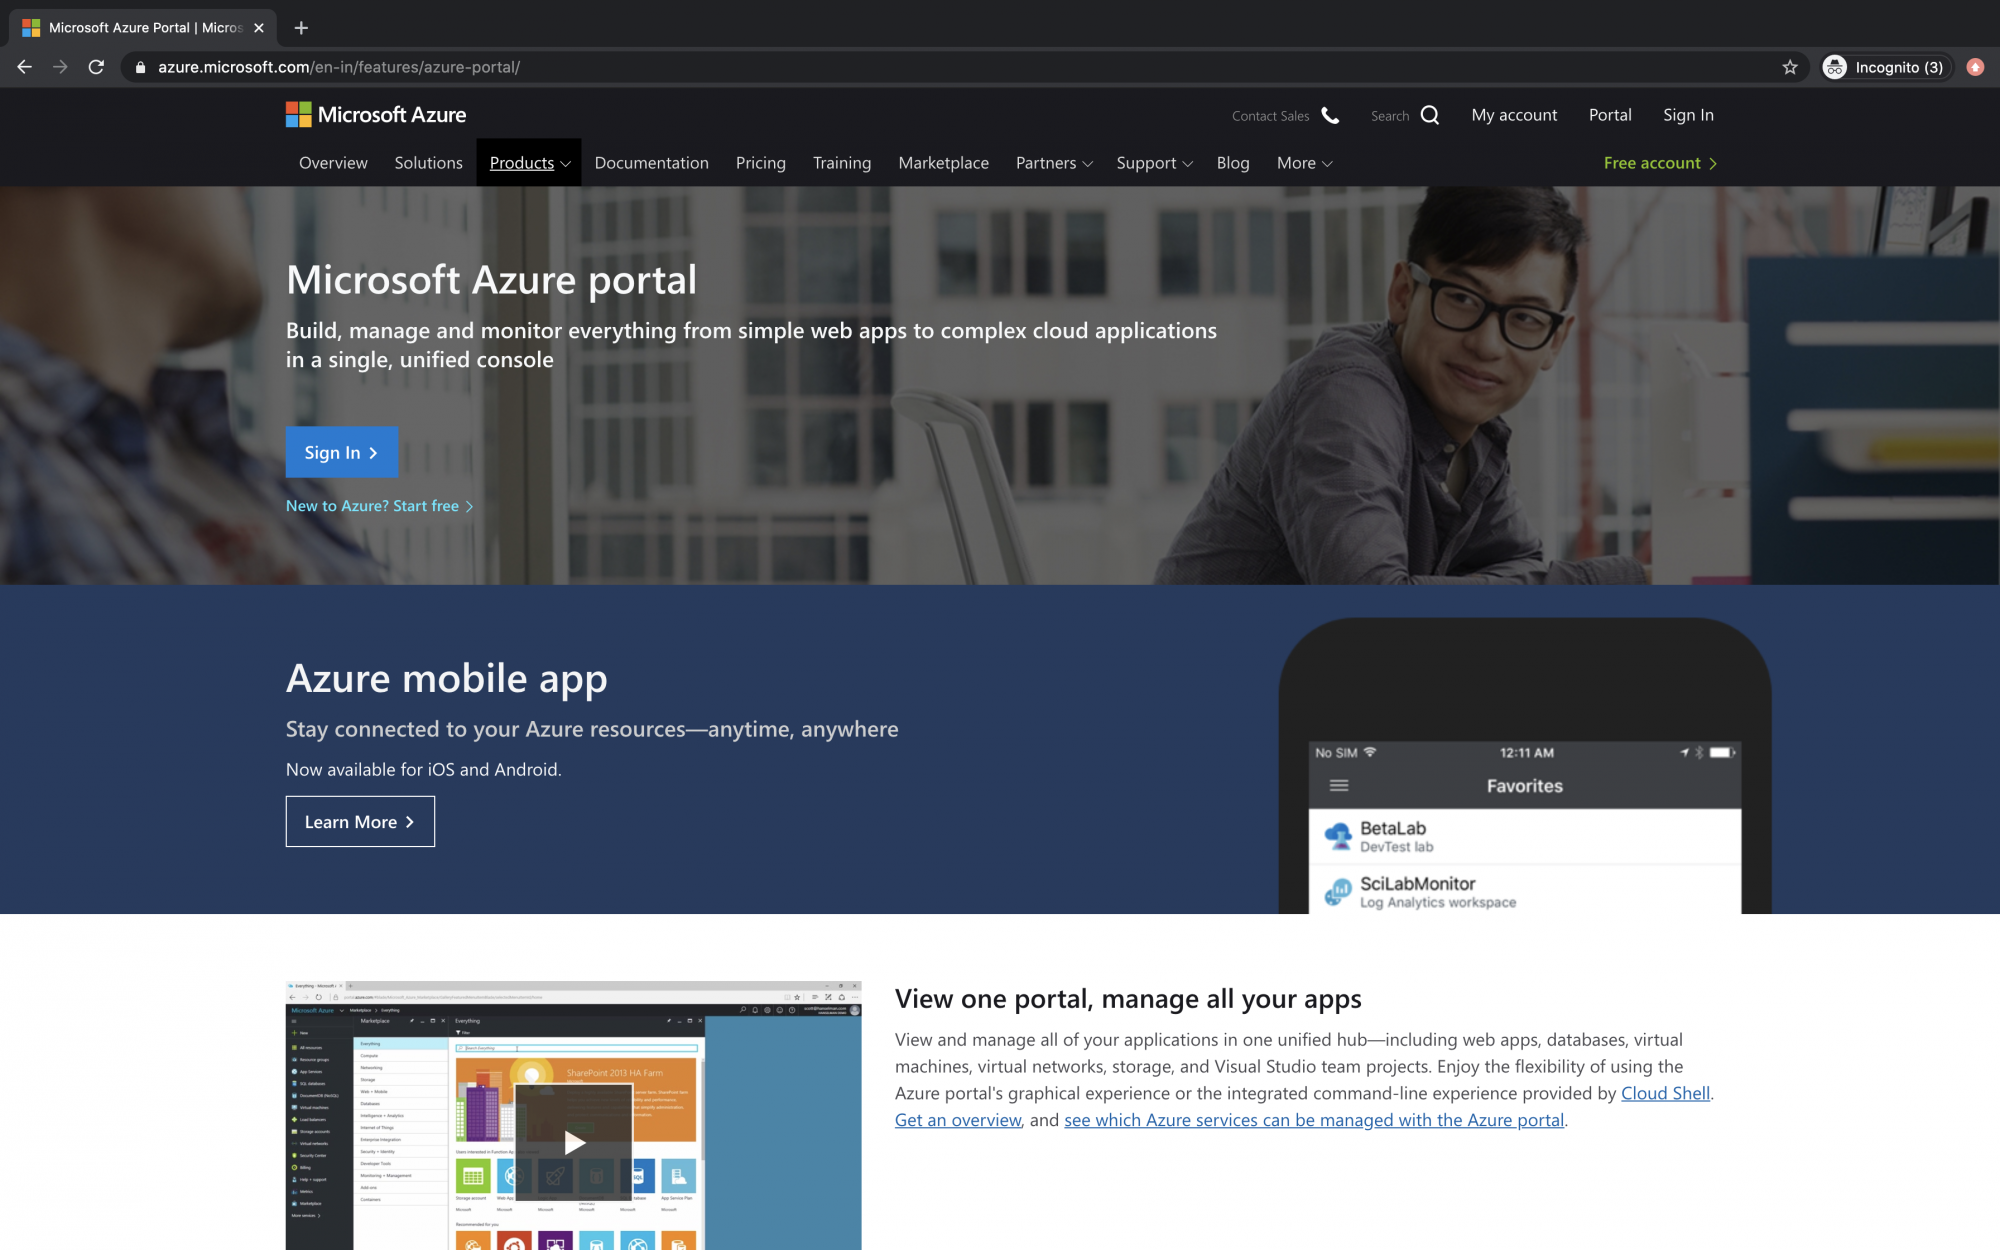
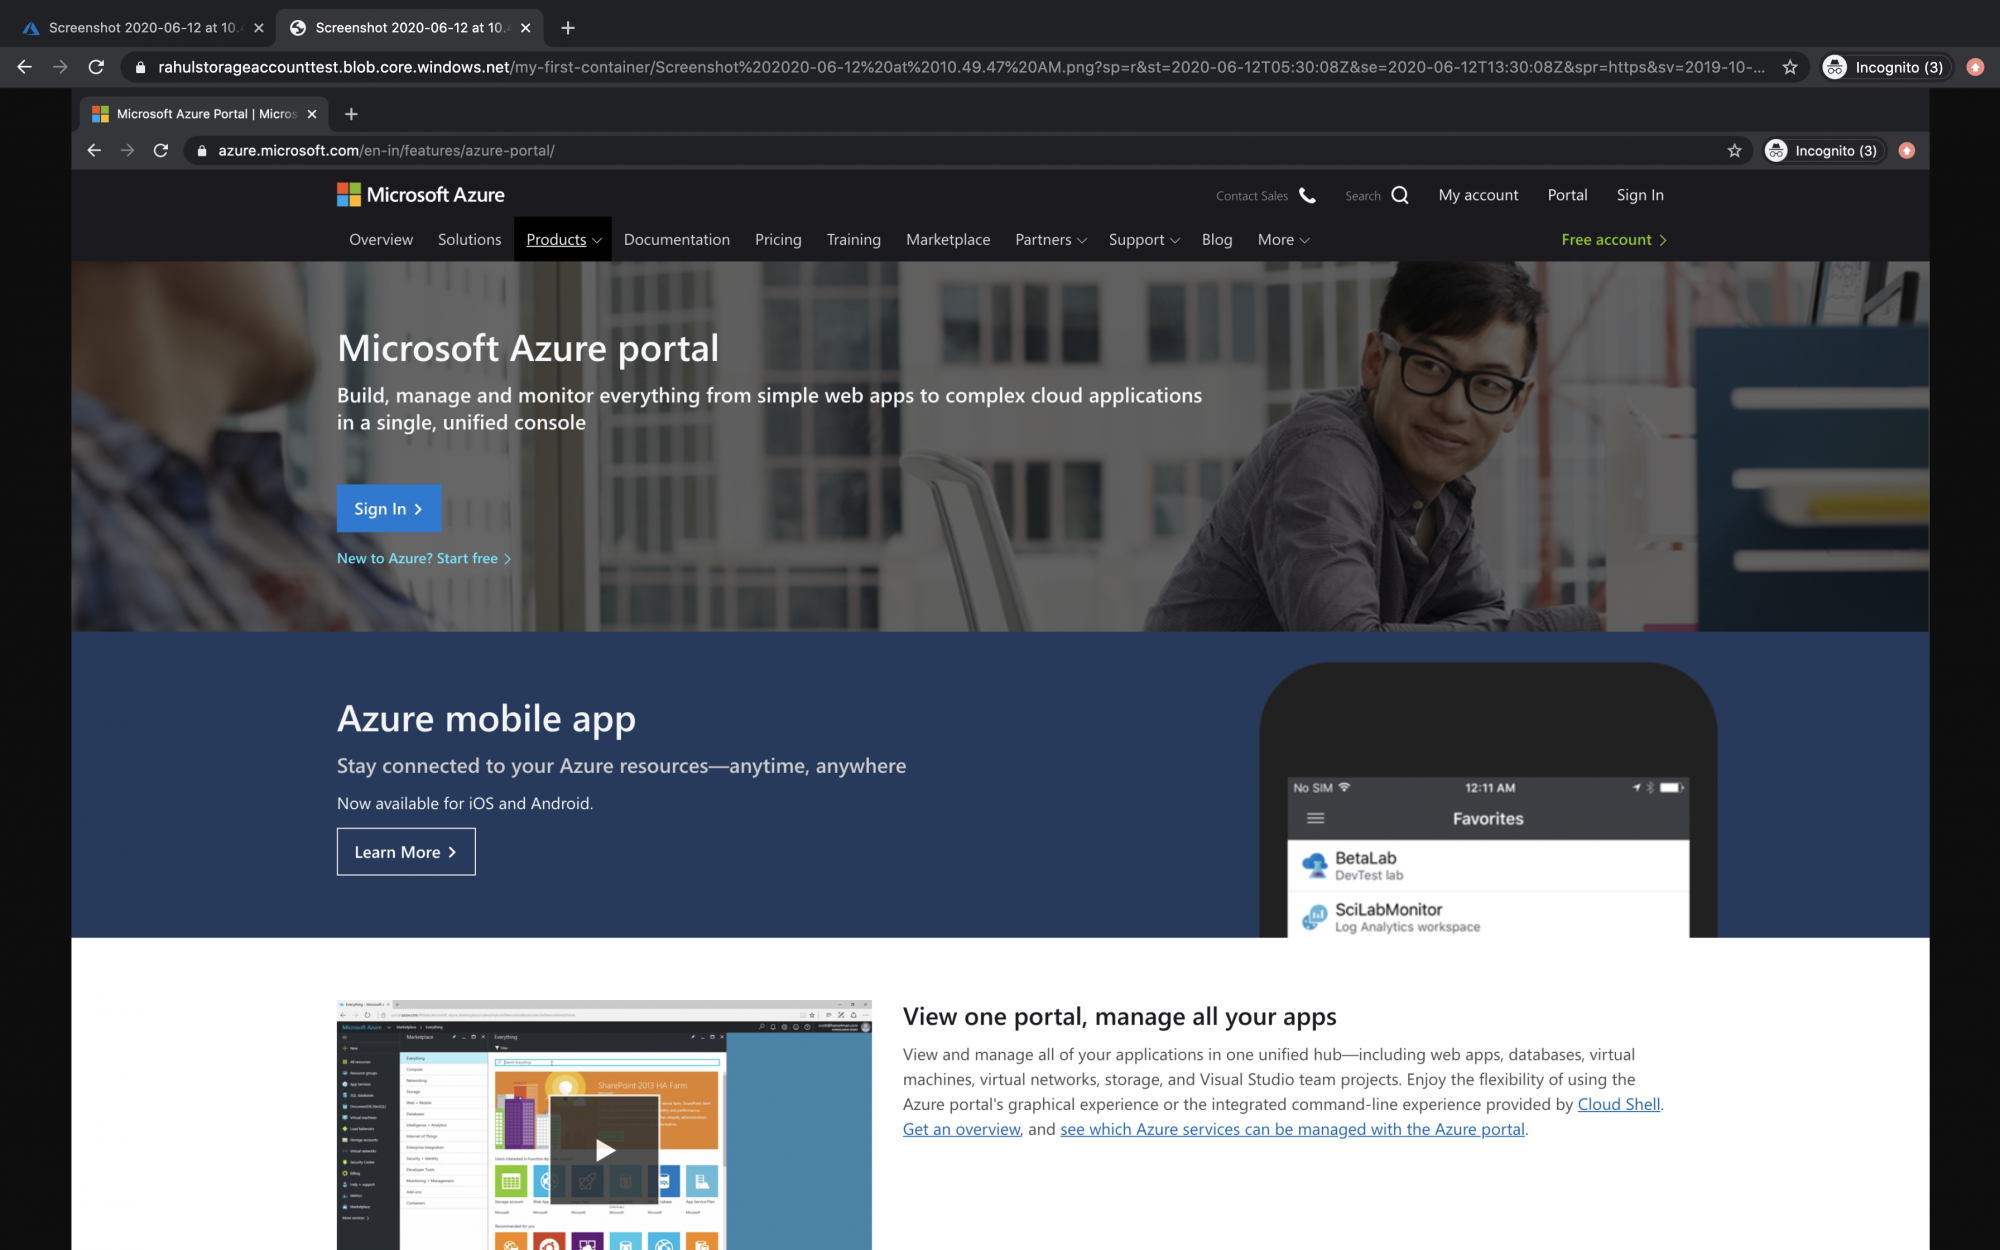
Click here to go Azure portal and click on Portal.
<img alt="" data-ezsrc="https://kirelos.com/wp-content/uploads/2022/02/echo/screenshot_2020-06-12_at_104947_am.png620623aecbe47.jpg" ezimgfmt="rs rscb5 src ng ngcb5" height="468" loading="lazy" src="data:image/svg xml,” width=”750″>
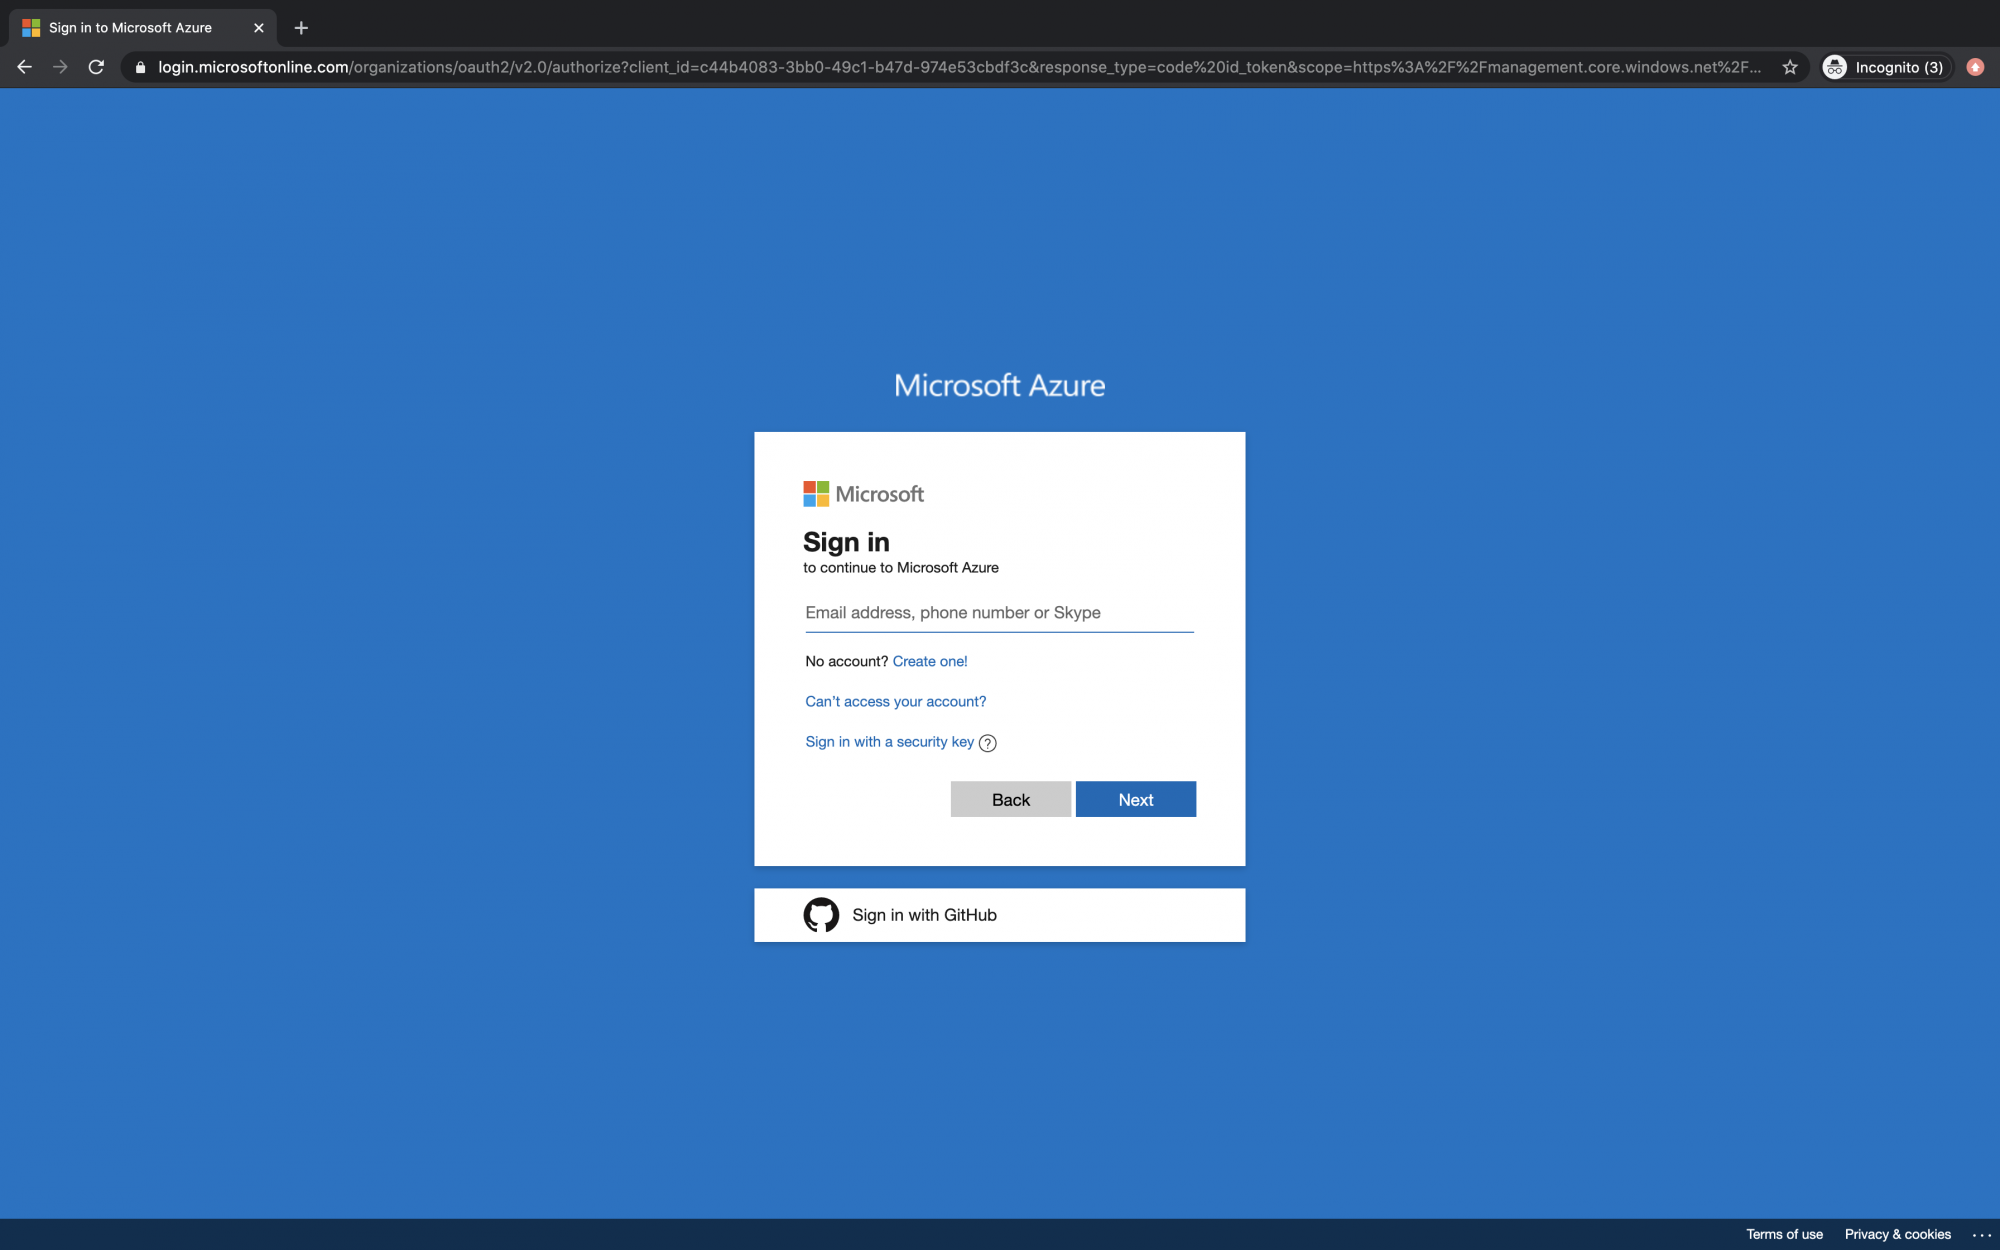
Use your credentials to log in to the account.
<img alt="" data-ezsrc="https://kirelos.com/wp-content/uploads/2022/02/echo/screenshot_2020-06-12_at_104952_am.png620623af5f99d.jpg" ezimgfmt="rs rscb5 src ng ngcb5" height="468" loading="lazy" src="data:image/svg xml,” width=”750″>
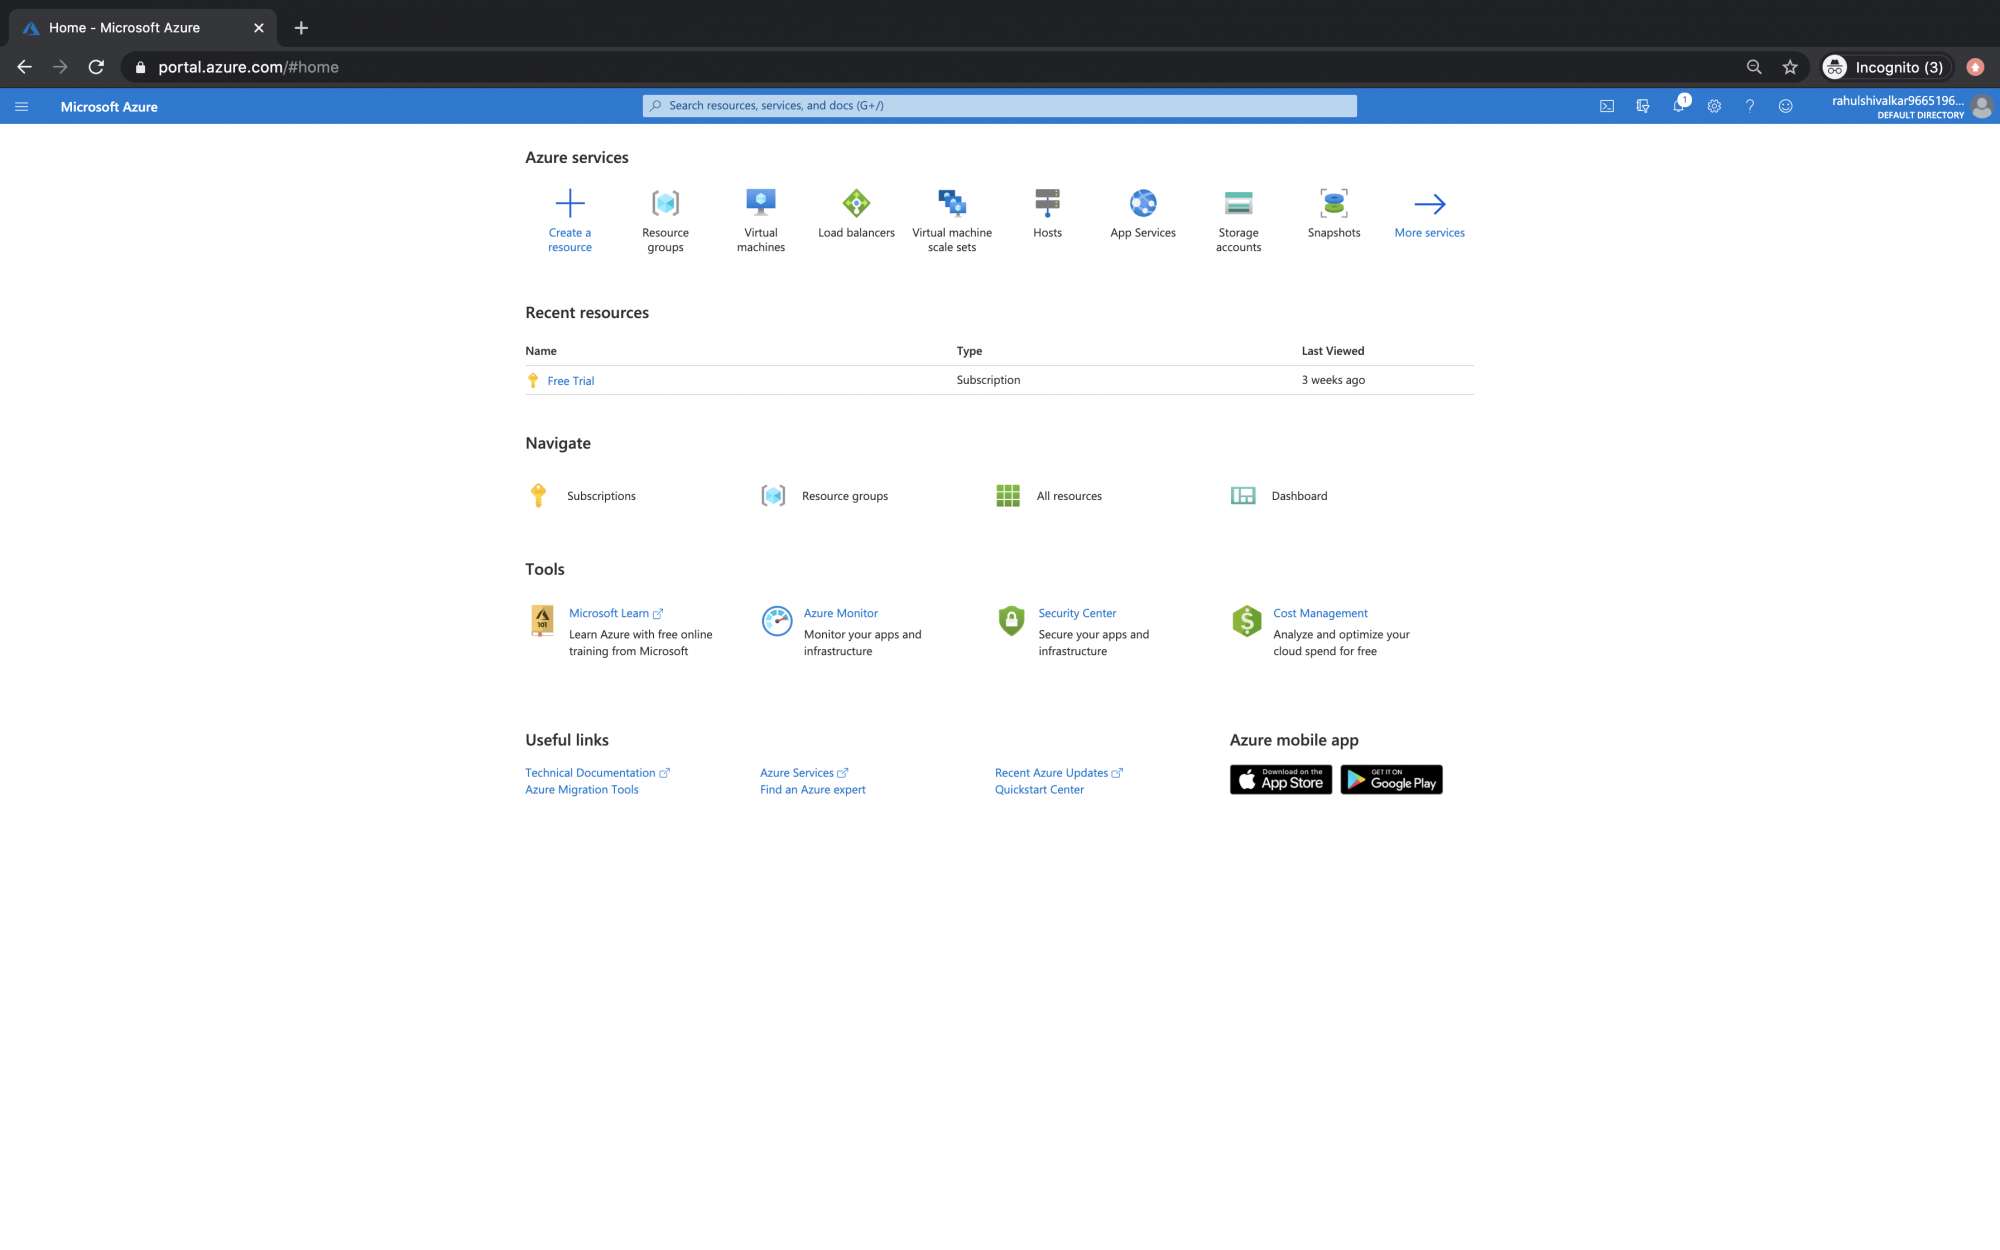
You will see the main page as follows once you successfully login to your account. Click on 3 lines near “Microsoft Azure” in the upper left-hand corner of the Azure portal to show the portal menu.
<img alt="" data-ezsrc="https://kirelos.com/wp-content/uploads/2022/02/echo/screenshot_2020-06-12_at_105037_am.png620623afbf7c5.jpg" ezimgfmt="rs rscb5 src ng ngcb5" height="468" loading="lazy" src="data:image/svg xml,” width=”750″>
Create a Storage Account
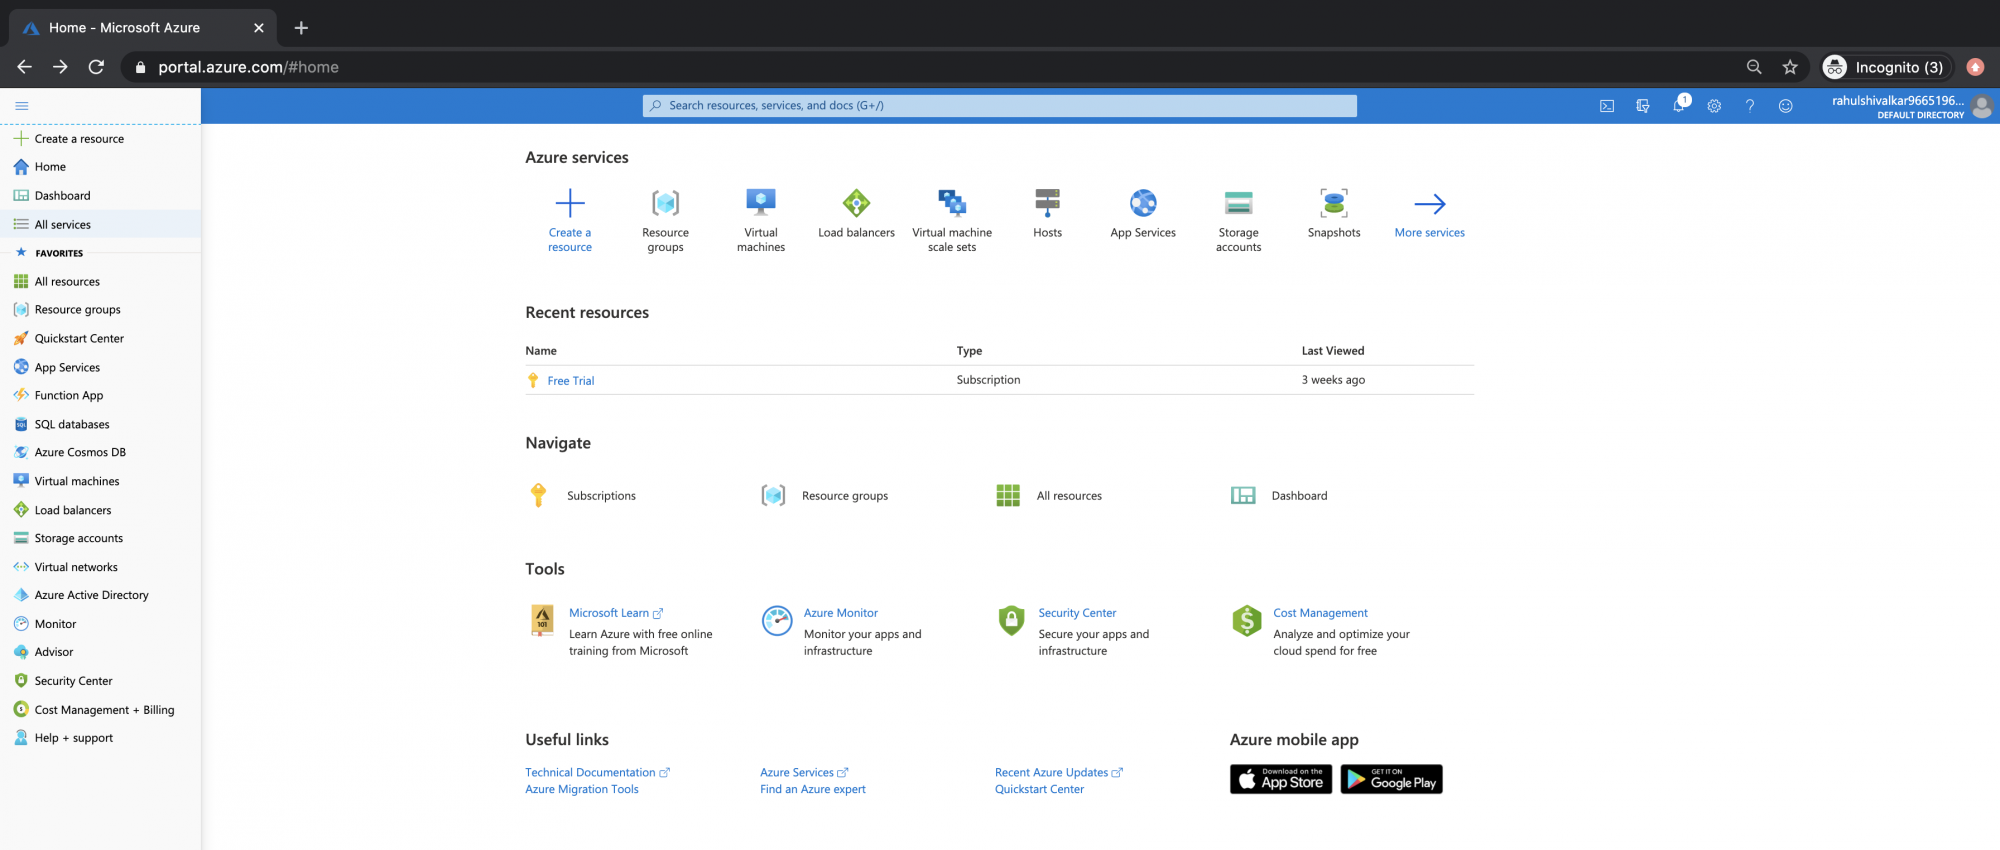
Click on “All Services” in the left panel.
<img alt="" data-ezsrc="https://kirelos.com/wp-content/uploads/2022/02/echo/screenshot_2020-06-12_at_105115_am.png620623b03bac5.jpg" ezimgfmt="rs rscb5 src ng ngcb5" height="318" loading="lazy" src="data:image/svg xml,” width=”750″>
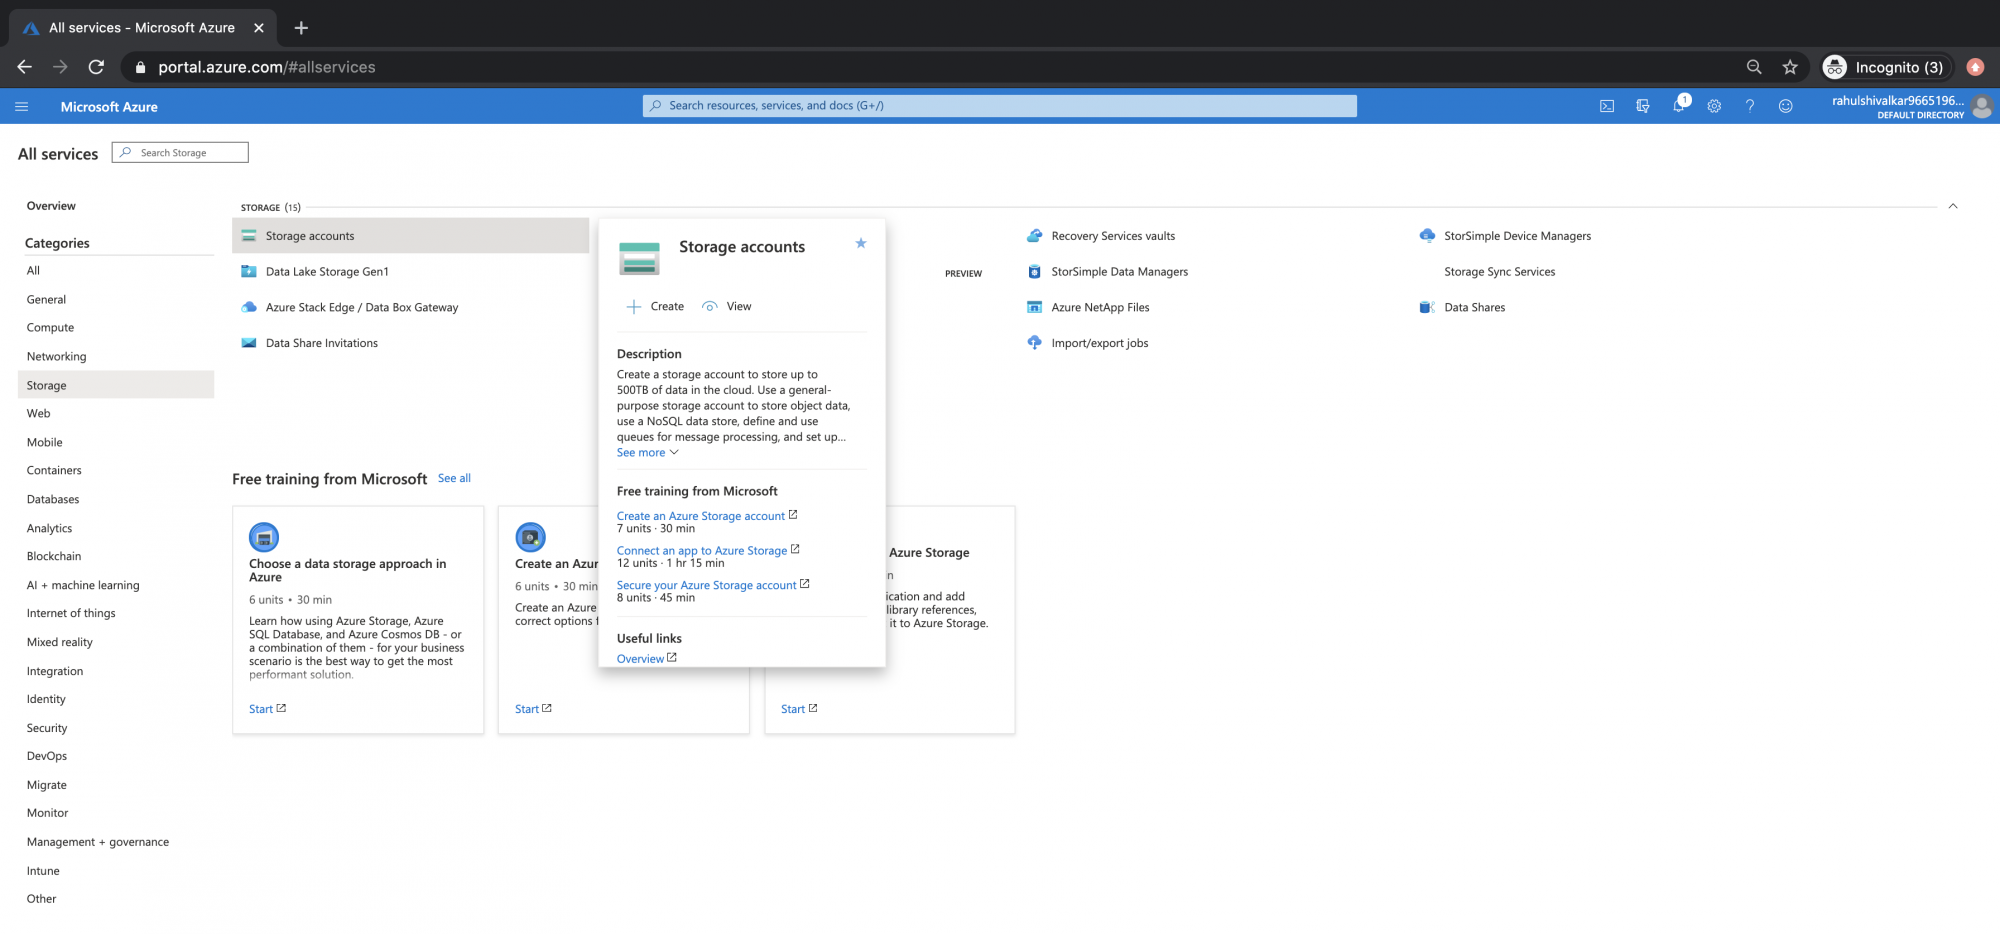
In the left panel, click on Storage and then click on “Storage Accounts”.
<img alt="" data-ezsrc="https://kirelos.com/wp-content/uploads/2022/02/echo/screenshot_2020-06-12_at_105129_am.png620623b093e68.jpg" ezimgfmt="rs rscb5 src ng ngcb5" height="350" loading="lazy" src="data:image/svg xml,” width=”750″>
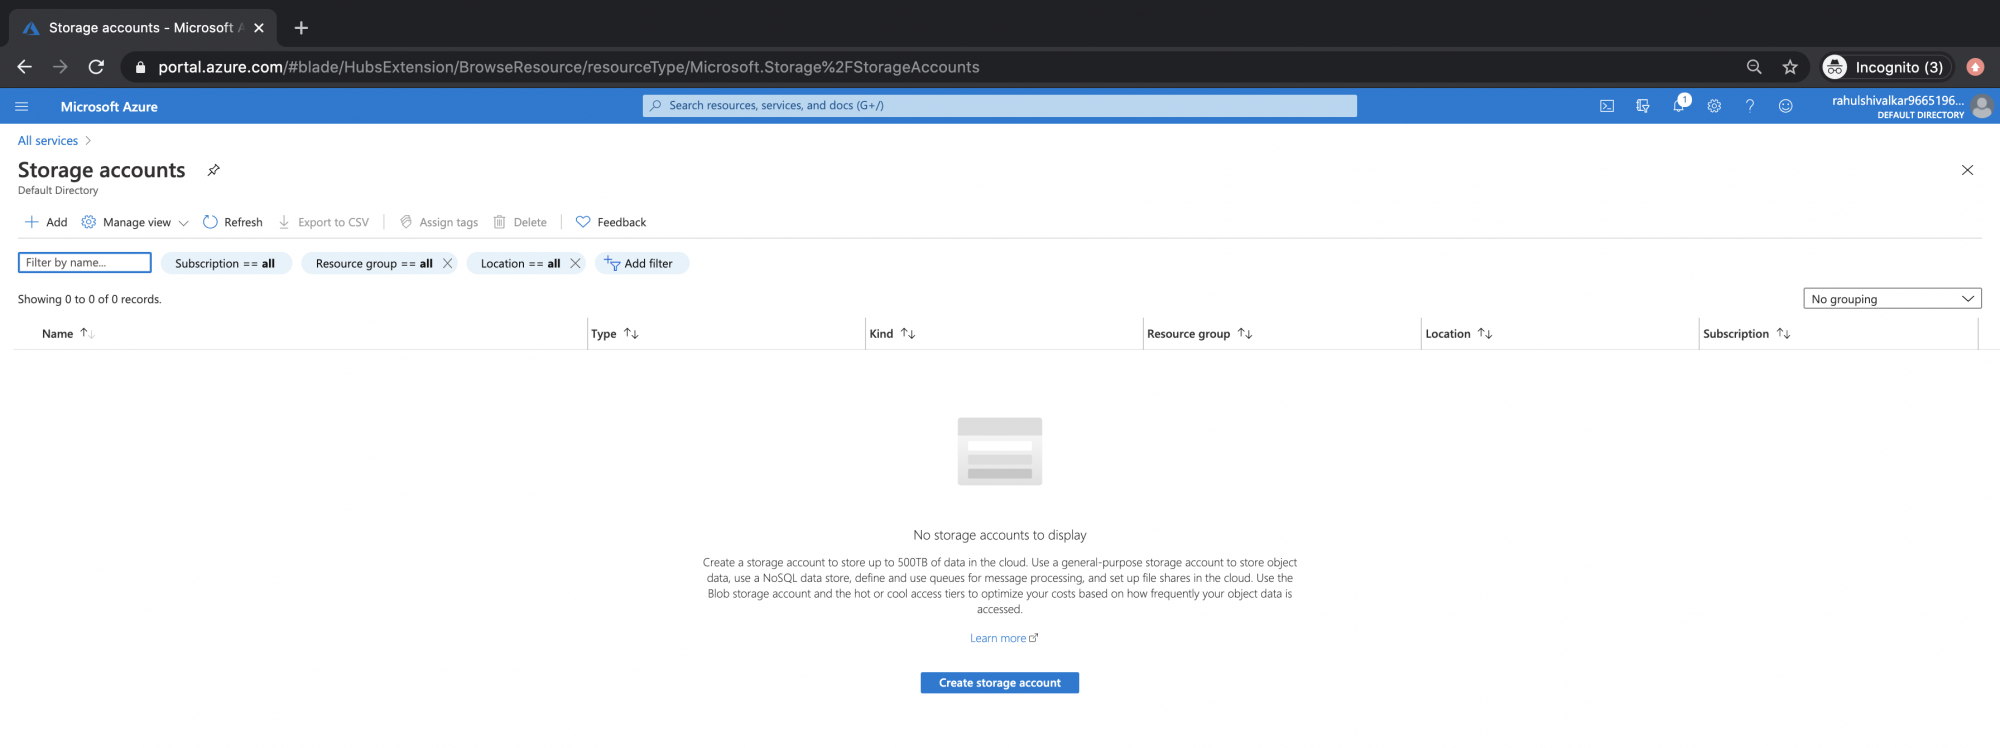
On the main dashboard on “Storage Account”, click on the “Add” button.
<img alt="" data-ezsrc="https://kirelos.com/wp-content/uploads/2022/02/echo/screenshot_2020-06-12_at_105136_am.png620623b0df1d7.jpg" ezimgfmt="rs rscb5 src ng ngcb5" height="280" loading="lazy" src="data:image/svg xml,” width=”750″>
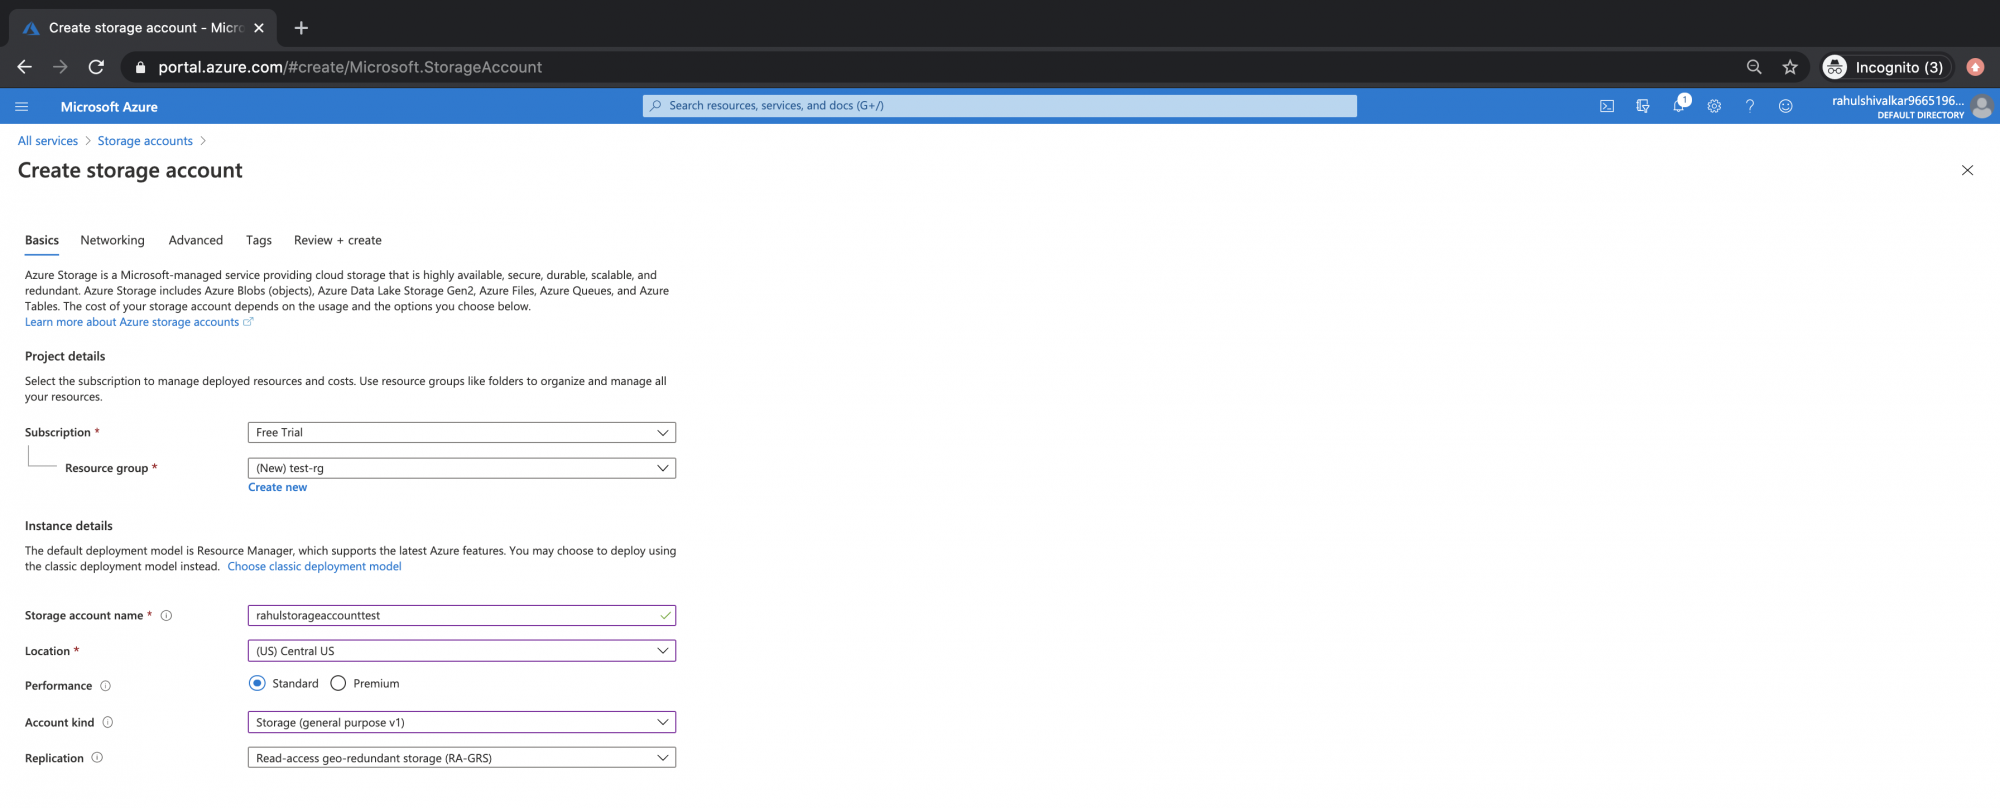
Create a New resource group if you don’t have any in your account and name it as test-rg. Given name to the storage account to be created, This name should be globally unique and no two storage accounts in Azure or can have the same name. Select a location where you want to create your storage account, select the “Account Kind” you want to create. Click on “Next: Networking”.
<img alt="" data-ezsrc="https://kirelos.com/wp-content/uploads/2022/02/echo/screenshot_2020-06-12_at_105312_am.png620623b1601e5.jpg" ezimgfmt="rs rscb5 src ng ngcb5" height="303" loading="lazy" src="data:image/svg xml,” width=”750″>
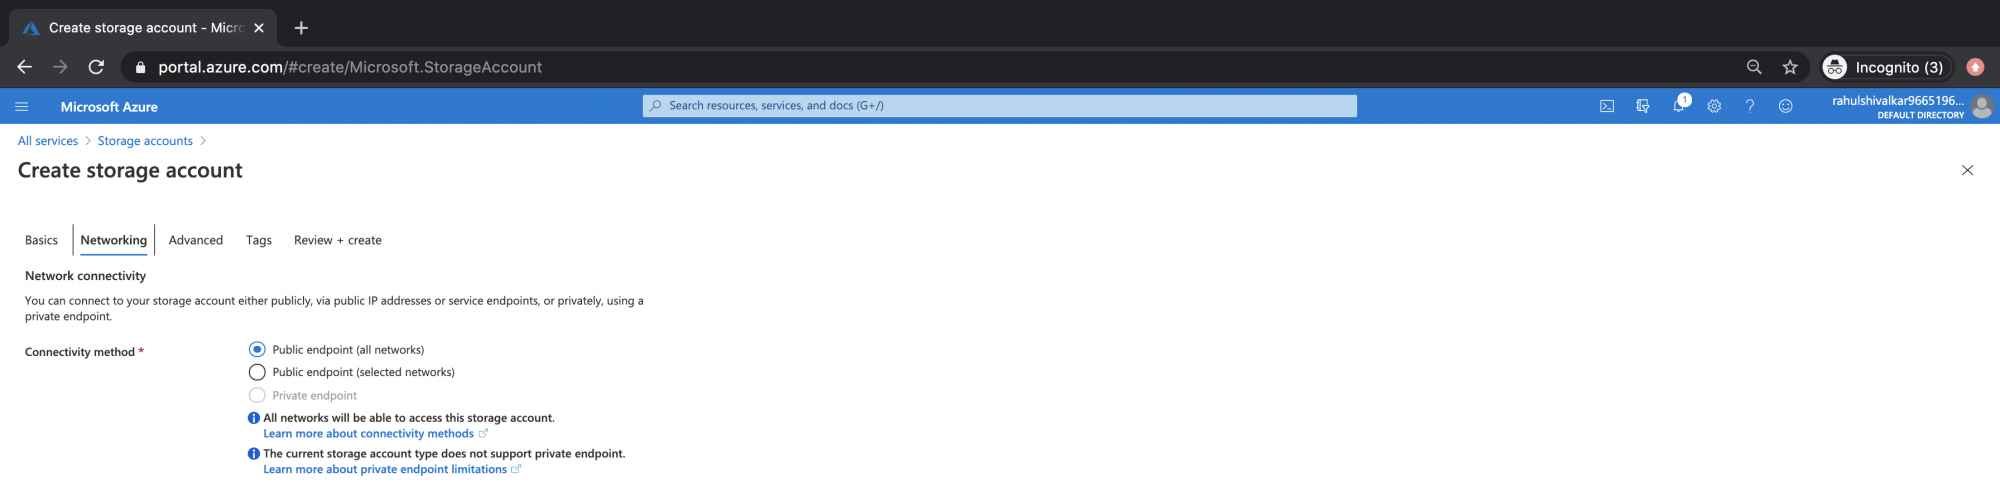
Specify the connectivity method to the storage account, here we have selected the public endpoint.
Click on “Next: Advanced”.
<img alt="" data-ezsrc="https://kirelos.com/wp-content/uploads/2022/02/echo/screenshot_2020-06-12_at_105322_am.png620623b1c336e.jpg" ezimgfmt="rs rscb5 src ng ngcb5" height="184" loading="lazy" src="data:image/svg xml,” width=”750″>
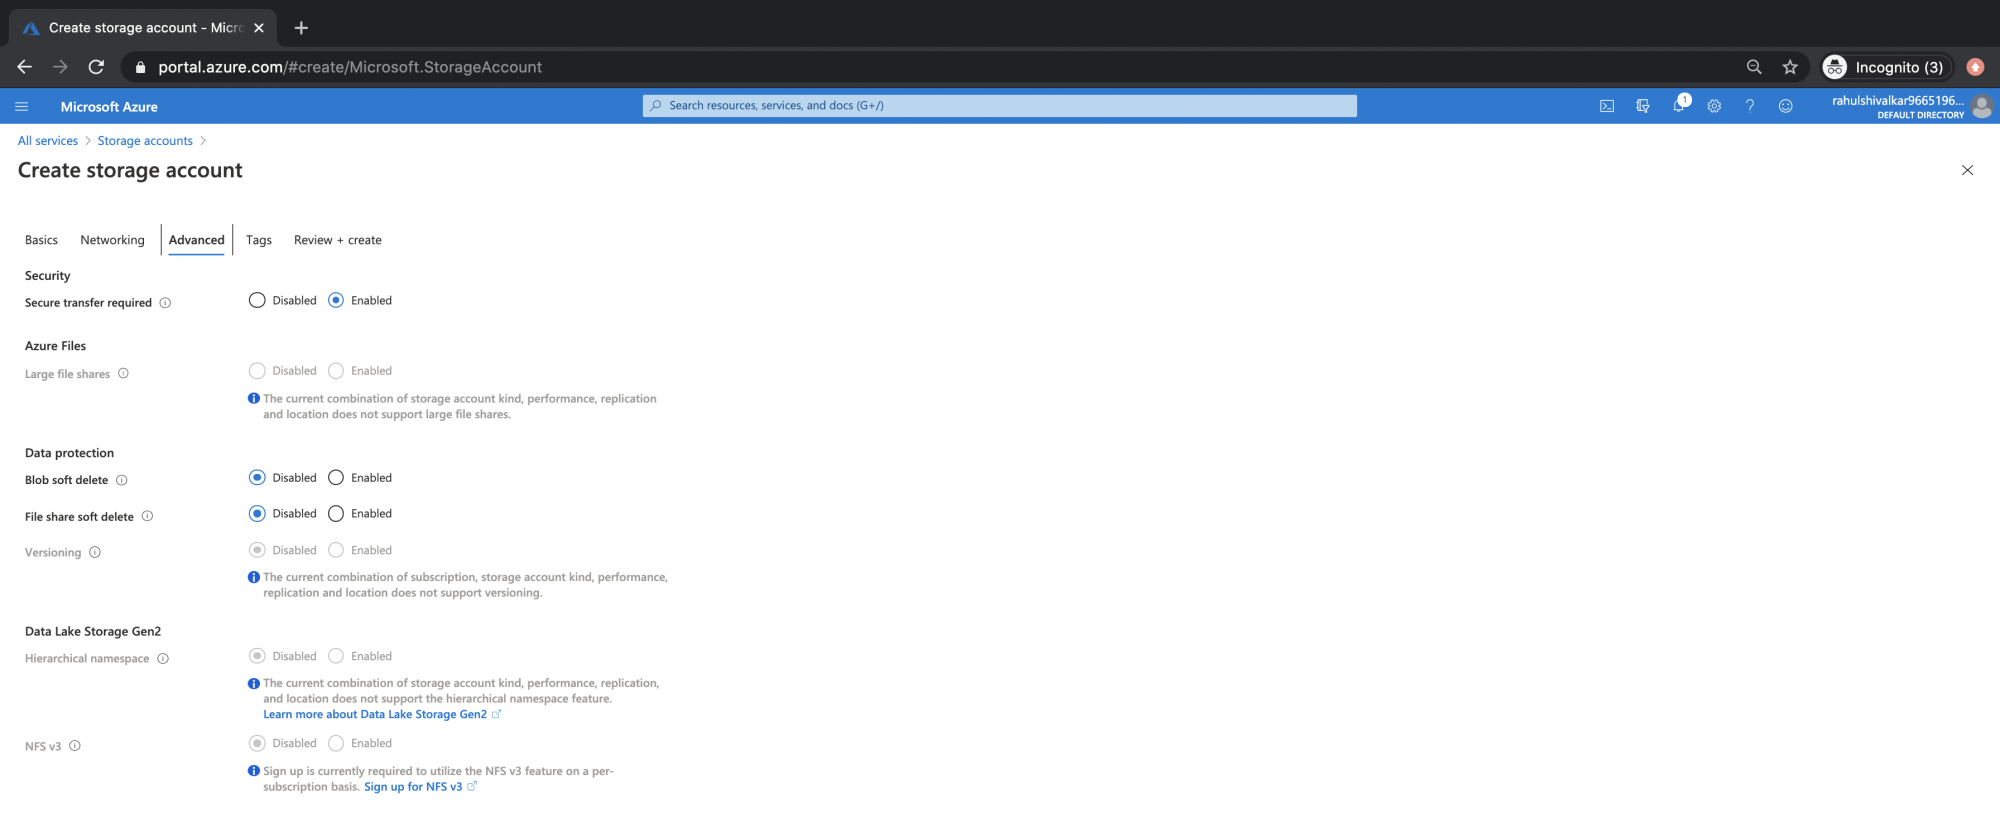
Click on “Next: Tags” to proceed with the default configuration under the “Advanced” tab.
<img alt="" data-ezsrc="https://kirelos.com/wp-content/uploads/2022/02/echo/screenshot_2020-06-12_at_105336_am.png620623b24cade.jpg" ezimgfmt="rs rscb5 src ng ngcb5" height="308" loading="lazy" src="data:image/svg xml,” width=”750″>
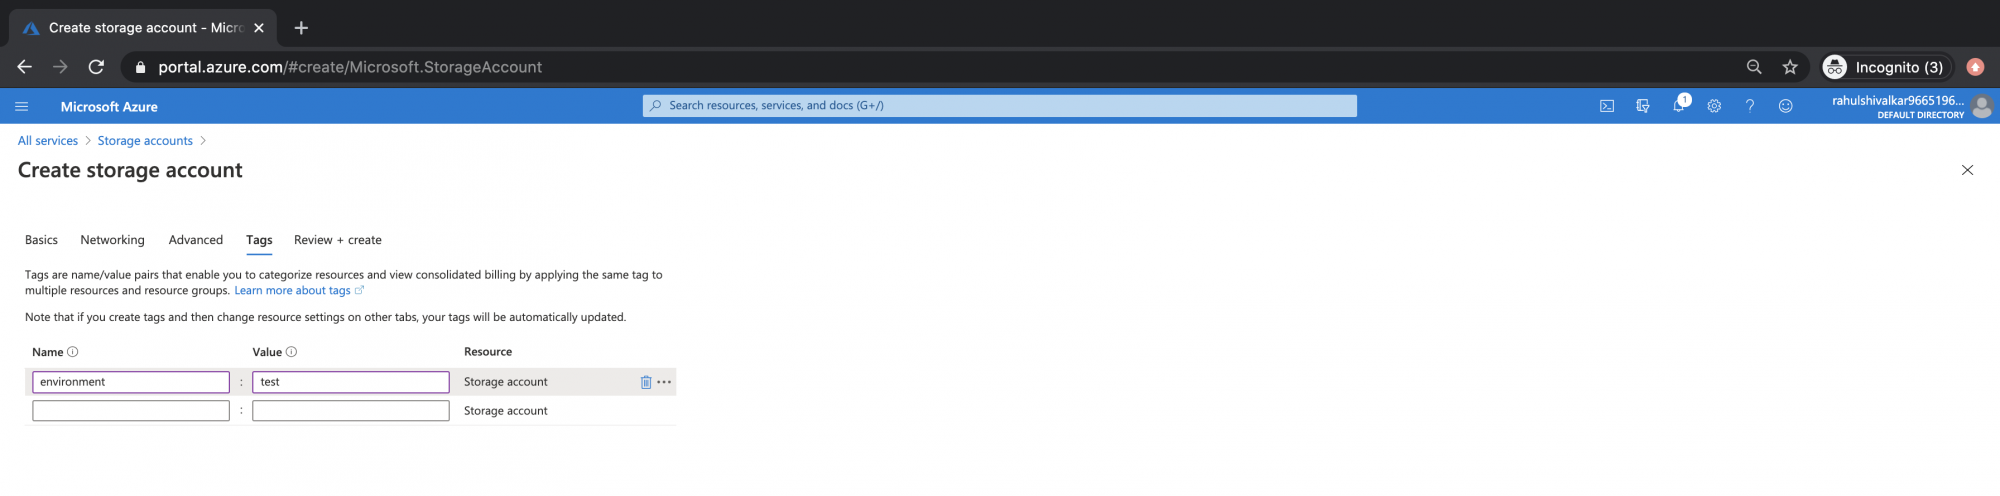
Specify a tag as “environment: test”. You can specify multiple key:values as tags.
Click on “Review create”.
<img alt="" data-ezsrc="https://kirelos.com/wp-content/uploads/2022/02/echo/screenshot_2020-06-12_at_105419_am.png620623b2a7e73.jpg" ezimgfmt="rs rscb5 src ng ngcb5" height="186" loading="lazy" src="data:image/svg xml,” width=”750″>
Now, if you see the message “Validation passed” click on Create.
<img alt="" data-ezsrc="https://kirelos.com/wp-content/uploads/2022/02/echo/screenshot_2020-06-12_at_105510_am.png620623b31f8fa.jpg" ezimgfmt="rs rscb5 src ng ngcb5" height="468" loading="lazy" src="data:image/svg xml,” width=”750″>
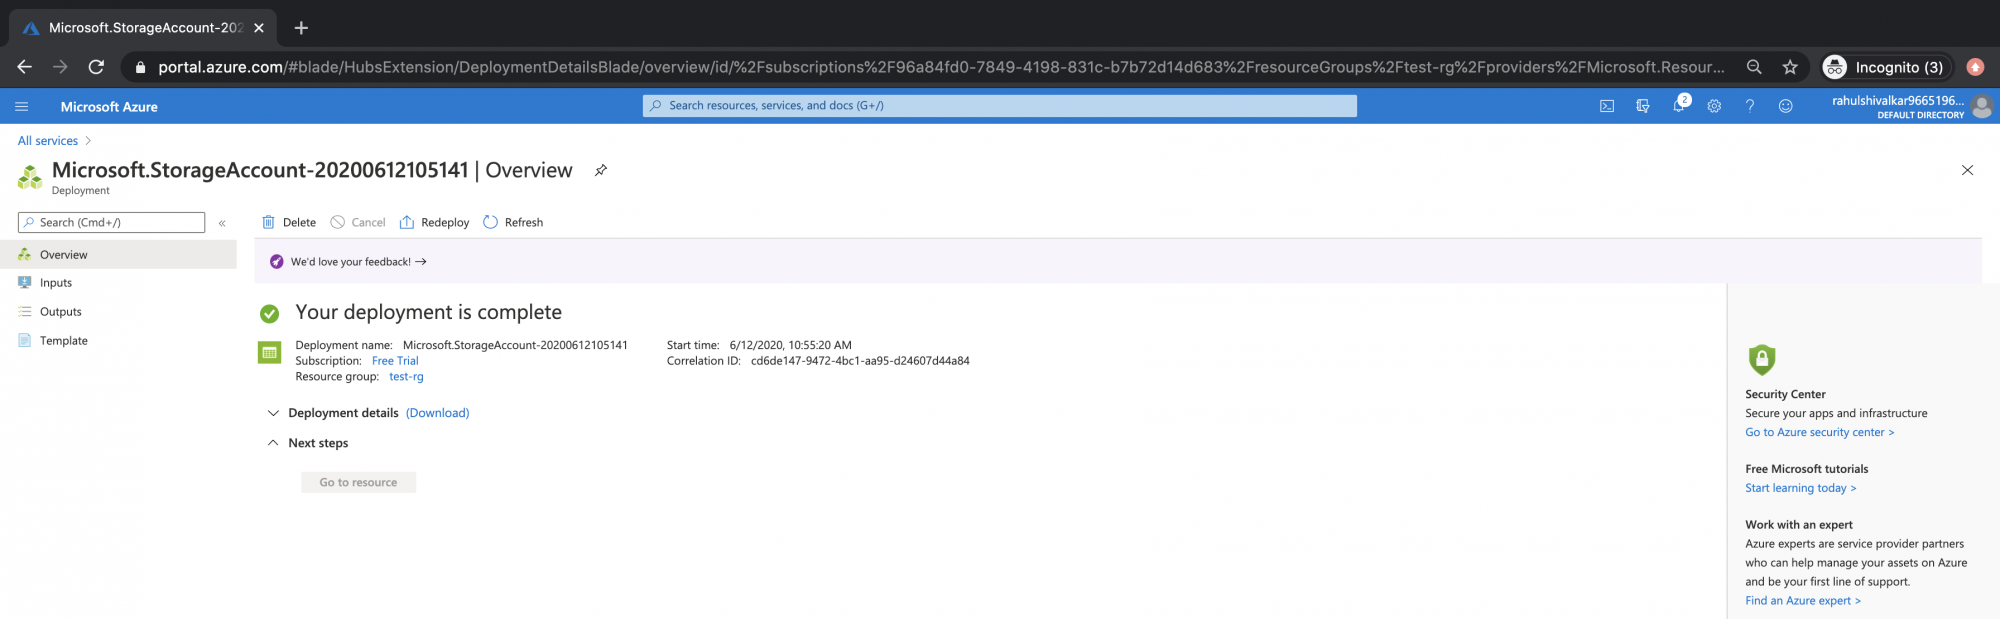
In some time, the storage account will be ready.
Click in the Resource group “test-rg” to go to the resource group in which the Storage Account is created.
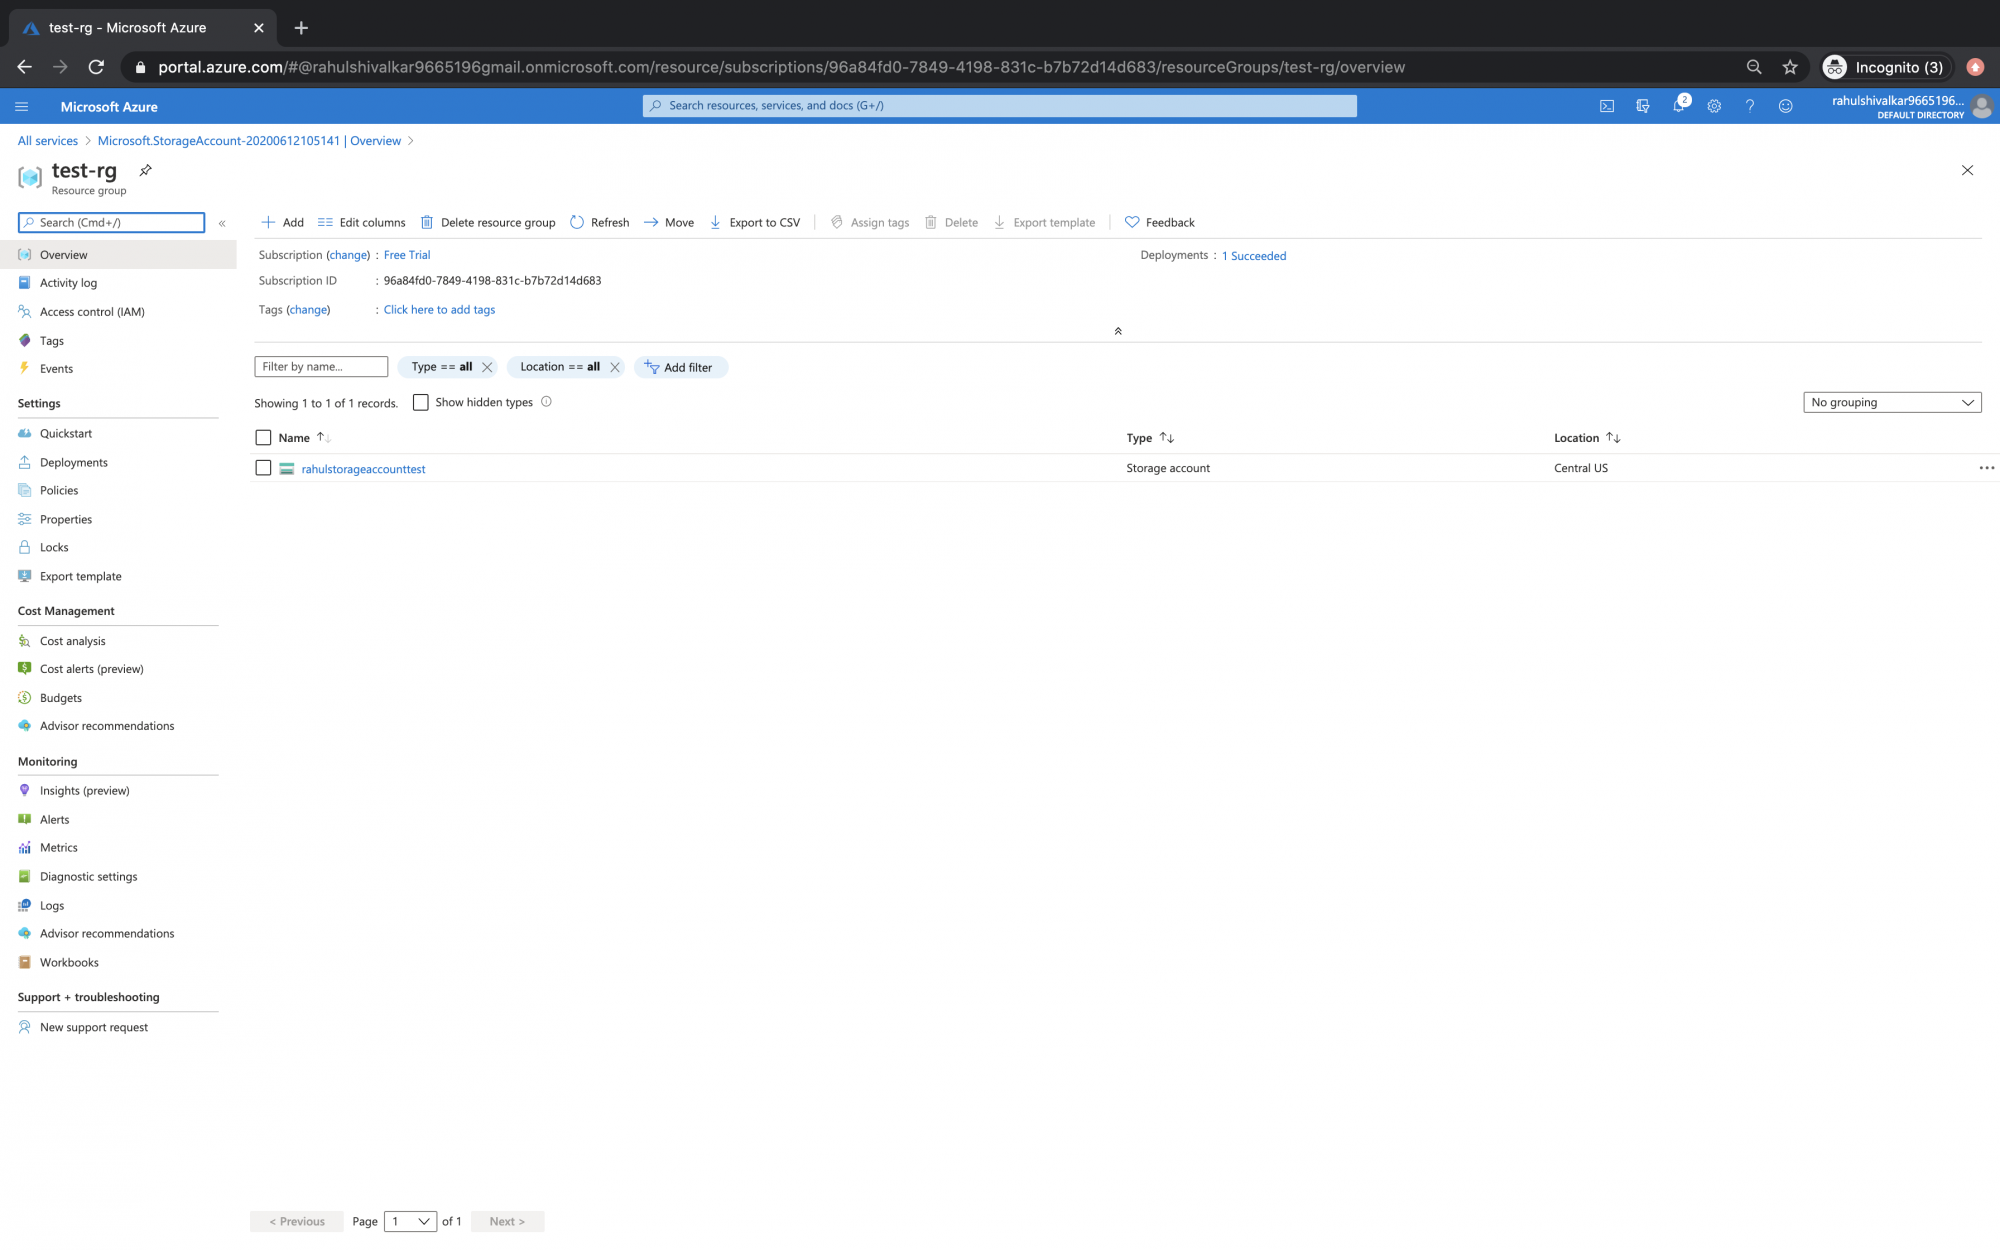
<img alt="" data-ezsrc="https://kirelos.com/wp-content/uploads/2022/02/echo/screenshot_2020-06-12_at_105659_am.png620623b35e279.jpg" ezimgfmt="rs rscb5 src ng ngcb5" height="232" loading="lazy" src="data:image/svg xml,” width=”750″>
Here, click on the Storage Account we just created.
<img alt="" data-ezsrc="https://kirelos.com/wp-content/uploads/2022/02/echo/screenshot_2020-06-12_at_105712_am.png620623b3b95af.jpg" ezimgfmt="rs rscb5 src ng ngcb5" height="468" loading="lazy" src="data:image/svg xml,” width=”750″>
On the overview page, you will see the details about the storage account.
In the left panel, click on Containers under “Blob Service”.
<img alt="" data-ezsrc="https://kirelos.com/wp-content/uploads/2022/02/echo/screenshot_2020-06-12_at_105721_am.png620623b3ec8e9.jpg" ezimgfmt="rs rscb5 src ng ngcb5" height="468" loading="lazy" src="data:image/svg xml,” width=”750″>
Click on ” Container” to create a new container, give it a name, select the access level and click on “Create”.
<img alt="" data-ezsrc="https://kirelos.com/wp-content/uploads/2022/02/echo/screenshot_2020-06-12_at_105819_am.png620623b4543a7.jpg" ezimgfmt="rs rscb5 src ng ngcb5" height="468" loading="lazy" src="data:image/svg xml,” width=”750″>
Now you have a container inside the Storage Account in which you are now ready to upload your files/blobs.
Click in the Container we just created.
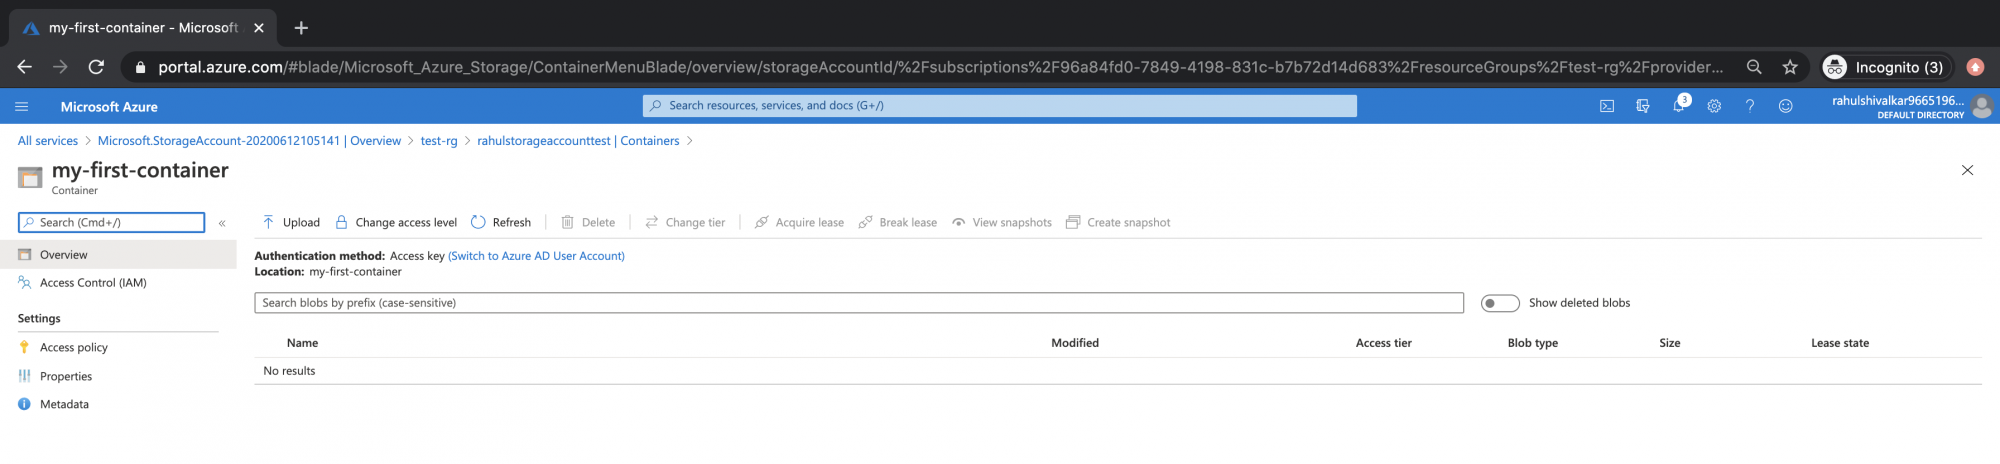
<img alt="" data-ezsrc="https://kirelos.com/wp-content/uploads/2022/02/echo/screenshot_2020-06-12_at_105833_am.png620623b4a51da.jpg" ezimgfmt="rs rscb5 src ng ngcb5" height="468" loading="lazy" src="data:image/svg xml,” width=”750″>
Here, you can now see the option “Upload”.
<img alt="" data-ezsrc="https://kirelos.com/wp-content/uploads/2022/02/echo/screenshot_2020-06-12_at_105848_am.png620623b5010d6.jpg" ezimgfmt="rs rscb5 src ng ngcb5" height="173" loading="lazy" src="data:image/svg xml,” width=”750″>
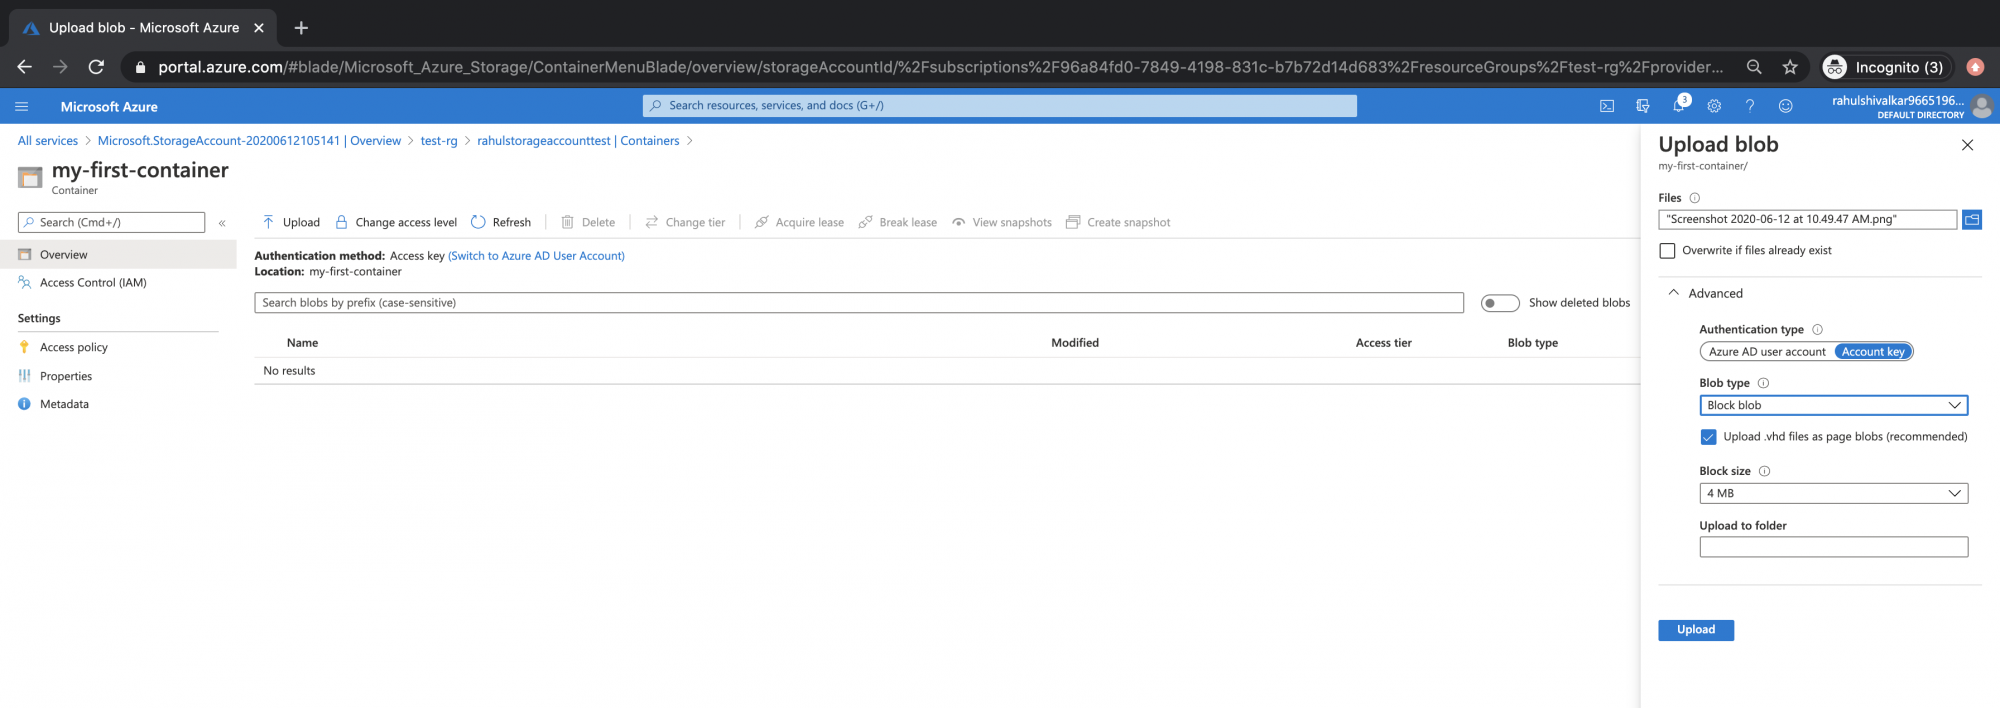
Click on “Upload”, select the file you want to upload and click on Upload.
<img alt="" data-ezsrc="https://kirelos.com/wp-content/uploads/2022/02/echo/screenshot_2020-06-12_at_105910_am.png620623b56e510.jpg" ezimgfmt="rs rscb5 src ng ngcb5" height="265" loading="lazy" src="data:image/svg xml,” width=”750″>
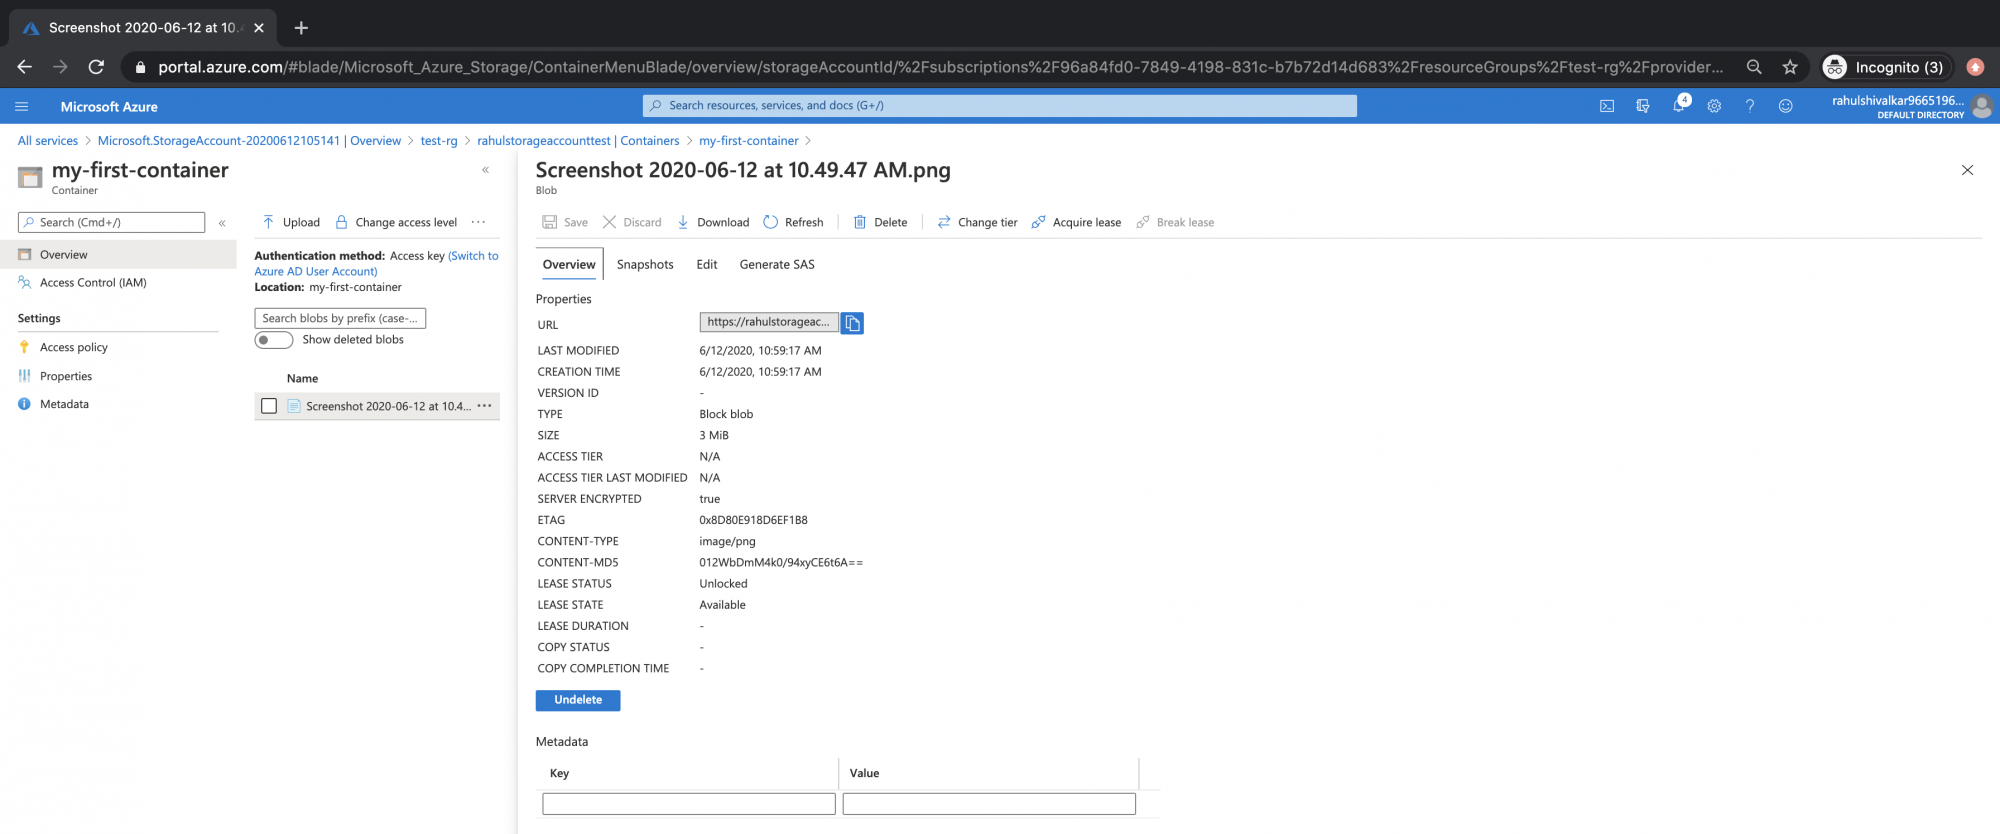
Now, if you check the details of the file/blob you just uploaded, under Overview, you can see that the object has a URL field.
This link will be used to access the file/blob.
If you try to access the file using the link in the browser, you will not get “ResourceNotFound” error.
<img alt="" data-ezsrc="https://kirelos.com/wp-content/uploads/2022/02/echo/screenshot_2020-06-12_at_105932_am.png620623b5c264e.jpg" ezimgfmt="rs rscb5 src ng ngcb5" height="312" loading="lazy" src="data:image/svg xml,” width=”750″>
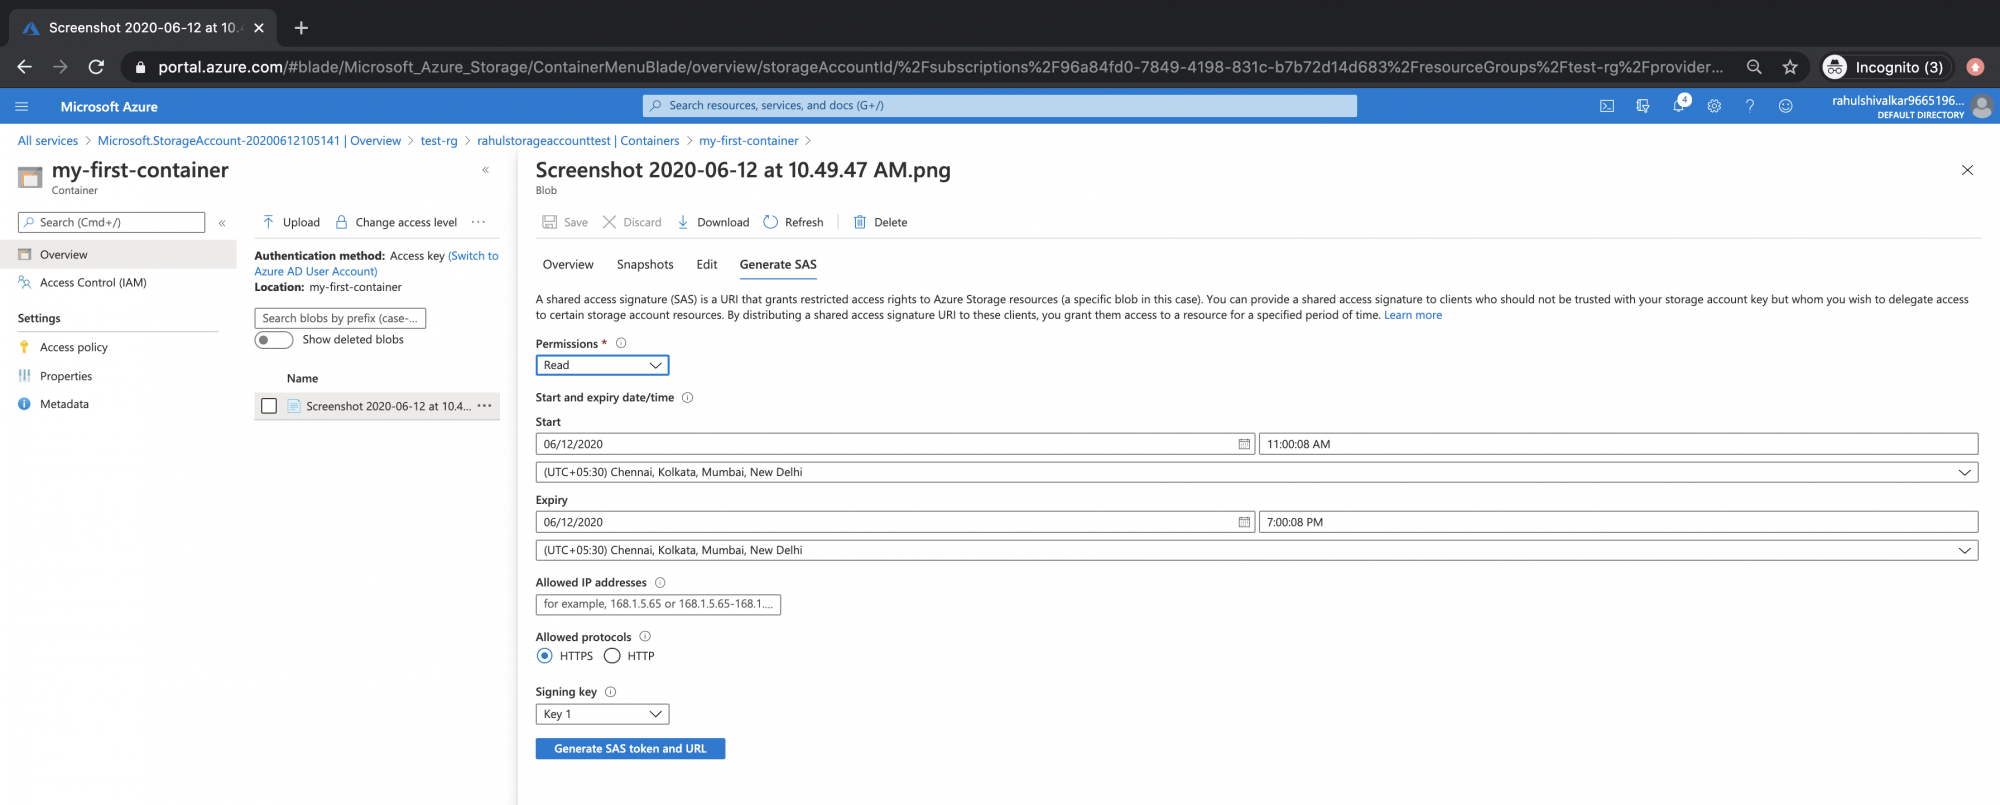
To fix the access issue, click on “Generate SAS” tab and then click on “Generate SAS token and URL”
Now you will get a “Blob SAS token” and “Blob SAS URL”
You can access the object from the browser using “Blob SAS URL”.
<img alt="" data-ezsrc="https://kirelos.com/wp-content/uploads/2022/02/echo/screenshot_2020-06-12_at_110028_am.png620623b63662e.jpg" ezimgfmt="rs rscb5 src ng ngcb5" height="301" loading="lazy" src="data:image/svg xml,” width=”750″>
Hit the “Blob SAS URL” in the browser and you will now see your object.
Here, we had uploaded an image that can now be seen in the browser.
<img alt="" data-ezsrc="https://kirelos.com/wp-content/uploads/2022/02/echo/screenshot_2020-06-12_at_110103_am.png620623b6cd674.jpg" ezimgfmt="rs rscb5 src ng ngcb5" loading="lazy" src="data:image/svg xml,”>
Conclusion
In this article, we saw how to create a Storage Account. We tried to upload an image and access it from the browser. We saw how to fix the permissions to access the image in the browser.


