
Drupal is a free, scalable, and open platform used to create and manage website content. It has a large community and is used by millions of people and organizations around the world. Drupal provides a simple and user-friendly web interface that helps you to create a variety of websites ranging from personal websites to large community-driven websites.
In this guide, we will show you how to deploy multiple Drupal instances with Nginx on Ubuntu 20.04.
Prerequisites
- A server running Ubuntu 20.04.
- Two valid domain names pointed with your server IP.
- A root password is configured on the server.
Step 1: Install Required Dependencies
First, you will need to update your system packages to the updated version and install the required dependencies to your system. You can do it with the following command:
apt-get update -y
apt-get install gnupg2 software-properties-common unzip git wget -y
Once all the dependencies are installed, you can proceed to the next step.
Step 2: Install Nginx and MariaDB
Here, we will host Drupal with Nginx. So Nginx must be installed in your server. If not installed, you can install it with the following command:
apt-get install nginx -y
After installing Nginx, you will need to install the latest version of MariaDB to your server. By default, the latest version of MariaDB is not included in the Ubuntu 20.04 default repository. So you will need to add the MariaDB repository to APT.
First, add the GPG key with the following command:
apt-key adv --recv-keys --keyserver hkp://keyserver.ubuntu.com:80 0xF1656F24C74CD1D8
Next, add the MariaDB repository with the following command:
add-apt-repository "deb [arch=amd64,arm64,ppc64el] http://mariadb.mirror.liquidtelecom.com/repo/10.4/ubuntu $(lsb_release -cs) main"
Once the repository is added, update the repository and install the latest version of MariaDB with the following command:
apt-get update -y
apt-get install mariadb-server -y
Once the MariaDB server is installed, you can proceed to the next step.
Step 3: Install PHP 7.4
Drupal does not support PHP 8.0. So you will need to install PHP 7.4 in your system. You can install PHP version 7.4 with other required extensions with the following command:
apt-get install php7.4 php7.4-fpm php7.4-gd php7.4-common php7.4-mysql php7.4-apcu php7.4-gmp php7.4-curl php7.4-intl php7.4-mbstring php7.4-xmlrpc php7.4-gd php7.4-xml php7.4-cli php7.4-zip -y
Once all the packages are installed, edit the php.ini file and tweak some changes:
nano /etc/php/7.4/fpm/php.ini
Change the following lines:
date.timezone = Asia/Kolkata
memory_limit = 256M
upload_max_filesize = 64M
max_execution_time = 600
cgi.fix_pathinfo = 0
Save and close the file then restart the PHP-FPM to apply the changes:
systemctl restart php7.4-fpm
Step 4: Create Drupal Database
Next, you will need to create a database and user for both Drupal instance.
First, connect to the MySQL with the following command:
mysql
Once connected, create a database for both Drupal instance with the following command:
MariaDB [(none)]> create database drupal1db;
MariaDB [(none)]> create database drupal2db;
Next, create a database user for both Drupal instance with the following command:
MariaDB [(none)]> create user [email protected] identified by 'password';
MariaDB [(none)]> create user [email protected] identified by 'password';
Next, grant all the privileges to both Drupal database with the following command:
MariaDB [(none)]> grant all privileges on drupal1db.* to [email protected] identified by 'password';
MariaDB [(none)]> grant all privileges on drupal2db.* to [email protected] identified by 'password';
Next, flush the privileges and exit from the MySQL with the following command:
MariaDB [(none)]> flush privileges;
MariaDB [(none)]> exit;
Once you are finished, you can proceed to the next step.
Step 5: Download Drupal
Next, you will need to download the latest version of Drupal from its official website.
First, change the directory to Nginx web root with the following command:
cd /var/www/html
Next, download the latest version of Drupal with the following command:
wget -q https://www.drupal.org/download-latest/tar.gz -O drupal-latest.tar.gz
Next, extract the downloaded file with the following command:
tar -xf drupal-latest.tar.gz
Next, copy the extrated directory to drupal1 and drupal2:
cp -r drupal-9.1.5 drupal1
cp -r drupal-9.1.5 drupal2
Next, set proper ownership with the following command:
chown -R www-data:www-data /var/www/html/drupal*
Once you are finished, you can proceed to the next step.
Step 6: Configure Nginx
Next, you will need to create two Nginx virtual host configuration file for each Drupal instance.
First, create an Nginx virtual host configuration file for the first Drupal instance:
nano /etc/nginx/conf.d/drupal1.conf
Add the following lines:
server {
    listen 80;
    root /var/www/html/drupal1;
    index  index.php index.html index.htm;
    server_name drupal1.example.com;

    location / {
    try_files $uri /index.php?$query_string;
    }

    location @rewrite {
               rewrite ^/(.*)$ /index.php?q=$1;
        }

    location ~ [^/].php(/|$) {
         include snippets/fastcgi-php.conf;
         fastcgi_pass unix:/var/run/php/php7.4-fpm.sock;
         fastcgi_param SCRIPT_FILENAME $document_root$fastcgi_script_name;
         include fastcgi_params;
    }

    location ~ ^/sites/.*/files/styles/ { # For Drupal >= 7
               try_files $uri @rewrite;
        }

    location ~ ^(/[a-z-] )?/system/files/ { # For Drupal >= 7
        try_files $uri /index.php?$query_string;
        }
}
Save and close the file when you are finished.
Next, create an Nginx virtual host configuration file for the second Drupal instance:
nano /etc/nginx/conf.d/drupal2.conf
Add the following lines:
server {
    listen 80;
    root /var/www/html/drupal2;
    index  index.php index.html index.htm;
    server_name drupal2.example.com;

    location / {
    try_files $uri /index.php?$query_string;
    }

    location @rewrite {
               rewrite ^/(.*)$ /index.php?q=$1;
        }

    location ~ [^/].php(/|$) {
         include snippets/fastcgi-php.conf;
         fastcgi_pass unix:/var/run/php/php7.4-fpm.sock;
         fastcgi_param SCRIPT_FILENAME $document_root$fastcgi_script_name;
         include fastcgi_params;
    }

    location ~ ^/sites/.*/files/styles/ { # For Drupal >= 7
               try_files $uri @rewrite;
        }

    location ~ ^(/[a-z-] )?/system/files/ { # For Drupal >= 7
        try_files $uri /index.php?$query_string;
        }
}
Save and close the file when you are finished then verify the Nginx for any syntax error with the following command:
nginx -t
You should see the following output:
nginx: the configuration file /etc/nginx/nginx.conf syntax is ok
nginx: configuration file /etc/nginx/nginx.conf test is successful
Next, restart the Nginx service to apply the changes:
systemctl restart nginx
You can also check the status of the Nginx with the following command:
systemctl status nginx
You should get the following output:
? nginx.service - A high performance web server and a reverse proxy server
     Loaded: loaded (/lib/systemd/system/nginx.service; enabled; vendor preset: enabled)
     Active: active (running) since Tue 2021-03-23 08:50:47 UTC; 6s ago
       Docs: man:nginx(8)
    Process: 19946 ExecStartPre=/usr/sbin/nginx -t -q -g daemon on; master_process on; (code=exited, status=0/SUCCESS)
    Process: 19959 ExecStart=/usr/sbin/nginx -g daemon on; master_process on; (code=exited, status=0/SUCCESS)
   Main PID: 19964 (nginx)
      Tasks: 2 (limit: 2353)
     Memory: 2.7M
     CGroup: /system.slice/nginx.service
             ??19964 nginx: master process /usr/sbin/nginx -g daemon on; master_process on;
             ??19965 nginx: worker process

Mar 23 08:50:47 ubuntu2004 systemd[1]: Starting A high performance web server and a reverse proxy server...
Mar 23 08:50:47 ubuntu2004 systemd[1]: Started A high performance web server and a reverse proxy server.
Step 7: Access Drupal
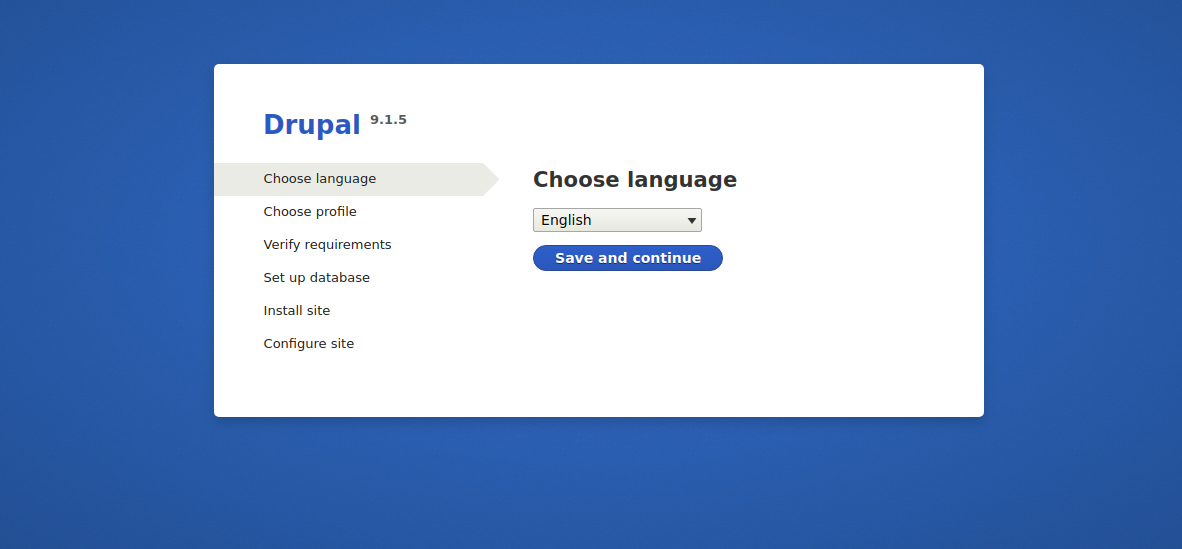
Now, open your web browser and type the URL http://drupal1.example.com or http://drupal2.example.com. You will be redirected to the Drupal web installation wizard as shown below:
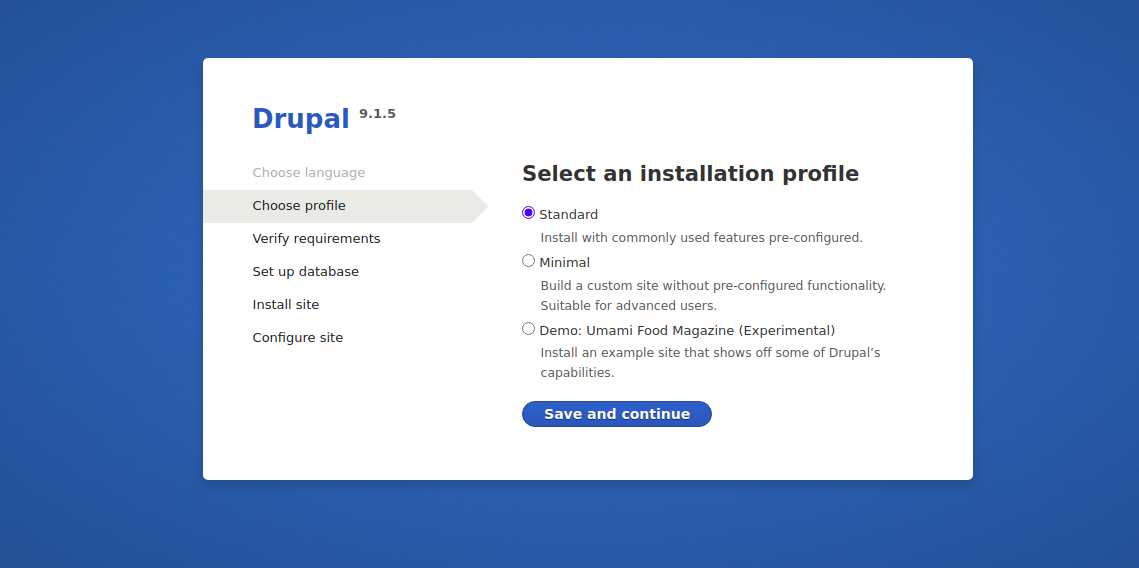
Select your language and click on the Save and continue button. You should see the following page:
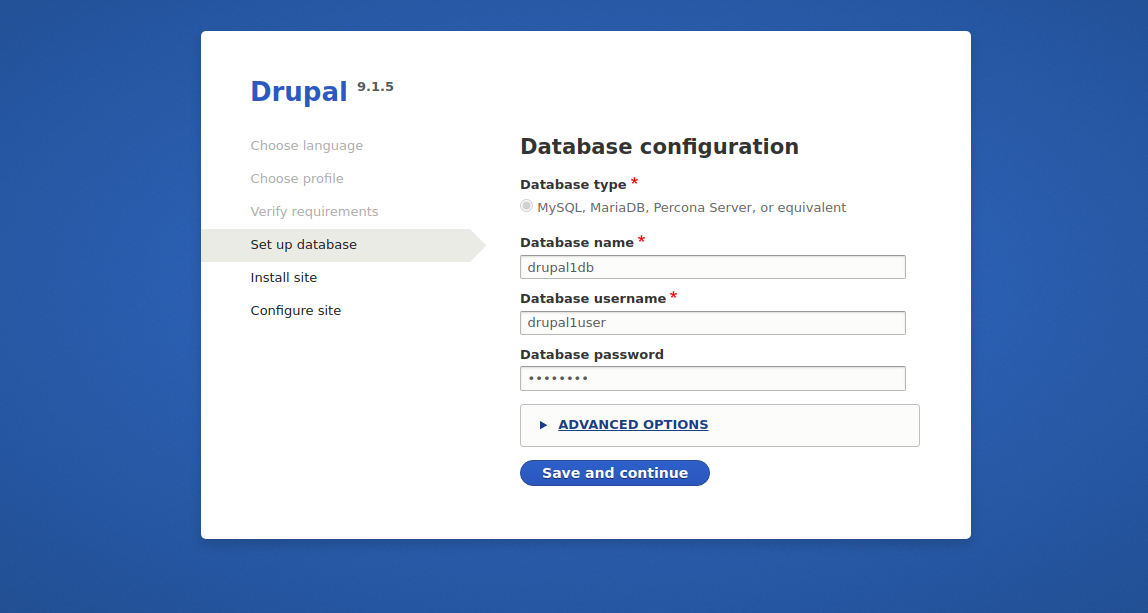
Select the standard installation type and click on the Save and continue button. You should see the following page:
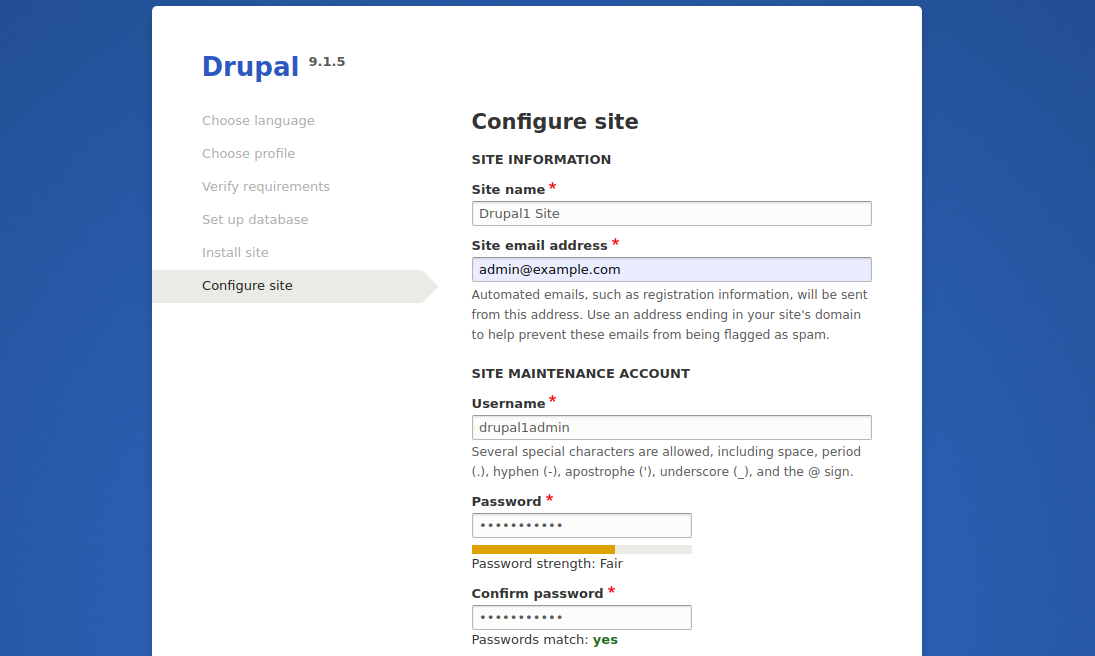
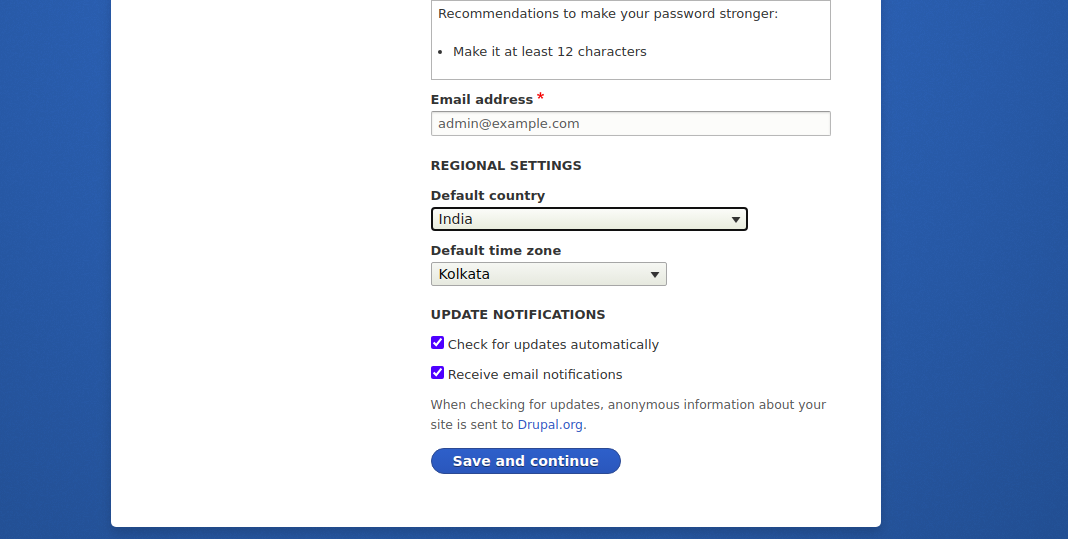
Provide your database details and click on the Save and continue button. You should see the following page:
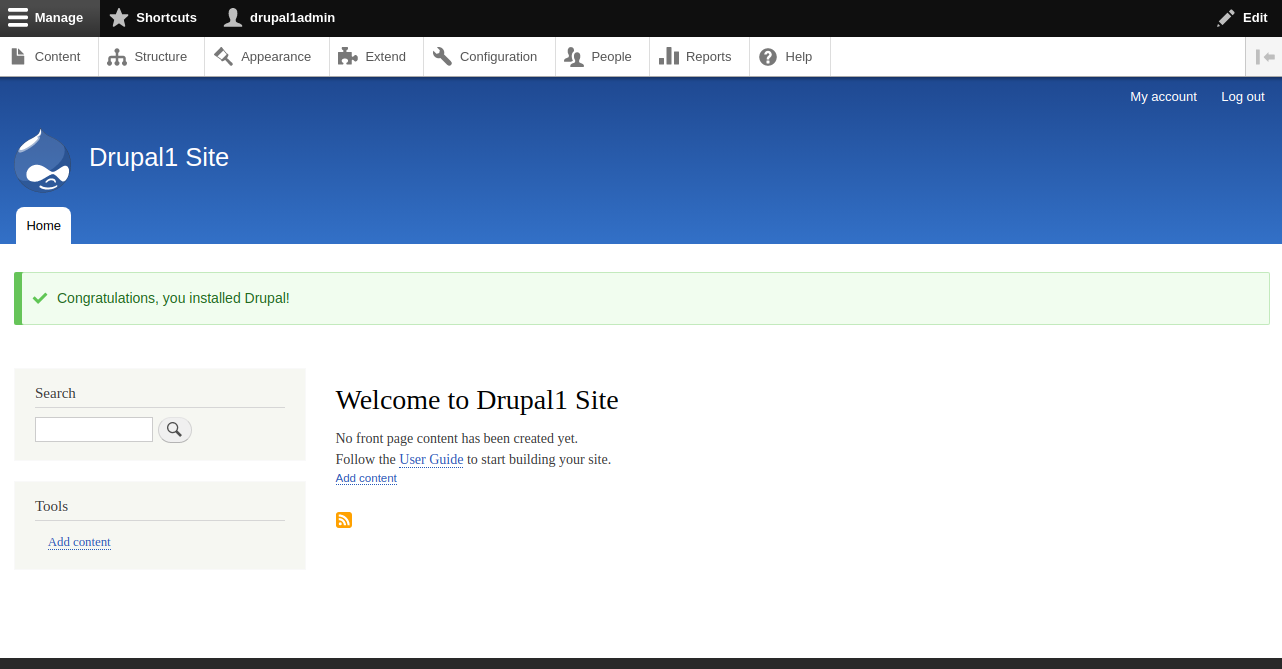
Provide your site information and click on the Save and continue button. You should see the Drupal dashboard in the following page:
Conclusion
In the above post, you learned how to deploy multiple Drupal instances with Nginx on Ubuntu 20.04 server. You can now deploy any number of Drupal instances on your server. You just need to define the domain name and Drupal installation path for each new Drupal instance. Feel free to ask me if you have any questions.


