OpenLiteSpeed is an open-source version of the commercial LiteSpeed web server. It is a lightweight and powerful HTTP server that can handle hundreds and thousands of simultaneous connections. Its user-friendly web interface allows you to manage your website from a web browser easily. Compared to other web servers like Apache, OpenLiteSpeed is known for its speed, scalability, security, and optimization.
OpenLiteSpeed has various features that make it a preferred choice for you. Some of them are listed below:
- Supports Linux, macOS, SunOS, and FreeBSD.
- Apache-compatible rewrite rules.
- Optimized PHP processing on the server.
- Provides a web proxy for page caching.
- Real-time web server statistics.
- Built-in web interface.
- Worker processes for scalability.
In this tutorial we will show you how to install and configure the OpenLiteSpeed web server on CentOS 8.
Requirements
- A server running CentOS 8.
- A root password is configured on the server.
Install OpenLiteSpeed
By default, OpenLiteSpeed is not available in the CentOS 8 default repository. You can add the OpenLiteSpeed repository using the following command:
rpm -Uvh http://rpms.litespeedtech.com/centos/litespeed-repo-1.1-1.el8.noarch.rpm
Once the repository is created, you can install the latest version of the OpenLiteSpeed web server by running the following command:
dnf install openlitespeed
After you have installed the OpenLiteSpeed web server, start the OpenLiteSpeed service and enable it with the following command so that it will start after a system reboot:
systemctl start lsws
systemctl enable lsws
You should see the following output:
lsws.service is not a native service, redirecting to systemd-sysv-install.
Executing: /usr/lib/systemd/systemd-sysv-install enable lsws
You can also check the status of OpenLiteSpeed with the following command:
systemctl status lsws
You should get the following output:
? lsws.service - LSB: lshttpd
   Loaded: loaded (/etc/rc.d/init.d/lsws; generated)
   Active: active (exited) since Mon 2020-01-06 06:49:02 EST; 42s ago
     Docs: man:systemd-sysv-generator(8)
    Tasks: 0 (limit: 12552)
   Memory: 0B
   CGroup: /system.slice/lsws.service

Jan 06 06:48:46 centos8 systemd[1]: Starting LSB: lshttpd...
Jan 06 06:49:02 centos8 systemd[1]: Started LSB: lshttpd.
By default, OpenLiteSpeed is listening on ports 7080 and 8088. You can check it with the following command:
netstat -ant
You should see the following output:
Active Internet connections (servers and established)
Proto Recv-Q Send-Q Local Address           Foreign Address         State
tcp        0      0 0.0.0.0:22              0.0.0.0:*               LISTEN
tcp        0      0 0.0.0.0:8088            0.0.0.0:*               LISTEN
tcp        0      0 0.0.0.0:7080            0.0.0.0:*               LISTEN
tcp        0    264 45.58.43.141:22         27.61.210.120:61066     ESTABLISHED
tcp6       0      0 :::22                   :::*                    LISTEN
Install PHP
By default, the latest PHP version is unavailable in the default CentOS 8 repository. Therefore, you need to add the EPEL repository in your system. You can install the EPEL package using the following command:
dnf install epel-release
Once the EPEL repository is installed, you can install the latest version of PHP with other libraries by running the following command:
dnf install lsphp73 lsphp73-common lsphp73-mysqlnd lsphp73-pdo lsphp73-imap lsphp73-soap lsphp73-bcmath lsphp73-gd lsphp73-process lsphp73-mbstring lsphp73-xml lsphp73-mcrypt
Install MariaDB Server
You can install MariaDB Server by running the following command:
dnf install mariadb-server -y
Once the installation is complete, start the MariaDB service and activate it with the following command so that it starts after a system reboot:
systemctl start mariadb
systemctl enable mariadb
You should see the following output:
Created symlink /etc/systemd/system/mysql.service → /usr/lib/systemd/system/mariadb.service.
Created symlink /etc/systemd/system/mysqld.service → /usr/lib/systemd/system/mariadb.service.
Created symlink /etc/systemd/system/multi-user.target.wants/mariadb.service → /usr/lib/systemd/system/mariadb.service.
Next, you can backup the MariaDB installation with the following script:
mysql_secure_installation
Answer all questions as shown below:
Enter current password for root (enter for none):
Set root password? [Y/n] Y
New password:
Re-enter new password:
Remove anonymous users? [Y/n] Y
Disallow root login remotely? [Y/n] Y
Remove test database and access to it? [Y/n] Y
Reload privilege tables now? [Y/n] Y
When you are done with that, you can proceed to the next step.
Setting up the administrative password
By default, the OpenLiteSpeed administrative password is set to 123456. For security reasons, it is recommended to change the administrator password. You can check it with the following command:
/usr/local/lsws/admin/misc/admpass.sh
Enter your desired admin username and password (see below):
Please specify the user name of the administrator.
This is the user name required to login the administration Web interface.

User name [admin]: lightadmin

Please specify the administrator's password.
This is the password required to login the administration Web interface.

Password:
Retype password:
Administrator's username/password is updated successfully!
Configure SELinux and Firewall for OpenLiteSpeed.
OpenLiteSpeed runs on ports 8088 and 7080 by default, so you need to allow these ports through the firewall. You can allow them with the following command:
firewall-cmd --zone=public --permanent --add-port=8088/tcp
firewall-cmd --zone=public --permanent --add-port=7080/tcp
firewall-cmd --zone=public --permanent --add-port=80/tcp
Next, you need to reload the firewalld service to apply the changes:
firewall-cmd --reload
By default, SELinux is enabled on the CentOS 8 server. Therefore, you must configure SELinux to access the Plex Media Server online. You can configure SELinux with the following command:
setsebool httpd_can_network_connect on -P
Accessing OpenLiteSpeed Web and Admin Interface.
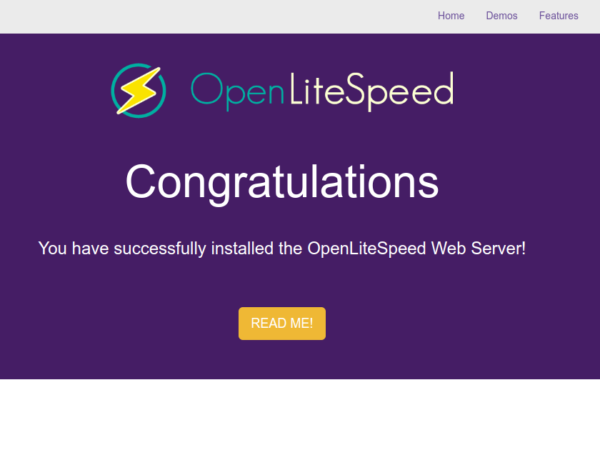
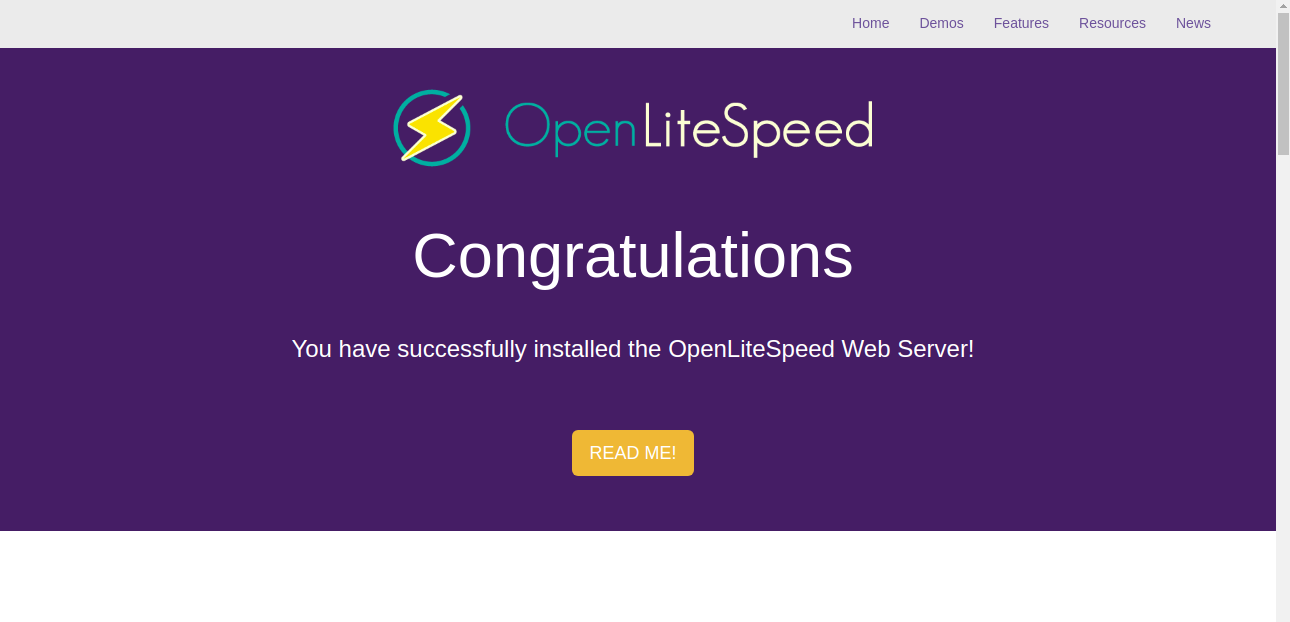
To access the OpenLiteSpeed web page, open your web browser and enter the URL http://your-server-ip:8088. You should see the OpenLiteSpeed default web page on the following screen:
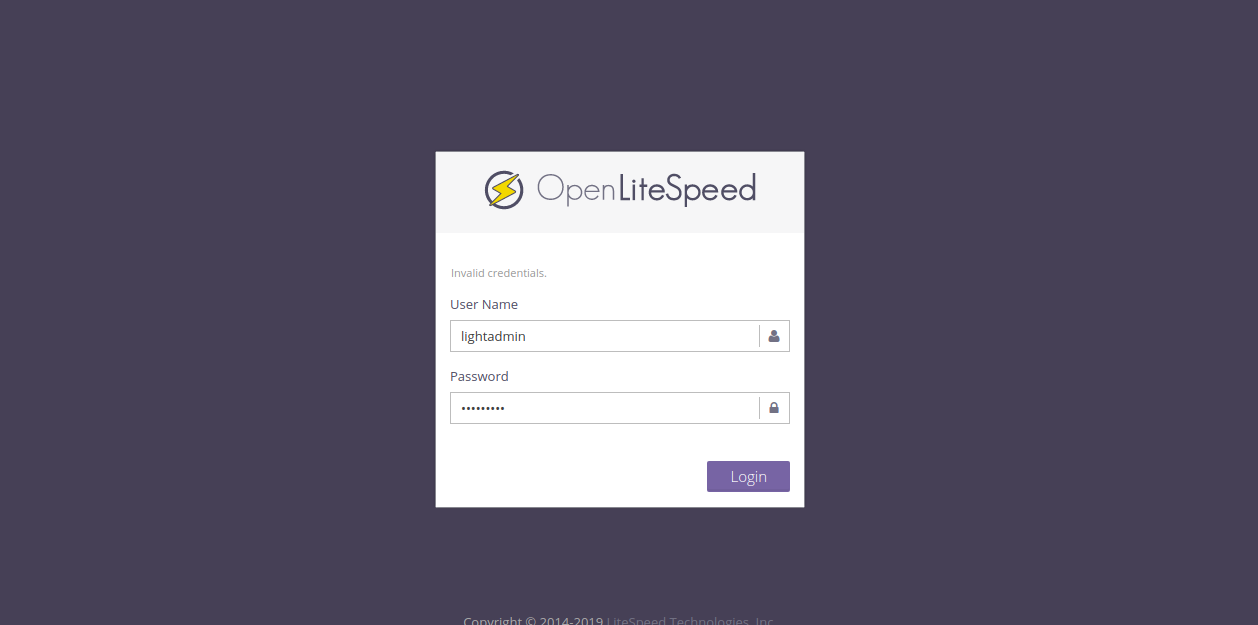
To access the OpenLiteSpeed administration interface, open your web browser and enter the URL https://your-server-ip:7080. You will be redirected to the OpenLiteSpeed login page:
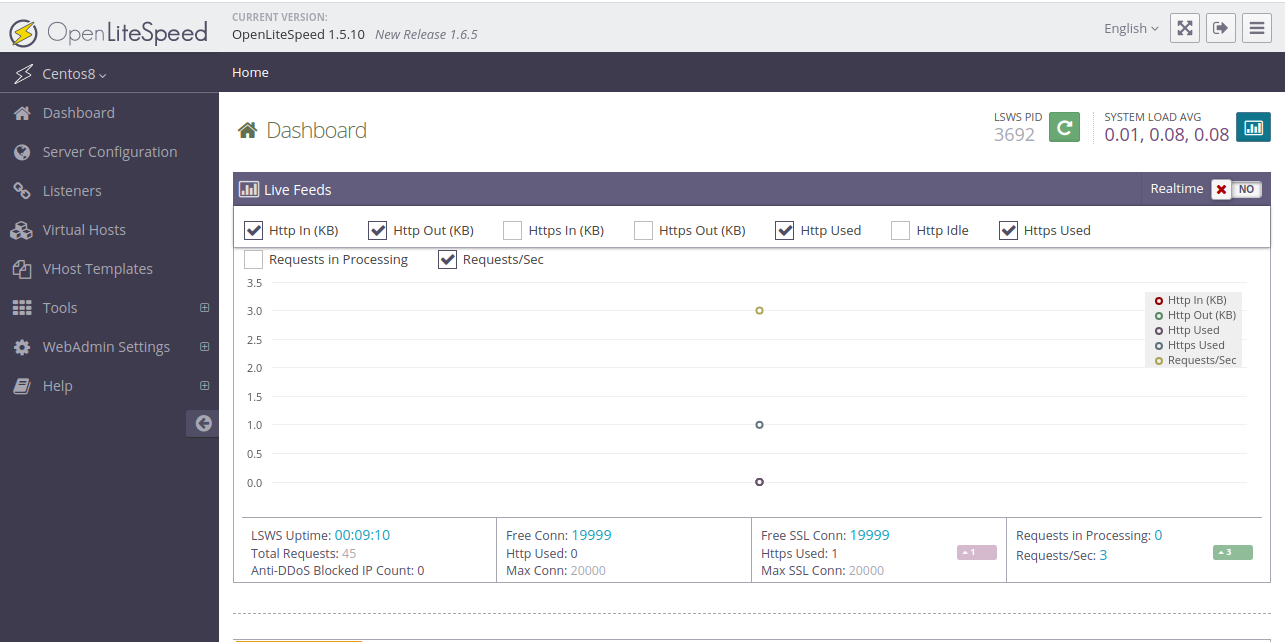
Enter your admin username and password and click the Login button. On the following screen, you should see the OpenLiteSpeed admin dashboard:
Change OpenLiteSpeed default port.
By default, OpenLiteSpeed listens on port 8088, but it is advisable to change it to port 80 so that you can access the OpenLiteSpeed web server without entering port 8088 at the end of the URL.
Click on the listeners in the left pane. You should see the following page:
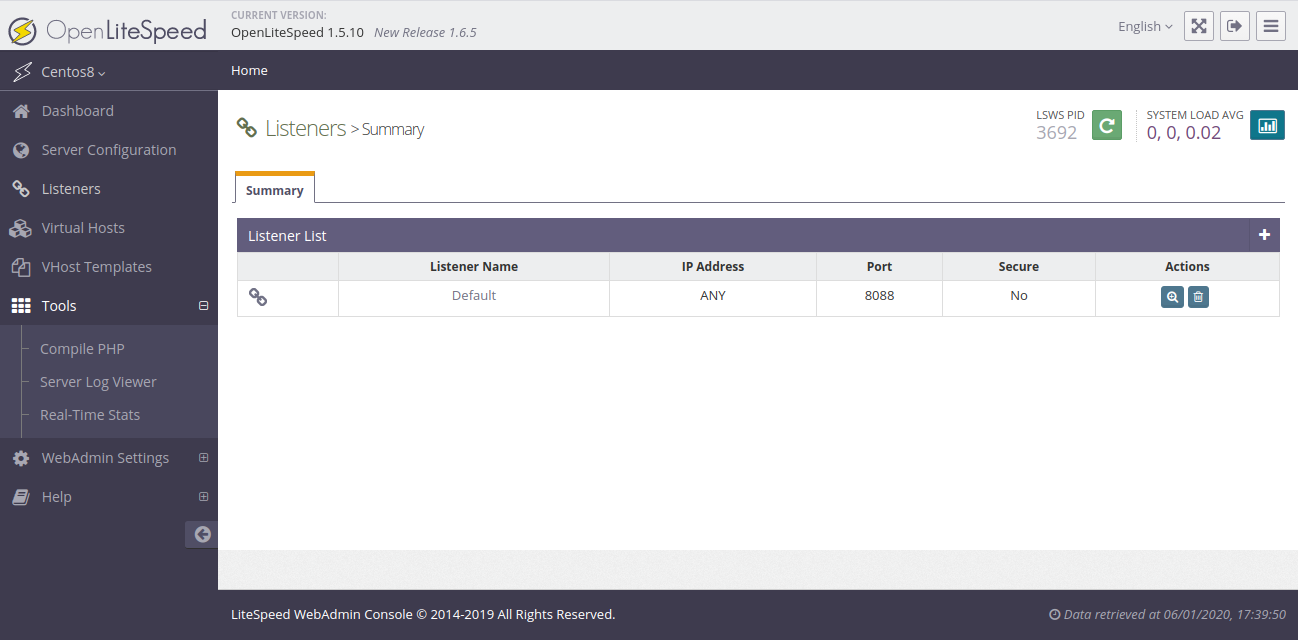
Next, click on the zoom icon. You should see the following page:
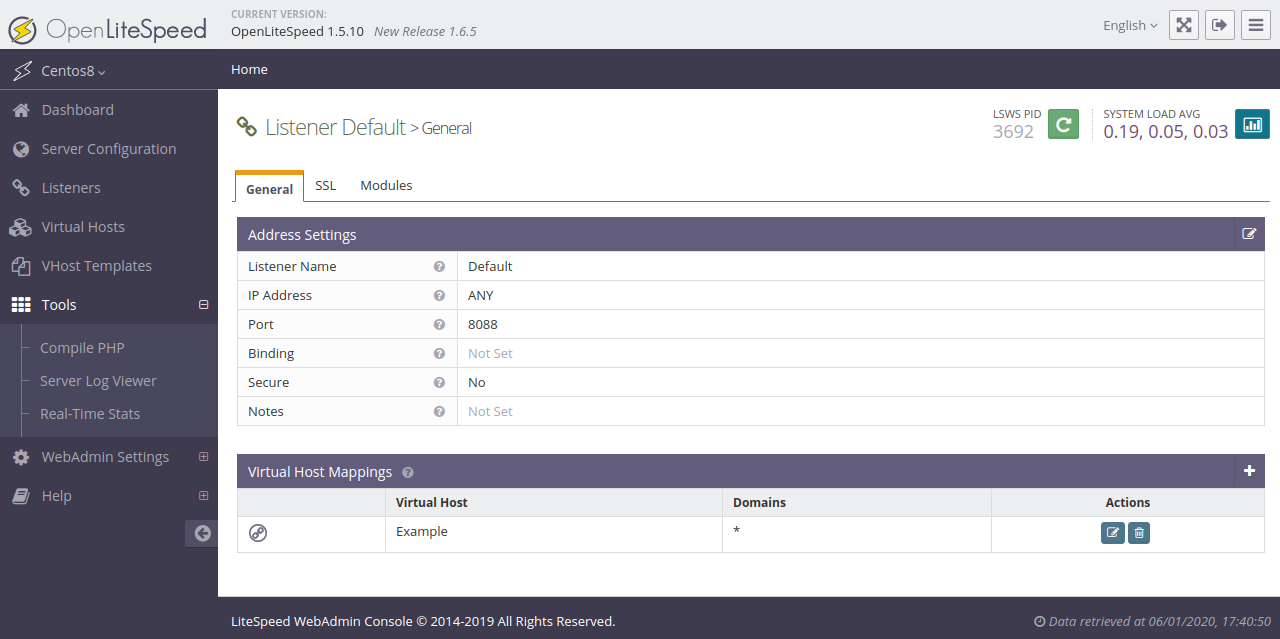
Click the edit icon to edit the default settings as shown below:
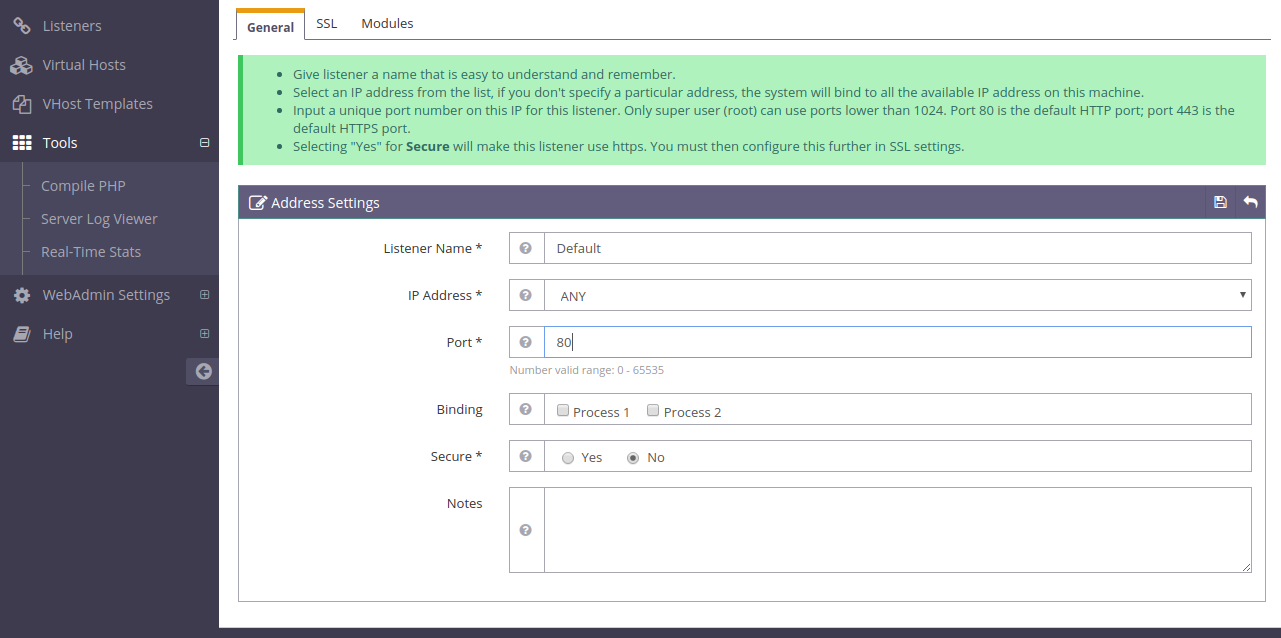
Next, change the port from 8088 to 80 and click the Save icon to save the settings. You should see the following page:
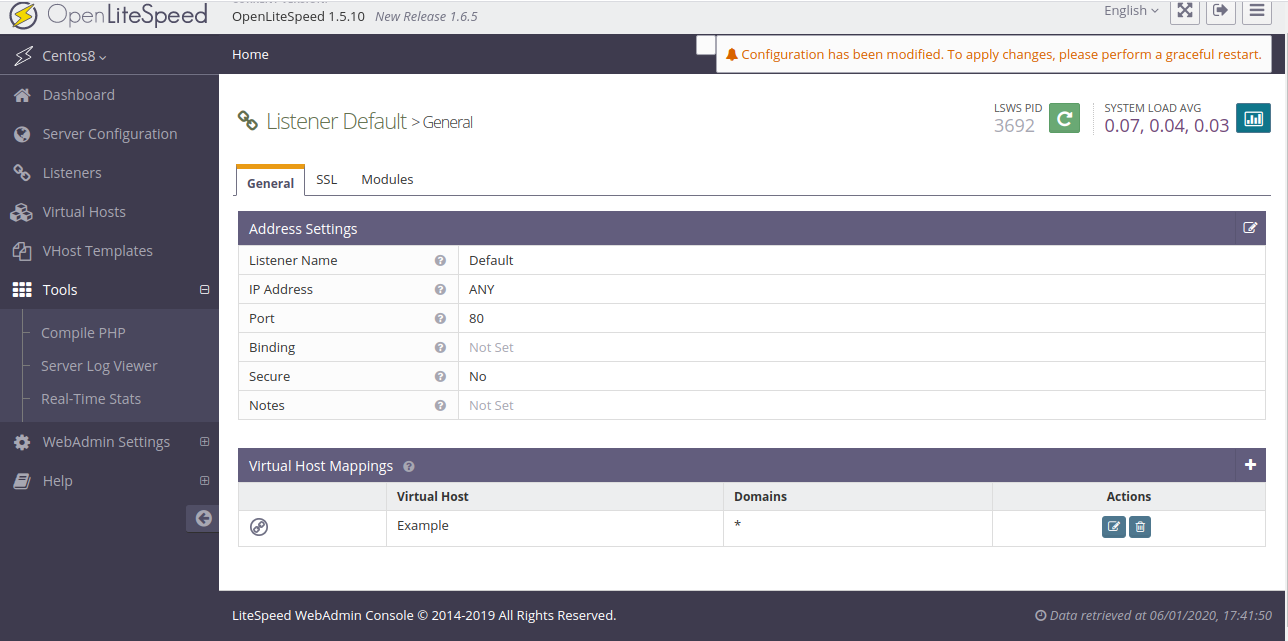
Then click on the Restart icon and perform a proper reboot to apply the changes.
Now you can access your OpenLiteSpeed web server via the URL http://your-server-ip .
Create virtual hosts in OpenLiteSpeed
Click on the Virtual Hosts button in the left pane and then click on the zoom icon. You should see the following page:
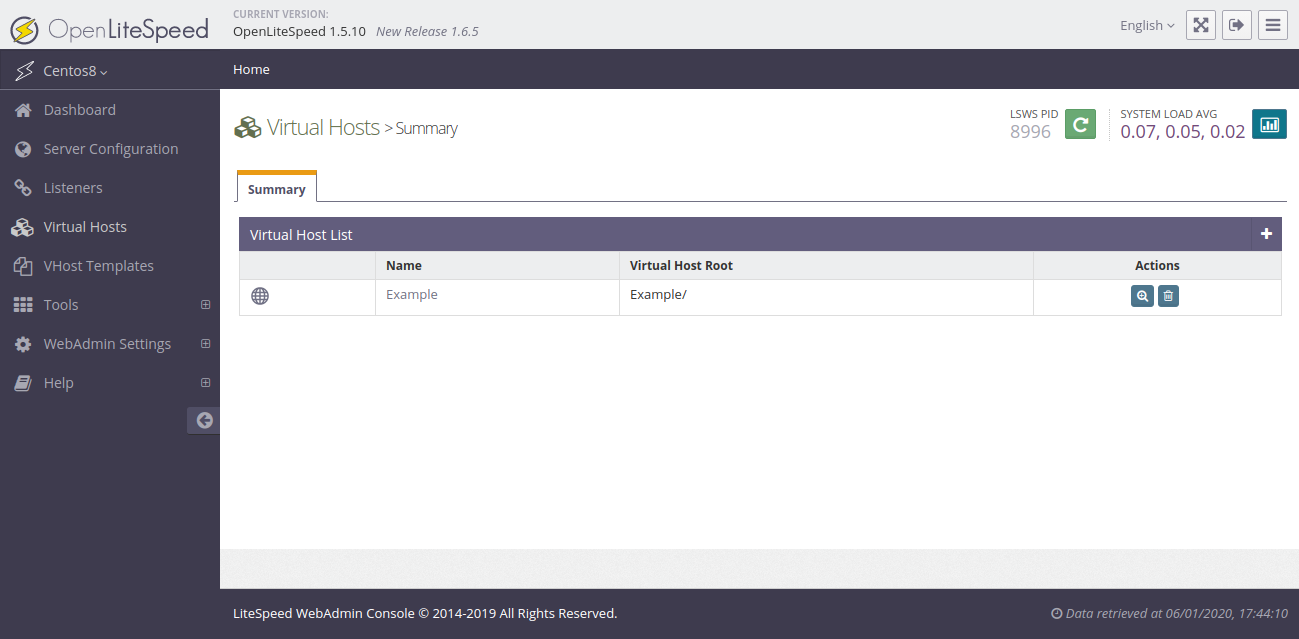
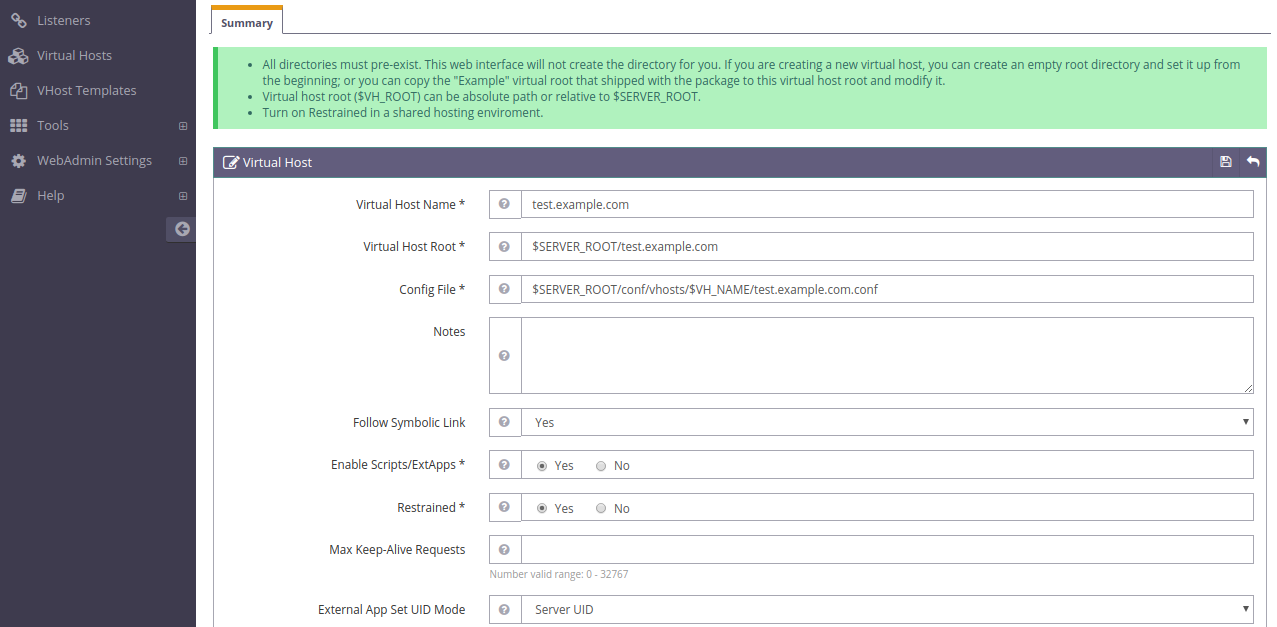
Enter all the information and click on the Save icon. On the following screen, you should see an error message that the configuration file does not exist:
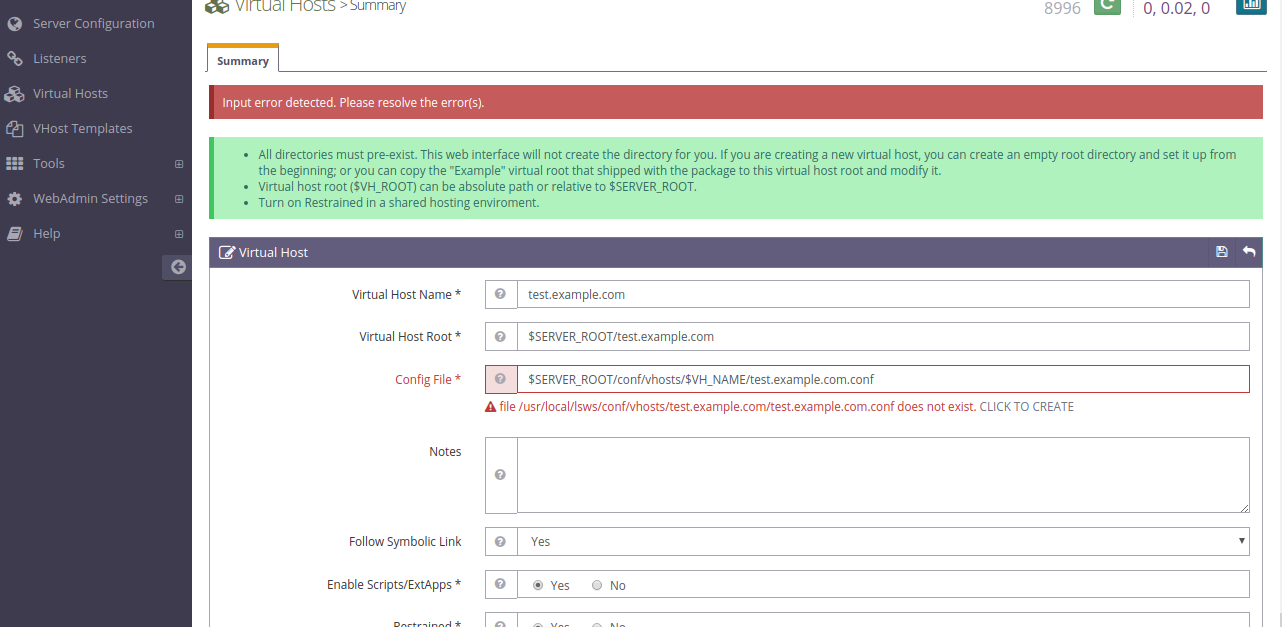
To fix this error, click the CREATE button to create a virtual host configuration file. After successful creation, you should see the following screen:

Click the Save icon now. You should see your virtual hosts on the following screen:

Now click on Virtual Hosts => Select your virtual hosts (test.example.com) => General. You should see the following screen:
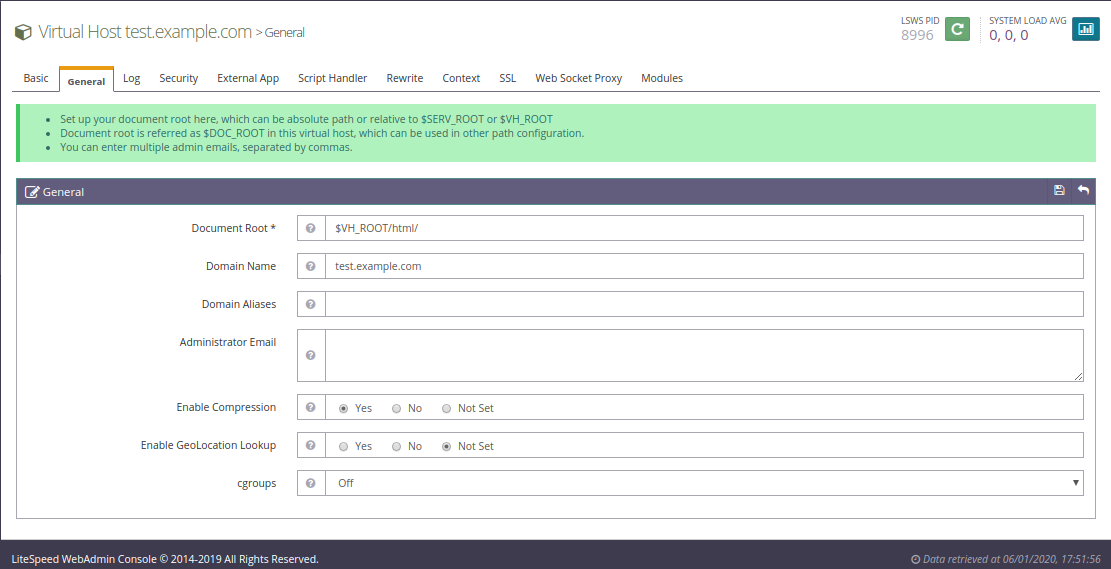
Enter your Document Root, Domain Name and Enable Compression and click on the Save icon.
Next click on Virtual Hosts => Select your virtual hosts (test.example.com) => General => Index Files. You should see the following screen:
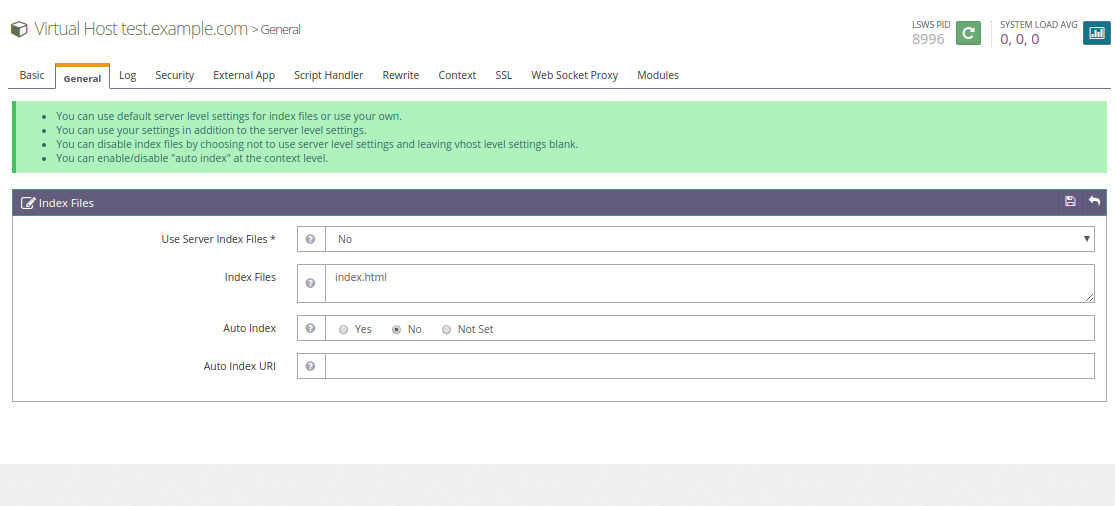
Enter the name of your index file and click the Save icon.
Next, click on Virtual Hosts => Select your virtual hosts (test.example.com) => Log => Virtual Hosts Log. You should see the following screen:
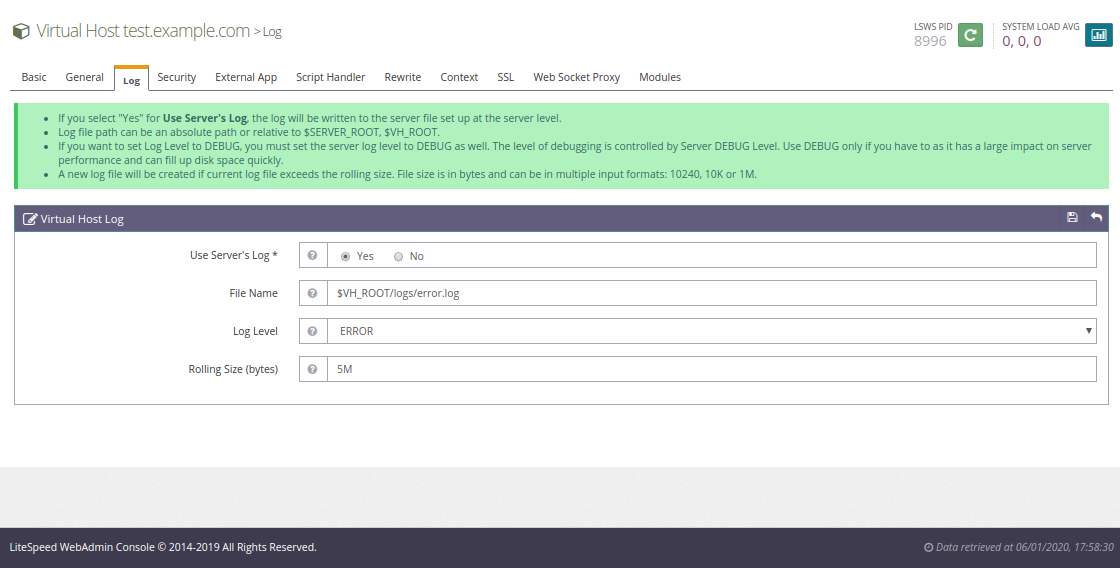
Specify the log file location and other required details and click the Save icon.
Next, click on Virtual Hosts => Select your virtual hosts (test.example.com) => Log => Access Log. You should see the following screen:
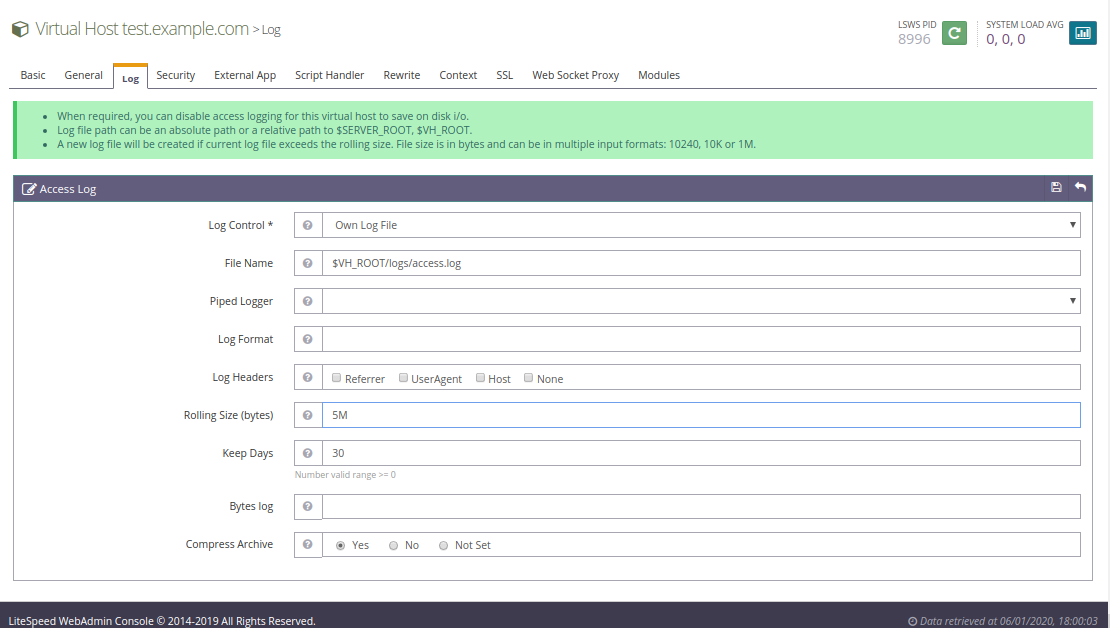
Specify the location of your log file and other required details and click the Save icon.
Next, click on Virtual Hosts => Select your virtual hosts (test.example.com) => Security => Access Control. You should see the following screen:
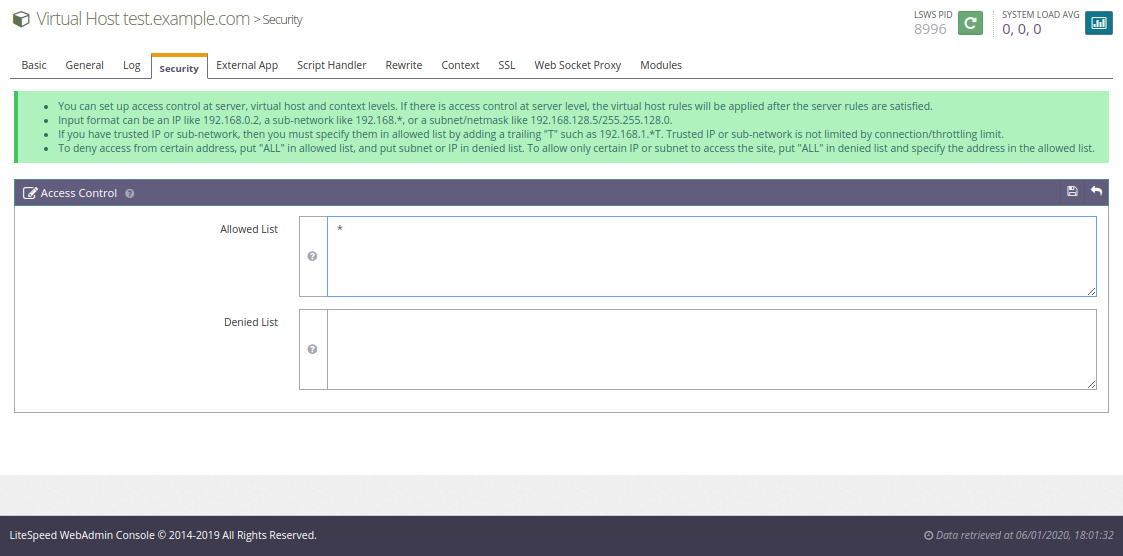
Enter * to allow everyone to access websites and click the save icon.
Assign virtual host in OpenLiteSpeed
Next, you need to associate the virtual host with your domain name so that you can access it through the fully qualified domain.
To do this, click on the listeners and then click on the zoom icon. You should see the following screen:

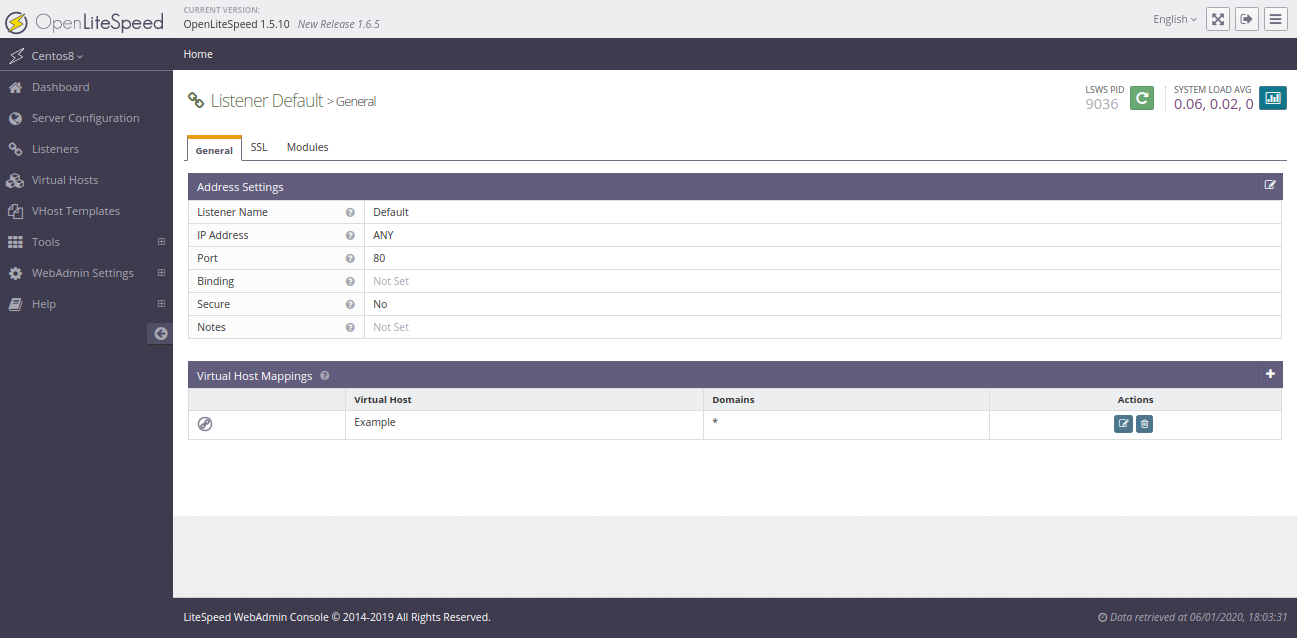
Click on the icon in the virtual host mappings. You should see the following screen:
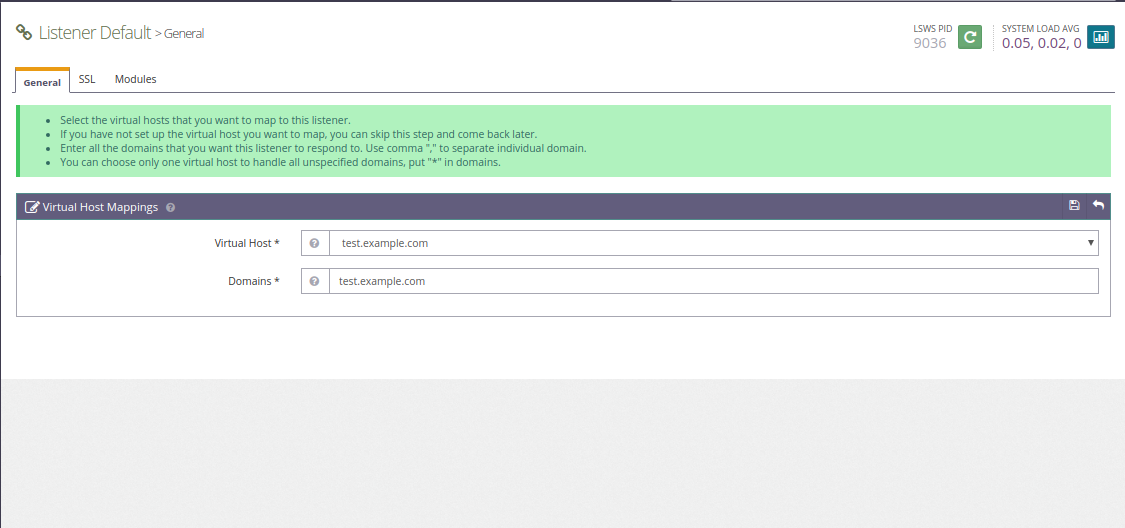
Enter your domain name and click the Save icon. You should see the following page:
Create document root for OpenLiteSpeed.
Next, you need to create a document root directory, a log directory, and an index page for OpenLiteSpeed.
First create a root directory and a log directory with the following command:
mkdir /usr/local/lsws/test.example.com
mkdir /usr/local/lsws/test.example.com/html
mkdir /usr/local/lsws/test.example.com/logs
Next, create an index page with the following command:
echo "Welcome to OpenLiteSpeed Web Server running on CentOS 8 Operating System" > /usr/local/lsws/test.example.com/html/index.html
Then click on the restart icon and perform a proper restart to apply the changes.
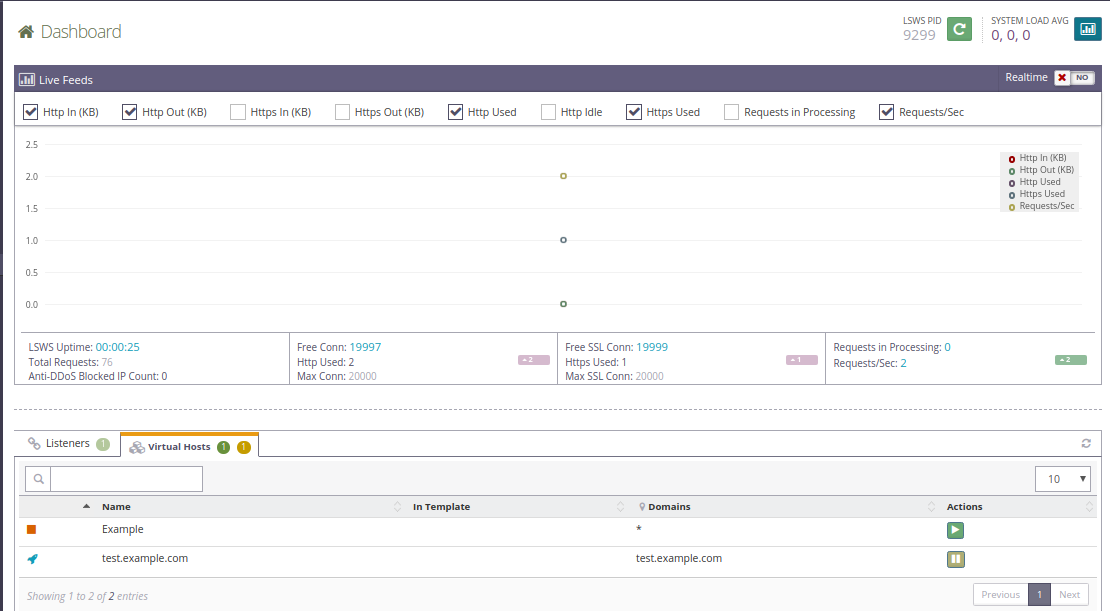
Next, click on Dashboard => Virtual Hosts, then stop the virtual host example and start the virtual host test.example.com as shown below.
Testing OpenLiteSpeed virtual hosts
Now the virtual host test.example.com is configured for OpenLiteSpeed. Now it is time to access the virtual hosts.
Open your web browser and enter the URL http://test.example.com. You will be redirected to the web page we created earlier:

Congratulations! You have successfully installed and configured the OpenLiteSpeed web server on the CentOS 8 server. Now you can easily create your website using the OpenLiteSpeed administration interface.
