
Apache CouchDB is a free, open-source document-oriented NoSQL database system written in Erlang. Compared to other relational databases, it does not store data and relationships in tables. It uses JSON to store data that makes it more scalable and easy to model the data. It also supports a restful HTTP API that allows you to create, edit, and delete database documents.
In this tutorial, we will explain how to install the Apache CouchDB NoSQL database on CentOS 8.
Prerequisites
- A server running CentOS 8.
- A root password is set up on your server.
Install Apache CouchDB
By default, Apache CouchDB is not available in the CentOS 8 default repository. So you will need to create Apache CouchDB repo in your system.
The CouchDB repository is reliant on the EPEL repository, so you will need to install the EPEL repo in your system. You can install it with the following command:
dnf install epel-release -yNext, create the Apache CouchDB repo using the below command:
nano /etc/yum.repos.d/apache-couchdb.repoAdd the following lines:
[bintray--apache-couchdb-rpm]
name=bintray--apache-couchdb-rpm
baseurl=http://apache.bintray.com/couchdb-rpm/el$releasever/$basearch/
gpgcheck=0
repo_gpgcheck=0
enabled=1
Save and close the file when you are finished. Then, install the Apache CouchDB using the following command:
dnf install couchdb -yOnce the installation has been completed successfully, you can proceed to the next step.
Configure CouchDB
You can configure CouchDB as a standalone mode or in a clustered mode. In this tutorial, we will configure the CouchDB server in the single-mode. By default, CouchDB listens on the localhost and no admin account is created during the installation. So you will need to create an admin account for CouchDB. You can create it by editing the file local.ini:
nano /opt/couchdb/etc/local.iniSet the bind-address to 0.0.0.0 to allow access from external IP addresses and also set admin password inside [admin] section as shown below:
[chttpd]
port = 5984
bind_address = 0.0.0.0

[admins]
admin = password
Save and close the file when you are finished. Then, start the CouchDB service and enable it to start at boot:
systemctl start couchdb
systemctl enable couchdb
You can now verify the status of the CouchDB service using the following command:
systemctl status couchdbYou should get the following output:
? couchdb.service - Apache CouchDB
   Loaded: loaded (/usr/lib/systemd/system/couchdb.service; disabled; vendor preset: disabled)
   Active: active (running) since Sat 2020-04-11 07:40:47 EDT; 35s ago
 Main PID: 11992 (beam.smp)
    Tasks: 43 (limit: 26213)
   Memory: 36.4M
   CGroup: /system.slice/couchdb.service
           ??11992 /opt/couchdb/bin/../erts-9.3.3.14/bin/beam.smp -K true -A 16 -Bd -- -root /opt/couchdb/bin/.. -progname couchdb -- -home /o>
           ??12004 /opt/couchdb/bin/../erts-9.3.3.14/bin/epmd -daemon
           ??12023 erl_child_setup 1024
           ??12045 sh -s disksup
           ??12047 /opt/couchdb/bin/../lib/os_mon-2.4.4/priv/bin/memsup
           ??12048 /opt/couchdb/bin/../lib/os_mon-2.4.4/priv/bin/cpu_sup

Apr 11 07:40:47 centos8 systemd[1]: Started Apache CouchDB.
You can also check the CouchDB listening port with the following command:
netstat -pnltu | grep 5984You should see the following output:
tcp 0 0 0.0.0.0:5984 0.0.0.0:* LISTEN 11992/beam.smp
Configure SELinux and Firewall
By default, SELinux is enabled in your system. So it is recommended to disable the SELinux in your system.
You can disable the SELinux by editing /etc/selinux/config file:
nano /etc/selinux/configFind the following line:
SELINUX=enforcing
And, replace it with the following line:
SELINUX=permissiveSave and close the file. Then, restart your system to apply the changes:
Next, you will need to allow port 5984 through firewalld. You can allow it with the following command:
firewall-cmd --zone=public --permanent --add-port=5984/tcp
firewall-cmd --reload
Once you are finished, you can proceed to the next step.
Access the CouchDB Web UI
At this point, the CouchDB is installed and configured. It’s time to confirm that CouchDB is working or not.
You can use the curl command to check the CouchDB:
curl http://your-server-ip:5984/If everything is fine, you should get the following output:Advertisements
{"couchdb":"Welcome","version":"3.0.0","git_sha":"03a77db6c","uuid":"d0406ea8f0b1a3f18020ec90e627ae35","features":["access-ready","partitioned","pluggable-storage-engines","reshard","scheduler"],"vendor":{"name":"The Apache Software Foundation"}}
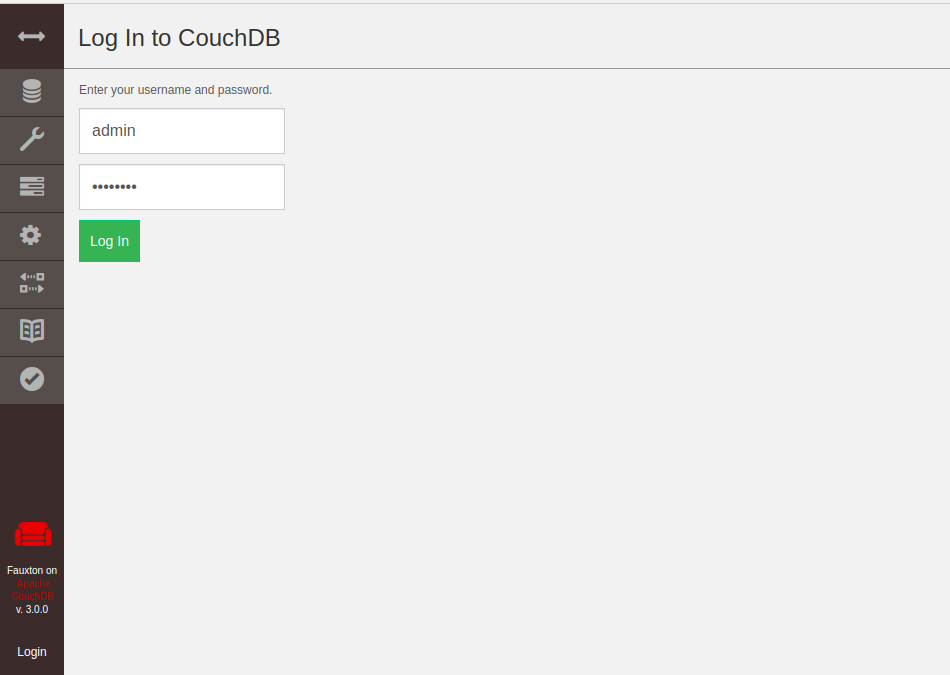
You can also access the CouchDB web UI using the URL http://your-server-ip:5984/_utils/. You will be redirected to the CouchDB login page:
Provide your admin username, password and click on the Log in button. You should see the CouchDB dashboard in the following screen:
Working with CouchDB Database
CouchDB also allows you to create and delete databases using the curl command.
To create a database named testdb in CouchDB, run the following command:
curl -u admin:password -X PUT http://your-server-ip:5984/testdbYou should see the following output:
{"ok":true}
To create a database named userdb in CouchDB, run the following command:
curl -u admin:password -X PUT http://your-server-ip:5984/userdbYou should get the following output:
{"ok":true}
You can also verify the database using the curl command as shown below:Advertisements
curl -u admin:password -X GET http://your-server-ip:5984/testdbYou should get the following output:
{"db_name":"testdb","purge_seq":"0-g1AAAABXeJzLYWBgYMpgTmEQTM4vTc5ISXIwNDLXMwBCwxyQVB4LkGRoAFL_gSArkQGP2kSGpHqIoiwAtOgYRA","update_seq":"0-g1AAAABXeJzLYWBgYMpgTmEQTM4vTc5ISXIwNDLXMwBCwxyQVB4LkGRoAFL_gSArkQGP2kSGpHqIoiwAtOgYRA","sizes":{"file":16700,"external":0,"active":0},"props":{},"doc_del_count":0,"doc_count":0,"disk_format_version":8,"compact_running":false,"cluster":{"q":2,"n":1,"w":1,"r":1},"instance_start_time":"0"}
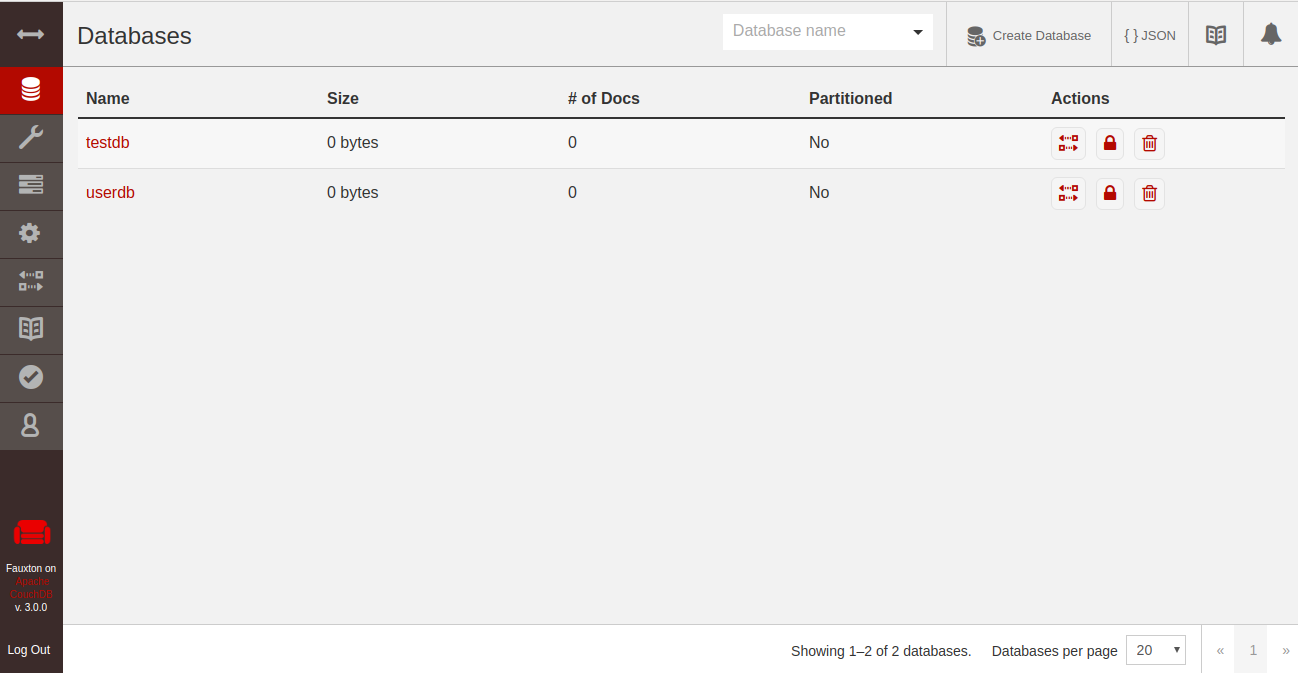
You can also refresh the CouchDB dashboard to view the databases on your web browser.
If you want to delete the database testdb, run the following command:
curl -u admin:password -X DELETE http://your-server-ip:5984/testdbYou should get the following output:
{"ok":true}
Conclusion
Congratulations! you have successfully installed Apache CouchDB on CentOS 8. For more information, you can visit the Apache CouchDB Documentation.


