
FreeScout is an open-source helpdesk and shared inbox written in PHP and based on the Laravel framework. It’s built as an alternative to Zendesk/Help Scout. It’s a lightweight and powerful helpdesk software that can be installed anywhere. FreeScout is a helpdesk software 100% mobile-friendly and supports multilingual and modern Microsoft Exchange authentications.
This guide will take you through the step-by-step installation of the FreeScout Help Desk on the Debian 12 server. You will install FreeScout with LEMP Stack (Nginx, MariaDB, and PHP-FPM) on the Debian server and secure your installation with SSL/TLS certificates from Letsencrypt.
Prerequisites
Before you proceed, confirm that you’ve gathered:
- A Debian 12 server.
- A non-root user with sudo administrator privileges.
- A domain name pointed to a server IP address.
Installing Dependencies
FreeScout Help Desk is an open-source application written in PHP, supports MySQL/MariaDB or PostgreSQL database, and can be run with Nginx, Apache, and IIS web servers. You will install FreeScout with the LEMP Stack (Nginx, MariaDB, and PHP-FPM) in this guide.
Execute the following command to update and refresh your Debian package index.
sudo apt update
Once the repository is updated, run the following command to install dependencies for FreeScout Help Desk, including the LEMP Stack (Nginx, MariaDB, PHP-FPM) with additional PHP extensions and git.
sudo apt install nginx mariadb-server libmariadb-dev git php-fpm php-mysql php-mbstring php-xml php-imap php-zip php-gd php-curl php-intl
Type y to proceed with the installation.
Now with dependencies installed, verify each dependency by executing the following command.
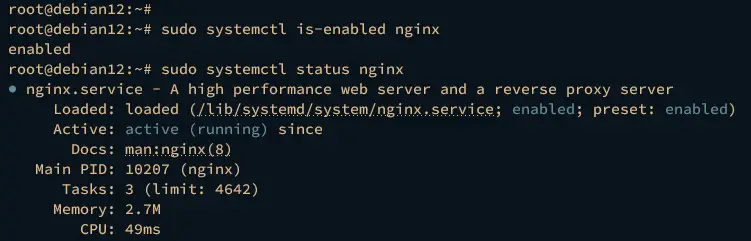
Verify the Nginx service to ensure that the service is running and enabled.
sudo systemctl is-enabled nginx
sudo systemctl status nginx
The output below indicates that Nginx is running and enabled.
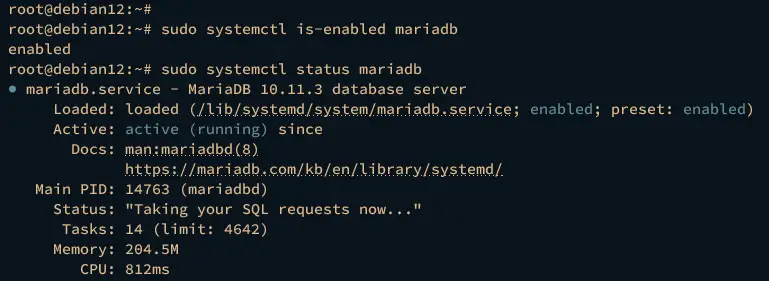
Then, verify the MariaDB service using the command below.
sudo systemctl is-enabled mariadb
sudo systemctl status mariadb
You should see a similar output enabled which indicates the MariaDB is enabled and active (running).
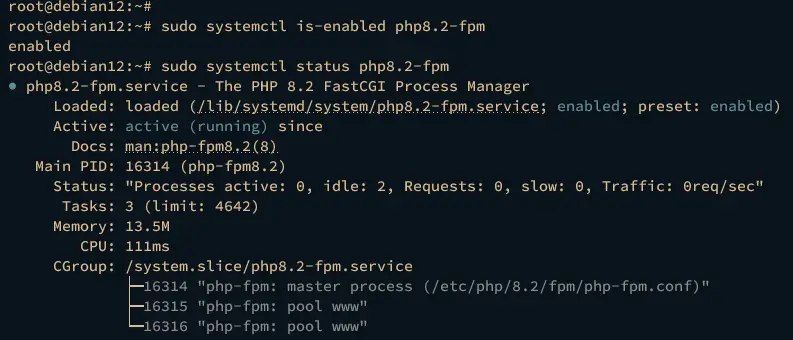
Now execute the following command to verify the PHP-FPM service.
sudo systemctl is-enabled php8.2-fpm
sudo systemctl status php8.2-fpm
The following output shows you the PHP-FPM service is running and enabled.
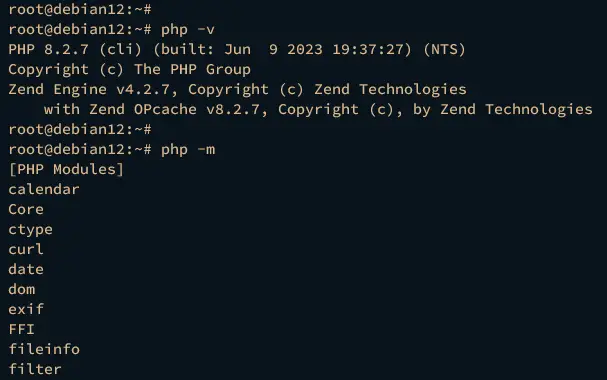
Lastly, check the PHP-FPM version and the list of enabled extensions using the following command.
php -v
php -m
You should see that PHP-FPM 8.2 is installed with some enabled extensions.
Configuring PHP-FPM
After installing dependencies, you will configure your PHP-FPM installation by modifying the php.ini file.
Open the php.ini configuration for PHP-FPM /etc/php/8.2/fpm/php.ini using the following nano editor command.
sudo nano /etc/php/8.2/fpm/php.ini
Change the following options and be sure to adjust the details of the timezone and memory limit according to your server environment.
memory_limit = 512M
date.timezone = Europe/Stockholm
upload_max_filesize = 16M
cgi.fix_pathinfo=0
Save and exit the file when you’re done.
Now run the systemctl command below to restart the PHP-FPM service and apply the changes.
sudo systemctl restart php8.2-fpm
Configuring MariaDB Server
In the following step, you will secure your MariaDB server installation via the mariadb-secure-installation utility. Then, you will create a new database and user that will be used by FreeScout.
To secure your MariaDB server, enter the following command.
sudo mariadb-secure-installation
During the process, input Y to confirm the new configuration or n for No and reject. Below some of the MariaDB server configurations you will be asked for:
- Switch local authentication to unix_socket? Input n for no.
- Set up MariaDB root password? Input y, then type the new MariaDB root password and repeat.
- Remove the default anonymous user? Input y to confirm.
- Disable remote login for the root user? Input y to confirm.
- Remove the default database test? Input y to confirm.
- Reload table privileges and apply changes? Input y to confirm.
After securing the MariaDB server, you will create a new MariaDB database and user that will be used by FreeScout. This can be done by logging in to the MariaDB server via the mariadb client.
Execute the mariadb command below to log in to the MariaDB server. Input your MariaDB root password when asked.
sudo mariadb -u root -p
Now run the following queries to create a new database freescout and a user freescout. Be sure to change the password in the following query.
CREATE DATABASE freescout CHARSET utf8mb4 COLLATE utf8mb4_unicode_ci;
GRANT ALL PRIVILEGES ON freescout.* TO freescout@localhost IDENTIFIED BY "password";
FLUSH PRIVILEGES;
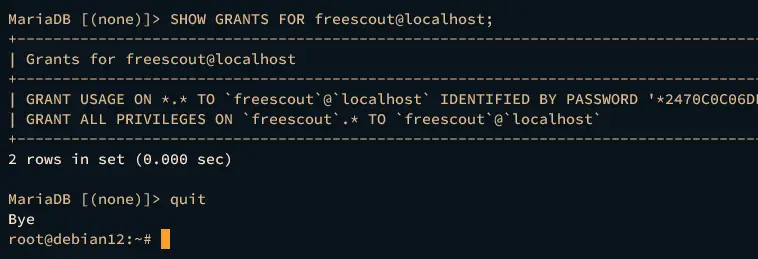
Next, run the query below to verify the user freescout and ensure that the user can access the database freescout.
SHOW GRANTS FOR freescout@localhost;
The following output confirms that user freescout can access the database freescout.
You can now type quit to exit from the MariaDB server.
Downloading FreeScout Source Code
Now that the PHP-FPM and MariaDB servers are configured, the next step is to download the FreeScout source code via Git, and then set up proper permission and ownership of the FreeScout source code.
Execute the following command to create a new web-root directory /var/www/freescout and move into it.
mkdir -p /var/www/freescout; cd /var/www/freescout
Download the FreeScout source code from GitHub via the git command below.
git clone https://github.com/freescout-helpdesk/freescout .
Once the process is finished, execute the command below to change the ownership of the web-root directory /var/www/freescout to the user www-data. This will allow Nginx to access the FreeScout source code.
sudo chown -R www-data:www-data /var/www/freescout
Lastly, you can also ensure that each directory and file has proper permission by executing the following command.
find /var/www/freescout -type f -exec chmod 664 {} ;
find /var/www/freescout -type d -exec chmod 775 {} ;
At this point, you’ve downloaded the FreeScout source code to the web root directory /var/www/freescout. In the next step, you will create a new Nginx server block configuration that will be used to run your FreeScout installation.
Configuring Nginx Server Block
After downloading the FreeScout source code, you will create a new Nginx server block that will be used to run your FreeScout installation. Before going further, ensure you have the domain name pointed to your server IP address.
Create a new Nginx server block configuration /etc/nginx/sites-available/freescout using the following nano editor command.
sudo nano /etc/nginx/sites-available/freescout
Insert the following configuration and be sure to change the domain name
server {
    listen 80;    server_name hwdomain.io;
    root /var/www/freescout/public;
    index index.php index.html index.htm;    error_log /var/www/freescout/storage/logs/web-server.log;    location / {
        try_files $uri $uri/ /index.php?$query_string;
    }
    location ~ .php$ {
        fastcgi_split_path_info ^(. .php)(/. )$;
        fastcgi_pass unix:/run/php/php8.2-fpm.sock;
        fastcgi_index index.php;
        fastcgi_param SCRIPT_FILENAME $document_root$fastcgi_script_name;
        include fastcgi_params;
    }
    # Uncomment this location if you want to improve attachments downloading speed.
    # Also make sure to set APP_DOWNLOAD_ATTACHMENTS_VIA=nginx in the .env file.
    #location ^~ /storage/app/attachment/ {
        #    internal;
        #    alias /var/www/freescout/storage/app/attachment/;
    #}
    location ~* ^/storage/attachment/ {
        expires 1M;
        access_log off;
        try_files $uri $uri/ /index.php?$query_string;
    }
    location ~* ^/(?:css|js)/.*.(?:css|js)$ {
        expires 2d;
        access_log off;
        add_header Cache-Control "public, must-revalidate";
    }
    location ~* ^/(?:css|fonts|img|installer|js|modules|[^\] ..*)$ {
        expires 1M;
        access_log off;
        add_header Cache-Control "public";
    }
    location ~ /. {
        deny  all;
    }
}
Save the file and exit the editor when finished.
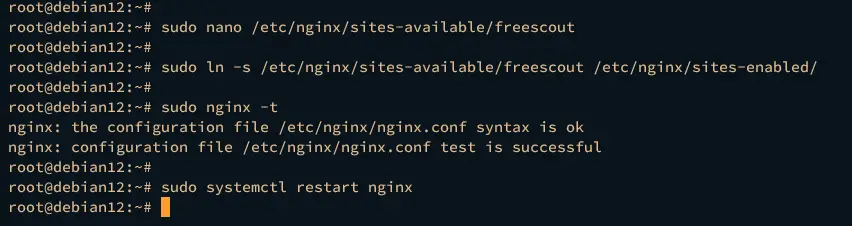
Next, run the following command to activate the server block file /etc/nginx/sites-available/freescout and verify your Nginx syntax.
sudo ln -s /etc/nginx/sites-available/freescout /etc/nginx/sites-enabled/
sudo nginx -t
If you have proper syntax, you should get an output test is successful – syntax is ok.
Now run the following command to restart the Nginx service and apply the changes that you’ve made.
sudo systemctl restart nginx
In the next step, you will and must generate SSL/TLS certificates from letsencrypt via Certbot and Certbot Nginx plugin.
Securing FreeScout with SSL/TLS Certificates
To install FreeScout Help Desk, you must enable HTTPS on your web server. In the following step, you will generate SSL/TLS certificates from Letsencrypt via Certbot and Certbot Nginx plugin.
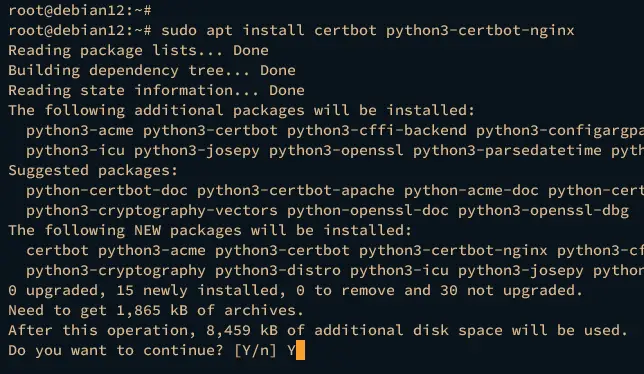
Install Certbot and Certbot Nginx plugin using the following apt command. Type y to proceed with the installation.
sudo apt install certbot python3-certbot-nginx
Next, run the certbot command below to generate new SSL/TLS certificates for your domain name. Be sure to change the details of your email address and domain name with your information.
sudo certbot --nginx --agree-tos --redirect --hsts --staple-ocsp --email [email protected] -d help.example.io
Once the process is finished, your SSL/TLS certificates will be available at /etc/letsencrypt/live/domain.com/ directory. Also, your Nginx server block file /etc/nginx/sites-available/freescout will automatically configured with HTTPS, which is done by the Certbot Nginx plugin.
FreeScount Installation via Web Installer
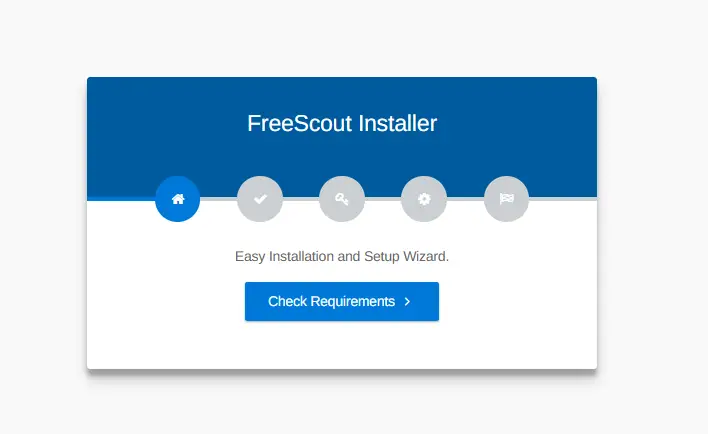
Launch your web browser and visit the domain name of your FreeScount installation, such as http://glpi.hwdomain.io/. You will be redirected to a secure HTTPS connection and the FreeScount installation page.
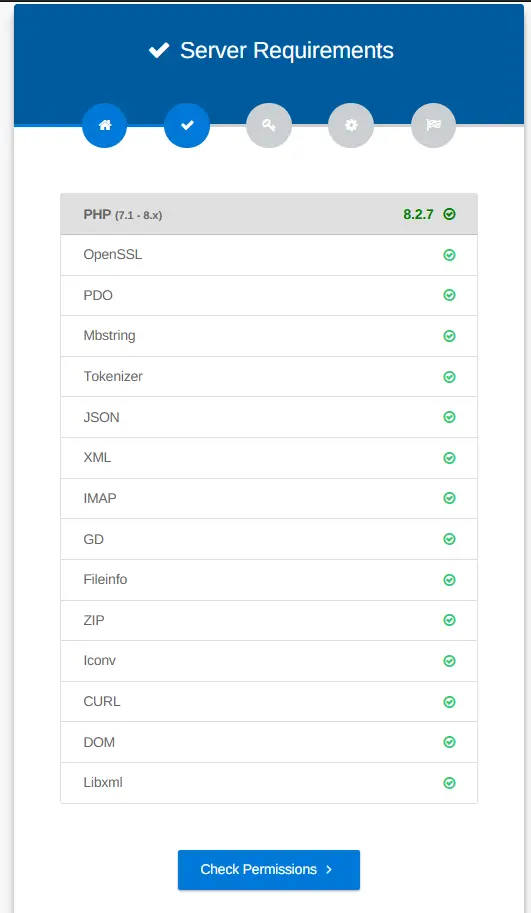
Click Check Requirements to ensure that every PHP extension that is needed is installed.
If required PHP extensions are installed, click Check Permissions to continue.
Now ensure the permission for the FreeScout directory is writable. Then, click Configure Environments.
Input your domain name within the App URL setting and click Setup Database
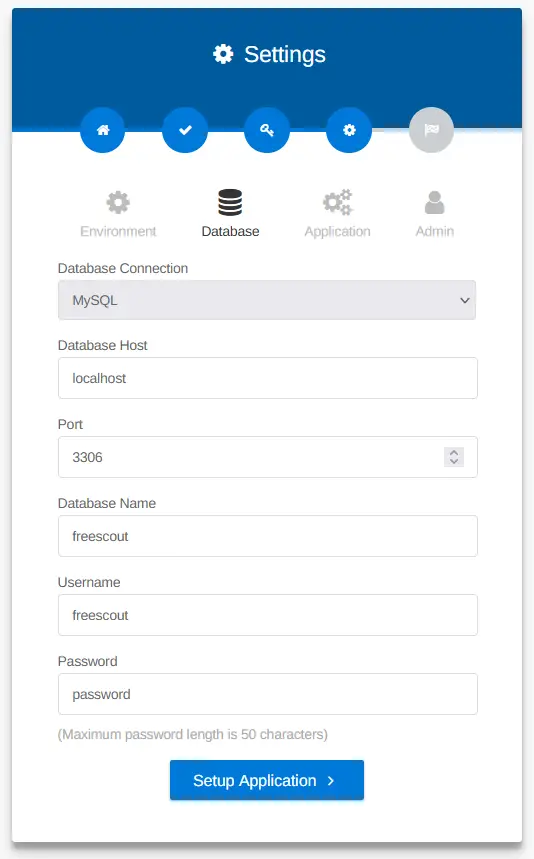
Choose the default database to MySQL and input details database name, user, and password. Then, click Setup Application to continue.
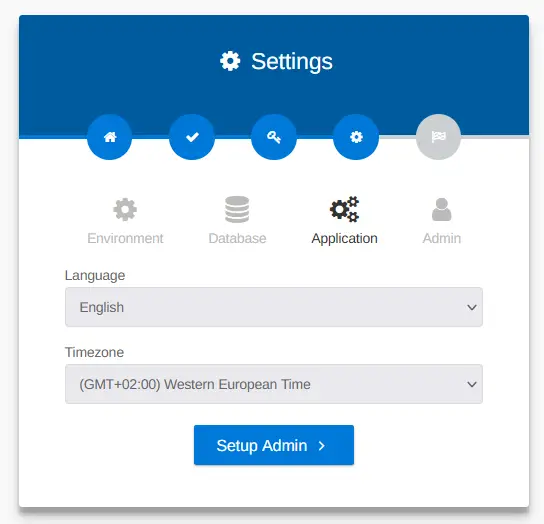
Select the application language and time zone and click Setup Admin.
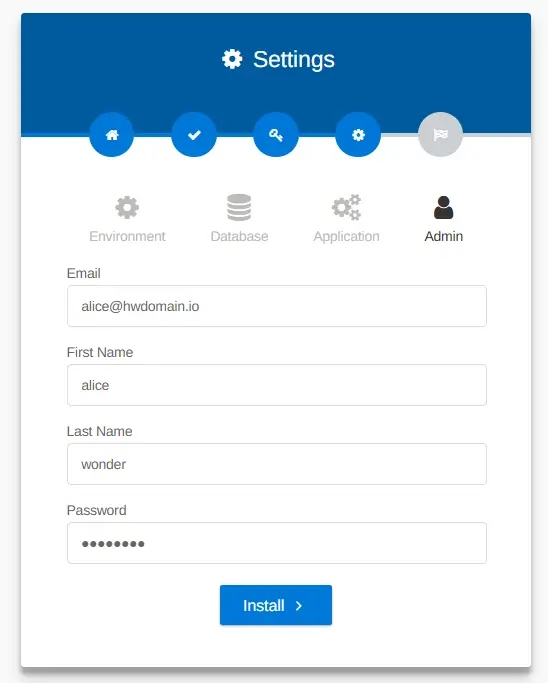
Now create a new admin user for your FreeScount installation. Input your email address, the new user, and password, then click Install to proceed with the FreeScout installation.
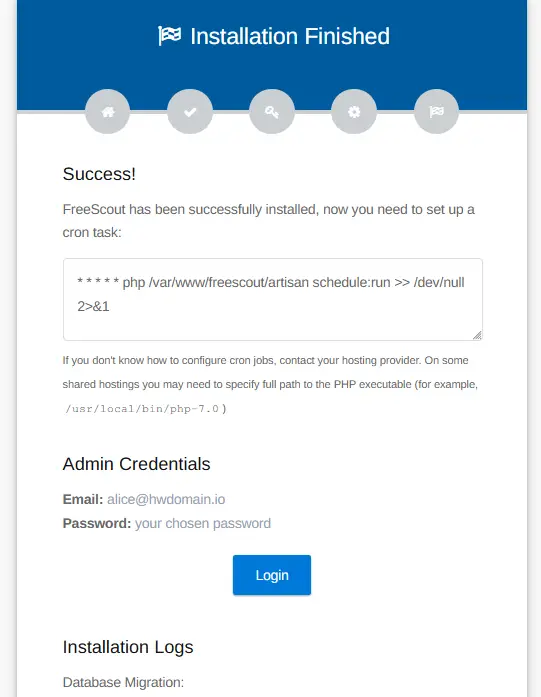
Once the installation is successful, you should see the following confirmations. Also, you can see that you need to create a new cron job for FreeScout.
Back to your terminal server and run the following command to create a new cron job for FreeScout.
crontab -u www-data -e
Input the configuration below.
* * * * * php /var/www/freescout/artisan schedule:run >> /dev/null 2>&1
Save and close the file when finished.
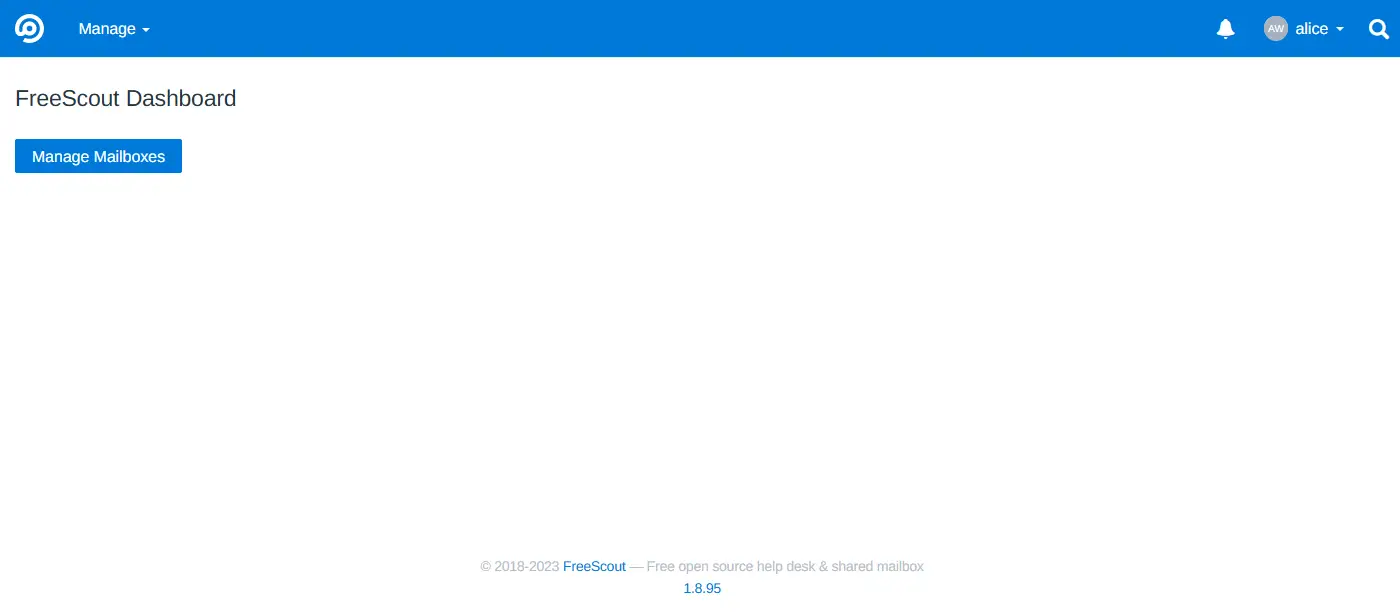
Next, back to your web browser, click Login, then you will be presented with the FreeScout login page. Input your admin email address and password, then click Login.
If your installation is successful, you should see the FreeScout dashboard like the following:
Conclusion
To conclude, you’ve now successfully installed FreeScout Help Desk on the Debian 12 server with the LEMP Stack (Nginx, MariaDB, and PHP-FPM). You’ve also secured your FreeScout installation with SSL/TLS certificates, which are generated from letsencrypt. Now you can implement and use FreeScout as a Help Desk platform for your local/internal organization.


