
GlassFish is a free and open-source implementation of the Java EE Platform developed by Eclipse. it is the world’s first implementation of the Java EE platform for deploying Java applications. GlassFish provides scalable architecture with the support of multiple Java technologies, such as Enterprise JavaBeans, JPA, JavaServer Faces, and JMS.
This guide will show you how to install GlassFish on the AlmaLinux 9 server with Nginx reverse proxy. We also cover how to secure GlassFish by enabling the authentication and setup of secure SSL/TLS connection for GlassFish administration.
Prerequisites
Before you start, ensure you have the following:
- An AlmaLinux 9 server.
- A non-root user with administrator privileges.
- A local domain name pointed to the server IP address.
Setting up dependencies
First, you need to set up your AlmaLinux system by adding a system user that will be used to run GlassFish, then install Java OpenJDK packages.
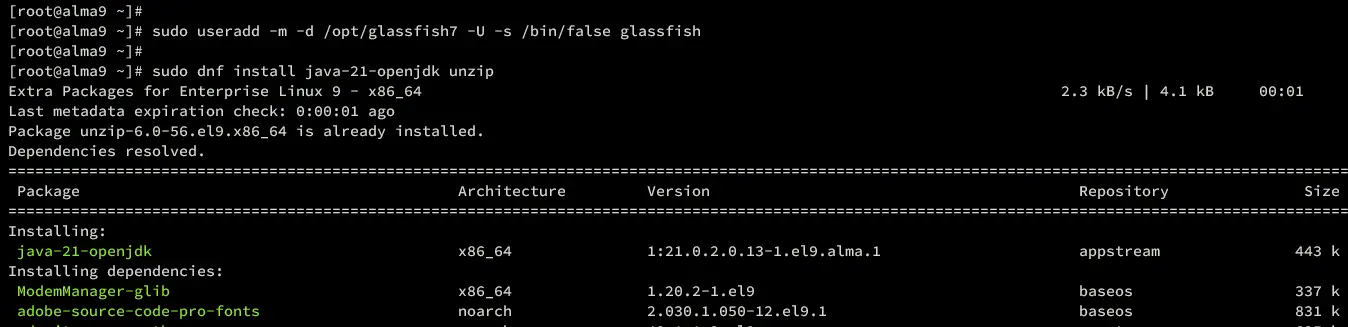
Before installing any package, create a new system user glassfish with the command below. This user will have the default home directory /opt/glassfish7, which will be used as the installation directory for GlassFish.
sudo useradd -m -d /opt/glassfish7 -U -s /bin/false glassfish
Now install the Java OpenJDK 21 and unzip packages with the command below. Type y to proceed with the installation.
sudo dnf install java-21-openjdk unzip nano
Once the installation is complete, verify the Java version with the command below. Make sure you have Java 17 or 21 installed on your AlmaLinux server.
java --version
Downloading the GlassFish package
After you have created a system user and installed Java, you can now download the GlassFish package. Make sure to visit the GlassFish download page and copy the link for the latest version.
Download the GlassFish package using the wget command below.
wget https://download.eclipse.org/ee4j/glassfish/glassfish-7.0.12.zip
Once downloaded, extract the file glassfish-7.0.12.zip to the /opt directory with the following unzip command. This will extract GlassFish to /opt/glassfish7 directory.
unzip glassfish-7.0.12.zip -d /opt
Lastly, change the ownership of /opt/glassfish7 directory to user glassfish. This is because you will be running GlassFish as a system user glassfish.
sudo chown -R glassfish:glassfish /opt/glassfish7
Setting up systemd service for GlassFish
In this guide, you will run GlassFish as a systemd service. This will run GlassFish in the background and you can easily manage it via systemctl utility.
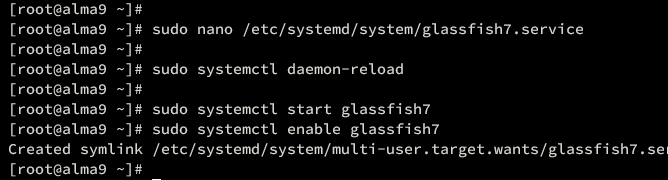
Create a new systemd service file /etc/systemd/system/glassfish7.service using the following nano editor.
sudo nano /etc/systemd/system/glassfish7.service
Insert the systemd configuration below for GlassFish.
[Unit]
Description = GlassFish Server v7
After = syslog.target network.target[Service]
User=glassfish
ExecStart=/opt/glassfish7/bin/asadmin start-domain
ExecReload=/opt/glassfish7/bin/asadmin restart-domain
ExecStop=/opt/glassfish7/bin/asadmin stop-domain
Type = forking[Install]
WantedBy = multi-user.target
Save the file and close the editor when finished.
Now reload the systemd manager to apply your new service file.
sudo systemctl daemon-reload
Then, start and enable GlassFish with the command below. Once started, GlassFish should be running on port 8080 and 4848.
sudo systemctl start glassfish7
sudo systemctl enable glassfish7
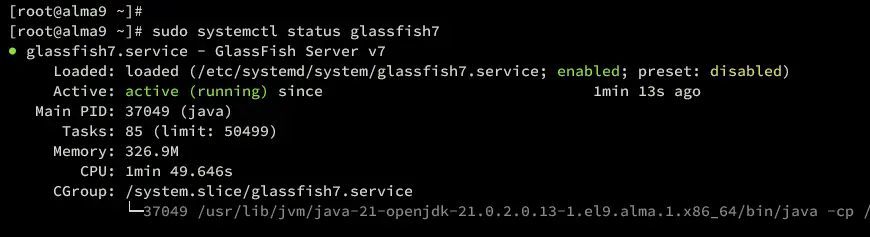
Lastly, verify the glassfish7 service with the command below. Make sure that the glassfish7 service is enabled and running on your system.
sudo systemctl status glassfish7
Setting up GlassFish administrator
At this point, GlasFish is running as a systemd service on your system. Now you need to confirm the admin user for GlassFish and set up enable-secure-admin for securing GlassFish administration.
First, run the following command to create a new administrator user for your GlassFish installation.
sudo -u glassfish /opt/glassfish7/bin/asadmin --port 4848 change-admin-password
When prompted for the user, type the default user admin, and press ENTER when asked for the password. The default GlassFish comes without a password.
When prompted to set up a new password, type your password and repeat.
Once the process is complete, you should get an output ‘Command change-admin-password executed successfully‘.
After configuring the admin password for GlassFish, run the following command to enable the secure-admin feature. This will generate SSL/TLS certificates automatically for GlassFish.
sudo -u glassfish /opt/glassfish7/bin/asadmin --port 4848 enable-secure-admin
Type your admin user and password for GlassFish when asked. Once the process is successful, you should see an output ‘Command enable-secure-admin executed successfully‘.
Lastly, restart the glassfish7 service to apply your modifications to your GlassFish. After the command is executed, your GlassFish installation should be secured, the admin user with new password, and generated TLS certificates for GlassFish admin.
sudo systemctl restart glassfish7
Running GlassFish with Nginx reverse proxy
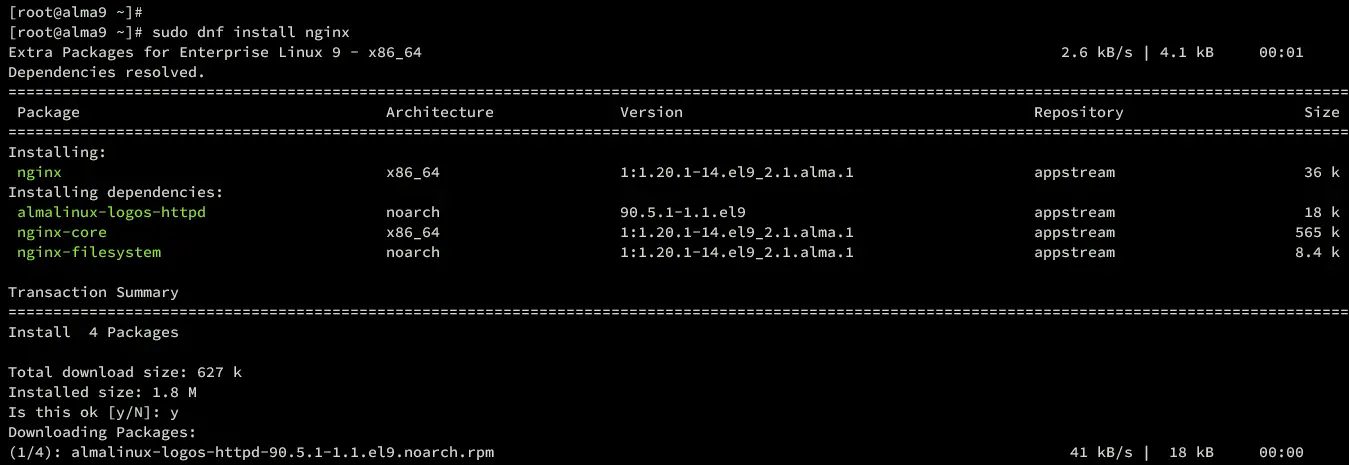
In this guide, you will be running GlassFish behind the Nginx reverse proxy. So now you need to install Nginx to your AlmaLinux server, then create a new server block configuration for reverse proxy.
Install the Nginx web server to your AlmaLinux using the command below. Type y to proceed to the installation.
sudo dnf install nginx
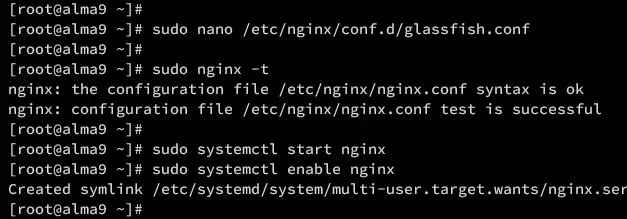
After installation is finished, create a new server block configuration /etc/nginx/conf.d/glassfish.conf using the following nano editor command.
sudo nano /etc/nginx/conf.d/glassfish.conf
Insert the following configuration to set up a reverse proxy for GlassFish that running by default on port 8080. Be sure to change the domain name in the following with your local domain.
upstream glassfish7 {
server 127.0.0.1:8080 weight=100 max_fails=5 fail_timeout=5;
}server {
listen 80;
server_name glassfish.hwdomain.io;
location / {
proxy_set_header X-Forwarded-Host $host;
proxy_set_header X-Forwarded-Server $host;
proxy_set_header X-Forwarded-For $proxy_add_x_forwarded_for;
proxy_pass http://glassfish7/;
}
}
When you’re done, save and exit the file.
Now verify the Nginx syntax using the command below. If you have proper syntax, you should get an output ‘syntax is ok – test is successful’.
sudo nginx -t
Then, start and enable Nginx on your AlmaLinux server with the command below.
sudo systemctl start nginx
sudo systemctl enable nginx
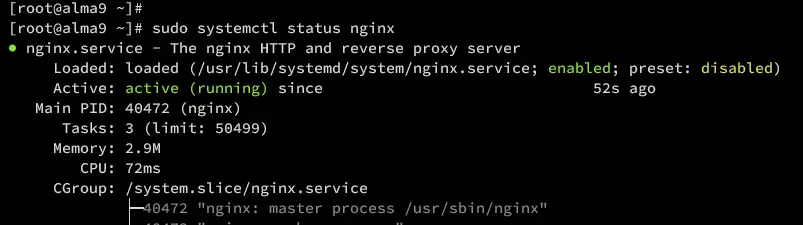
Once started, verify the Nginx service to ensure that the service is running and enabled.
sudo systemctl status nginx
Below you should see the Nginx service is running and enabled on AlmaLinux.
Setting up Firewalld
With the Nginx up and running, you must open the HTTP port on your server via firewalld. In addition to that, you can also open port 4848 which is used by the GlassFish administrator.
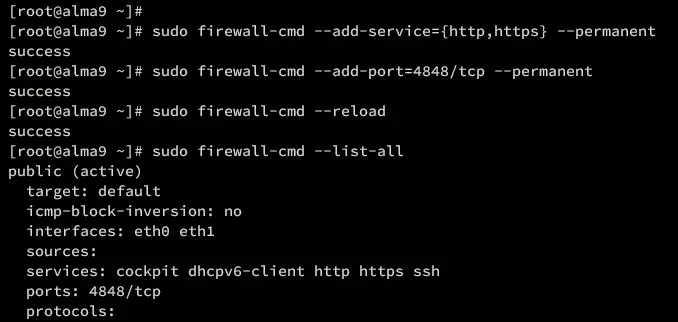
Open both HTTP and HTTPS service on firewalld with the command below.
sudo firewall-cmd --add-service={http,https} --permanent
Open TCP port 4848 which will be used for GlassFish administration.
sudo firewall-cmd --add-port=4848/tcp --permanent
Now reload firewalld to apply your changes to firewalld. Then, verify the lis-enabled rules.
sudo firewall-cmd --reload
sudo firewall-cmd --list-all
You can see below the HTTP, HTTPS services, and port 4848 added to firewalld.
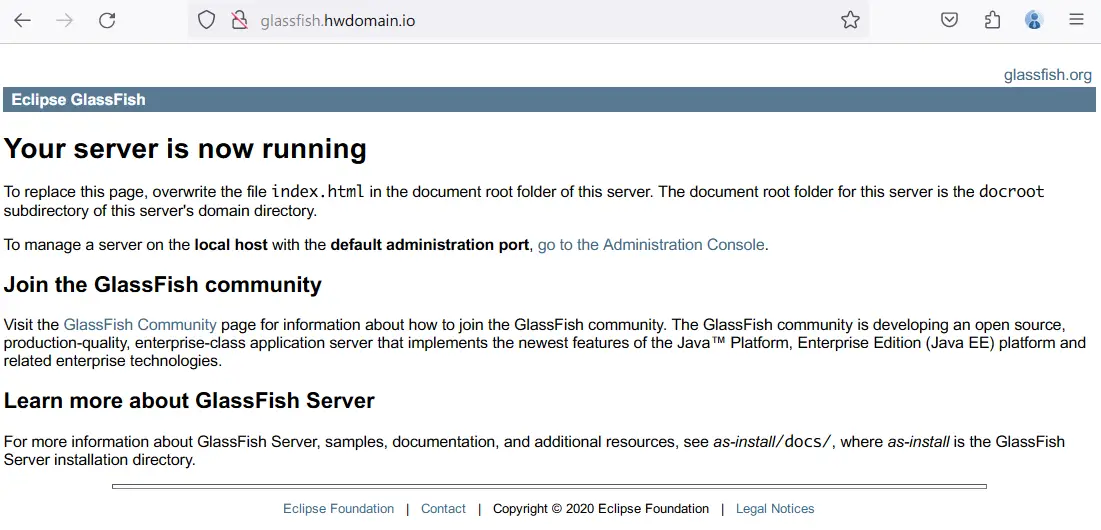
Accessing GlassFish
Open your web browser and visit your domain name for GlassFish, such as http://glassfish.hwdomain.io/. If your installation is successful, you should get the GlassFish index page like the following.
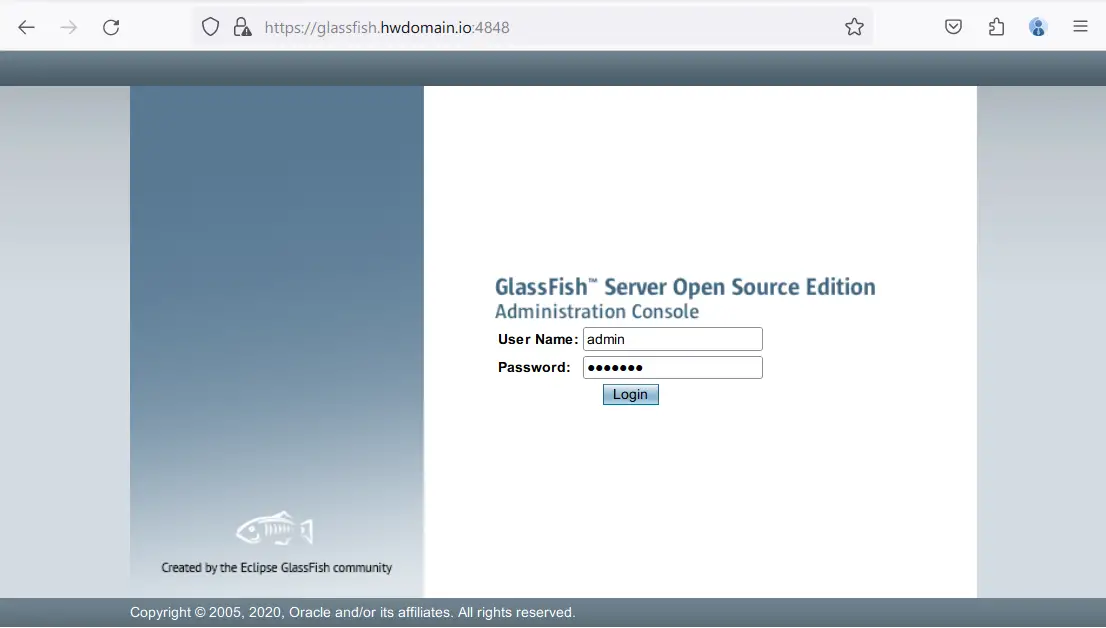
Now open a new tab and visit http://glassfish.hwdomain.io:4848/ to access GlassFish administration. Type the default admin with your password, then click Login.
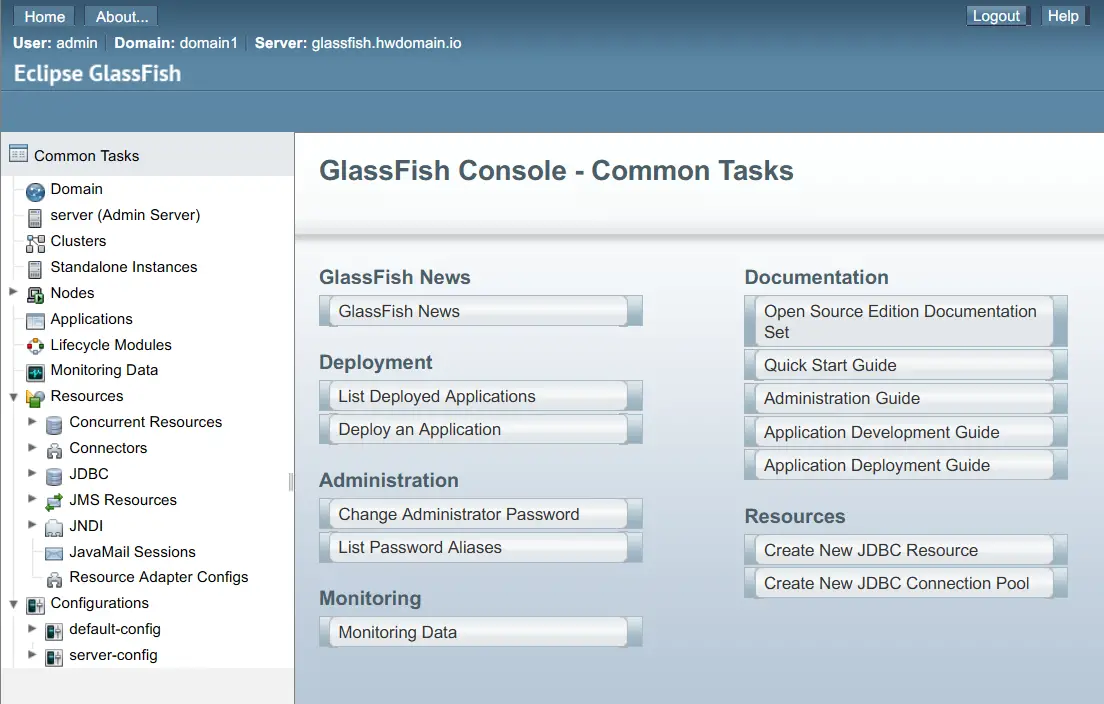
If you have the correct password, you should see the dashboard of GlassFish.
Conclusion
Congratulations! You have now successfully installed GlassFish on the AlmaLinux 9 server. You have installed GlassFish, configured administrator user, and secured admin for GlassFish. Lastly, you also installed and configured Nginx as a reverse proxy for your GlassFish installation.


