
LAMP is a free, open-source, and one of the most popular web development platforms allowing web developers to build, deploy, and manage websites and applications online. It uses four open-source components: Linux as the operating system, Apache as the Web server, MySQL as the relational database management system, and PHP/Perl/Python as the object-oriented scripting language. LAMP stack is the primary choice of all web developers because it is sufficient to host a wide variety of website frameworks, such as Joomla, Drupal, and WordPress.
Features
- A LAMP server is free and open-source so anyone can download its source, and make changes and improvements, enhancing its overall performance.
- It is customizable. So you can replace every component with another open-source solution to suit the particular application’s needs.
- It has a larger community so you can find support easily.
- It is a mature stack that is easy to set up.
This post will show you how to install the LAMP server on Ubuntu 22.04.
Prerequisites
- A server running Ubuntu 22.04.
- Minimum 1 GB of RAM and 5 GB of hard disk space.
- A root password is configured on the server.
Install Apache on Ubuntu 22.04
The Apache webserver is a primary component of the LAMP stack. By default, the Apache webserver package is included in the Ubuntu 22.04 default repository. You can install it easily by just running the following command:
apt-get install apache2 -y
Once the Apache server is installed, start and enable the Apache web service using the following command:
systemctl start apache2
systemctl enable apache2
You can now check the status of the Apache service using the following command:
systemctl status apache2
You will get the Apache status in the following output:
? apache2.service - The Apache HTTP Server
     Loaded: loaded (/lib/systemd/system/apache2.service; enabled; vendor preset: enabled)
     Active: active (running) since Fri 2022-04-29 07:27:44 UTC; 4s ago
       Docs: https://httpd.apache.org/docs/2.4/
   Main PID: 923 (apache2)
      Tasks: 55 (limit: 4630)
     Memory: 5.1M
        CPU: 56ms
     CGroup: /system.slice/apache2.service
             ??923 /usr/sbin/apache2 -k start
             ??924 /usr/sbin/apache2 -k start
             ??925 /usr/sbin/apache2 -k start

Apr 29 07:27:44 ubuntu systemd[1]: Starting The Apache HTTP Server...
To check the Apache version, run the following command:
apache2ctl -version
You will see the Apache version in the following output:
Server version: Apache/2.4.52 (Ubuntu)
Server built:   2022-03-25T00:35:40
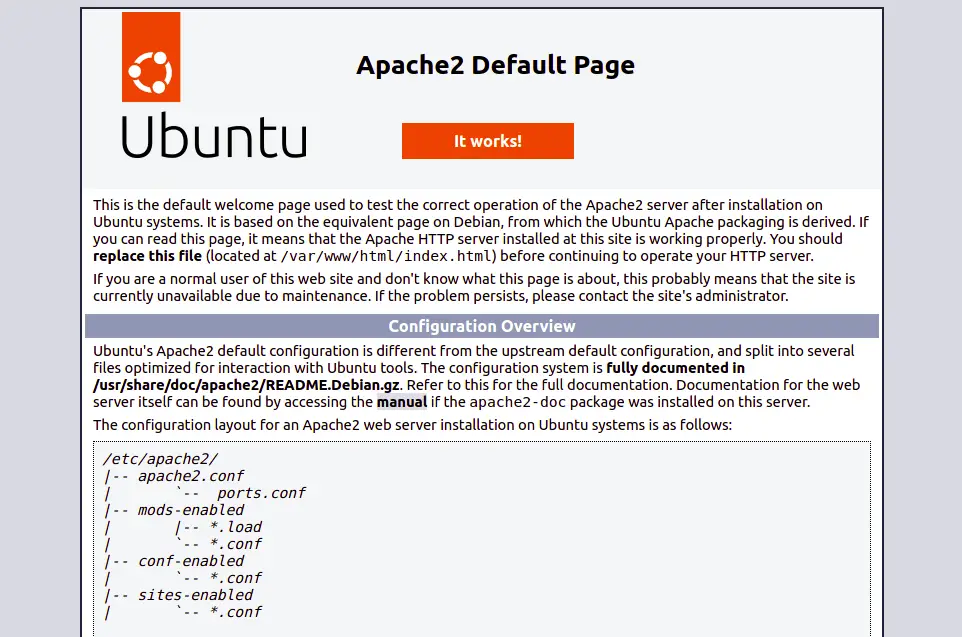
You can also test the Apache installation through the web browser using the URL http://your-server-ip. You should see the Apache test page on the following screen:
Once you are finished, you can proceed to install PHP.
Install PHP on Ubuntu 22.04
PHP is a processing language used to serve the PHP pages. By default, Ubuntu 22.04 provides the latest PHP version 8.1. You can install it with other extensions in the following output:
apt-get install php8.1 libapache2-mod-php8.1 php8.1-mysql php8.1-gd php8.1-curl php8.1-xml -y
Once PHP is installed, you can verify the PHP version using the following command:
php --version
You should see the PHP version in the following output:
PHP 8.1.2 (cli) (built: Apr  7 2022 17:46:26) (NTS)
Copyright (c) The PHP Group
Zend Engine v4.1.2, Copyright (c) Zend Technologies
    with Zend OPcache v8.1.2, Copyright (c), by Zend Technologies
Once you are finished, you can proceed to install the MySQL server.
Install MySQL Server on Ubuntu 22.04
By default, the latest version of MySQL is included in the Ubuntu 22.04 default repository. You can install it using the following command:
apt-get install mysql-server -y
Once the MySQL server is installed, start the MySQL service and enable it to start at system reboot using the following command:
systemctl start mysql
systemctl enable mysql
You can check the status of the MySQL using the following command:
systemctl status mysql
You will get the following output:
? mysql.service - MySQL Community Server
     Loaded: loaded (/lib/systemd/system/mysql.service; enabled; vendor preset: enabled)
     Active: active (running) since Fri 2022-04-29 07:43:21 UTC; 3s ago
    Process: 11468 ExecStartPre=/usr/share/mysql/mysql-systemd-start pre (code=exited, status=0/SUCCESS)
   Main PID: 11476 (mysqld)
     Status: "Server is operational"
      Tasks: 38 (limit: 4630)
     Memory: 358.2M
        CPU: 991ms
     CGroup: /system.slice/mysql.service
             ??11476 /usr/sbin/mysqld

Apr 29 07:43:20 ubuntu systemd[1]: Starting MySQL Community Server...
Apr 29 07:43:21 ubuntu systemd[1]: Started MySQL Community Server.
You can also check the MySQL version with the following command:
mysql --version
You will get the following output:
mysql Ver 8.0.28-0ubuntu4 for Linux on x86_64 ((Ubuntu))
By default, MySQL is not secured and the root password is not set. So you will need to secure it by running the following script:
mysql_secure_installation
Set a new MySQL password as shown below:
Securing the MySQL server deployment.

Connecting to MySQL using a blank password.

VALIDATE PASSWORD COMPONENT can be used to test passwords
and improve security. It checks the strength of password
and allows the users to set only those passwords which are
secure enough. Would you like to setup VALIDATE PASSWORD component?

Press y|Y for Yes, any other key for No:
Please set the password for root here.

New password:

Re-enter new password:
By default, a MySQL installation has an anonymous user,
allowing anyone to log into MySQL without having to have
a user account created for them. This is intended only for
testing, and to make the installation go a bit smoother.
You should remove them before moving into a production
environment.
Remove the Anonymous user as shown below:
Remove anonymous users? (Press y|Y for Yes, any other key for No) : Y
Success.


Normally, root should only be allowed to connect from
'localhost'. This ensures that someone cannot guess at
the root password from the network.
Disallow the root login remotely as shown below:
Disallow root login remotely? (Press y|Y for Yes, any other key for No) : Y
Success.

By default, MySQL comes with a database named 'test' that
anyone can access. This is also intended only for testing,
and should be removed before moving into a production
environment.
Remove the test database as shown below:
Remove test database and access to it? (Press y|Y for Yes, any other key for No) : Y
 - Dropping test database...
Success.

 - Removing privileges on test database...
Success.

Reloading the privilege tables will ensure that all changes
made so far will take effect immediately.
Reload the privileges as shown below:
Reload privilege tables now? (Press y|Y for Yes, any other key for No) : Y
Success.

All done!

Verify PHP Installation
After installing the LAMP server, you will need to check whether the Apache processes the PHP page or not.
To check it create a sample PHP page:
nano /var/www/html/info.php
Add the following code:
Save and close the file then open your web browser and access the PHP page using the URL http://your-server-ip/info.php. You should see the PHP information page on the following screen:
Conclusion
Congratulations! you have successfully installed the LAMP server on Ubuntu 22.04 server. You can now start to create and host your website using the LAMP stack. Feel free to ask me if you have any questions.
 on Ubuntu 24.04")

