
Padloc is a cloud-based password management solution that allows you to access and use your saved passwords across multiple platforms. It offers a simple interface and can be used to save your passwords and can encrypt and store sensitive documents. It also supports storing two-factor authentication tokens and can add them directly from the webpage.
Padloc also offers an open-source self-hosted solution that you can install on any server to maintain complete control over your data. However, there is a caveat to this. You cannot use the self-hosted application with its desktop and mobile apps. On the bright side, Padloc is served as a PWA (Progressive web app), which means you can install it as a native application on mobile and take advantage of several of its features.
In this tutorial, you will learn how to install Padloc Password Manager on a Rocky Linux 8 based server.
Prerequisites
- A server running Rocky Linux 8 with a minimum of 1 GB of RAM.
- A non-root user with sudo privileges.
- A Fully Qualified Domain Name (FQDN) pointing to the server like
example.com. We will assume that you will be using only one domain name for this server for this tutorial.
Step 1 – Firewall
The first step is to configure the firewall. Rocky Linux uses Firewalld Firewall. Check the firewall’s status.
$ sudo firewall-cmd --state
running
The firewall works with different zones, and the public zone is the default one that we will use. List all the services and ports active on the firewall.
$ sudo firewall-cmd --permanent --list-services
It should show the following output.
cockpit dhcpv6-client ssh
Allow HTTP and HTTPS ports.
$ sudo firewall-cmd --permanent --add-service=http
$ sudo firewall-cmd --permanent --add-service=https
Recheck the status of the firewall.
$ sudo firewall-cmd --permanent --list-services
You should see a similar output.
cockpit dhcpv6-client http https ssh
Reload the firewall to enable the changes.
$ sudo firewall-cmd --reload
Step 2 – Install Docker
Rocky Linux ships with an older version of Docker. To install the latest version, first, install the official Docker repository.
$ sudo yum-config-manager
    --add-repo
    https://download.docker.com/linux/centos/docker-ce.repo
Install the latest version of Docker.
$ sudo dnf install docker-ce docker-ce-cli containerd.io
Enable and run the Docker daemon.
$ sudo systemctl enable docker --now
Verify that it is running.
$ sudo systemctl status docker
? docker.service - Docker Application Container Engine
   Loaded: loaded (/usr/lib/systemd/system/docker.service; enabled; vendor preset: disabled)
   Active: active (running) since Sun 2022-04-09 22:43:21 UTC; 30s ago
     Docs: https://docs.docker.com
 Main PID: 43005 (dockerd)
    Tasks: 7
   Memory: 90.5M
   CGroup: /system.slice/docker.service
           ??43005 /usr/bin/dockerd -H fd:// --containerd=/run/containerd/containerd.sock
 ....
By default, Docker requires root privileges. If you want to avoid using sudo every time you run the docker command, add your username to the docker group.
$ sudo usermod -aG docker $(whoami)
You will need to log out of the server and back in as the same user to enable this change.
Step 3 – Install Docker-Compose
Download the latest stable release of Docker Compose.
$ sudo curl -L "https://github.com/docker/compose/releases/download/1.29.2/docker-compose-$(uname -s)-$(uname -m)" -o /usr/local/bin/docker-compose
Apply executable permissions to the Docker Compose binary file.
$ sudo chmod x /usr/local/bin/docker-compose
Test the installation.
$ docker-compose --version
docker-compose version 1.29.2, build 5becea4c
Install the Docker-compose Bash Completion script.
$ sudo curl
    -L https://raw.githubusercontent.com/docker/compose/1.29.2/contrib/completion/bash/docker-compose
    -o /etc/bash_completion.d/docker-compose
Reload your profile settings to make the bash-completion work.
$ source ~/.bashrc
Step 4 – Create Data Directories
Create a directory for padloc.
$ mkdir ~/padloc
Switch to the padloc directory.
$ cd ~/padloc
Create directories for the user database, application logs, attachments, the PWA app, and SSL configuration.
$ mkdir {attachments,db,logs,pwa,ssl}
Create a directory for Nginx logs.Advertisement
$ mkdir logs/nginx
Step 5 – Create Docker Compose File
Create and open the ~/padloc/docker-compose.yml file for editing.
$ nano docker-compose.yml
Paste the following code in it.
version: "3"
services:
    server:
        image: padloc/server
        container_name: padloc_server
        restart: unless-stopped
        #ports:
        #    - ${PL_SERVER_PORT:-3000}:3000
        expose:
            - 3000
        volumes:
            - ${PL_DB_DIR:-./db}:/data:Z
            - ${PL_ATTACHMENTS_DIR:-./attachments}:/docs:Z
            - ./logs:/logs:Z
        environment:
            - PL_PWA_URL
            - PL_EMAIL_SERVER
            - PL_EMAIL_PORT
            - PL_EMAIL_USER
            - PL_EMAIL_PASSWORD
            - PL_EMAIL_FROM
    pwa:
        image: padloc/pwa
        container_name: padloc_pwa
        restart: unless-stopped
        #ports:
        #    - ${PL_PWA_PORT:-8080}:8080
        expose:
            - 8080
        volumes:
            - ${PL_PWA_DIR:-./pwa}:/pwa:Z
        environment:
            - PL_SERVER_URL
    nginx:
        image: nginx
        container_name: nginx
        restart: unless-stopped
        volumes:
            - ./nginx.conf:/etc/nginx/nginx.conf
            - ${PL_SSL_CERT:-./ssl/cert.pem}:/ssl/cert
            - ${PL_SSL_KEY:-./ssl/key.pem}:/ssl/key
            - ${PL_SSL_CONF:-./ssl/ssl.conf}:/ssl/ssl.conf
            - /etc/ssl/certs/dhparam.pem:/ssl/dhparam.pem
            - ./logs/nginx:/var/log/nginx:Z
        ports:
            - 80:80
            - 443:443
Save the file by pressing Ctrl X and entering Y when prompted.
We are using three Docker images for Padloc.
-
The Server image – contains all the backend logic for the application. It runs on port 3000 by default. We have uncommented the ports variable in our compose file to make the port invisible to the server. Instead, we use the expose variable to expose the port inside the Docker engine to the Nginx container. The environment variables for the image will be configured later. We have also mapped directories for a user database, attachment, and application logs.
-
The PWA image – contains the frontend of the application. It runs on port 8080 by default. As for the server image, we have hidden the ports section for this image and exposed the port inside the Docker engine. We have mapped the directory for the web app.
-
The Nginx image – contains the Nginx server application. We have the ports for HTTP(80) and HTTPS(443) to the server to make it accessible from the outside. We have mapped several directories and files to make it work.
- The first file is
nginx.confwhich contains all the main configurations for Nginx to serve the padloc application. - The next two files,
cert.pemandkey.pemare the SSL certificate and keys that we will generate using Let’s encrypt. - The file
ssl.confcontains additional information regarding serving SSL via Nginx. - The file
dhparam.pemis to serve the Diffie-Hellman group certificate. - The last entry is to map the Nginx logs back to the server so you can access them outside Docker.
- The first file is
-
The
:Zflag at the end of folder mappings indicates that those directories will only be accessible from the respective containers. This is being done since SELINUX is enabled on our server. If you are not using SELinux, then you can remove the flag.
Step 6 – Configure NGinx
Create and open the file ~/padloc/nginx.conf for editing.
$ nano nginx.conf
Paste the following code in it.
http {
    # This is required if you want to upload attachments
    client_max_body_size 10m;

    # Redirect all http traffic to https
    server {
        listen 80 default_server;
        listen [::]:80 default_server;
        server_name _;
        return 301 https://$host$request_uri;
    }

    server {
        # We don't need a host name here since we're only
        # dealing with one domain, but you may insert your domain here.
        server_name _;

        # Both server and pwa are served over https
        listen 443 ssl http2;
        listen [::]:443 ssl http2;

        # This will resolve to the server instance
        location /server/ {
            proxy_pass http://padloc_server:3000;
            rewrite ^/padloc_server(.*)$ $1 break;
        }

        # This will resolve to the web app
        location / {
            proxy_pass http://padloc_pwa:8080;
            rewrite ^/padloc_pwa(.*)$ $1 break;
        }

        # SSL certificate
        ssl_certificate /ssl/cert;
        # SSL private key
        ssl_certificate_key /ssl/key;

        # Add this file to add advanced ssl configuration
        include /ssl/ssl.conf;
    }
}

# This section is required by nginx
events {}
Save the file by pressing Ctrl X and entering Y when prompted.
The above configuration forwards all requests made from the padloc_server container to the /server location of the domain name and any requests made from the padlock_pwa container to the root. It also redirects all HTTP traffic to HTTPS. We also have set the file upload size to 10 MB for attachments. You can change the size as per your requirements. The SSL settings have been included via an external file which we will configure later.
Step 7 – Create Environment File
Create and open the ~/padloc/.env file for editing.
$ nano .env
Paste the following code in it.
# GENERAL SETTINGS
# ================
# URL that will resolve to the server instance
PL_PWA_URL=https://example.com/
# URL that will resolve to the web app
PL_SERVER_URL=https://example.com/server/

# SERVER SETTINGS
# ===============
# Port the server instance will listen on
PL_SERVER_PORT=3000
# Directory where database files will be stored
PL_DB_DIR=./db
# Directory where attachment files will be stored
PL_ATTACHMENTS_DIR=./attachments

# PWA SETTINGS
# ============
# Port the web app will be served from
PL_PWA_PORT=8080
# Directory where the static code for the web app will be stored
PL_PWA_DIR=./pwa

# EMAIL SETTINGS
# =============
# SMTP host
PL_EMAIL_SERVER=smtp.example.com
# SMTP username
[email protected]
# SMTP port
PL_EMAIL_PORT=443
# SMTP password
PL_EMAIL_PASSWORD=your_smtp_password
# Always use TLS when sending emails
# PL_EMAIL_SECURE=false
# Email ID to send mails from
[email protected]

# SSL SETTINGS
# ============
# The path to your ssl certificate
PL_SSL_CERT=/etc/letsencrypt/live/example.com/fullchain.pem
# The path to your ssl private key
PL_SSL_KEY=/etc/letsencrypt/live/example.com/privkey.pem
# Advanced configuration file
PL_SSL_CONF=./ssl/ssl.conf
Save the file by pressing Ctrl X and entering Y when prompted. Most of the settings are self-explanatory. The existing Nginx configuration expects the app to be served via the main domain and the server via /server directory. The PL_PWA_DIR is not compulsory to set here and in the Docker-compose file but having it speeds up the container startup, and therefore, you should always set it.
Padloc requires the ability to send emails for functionality like verifying new users, two-factor authentication and resetting passwords. Therefore, SMTP details are compulsory.
For the SSL feature, we use Let’s Encrypt default directories where the certificates are located. The additional SSL configuration will be provided via the file /ssl/ssl.conf.
Step 8 – Install SSL
To install an SSL certificate using Let’s Encrypt, we need to install the Certbot tool.
Firstly, you need to download and install the EPEL repository.
$ sudo dnf install epel-release
Run the following commands to install Certbot.
$ sudo dnf install certbot
Generate the SSL certificate.
$ sudo certbot certonly --standalone --agree-tos --no-eff-email --staple-ocsp --preferred-challenges http -m [email protected] -d example.com
The above command will download a certificate to the /etc/letsencrypt/live/example.com directory on your server.
Generate a Diffie-Hellman group certificate.
$ sudo openssl dhparam -out /etc/ssl/certs/dhparam.pem 2048
Create a Cron Job to renew the SSL. It will run every week to check the certificate and renew it if needed. For that, first, create the file /etc/cron.weekly/certbot-renew and open it for editing.
$ sudo nano /etc/cron.weekly/certbot-renew
Paste the following code. We use the Docker commands to start, stop and restart the Nginx container depending upon the renewal status.
#!/bin/sh
certbot renew --cert-name example.com --pre-hook "docker stop nginx" --post-hook "docker start nginx" --renew-hook "docker restart nginx"
Save the file by pressing Ctrl X and entering Y when prompted.
Change the permissions on the task file to make it executable.
$ sudo chmod x /etc/cron.weekly/certbot-renew
Step 9 – Configure SSL
Create and open the file ~/padloc/ssl/ssl.conf for editing.
$ nano ssl/ssl.conf
Paste the following code in it.
ssl_session_timeout 1d;
ssl_session_cache shared:MozSSL:10m;
ssl_session_tickets off;
ssl_prefer_server_ciphers off;

ssl_protocols TLSv1.2 TLSv1.3;
ssl_ciphers ECDHE-ECDSA-AES128-GCM-SHA256:ECDHE-RSA-AES128-GCM-SHA256:ECDHE-ECDSA-AES256-GCM-SHA384:ECDHE-RSA-AES256-GCM-SHA384:ECDHE-ECDSA-CHACHA20-POLY1305:ECDHE-RSA-CHACHA20-POLY1305:DHE-RSA-AES128-GCM-SHA256:DHE-RSA-AES256-GCM-SHA384;

ssl_stapling on;
ssl_stapling_verify on;
ssl_dhparam /ssl/dhparam.pem;
resolver 1.1.1.1 1.0.0.1 [2606:4700:4700::1111] [2606:4700:4700::1001] 8.8.8.8 8.8.4.4 [2001:4860:4860::8888] [2001:4860:4860::8844] valid=60s;
resolver_timeout 2s;
Save the file by pressing Ctrl X and entering Y when prompted.
The above file introduces some recommended SSL settings to make your site more secure. It restricts TLS protocols to v1.2 and v1.3 and enables Online Certificate Status Protocol (OCSP) stapling and verification.
Step 10 – Run Padloc
Now that you have configured everything run Padloc using the following command.
$ docker-compose up -d
Check the status of the containers.
$ docker ps
You should get a similar output.
Step 11 – Access and Configure Padloc
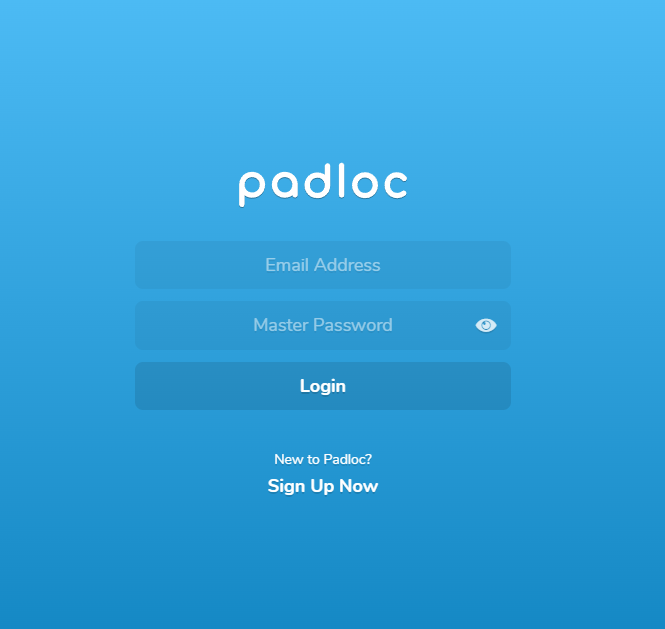
Open the URL https://example.com in your browser, and you will reach its login page.
Click the Sign up Now link to start the registration.
Enter your name and email address, and press the Continue to proceed.
Padloc will send you an email with a confirmation code. Enter the confirmation code in the box above, and press Continue to proceed.
Padloc will automatically generate a master password for you. Hover over the box and copy it. Paste it again in the box below. You can also choose to use your password. Press Continue when finished.
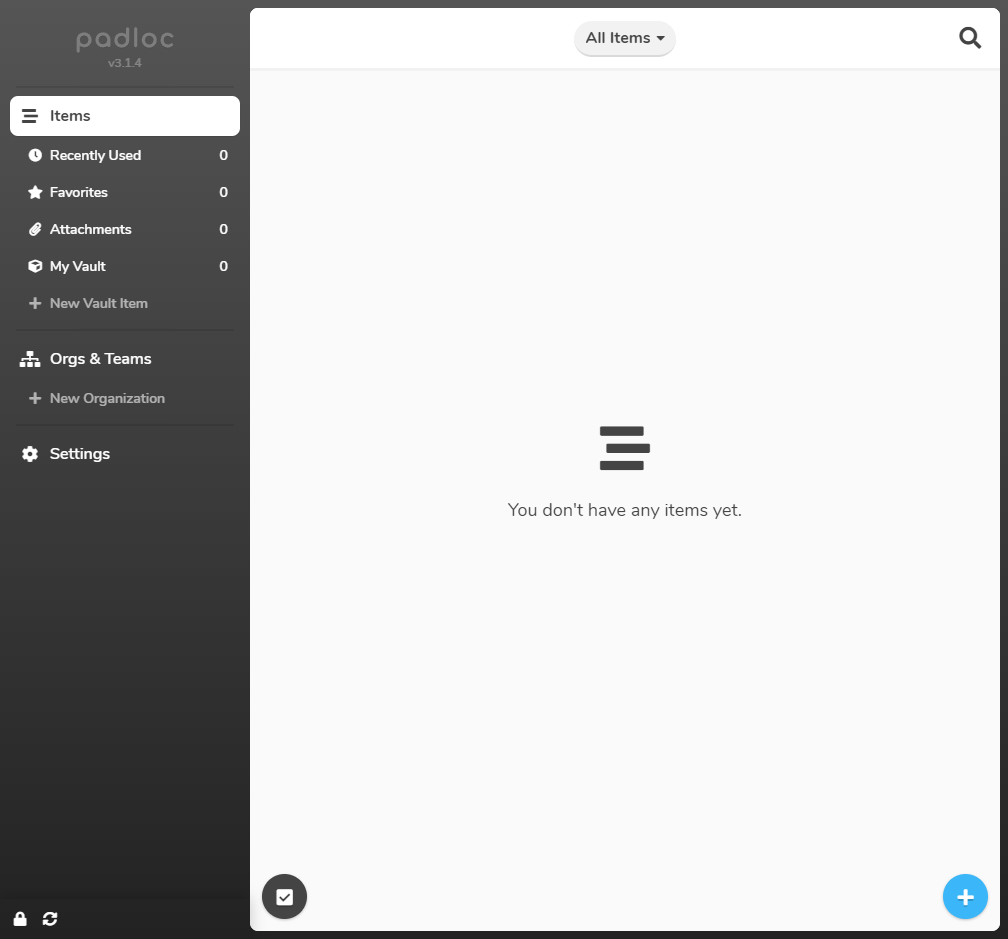
You will be taken to the Padloc Homepage. You can start saving your login data and sensitive documents.
Step 12 – Update Padloc
Updating Padloc is a two-step process. First, switch to the Padloc directory.
$ cd ~/padloc
Shut down and remove the existing Padloc containers.
$ docker-compose down --remove-orphans
Pull the latest images.
$ docker-compose pull
Start the containers again.
$ docker-compose up -d
Conclusion
This concludes our tutorial on installing Padloc Self-hosted password manager on a Rocky Linux 8 server. If you have any questions, post them in the comments below.


