
ThinkorSwim is a web-based trading platform developed by TD Ameritrade. It allows users to trade in various stock, options, futures, and equities from the web-based interface. It has also a desktop application available for Windows, macOS, and Linux operating systems. However, it is very complex and designed for advanced users.
In this post, we will show you how to install Thinkorswim on Ubuntu 20.04 desktop.
Prerequisites
- An Ubuntu 20.04 desktop is installed in your system.
- A root password is configured on the server.
Getting Started
First, it is recommended to update your system packages to the latest version. You can update them using the following command:
apt-get update -y
Once your system is updated, you can proceed to the next step.
Install Java
ThinkorSwim is a Java-based application. So you will need to install Java in your system. You can install it using the following command:
apt-get install default-jdk -y
Once the Java is installed, verify the Java version with the following command:
java --version
You should see the following output:
openjdk 11.0.11 2021-04-20
OpenJDK Runtime Environment (build 11.0.11 9-Ubuntu-0ubuntu2.20.04)
OpenJDK 64-Bit Server VM (build 11.0.11 9-Ubuntu-0ubuntu2.20.04, mixed mode, sharing)
Install ThinkorSwim
By default, ThinkorSwim is not included in the Ubuntu default repository. So you will need to download the ThinkorSwim installation script from its official website.
You can download it using the following command:
curl https://mediaserver.thinkorswim.com/installer/InstFiles/thinkorswim_installer.sh --output thinkorswim_installer.sh
After downloading the ThinkorSwim installation script, run it using the following command:
bash thinkorswim_installer.sh
This will open the graphical installation wizard as shown below:
Select your language and click on the OK. You should see the following screen:
Now, click on the Next button. You should see the following screen:
Select your Trading account provider and click on the Next button. You should see the following screen:
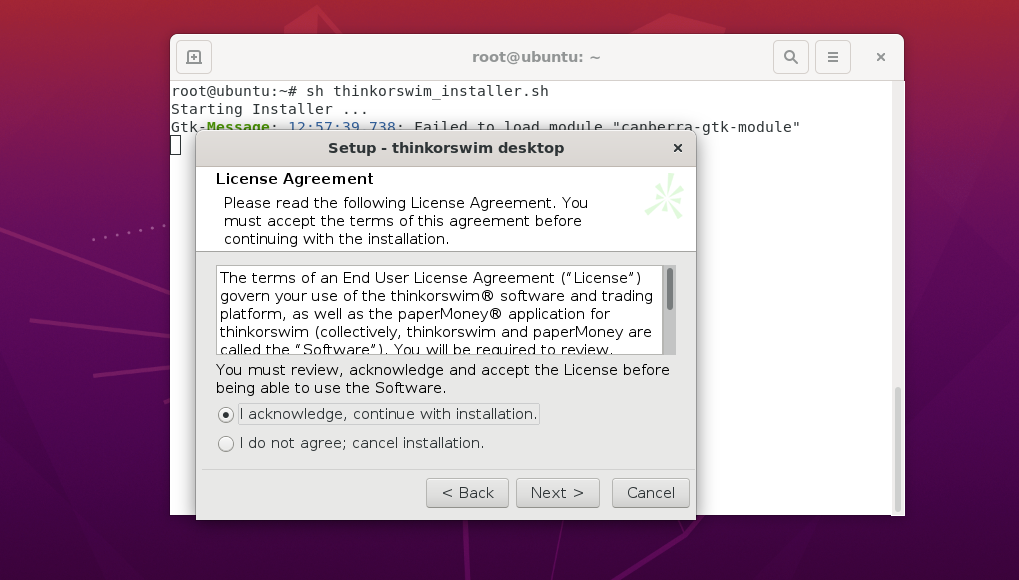
Accept the License agreement and click on the Next button. You should see the following screen:
Select installation options and click on the Next button. You should see the following screen:
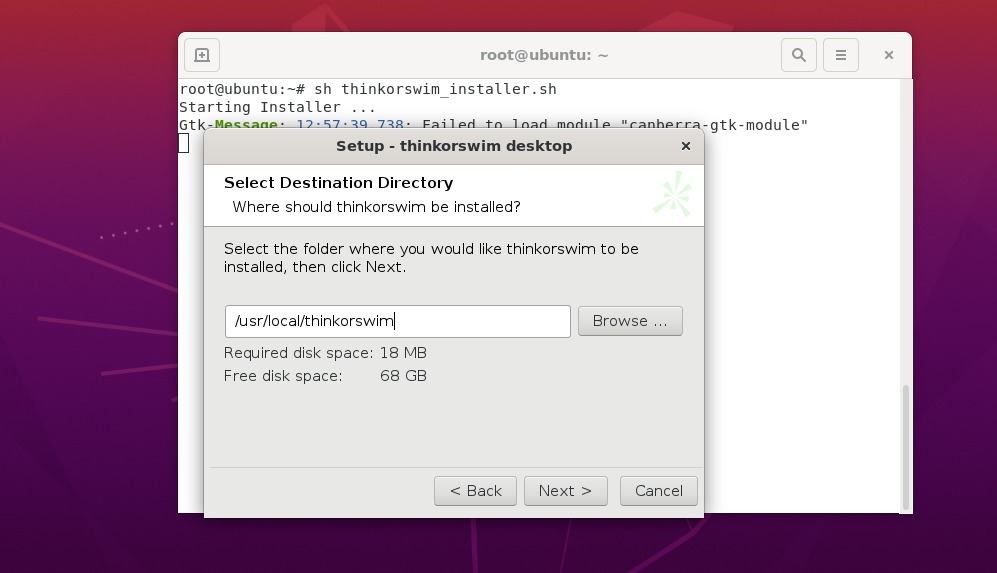
Define your installation directory and click on the Next button. You should see the following screen:
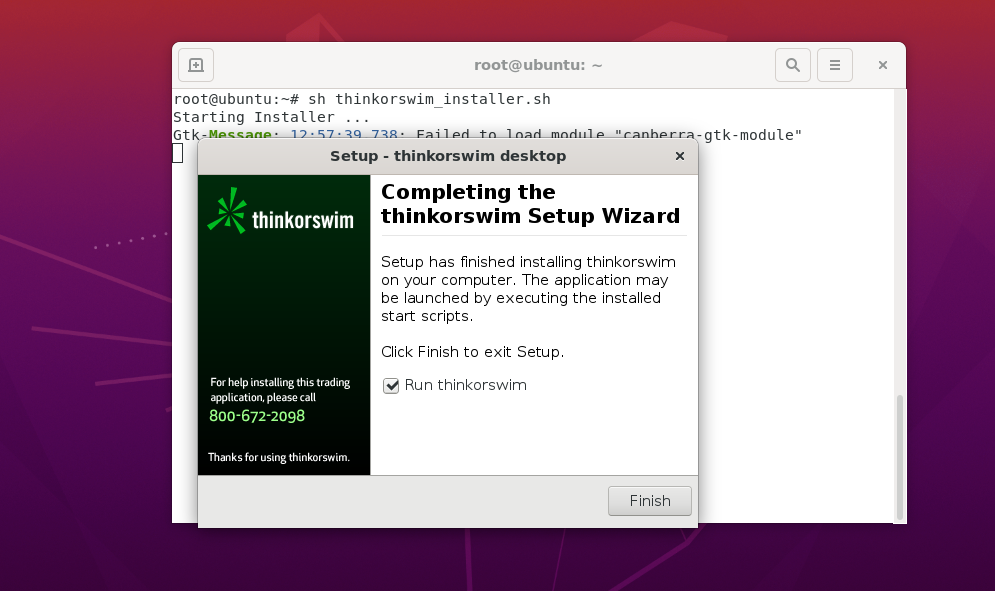
Tick “Create Desktop icon” and click on the Next button. Once the installation has been finished, you should see the following screen:Advertisement
Click on the Finish button to complete the installation and launch the ThinkorSwim application. You should see the ThinkorSwim login screen:
Provide your ThinkorSwim account credential and click on the Log in button to access the ThinkorSwim dashboard.
Conclusion
Congratulations! you have successfully installed ThinkorSwim on Ubuntu 20.04 desktop. You can now start Trading using the ThinkorSwim dashboard.


