
Bolt is a lightweight content management system (CMS) built on the popular PHP framework. Bolt is perfect for a small business that wants to maintain its own website without worrying about having to learn HTML and other programming languages. Bolt features advanced features such as robust wiki markups, e-commerce, a photo gallery and album builder, audio gallery and player, and guestbooks.
Boltwire stands out for being completely free of charge for individuals and groups of all sizes who have a need for a CMS. Joe Casabona is the creator of Boltwire and he shares his passion by helping others get the most out of his open-source project. Bolt is used in over 200 countries to manage over 500,000 websites. Its developers are volunteers and expect that all users take part in the project by offering feedback and contributing to its development.
Bolt has some unique features:
- Dynamic page generation: A page can be assembled based on data found when fetching it from the database. For example, when a user posts a new entry in an online journal, other entries of his blog can be added dynamically without having to refresh the entire web page. This allows for faster load times, especially with large amounts of pages or media items per category (e.g. all photos in a photo gallery).
- Content Management and Administration: Multiple users can manage the content, to ensure that each user can only change certain parts of the pages. They can also be restricted on what they are allowed to see or edit. For example, most people aren’t allowed to post new articles or add comments freely; this is reserved for site administrators. Readers may still view any article without logging in first unless otherwise specified by the administrator.
- Ease of use: Bolt greatly reduces the amount of effort required to create web pages compared to other CMS such as Joomla and Drupal. The wizards built into Bolt automate much of its configuration process so you don’t have to worry about how things work under the hood.
- Easy extensibility: Because Bolt is open source, it’s easy to create new modules that will extend or add features to Bolt. New functions are often integrated into the core software, making them even easier to use. With about 40 extensions available on Modboom currently, you can easily extend any part of Bolt you want without having to venture too deeply into PHP programming.
- BoltWire comes in a number of languages: English (default), German, Italian, Japanese, Polish, Portuguese and Spanish. Besides standard BoltWire packages for the above languages, a full localization is also available in French (100%) and Dutch (more than 50%).
The disadvantage is that there is little support available apart from the help forums if you have any questions about how things work under the hood in your local language. In this respect, it’s your own responsibility to get things working as you would like. However, if you’re comfortable using a text editor and have the time to work on Bolt yourself, then there is nothing holding you back from creating a simple but professional-looking website in minutes.
In this guide, we will learn how to install BoltWire on Ubuntu 20.04 server.
Prerequisites
- A fresh server running Ubuntu 20.04.
- Full SSH root access or user with sudo privileges.
- A domain name is registered and pointing to your server.
Getting Started
First of all, log in to your Ubuntu with SSH.
ssh [email protected]_Address -p Port_number
root is the default user on Ubuntu, replace ‘root’ with the name of your own user, if you use another.
IP_Address is the address of your server. You can check this using
hostname -I on the command line. Port_number must be 22 for SSH.
hostname -I
the ‘-p’ tells ssh to use the specified port. If you don’t specify a port number, 22 is used .
If you’re behind a firewall, port 22 might be blocked. In that case, change Port_number to something else like 2222.
Updating your System
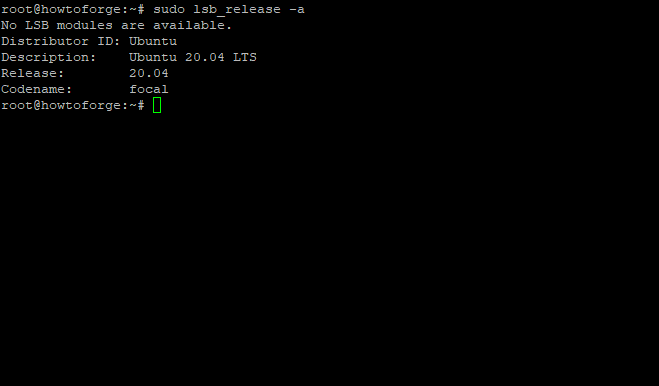
You can check if your system has the proper Ubuntu version installed with the following command:
sudo lsb_release -a
Sample output:
It is always advisable to update the system before installing packages.
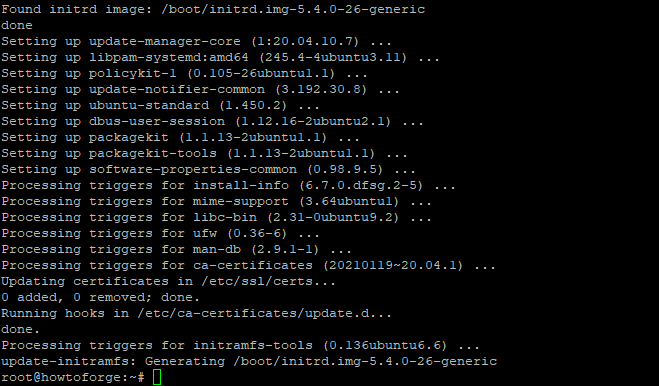
sudo apt-get update && apt-get upgrade -y
-y is a command, which will automatically answer ‘Yes’ to all questions during the update process. apt-get update updates the package lists, and apt-get upgrade upgrades your system.
Sample output:
The update may take some time depending on how many packages have to be downloaded and installed. Once the update has been completed, you will be prompted to reboot your server. Running the command below to reboot your system after updates:
sudo reboot
Installing required packages
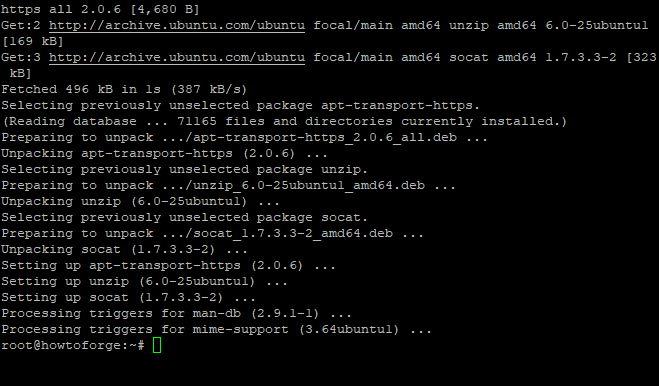
The installation of Bolt requires a number of packages to be installed on your system. Some of the packages are installed in a specific order. In this case, we will install all the package required for Bolt installation with the command below:
sudo apt install -y curl wget vim git unzip socat bash-completion apt-transport-https
socat is for proxying, which makes Bolt appear to be running on the webserver.
apt-transport-https allows command-line operations like sudo apt update to work with https connections. bash-completion is a program to enable bash to autocomplete commands after typing the first few characters.
curl is used for downloading packages and wget is used to download files like the latest version of Bolt from its website.
Sample output: Advertisement
Installing Nginx
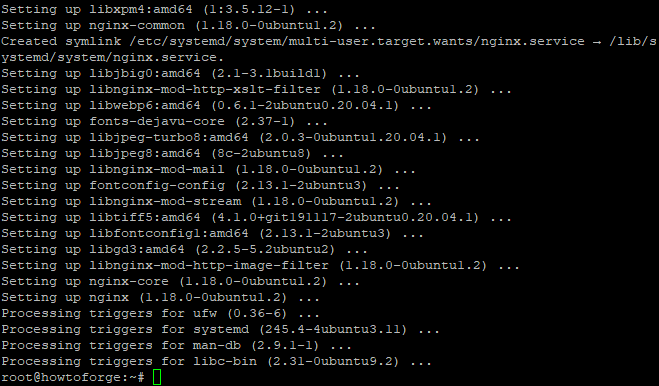
Nginx is used as a reverse proxy for managing your websites in Bolt. Nginx is lightweight, easy to configure and fast. Running the command below to Install Nginx
sudo apt-get install nginx
Type ‘y’ if prompted, the install process will start automatically.
Sample output:
Once the installation is completed, start nginx service and enable it to run on system startup
sudo systemctl start nginx
sudo systemctl enable nginx
To check and verify whether Nginx is currently running or not, use this command in terminal.
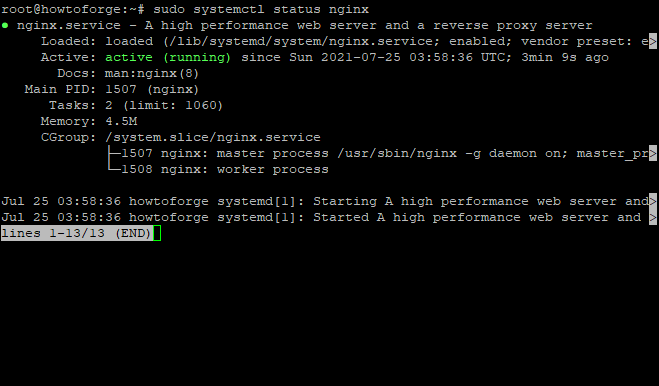
sudo systemctl status nginx
Sample output:
Configuring Nginx
BoltWire CMS is installed onto the /var/www/ directory. To access & test BoltWire CMS, we have to configure Nginx server block to route requests to the webroot folder path /var/www/automatically for all static content requests as well as modules and plugins file requests.Advertisement
Run the following commands to create a new configuration file called bolt.conf
sudo nano /etc/nginx/sites-available/bolt.conf
Populate the configuration file with the following content:
server {
  listen 80;
  listen [::]:80;
  root /var/www/bolt;
  index index.php index.html index.htm;
  server_name bolt.example.com;  location / {
    try_files      $uri $uri/ /index.php?$query_string;
  }   location ~ [^/].php(/|$) {
    try_files      /index.php =404;
    fastcgi_split_path_info ^(. .php)(/. )$;
    fastcgi_index      index.php;
    fastcgi_pass       unix:/var/run/php/php7.2-fpm.sock;
    include         fastcgi_params;
    fastcgi_param  PATH_INFO    $fastcgi_path_info;
    fastcgi_param SCRIPT_FILENAME $document_root$fastcgi_script_name;
  }  location = /bolt {
  try_files        $uri /index.php?$query_string;
 }  location ^~ /bolt/ {
  try_files         $uri /index.php?$query_string;
 } }
The Nginx server block that we just created uses the default document root which is set to /var/www/ directory. If you are running BoltWire CMS in a different server environment, edit the conf file and replace the path of document root accordingly.
The server_name directive configures the URL that your Nginx web server will listen to. Replace bolt.example.com with your actual server domain name or IP address.
try_files $uri $uri/ /index.php?$query_string; This directive allows you to handle file path requests directly if found. For example, if a user tries to access the home page of BoltWire CMS from the browser, /index.php will be used as index file if exist else it will fall back to PHP-FPM return 404 Not Found response.
After making changes and saving them to the bolt.conf file, reload Nginx and restart it for the new configuration to take effect.
sudo systemctl reload nginx
sudo systemctl restart nginx
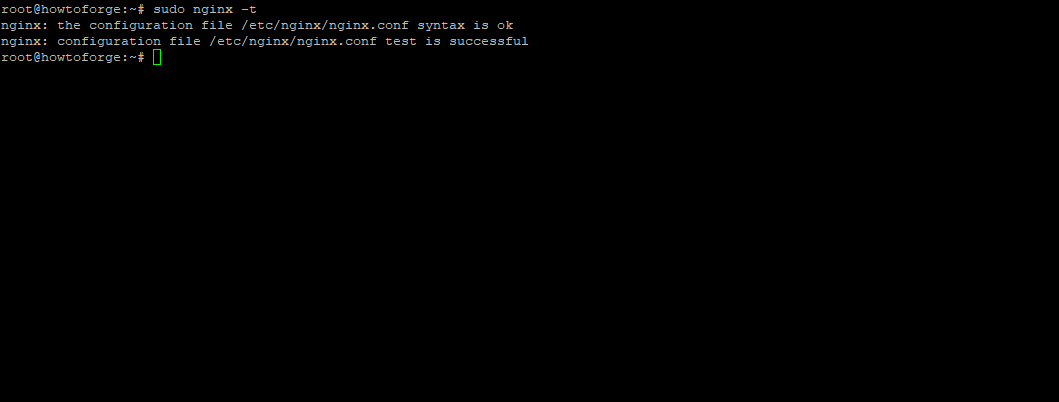
Check nginx configiration by running the following commands:
sudo nginx -t
Sample output:
Installing MySQL
BoltWire CMS requires a minimum of version 4.2 of the MySQL server, but BoltWire CMS does not work with 5.x .
So you have several options: Use a remote database server such as Microsoft SQL Server Implement MySQL on all of the web server machines (not recommended) Upgrade your version of MySQL. The first options are fairly straightforward, but the type of upgrade is complex.
For those who uses a LAMP stack (Linux, Apache, MySQL and PHP), they don’t have to install MySQL separately because Ubuntu already includes MySQL server in it’s repository.
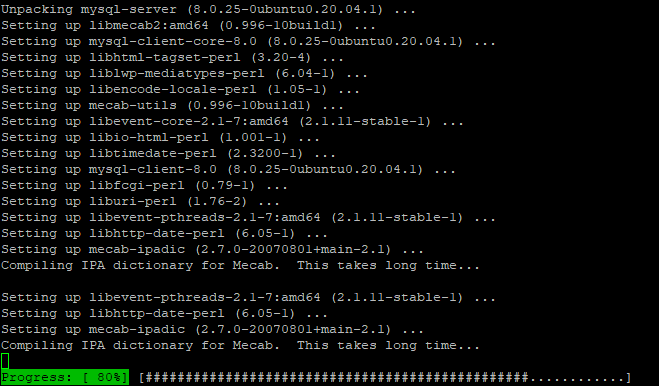
Running the command below to install MySQL:
sudo apt -y install mysql-server
Sample output:
Once the installation is completed, running the command below to start MySQL daemon (MySQL server) for this session and enable it to run on system startup:
sudo systemctl start mysql
sudo systemctl enable mysql
Creating a Database
We will use the command line to create a database called bolt.
Connect to mysql to create a database by running the command below:
sudo mysql -u root -p
Enter root password for mysql. Now you are logged into the mysql console. To create a database and database user, run the command below:
CREATE DATABASE bolt;
CREATE USER 'bolt'@'localhost' IDENTIFIED BY 'mypassword';
GRANT ALL ON bolt.* TO 'bolt'@'localhost';
FLUSH PRIVILEGES;
exit
CREATE USER ‘bolt’@’localhost’ IDENTIFIED BY ‘mypassword’ will create a user ‘bolt’ whose password is ‘mypassword’. Use a secure password instead of the word ‘mypassword’ here! Flush privileges will reload the grant privilege table created above.
Installing PHP
BoltWire CMS requires PHP version 7 or higher and it’s development headers. We’ll add ppa:ondrej/php PPA with required PHP version(7.2), you can change this to your needed PHP version on your own. We’ll run the following commands to add the ppa and update apt-get
sudo apt -y install software-properties-common
sudo add-apt-repository ppa:ondrej/php
sudo apt-get update
Running the below command to install PHP 7.2:
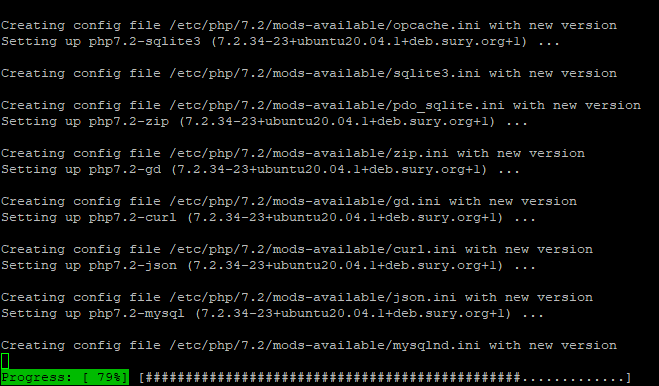
sudo apt install -y php7.2 php7.2-cli php7.2-fpm php7.2-common php7.2-mbstring php7.2-zip php7.2-pgsql php7.2-sqlite3 php7.2-curl php7.2-gd php7.2-mysql php7.2-intl php7.2-json php7.2-opcache php7.2-xml
php7.2-cli is the command line interface for PHP7.2 and with php7.2-common will install php7.2-extensions, the web server (PHP) module, and standard CLI extensions. With php7.2 -fpm will install FastCGI Process Manager, a common way to run PHP applications from your web server. php7.2-mbstring will install multibyte string functions which is required for BoltWire CMS. php7.2-opcache will install opcode cache for PHP7.2, which provides better performance and reduces the load on your web server by caching the compiled-in scripts. php7.2-xml will install XML processing extensions for PHP7.2, required to use BoltWire CMS.
Sample output:
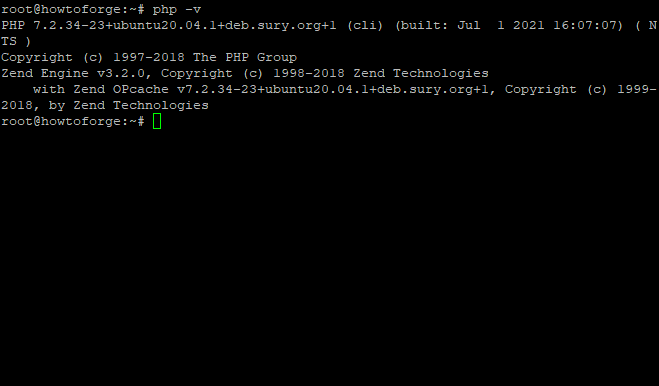
After installing PHP 7.2, run the commands below to check your PHP7.2 version:
php -v
Sample output:
Next, open the PHP default configuration file for Nginx using nano text editor:
sudo nano /etc/php/7.2/fpm/php.ini
Now we are going to make the changes on the following lines:
file_uploads = On
allow_url_fopen = On
memory_limit = 256M
upload_max_filesize = 100M
max_execution_time = 360
date.timezone = America/St. Louis
- file_uploads = On enables file uploads feature to BoltWire CMS.
- allow_url_fopen = On allows direct URLs or HTTP redirect on requests with uploaded files from the remote web server.
- memory_limit = 256M is the PHP 7.2 memory limit in MB to set for Nginx worker processes, run a PHP script with high memory consumption may cause a php run-time error.
- upload_max_filesize = 100M is the maximum size for a single upload file to the BoltWire CMS site, if you want to enable upload unlimited size file, please change this value to 0.
- max_execution_time = 360 is the max execution time in secs for PHP script to run, if a script exceeds this value it will be terminated.
- date.timezone = America/St. Louis, the time zone of your location to display customer date and time values correctly in BoltWire CMS system.
Restart php7.2-fpm to take the changes above into effect:
sudo service php7.2-fpm restart
This should be enough for the required PHP7.2 and related packages, let’s move to the next step.
Installing Composer
BoltWire CMS requires Composer to add their required external libraries into the website, so we need to install it first before continuing this tutorial. Composer is a package manager for PHP that manages dependencies of PHP projects. It is similar to NodeJS’s npm or ruby gems.
First, we move to the home directory and download the installer:
sudo curl -sS https://getcomposer.org/installer -o composer-setup.php
The command below will install Composer:
sudo php composer-setup.php --install-dir=/usr/local/bin --filename=composer
The above will download and install Composer as a system-wide binary in /usr/local/bin directory.
You may choose to configure Composer for just your user by replacing the /usr/local/bin part of the command with ~/user_
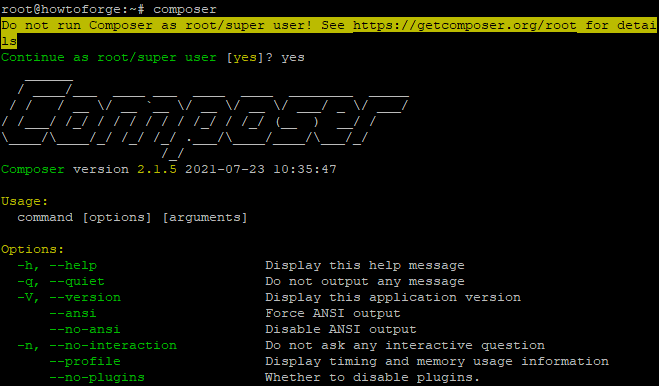
After the installation is done, you can run the command below to test if the installation is successful.
composer
Sample output:
Installing Bolt
Now all the required packages have been installed, we can now go-ahead to install Bolt.
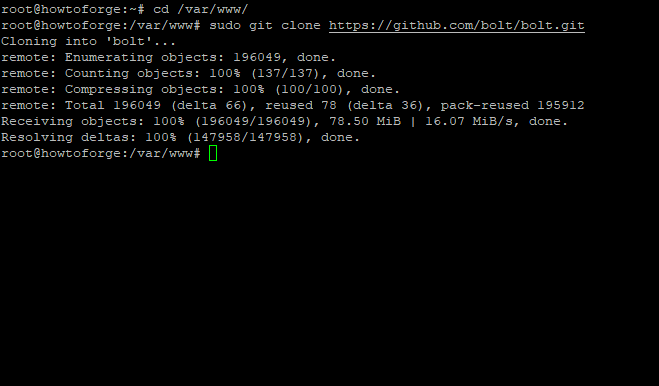
First, we move into /var/www/ directory and download the latest version of Bolt CMS from GitHub with the command below:
cd /var/www/
sudo git clone https://github.com/bolt/bolt.git
Sample output:
Once downloaded, you should see a directory named bolt with a single file named “composer.json”, which is the composer configuration file for Bolt CMS.
Now we move into bolt directory and install Bolt from there:
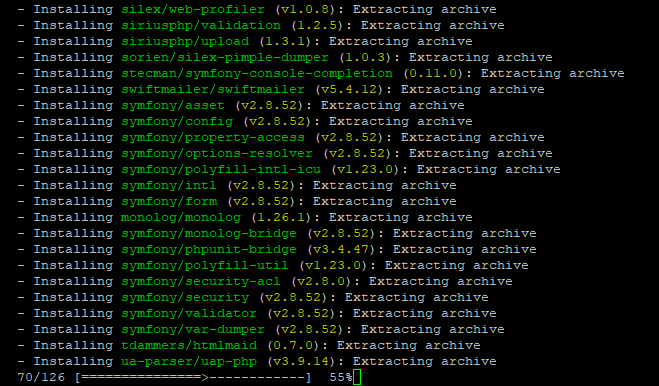
cd bolt
sudo composer install
This command will install all the required Bolt source files and dependencies in /var/www/bolt using the Composer package manager.
Sample output:
The next step is to run the following command to set Bolt working directory:
sudo chown -R www-data:www-data /var/www/bolt
sudo chmod -R 755 /var/www/bolt
The above command will change the ownership of Bolt files to Nginx user www-data, so it can read and write the file when Bolt URL is accessed.
The next step is to configure bolt configuration file:
sudo cp app/config/config.yml.dist app/config/config.yml
Accessing BoltWire CMS
Now we should be able to access BoltWire CMS by using the following URL from a browser on Linux or Windows computer:
http://localhost:8000/bolt or http://bolt.example.com/bolt
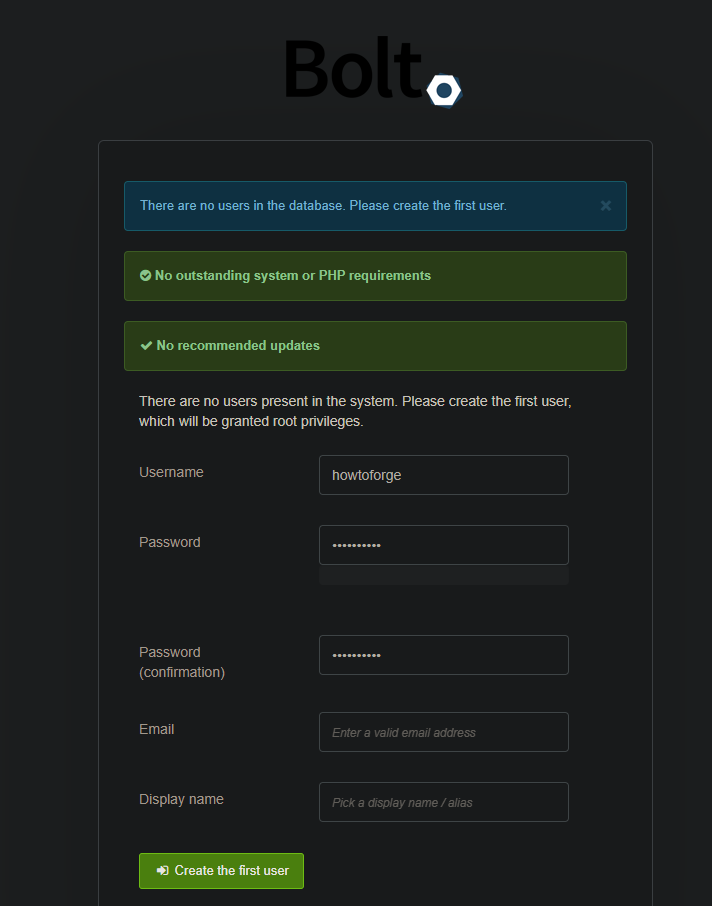
You should get a default BoltWire CMS landing page like the one below:
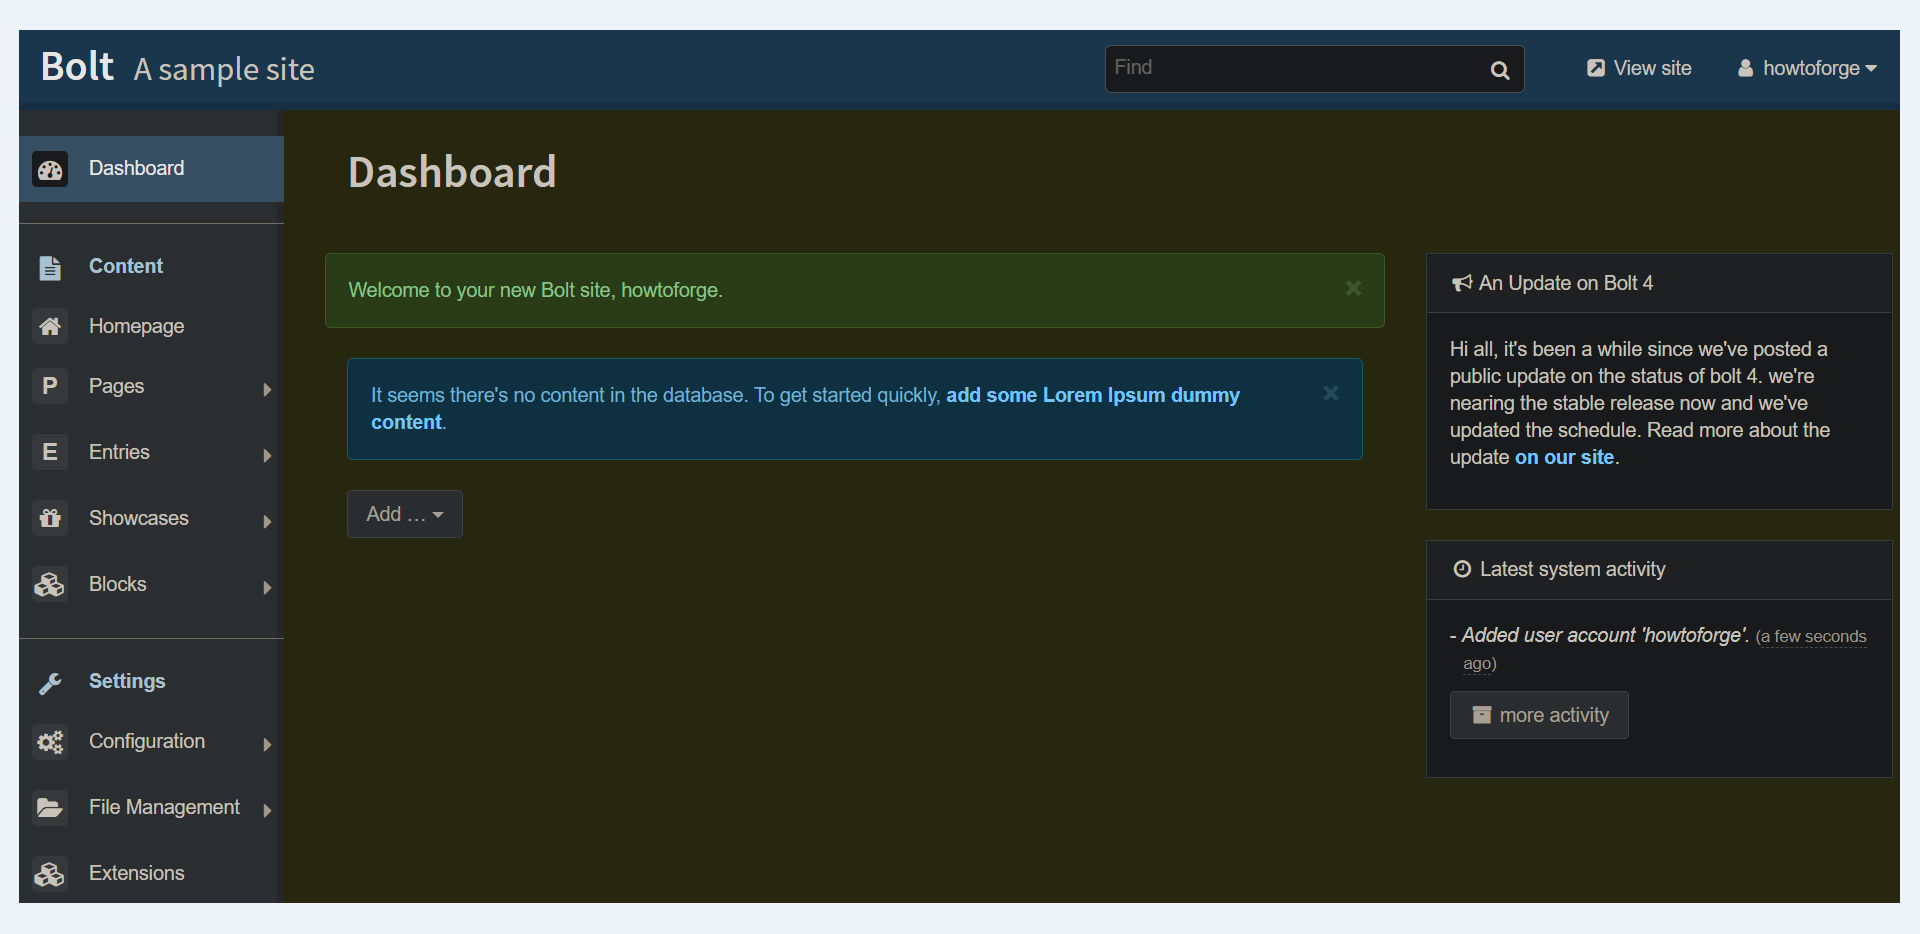
Fill all the required information in this form you can access your BoltWire dasboard like the one below:
Now we have successfully configured a Linux server for Bolt Wire CMS.
If you are facing issue when you try to access your newly installed BoltWire CMS. Here is a list of the common errors and their possible solutions:
- “Access Denied – error“. This means that BoltWire CMS is running but you can not access its pages from the browser, try to check your Nginx configuration directory.
- “Cannot load dynamic library ‘/var/www/BoltWire/vendor/php72-zip/libphp7. 2.so” or “Error Executing The Script”. This means that BoltWire CMS directory does not have the required permissions to execute and run PHP file.
- “Error initializing … No such file or directory“. This means that BoltWire CMS is not installed properly. You need to check if you have followed the right procedure for the installation of BoltWire CMS.
- “Permission Denied“. This means that you don’t have proper access to the /var/www/bolt or /var/www directory.
- “Fatal error: Class ‘PDO’ not found in…“. This means that PHP is unable to connect to the database, and you might need to check your PHP configuration.
- “Looking for … ” or “Warning: Invalid argument supplied for foreach()…”. This means that the BoltWire CMS is unable to find what you gave it. Usually this is caused by the ignorance of the blog name and slug or path in your configuration.
- “Unable to create directory … Undefined index: viewed data“. This means that the BoltWire CMS can not create its directory in your Nginx server and you may need to check the PHP configuration.
- “Parse error: syntax error, unexpected ‘=’ in … at …“. This means that the BoltWire CMS can not run its file or it can not read one of your files. This may happen when you have used incorrect syntax in your configuration.
- “404 not found nginx/1.14.0 (ubuntu)” Add an ‘A’ record for bolt.example.com towards your server should help.
- “404 Not Found” or “The requested URL … was not found on this server“. This means that BoltWire CMS could not find its files. You may need to check your BoltWire configuration and make sure you have specified the correct path in it.
BoltWire is installed but there are no pages or the BoltWire login page is showing up if BoltWire CMS is installed, then Bolt will look for a default BoltWire template at /var/www/bolt/_templates folder inside Bolt’s installation directory and if it does not find any file there, Bolt will use an index.php file in Bolt’s installation directory as a home page. If that doesn’t work either then something else might be wrong with your PHP configuration or Nginx configuration.
Conclusion
BoltWire CMS is a great piece of software for running a blog or personal website. You can learn more about Bolt CMS from BoltWire CMS official site.
Hopefully this article will help you learn how to install BoltWire on Ubuntu 20.04 server. If you like this article then please share it with your friends on twitter or facebook. If you have any questions then please feel free to leave a comment below.


 on Ubuntu 24.04")