
WebVirtCloud is a web-based management tool for KVM virtualization. It allows administrators and users to create, manage and delete Virtual Machines running on KVM hypervisor from a web interface. It is built on Django and supports user-based authorization and authentication. With WebVirtCloud, you can manage multiple QEMU/KVM Hypervisors, Manage Hypervisor networks and Manage datastore pools from a single installation.
In this tutorial, I will show you how to install the WebVirtCloud KVM Management tool on Ubuntu 20.04.
Prerequisites
- A server running Ubuntu 20.04.
- A root password is configured on the server.
Getting Started
First, update the system packages to the updated version by running the following command:
apt-get update -y
Once all the packages are updated, you can proceed to the next step.
Verify Virtualization Support
Before starting, you will need to verify whether your operating system supports hardware virtualization or not.
Run the following command to verify it.
grep -E -c "vmx|svm" /proc/cpuinfo
If the output is above 0 then your operating system support hardware virtualization.
2
Next, you will also need to check whether your system is capable of running KVM virtual machines.
To do so, install the cpu-checker with the following command:
apt-get install cpu-checker -y
Once installed, run the following command to verify:
kvm-ok
You should see the following output:
INFO: /dev/kvm exists
KVM acceleration can be used
Once you are finished, you can proceed to the next step.
Install KVM Hypervisor
Next, you will need to install KVM on your server. You can install KVM with all required tools using the following command:
apt-get install qemu qemu-kvm libvirt-daemon bridge-utils virt-manager virtinst -y
After the installation, you will need to verify whether the KVM module has been loaded or not. You can verify it with the following command:
lsmod | grep -i kvm
You should see the following output:
kvm_intel             286720  0
kvm                   663552  1 kvm_intel
Next, check the status of the libvirtd service with the following command:
systemctl status libvirtd
You should see the following output:
? libvirtd.service - Virtualization daemon
     Loaded: loaded (/lib/systemd/system/libvirtd.service; enabled; vendor preset: enabled)
     Active: active (running) since Sun 2021-08-01 04:57:14 UTC; 1min 3s ago
TriggeredBy: ? libvirtd-admin.socket
             ? libvirtd-ro.socket
             ? libvirtd.socket
       Docs: man:libvirtd(8)
             https://libvirt.org
   Main PID: 5236 (libvirtd)
      Tasks: 19 (limit: 32768)
     Memory: 16.2M
     CGroup: /system.slice/libvirtd.service
             ??5236 /usr/sbin/libvirtd
             ??5385 /usr/sbin/dnsmasq --conf-file=/var/lib/libvirt/dnsmasq/default.conf --leasefile-ro --dhcp-script=/usr/lib/libvirt/libvirt_>
             ??5386 /usr/sbin/dnsmasq --conf-file=/var/lib/libvirt/dnsmasq/default.conf --leasefile-ro --dhcp-script=/usr/lib/libvirt/libvirt_>

Aug 01 04:57:14 ubuntu2004 systemd[1]: Started Virtualization daemon.
Aug 01 04:57:15 ubuntu2004 dnsmasq[5385]: started, version 2.80 cachesize 150
Aug 01 04:57:15 ubuntu2004 dnsmasq[5385]: compile time options: IPv6 GNU-getopt DBus i18n IDN DHCP DHCPv6 no-Lua TFTP conntrack ipset auth net>
Aug 01 04:57:15 ubuntu2004 dnsmasq-dhcp[5385]: DHCP, IP range 192.168.122.2 -- 192.168.122.254, lease time 1h
Aug 01 04:57:15 ubuntu2004 dnsmasq-dhcp[5385]: DHCP, sockets bound exclusively to interface virbr0
Aug 01 04:57:15 ubuntu2004 dnsmasq[5385]: reading /etc/resolv.conf
Aug 01 04:57:15 ubuntu2004 dnsmasq[5385]: using nameserver 127.0.0.53#53
Aug 01 04:57:15 ubuntu2004 dnsmasq[5385]: read /etc/hosts - 5 addresses
Aug 01 04:57:15 ubuntu2004 dnsmasq[5385]: read /var/lib/libvirt/dnsmasq/default.addnhosts - 0 addresses
Aug 01 04:57:15 ubuntu2004 dnsmasq-dhcp[5385]: read /var/lib/libvirt/dnsmasq/default.hostsfile
Once you are done, you can proceed to the next step.
Install Nginx and Other Packages
Next, you will need to install the Nginx, Python, and other required packages to your server. You can install all of them with the following command:
apt-get install git virtualenv python3-virtualenv python3-dev python3-lxml libvirt-dev zlib1g-dev libxslt1-dev nginx supervisor libsasl2-modules gcc pkg-config python3-guestfs libsasl2-dev libldap2-dev libssl-dev -y
Once all the packages are installed, you can proceed to the next step.
Install and Configure WebVirtCloud
First, download the latest version of WebVirtCloud from the Git repository using the following command:
git clone https://github.com/retspen/webvirtcloud
Once the download is completed, change the directory to the webvirtcloud and copy the sample setting.py file:
cd webvirtcloud
cp webvirtcloud/settings.py.template webvirtcloud/settings.py
Next, generate a secrete key with the following command:
openssl rand -base64 32
You should get the following output:
mTHhsUm5adG8DABJaIvmRLpQjNbL1vdeIpBDi/jQCV0=
Next, edit the settings.py file and define your secrete key:Advertisement
nano webvirtcloud/settings.py
Change the following line:
SECRET_KEY = "mTHhsUm5adG8DABJaIvmRLpQjNbL1vdeIpBDi/jQCV0="
Save and close the file then copy the WebVirtCloud configuration file to the Nginx and Supervisor directory:
cp conf/supervisor/webvirtcloud.conf /etc/supervisor/conf.d
cp conf/nginx/webvirtcloud.conf /etc/nginx/conf.d
Next, go back to your home directory and move the webvirtcloud directory ot the /srv directory:
cd ..
mv webvirtcloud /srv/
Next, set proper ownership to the webvirtcloud directory:
chown -R www-data:www-data /srv/webvirtcloud/
Next, change the directory to webvirtcloud and create a virtual environment:
cd /srv/webvirtcloud/
virtualenv -p python3 venv
Next, activate the virtual environment with the following command:
source venv/bin/activate
Next, install the required Python dependencies with the following command:
pip install -r conf/requirements.txt
You should see the following output:
Successfully built libvirt-python qrcode rwlock websockify
Installing collected packages: sqlparse, pytz, asgiref, Django, soupsieve, beautifulsoup4, django-bootstrap5, django-icons, django-login-required-middleware, django-otp, segno, django-qr-code, gunicorn, six, libsass, libvirt-python, lxml, qrcode, rwlock, numpy, websockify, zipp, pyasn1, ldap3
Successfully installed Django-3.2.5 asgiref-3.4.1 beautifulsoup4-4.9.3 django-bootstrap5-2.0.1 django-icons-4.0.0 django-login-required-middleware-0.6.1 django-otp-1.0.6 django-qr-code-2.2.0 gunicorn-20.1.0 ldap3-2.9 libsass-0.21.0 libvirt-python-7.4.0 lxml-4.6.3 numpy-1.21.1 pyasn1-0.4.8 pytz-2021.1 qrcode-7.0 rwlock-0.0.7 segno-1.3.3 six-1.16.0 soupsieve-2.2.1 sqlparse-0.4.1 websockify-0.9.0 zipp-3.4.1
Next, run the migrate command to generate all tables:
python3 manage.py migrate
You should see the following output:
  Applying otp_totp.0001_initial... OK
  Applying otp_totp.0002_auto_20190420_0723... OK
  Applying sessions.0001_initial... OK
* Creating default admin user
! SHOW_PROFILE_EDIT_PASSWORD is found inside settings.py
* Applying permission can_change_password for all users
! Warning!!! Setting to True for all users
! Don`t forget to remove the option from settings.py
* Migrating can_clone_instaces user attribute to permission
* Applying permission passwordless_console for all users
Next, deactivate from the Python virtual environment with the following command:
deactivate
Next, set proper ownership to the webvirtcloud directory with the following command:
chown -R www-data:www-data /srv/webvirtcloud/
Next, remove the Nginx default virtual host configuration file:
rm /etc/nginx/sites-enabled/default
Next, restart the Nginx and Supervisor service to apply the changes:
systemctl restart nginx
systemctl restart supervisor
You can now verify the status of the Nginx with the following command:
systemctl status nginx
You should see the following output:
? nginx.service - A high performance web server and a reverse proxy server
     Loaded: loaded (/lib/systemd/system/nginx.service; enabled; vendor preset: enabled)
     Active: active (running) since Sun 2021-08-01 10:35:57 UTC; 12s ago
       Docs: man:nginx(8)
    Process: 29055 ExecStartPre=/usr/sbin/nginx -t -q -g daemon on; master_process on; (code=exited, status=0/SUCCESS)
    Process: 29068 ExecStart=/usr/sbin/nginx -g daemon on; master_process on; (code=exited, status=0/SUCCESS)
   Main PID: 29076 (nginx)
      Tasks: 3 (limit: 4691)
     Memory: 3.4M
     CGroup: /system.slice/nginx.service
             ??29076 nginx: master process /usr/sbin/nginx -g daemon on; master_process on;
             ??29077 nginx: worker process
             ??29078 nginx: worker process

Aug 01 10:35:57 ubuntu2004 systemd[1]: Starting A high performance web server and a reverse proxy server...
Aug 01 10:35:57 ubuntu2004 systemd[1]: Started A high performance web server and a reverse proxy server.
Setup KVM and Libvirt
Next, run the following script to setup KVM and Libvirt:
wget -O - https://bit.ly/36baWUu | sh
You should see the following output:
Length: 151 [text/plain]
Saving to: ‘/etc/supervisor/conf.d/gstfsd.conf’

/etc/supervisor/conf.d/gstfsd.conf  100%[==================================================================>]     151  --.-KB/s    in 0s

2021-08-01 10:36:51 (5.50 MB/s) - ‘/etc/supervisor/conf.d/gstfsd.conf’ saved [151/151]

 *  INFO: Found function daemons_running_ubuntu
 * DEBUG: DAEMONS_RUNNING_FUNC=daemons_running_ubuntu
 *  INFO: Running daemons_running_ubuntu()
Finally, add a KVM user to the www-data group with the following command:
adduser www-data kvm
Access WebVirtCloud
At this point, WebVirtCloud is installed and configured. It’s time to access the WebVirtCloud web interface.
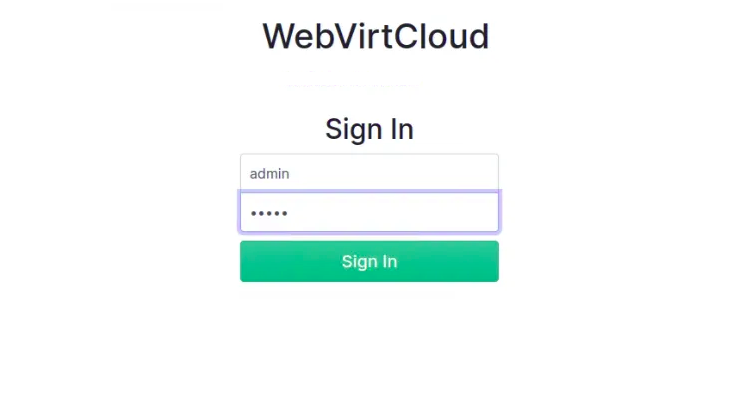
Open your web browser and type the URL http://your-server-ip. You will be redirected to the WebVirtCloud login page:
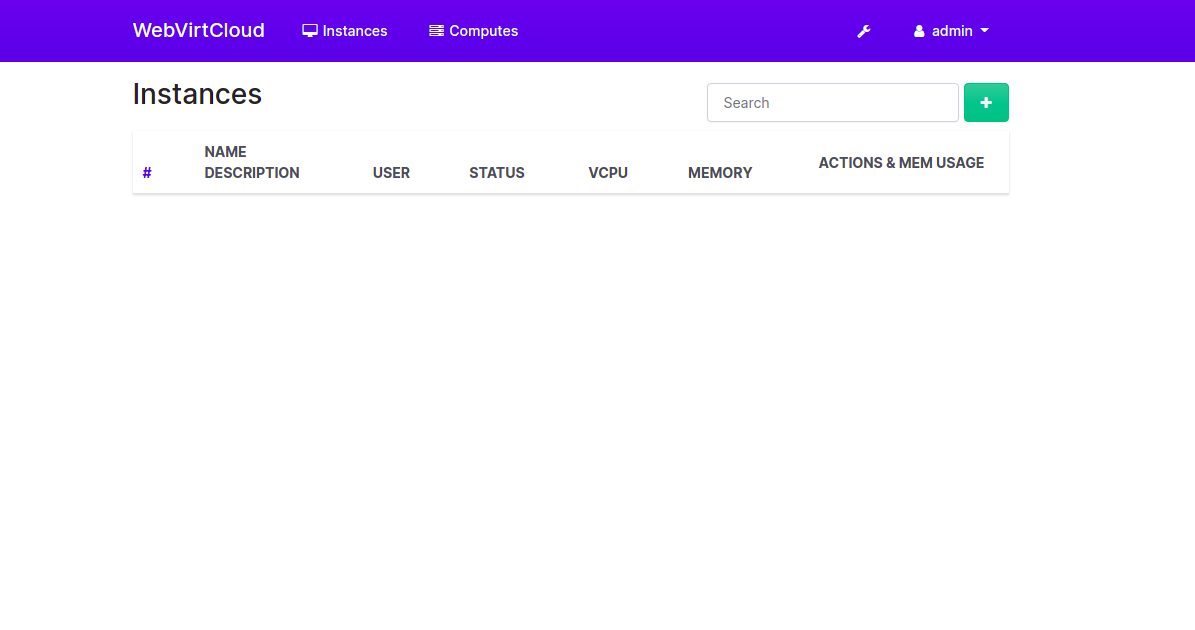
Provide default username and password as admin/admin and click on the Sign In button. You should see the WebVirtCloud dashboard on the following page:
Conclusion
Congratulations! you have successfully installed WebVirtCloud on Ubuntu 20.04 server. You can now create and manage your virtual machines from the web-based interface. Feel free to ask me if you have any questions.


