
phpMyAdmin is used to manage MySQL/MariaDB databases graphically from the web browser. phpMyAdmin 5 is the latest version of phpMyAdmin at the time of this writing.
In this article, I am going to show you how to install phpMyAdmin 5 on CentOS 8. So, let’s get started.
Installing PHP, Apache, MySQL/MariaDB:
phpMyAdmin is written on PHP programming language. So, you must have a working LAMP server in order to run phpMyAdmin.
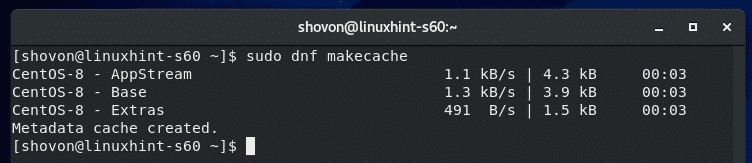
First, update the CentOS 8 package repository cache with the following command:
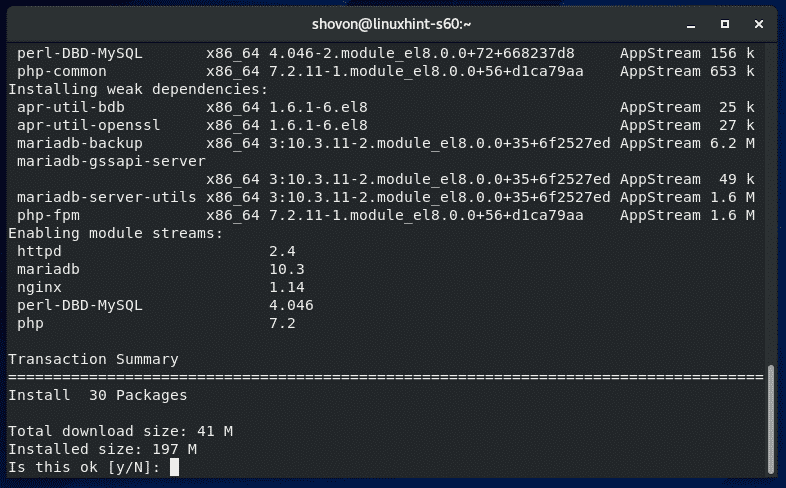
Now, install all the required packages (for Apache, PHP, MySQL/MariaDB) with the following command:
$ sudo dnf install mariadb mariadb-server httpd httpd-tools php php-cli php-json
php-gd php-mbstring php-pdo php-xml php-mysqlnd
Press Y and then press
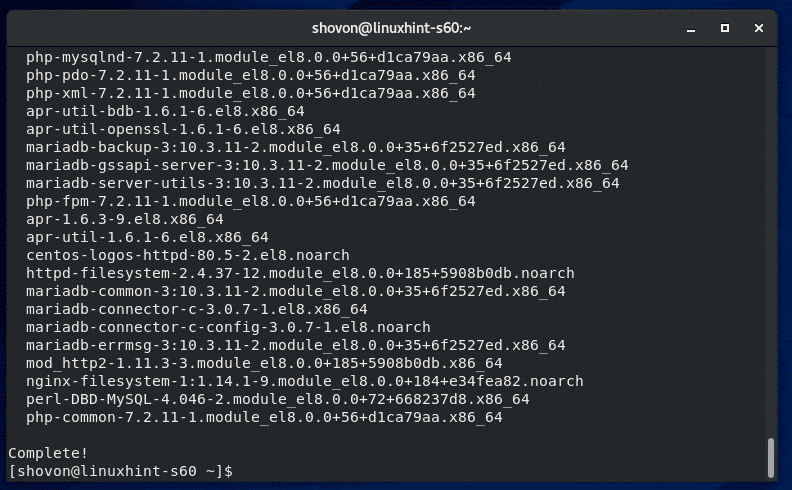
All the required packages should be installed.
Now, start the Apache web server with the following command:
$ sudo systemctl start httpd
Now, add Apache web server service to the system startup with the following command:
$ sudo systemctl enable httpd
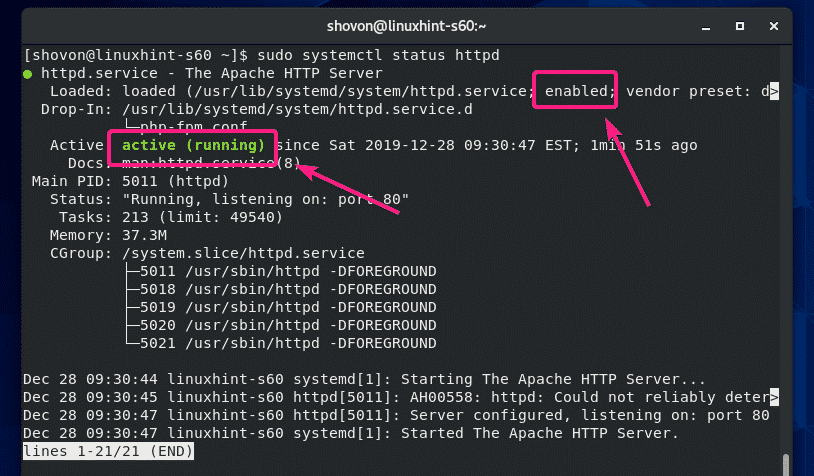
Now, check the status of the Apache web server service as follows:
$ sudo systemctl status httpd
It’s running correctly.
Now, start the MariaDB database server with the following command:
$ sudo systemctl start mariadb
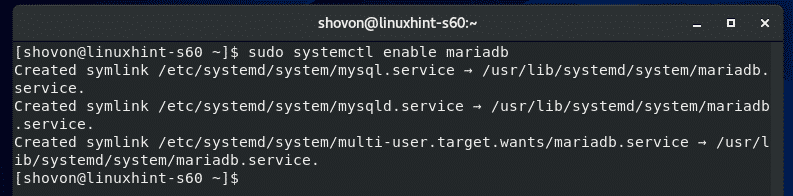
Now, add MariaDB database server service to the system startup with the following command:
$ sudo systemctl enable mariadb
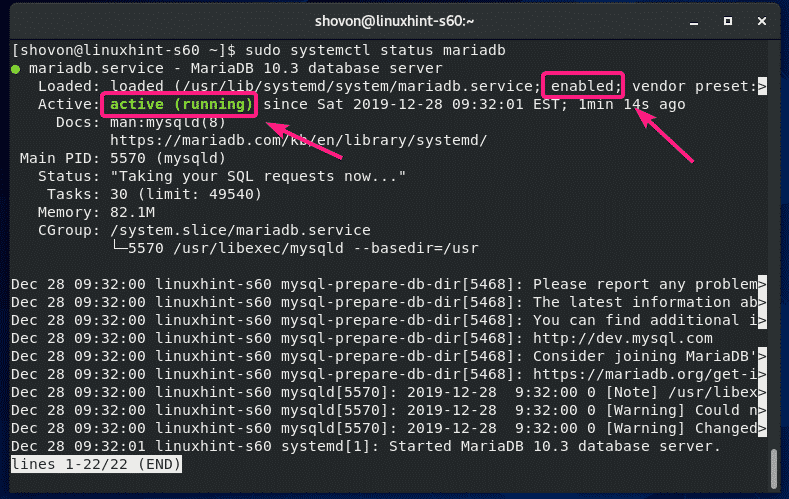
Now, check the status of the MariaDB database server service as follows:
$ sudo systemctl status mariadb
It’s running correctly.
Setting Up a MySQL/MariaDB Account for phpMyAdmin:
Now, you have to create a MySQL/MariaDB user account for phpMyAdmin.
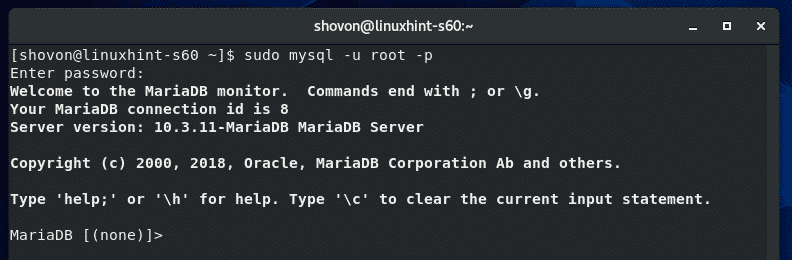
First, login to your MySQL/MariaDB database shell as root with the following command:
Now, type in the MySQL/MariaDB root password and press
NOTE: For setting up a MySQL/MariaDB root password, run the following command and follow the wizard.
$ sudo mysql_secure_installation
You should be logged in to the MySQL/MariaDB console as root.
Now, create a new MySQL/MariaDB user phpmyadmin as follows:
Make sure to replace the
Now, for the changes to take effect, run the following SQL statement.
Finally, exit out of the MySQL/MariaDB shell as follows:
Downloading phpMyAdmin 5:
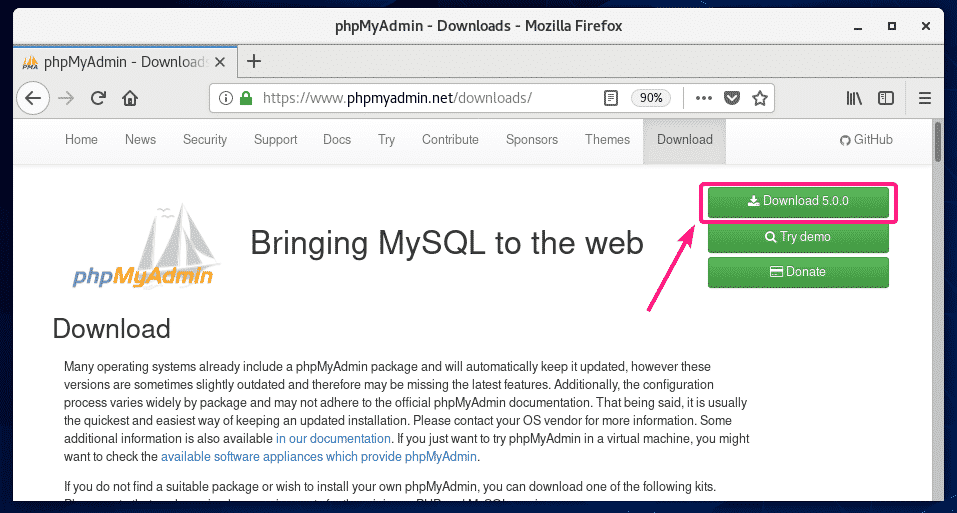
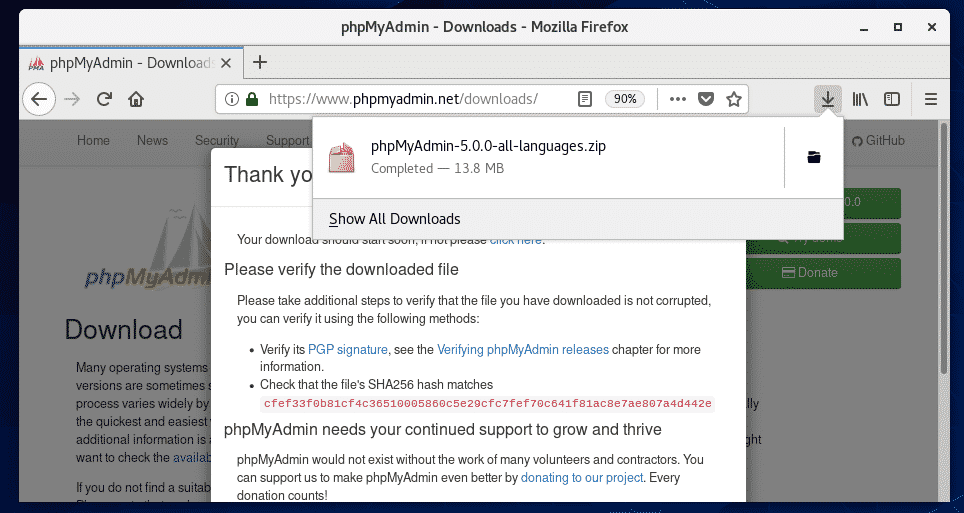
In order to download phpMyAdmin, visit the official phpMyAdmin Downloads Page from your favorite web browser and click on the Download button.
Your browser should prompt you to save the phpMyAdmin archive. Select Save File and click on OK.
phpMyAdmin archive should be downloaded.
Installing phpMyAdmin 5:
Once phpMyAdmin archive is downloaded, navigate to your ~/Downloads directory as follows:
You should be able to find the phpMyAdmin 5 archive phpMyAdmin-5.0.0-all-languages.zip here.
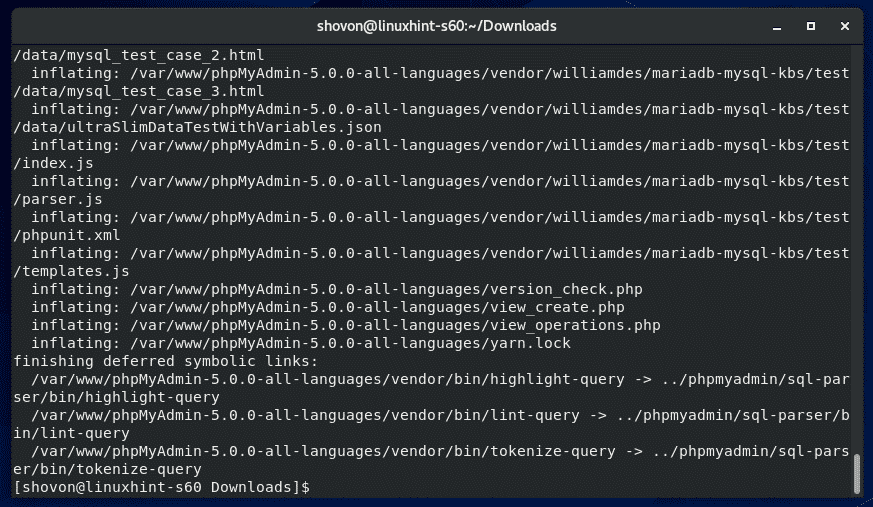
Now, extract the phpMyAdmin-5.0.0-all-languages.zip archive in the /var/www directory with the following command:
$ sudo unzip -d /var/www phpMyAdmin-5.0.0-all-languages.zip
The phpMyAdmin-5.0.0-all-languages.zip archive should be extracted to the /var/www directory.
A new directory phpMyAdmin-5.0.0-all-languages/ should be created in the /var/www directory. Remember the directory name as you will need it later.
Now, change the user and group of the /var/www/phpMyAdmin-5.0.0-all-languages directory and its contents to apache as follows:
$ sudo chown -Rf apache:apache /var/www/phpMyAdmin-5.0.0-all-languages
If you have SELinux enabled (which is very likely on CentOS 8/RHEL 8), run the following command to set the correct SELinux context to the /var/www/phpMyAdmin-5.0.0-all-languages directory and its contents.
$ sudo semanage fcontext -a -t httpd_sys_rw_content_t “/var/www/
phpMyAdmin-5.0.0-all-languages(/.*)?”
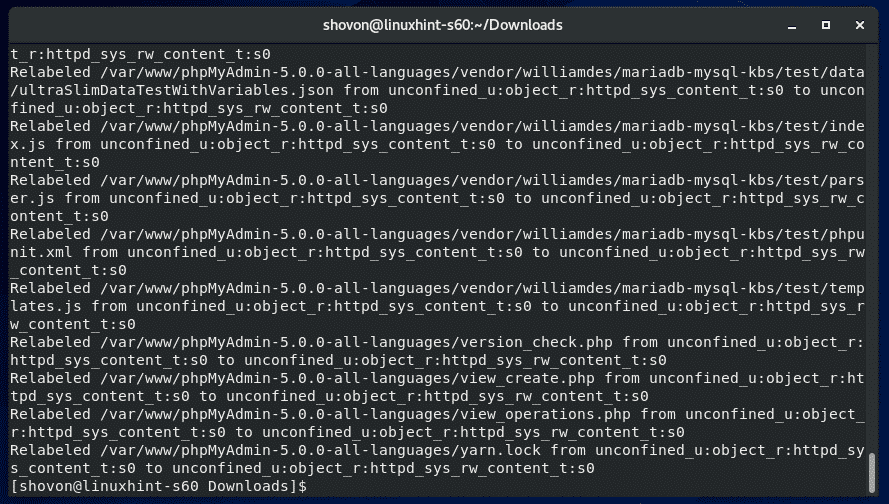
For the SELinux changes to take effect, run the following command:
$ sudo restorecon -Rv /var/www/phpMyAdmin-5.0.0-all-languages
The SELinux context should be applied to the /var/www/phpMyAdmin-5.0.0-all-languages directory and its contents.
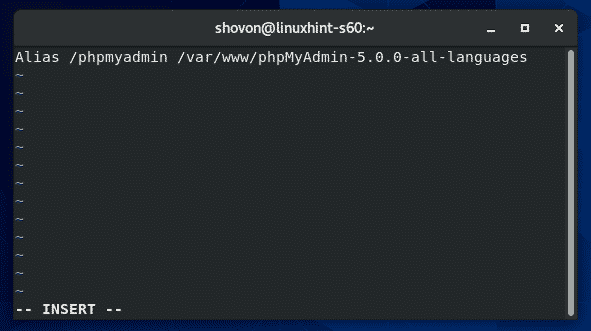
Now, create a new Apache configuration file for phpMyAdmin /etc/httpd/conf.d/phpmyadmin.conf with the following command:
$ sudo vi /etc/httpd/conf.d/phpmyadmin.conf
Now, add the following line to the file /etc/httpd/conf.d/phpmyadmin.conf
Alias /phpmyadmin /var/www/phpMyAdmin-5.0.0-all-languages
Now, restart the Apache web server service with the following command:
$ sudo systemctl restart httpd
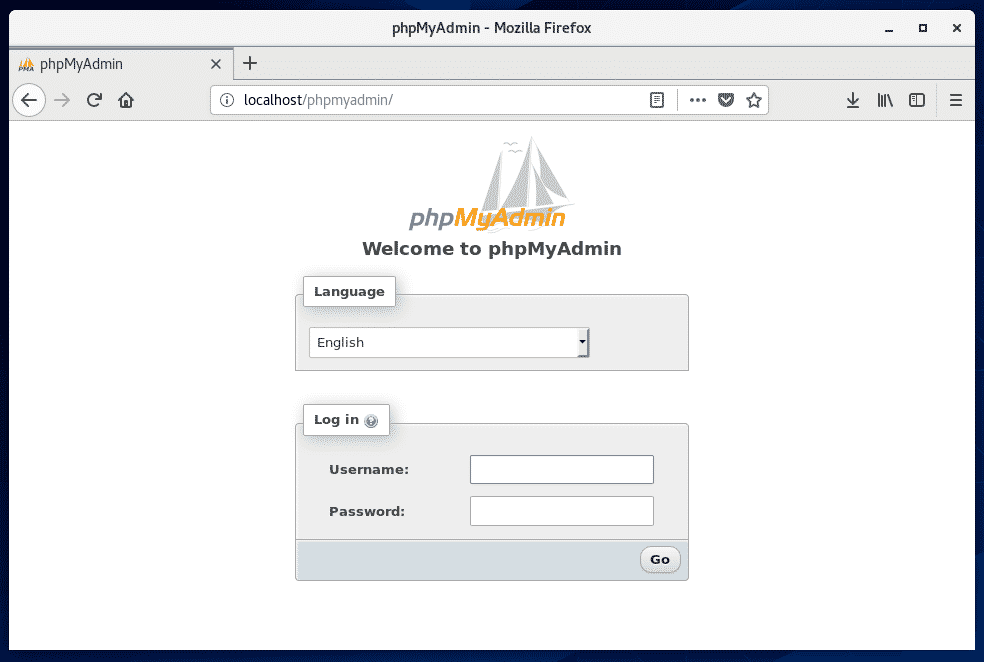
Now, visit http://localhost/phpmyadmin/ from your web browser and you should see the phpMyAdmin login page.
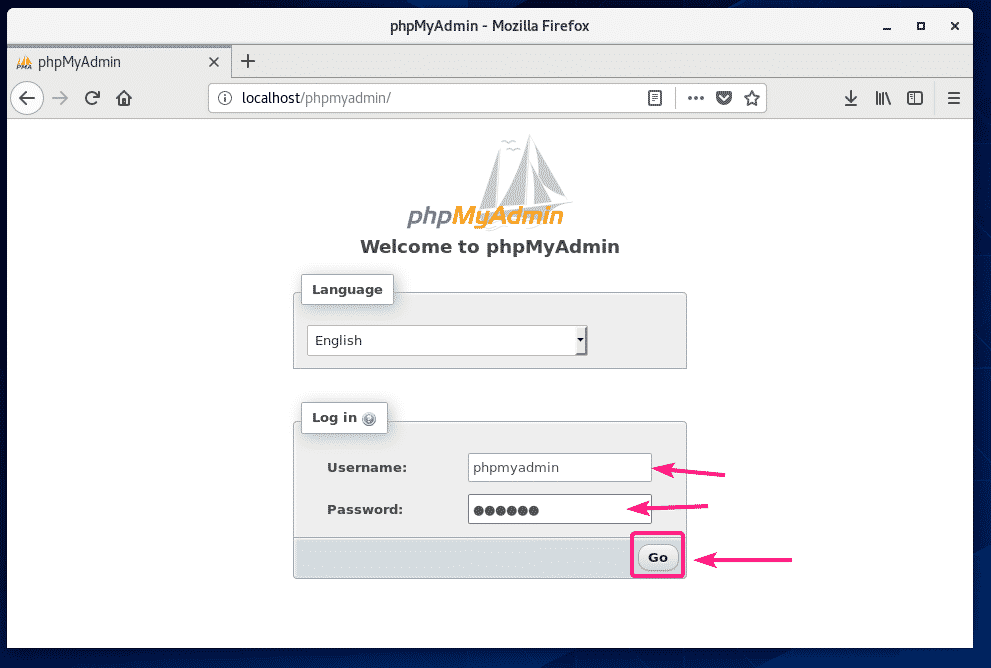
Type in the username phpmyadmin and the password and click on Go.
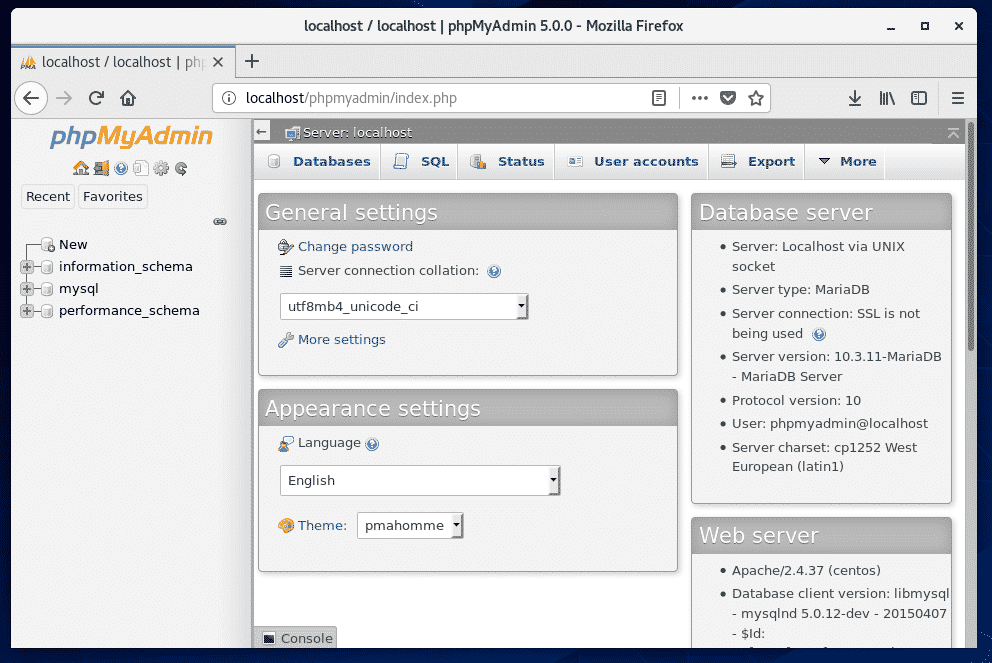
You should be logged in to phpMyAdmin. Now, you should be able to use phpMyAdmin to mange your MySQL/MariaDB database from your web browser.
Accessing phpMyAdmin 5 Remotely:
If you want to access phpMyAdmin remotely (from other computers on the network), then you will have to configure the CentOS 8 firewall to allow access to the port 80.
To allow access to the port 80, run the following command:
$ sudo firewall-cmd –add-service=http –permanent
For the changes to take effect, run the following command:
$ sudo firewall-cmd –reload
Now, find the IP address of your CentOS 8 machine with the following command:
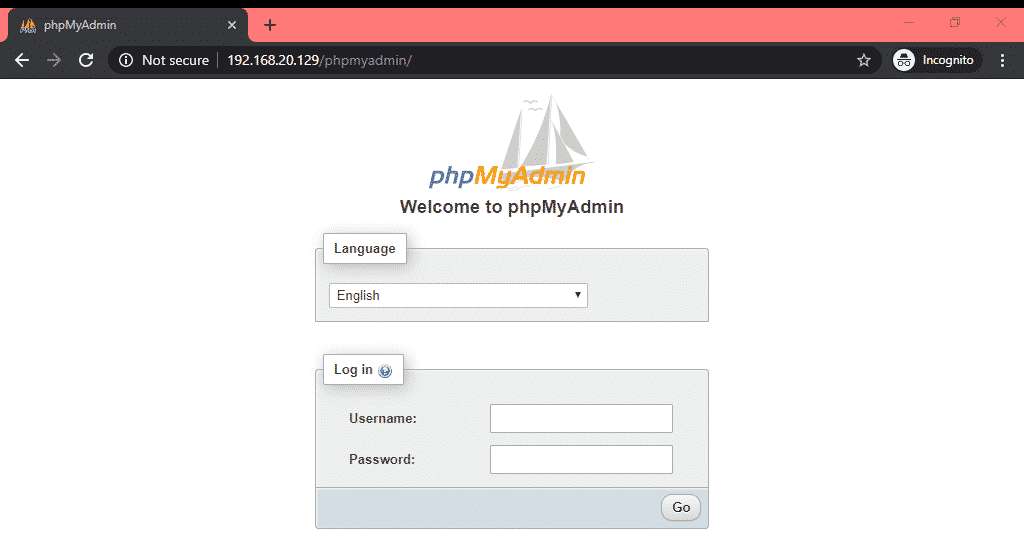
In my case, the IP address is 192.168.20.129. It will be different for you. So, make sure to replace it with yours from now on.
Now, from your remote computers, open a web browser and visit http://192.168.20.129/phpmyadmin/ to access phpMyAdmin.
So, that’s how you install phpMyAdmin 5 on CentOS 8. Thanks for reading this article.
About the author
Shahriar Shovon
Freelancer & Linux System Administrator. Also loves Web API development with Node.js and JavaScript. I was born in Bangladesh. I am currently studying Electronics and Communication Engineering at Khulna University of Engineering & Technology (KUET), one of the demanding public engineering universities of Bangladesh.


